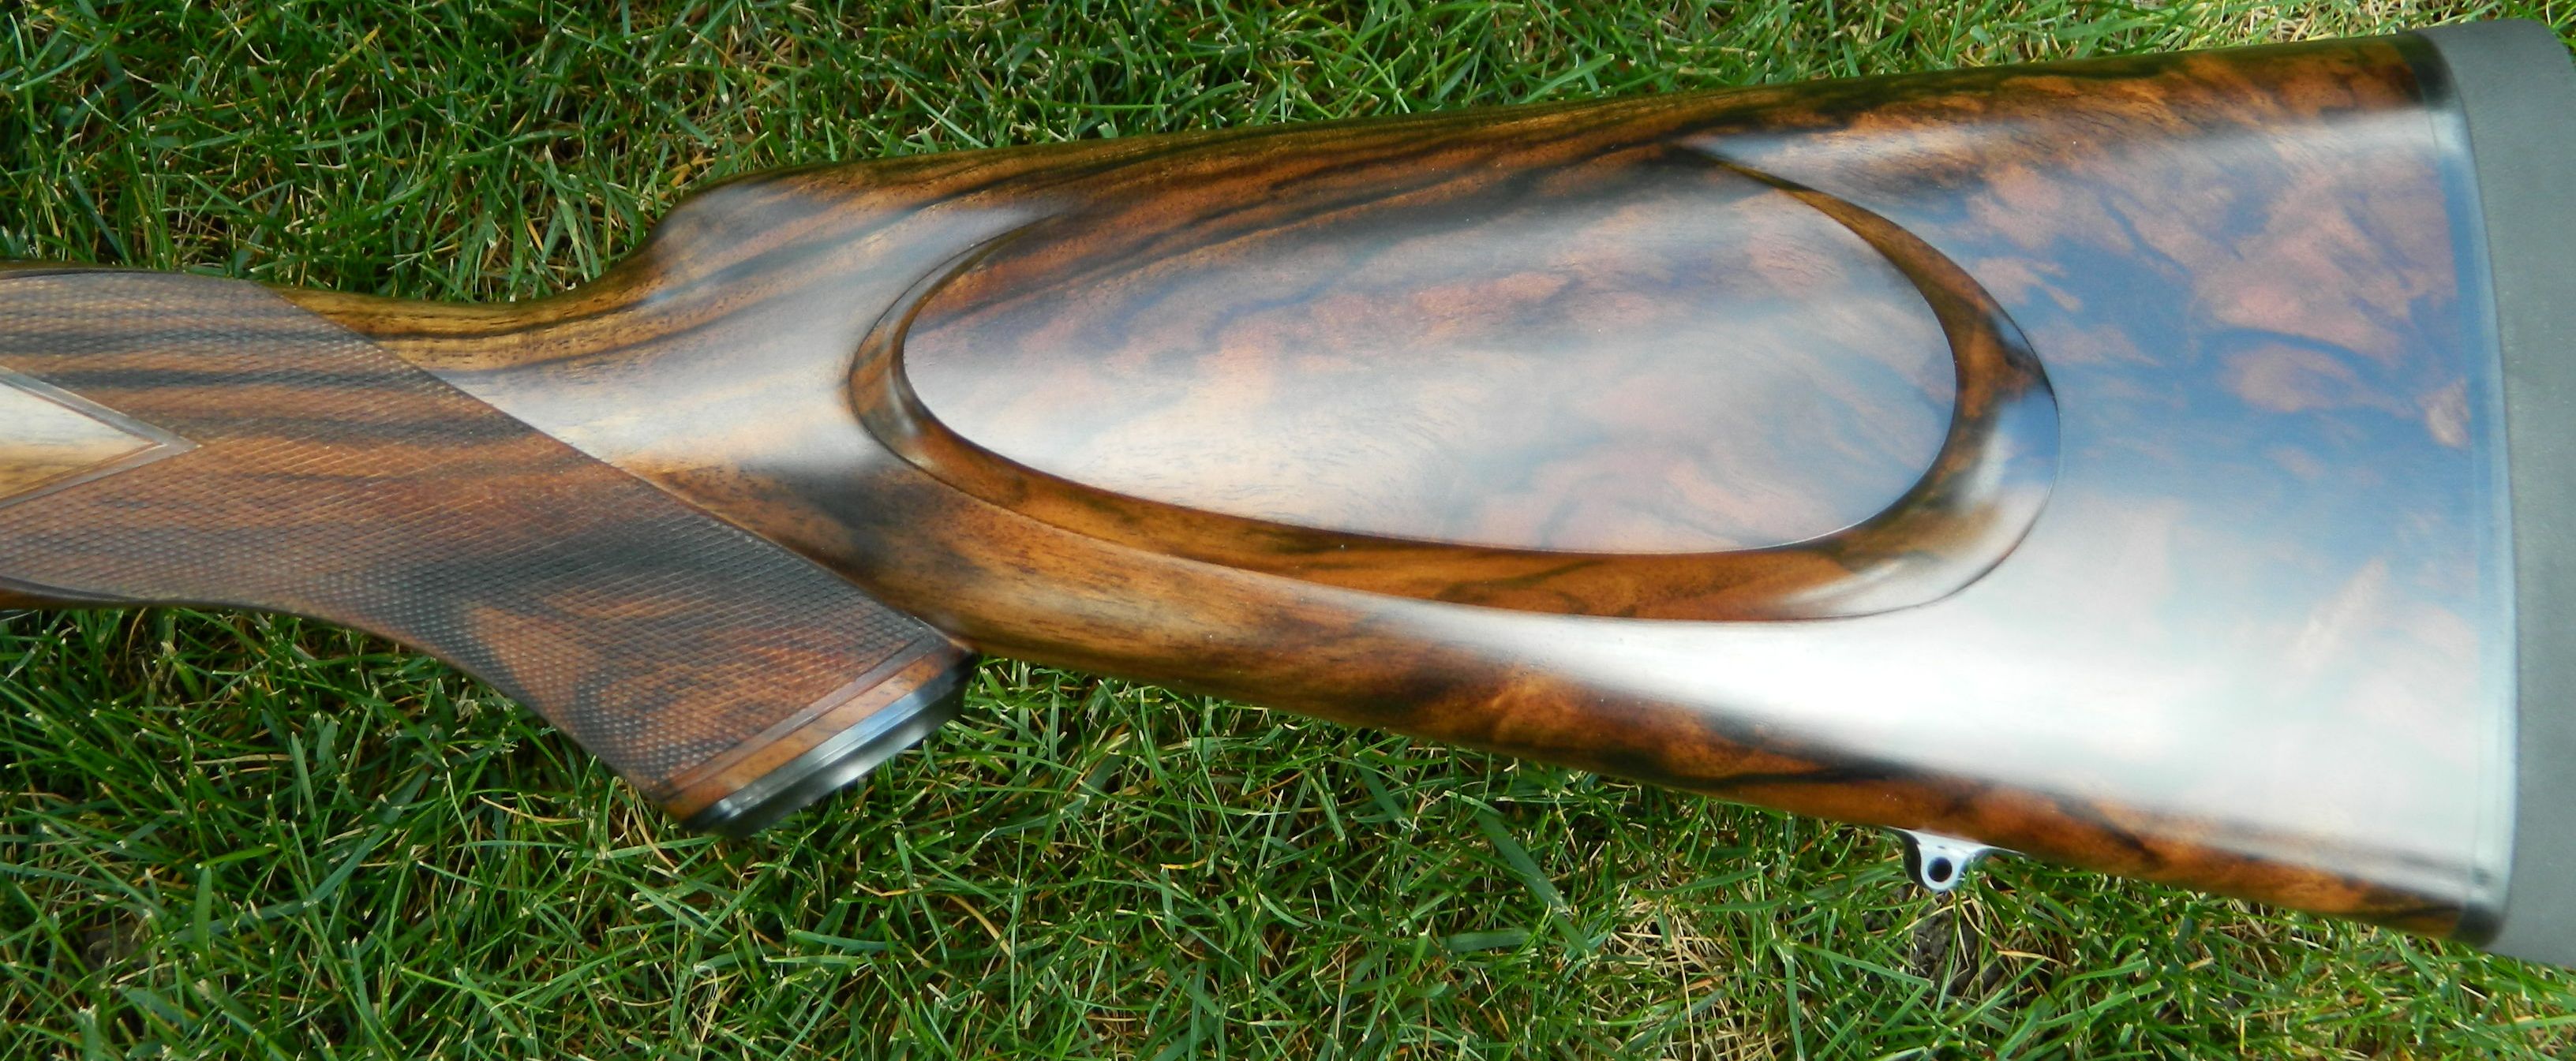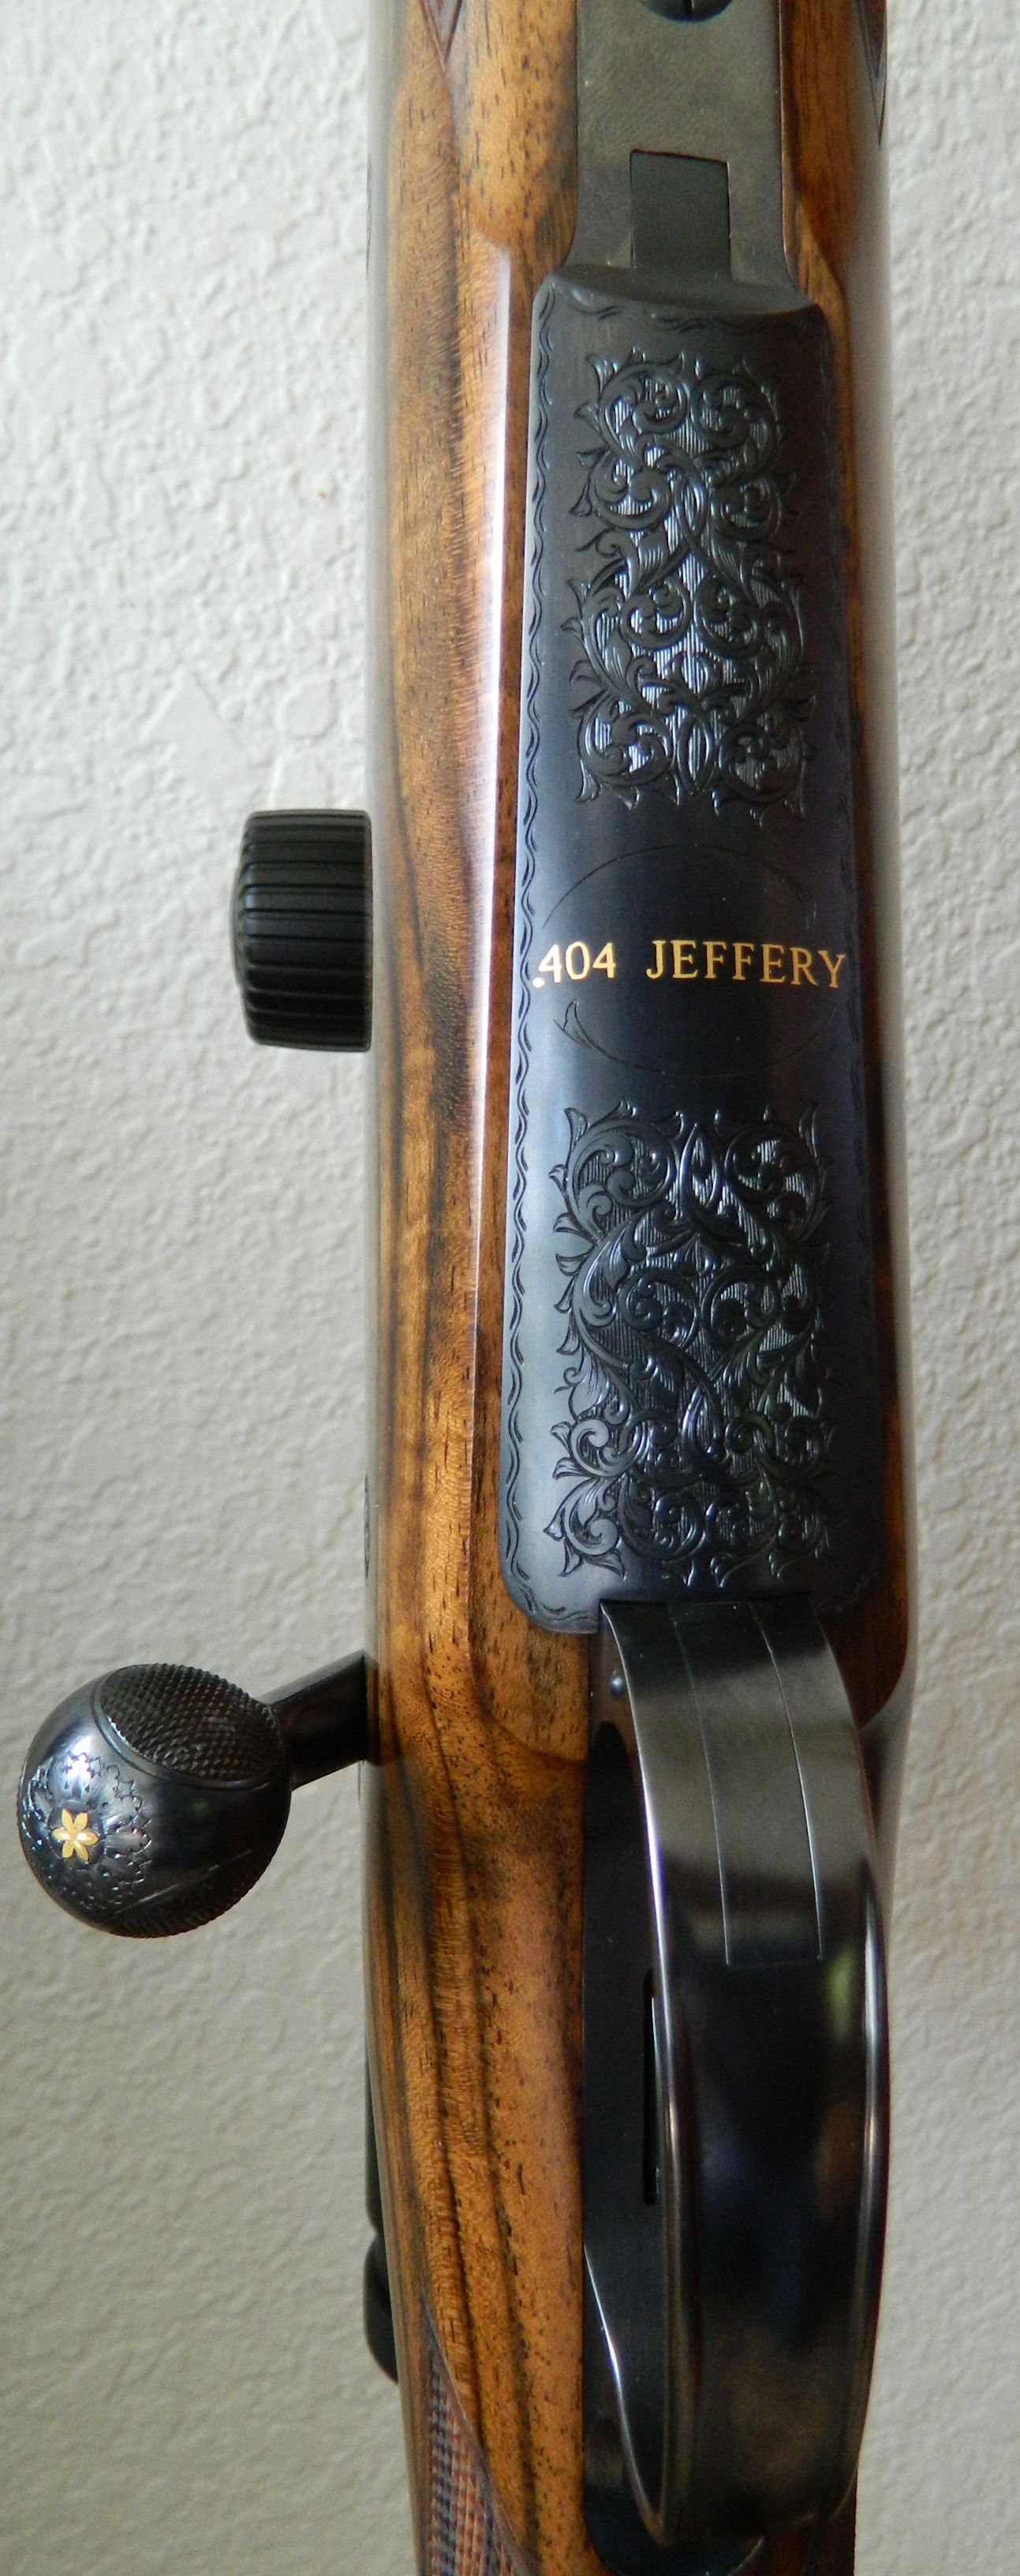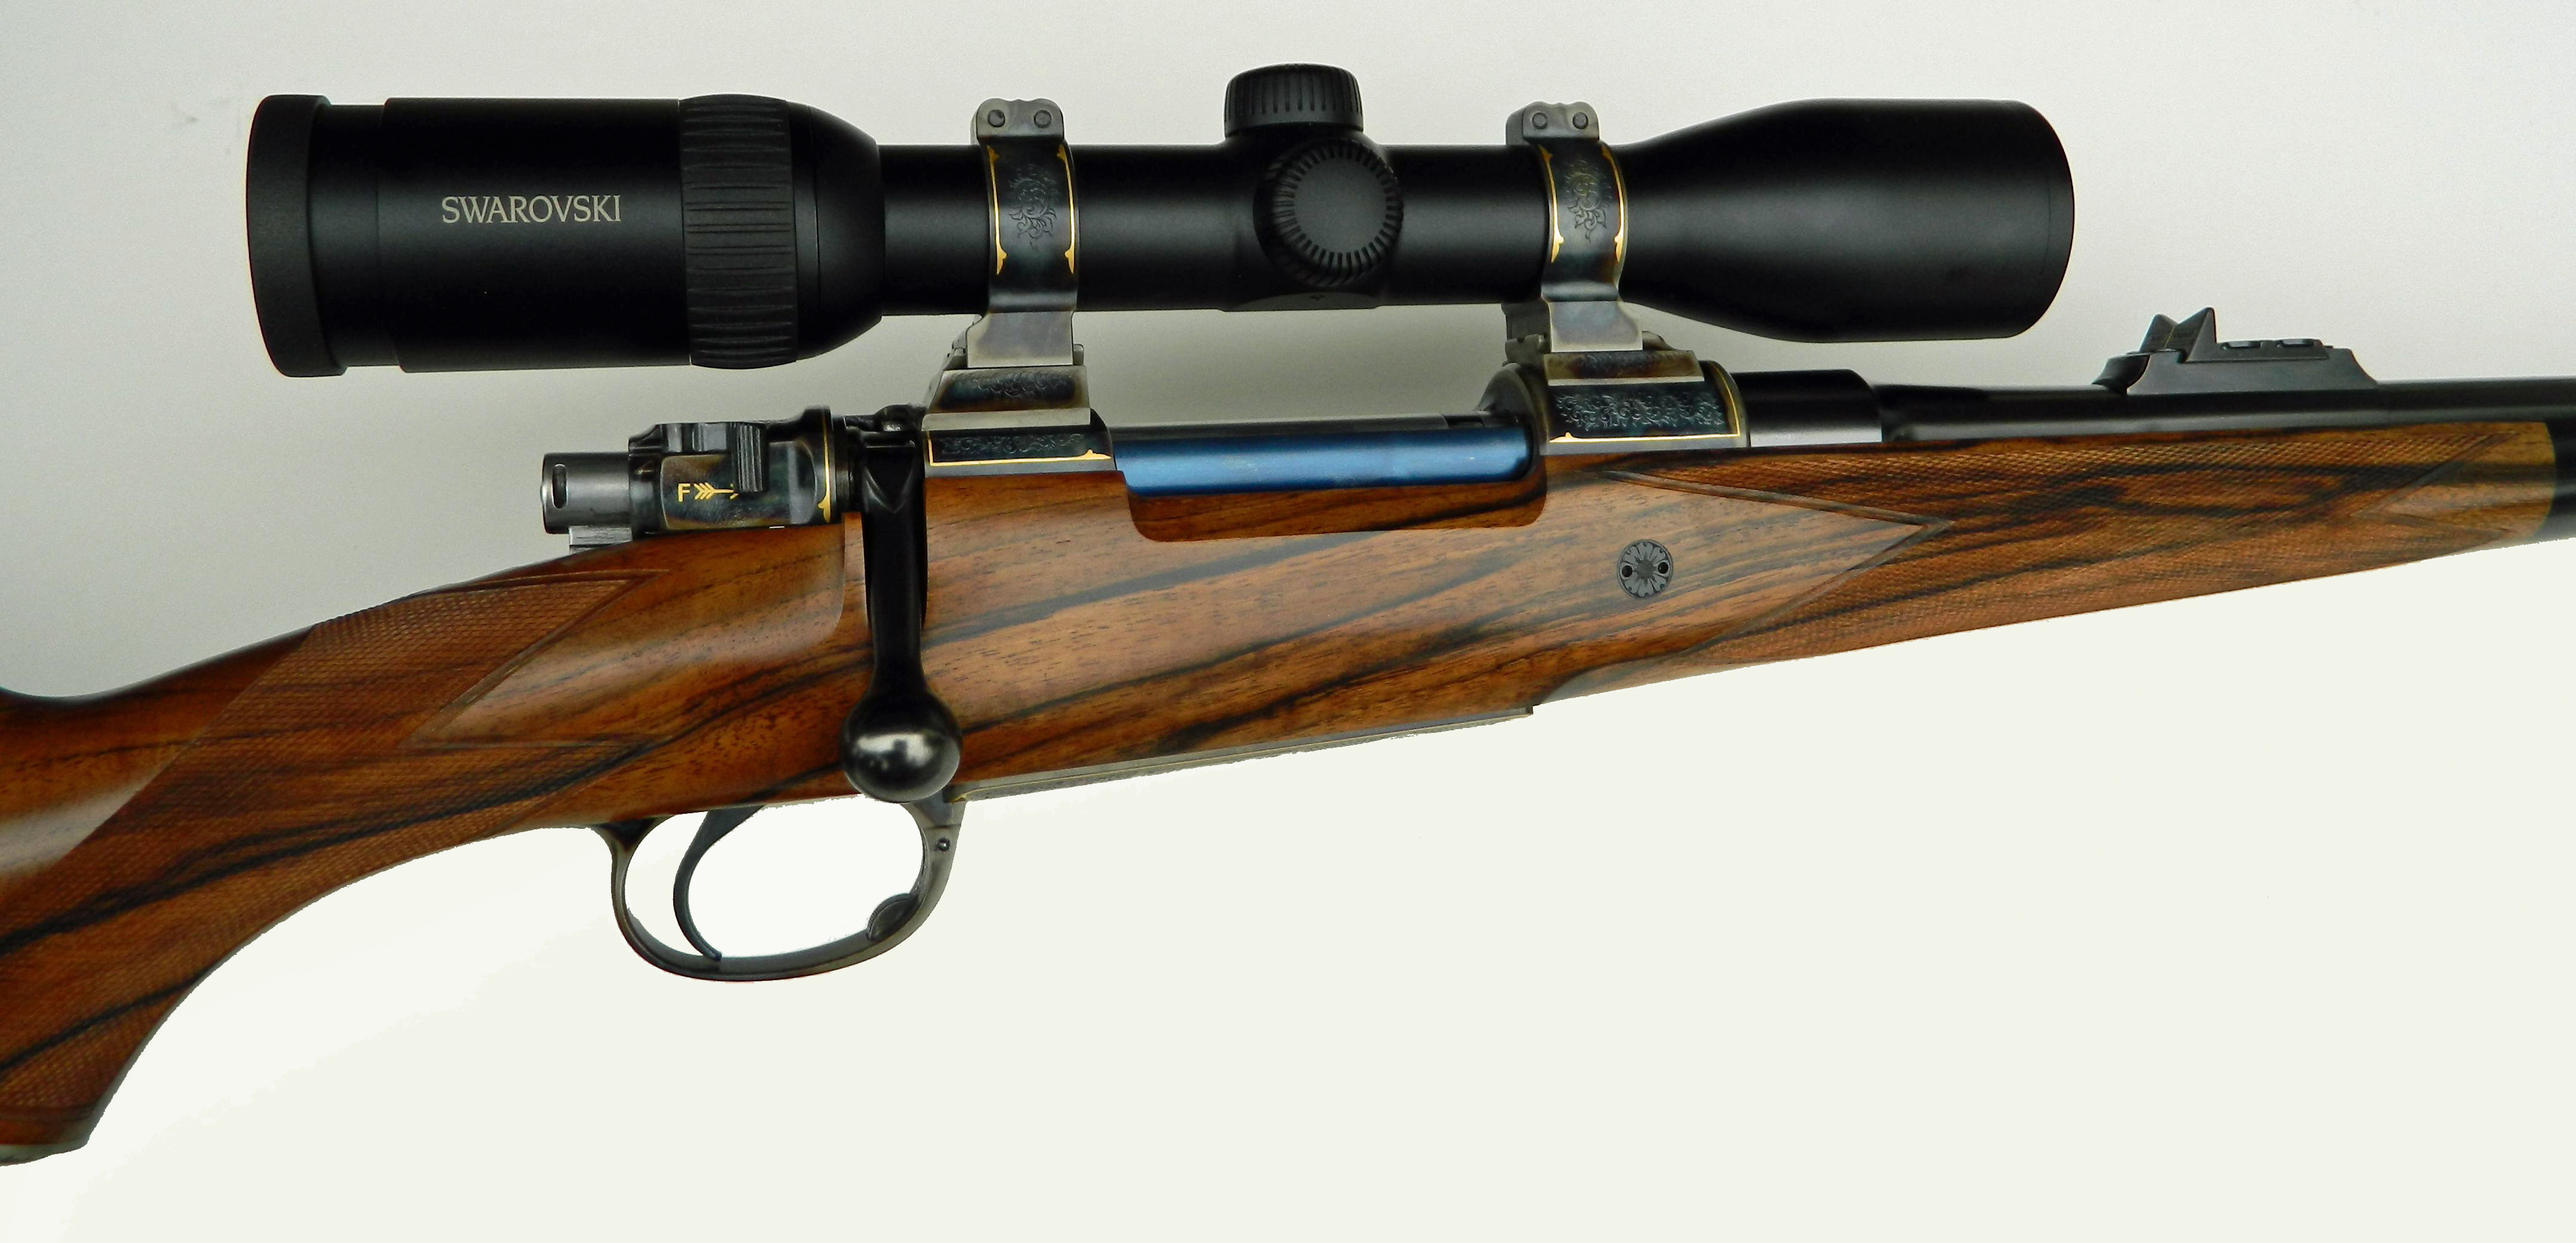
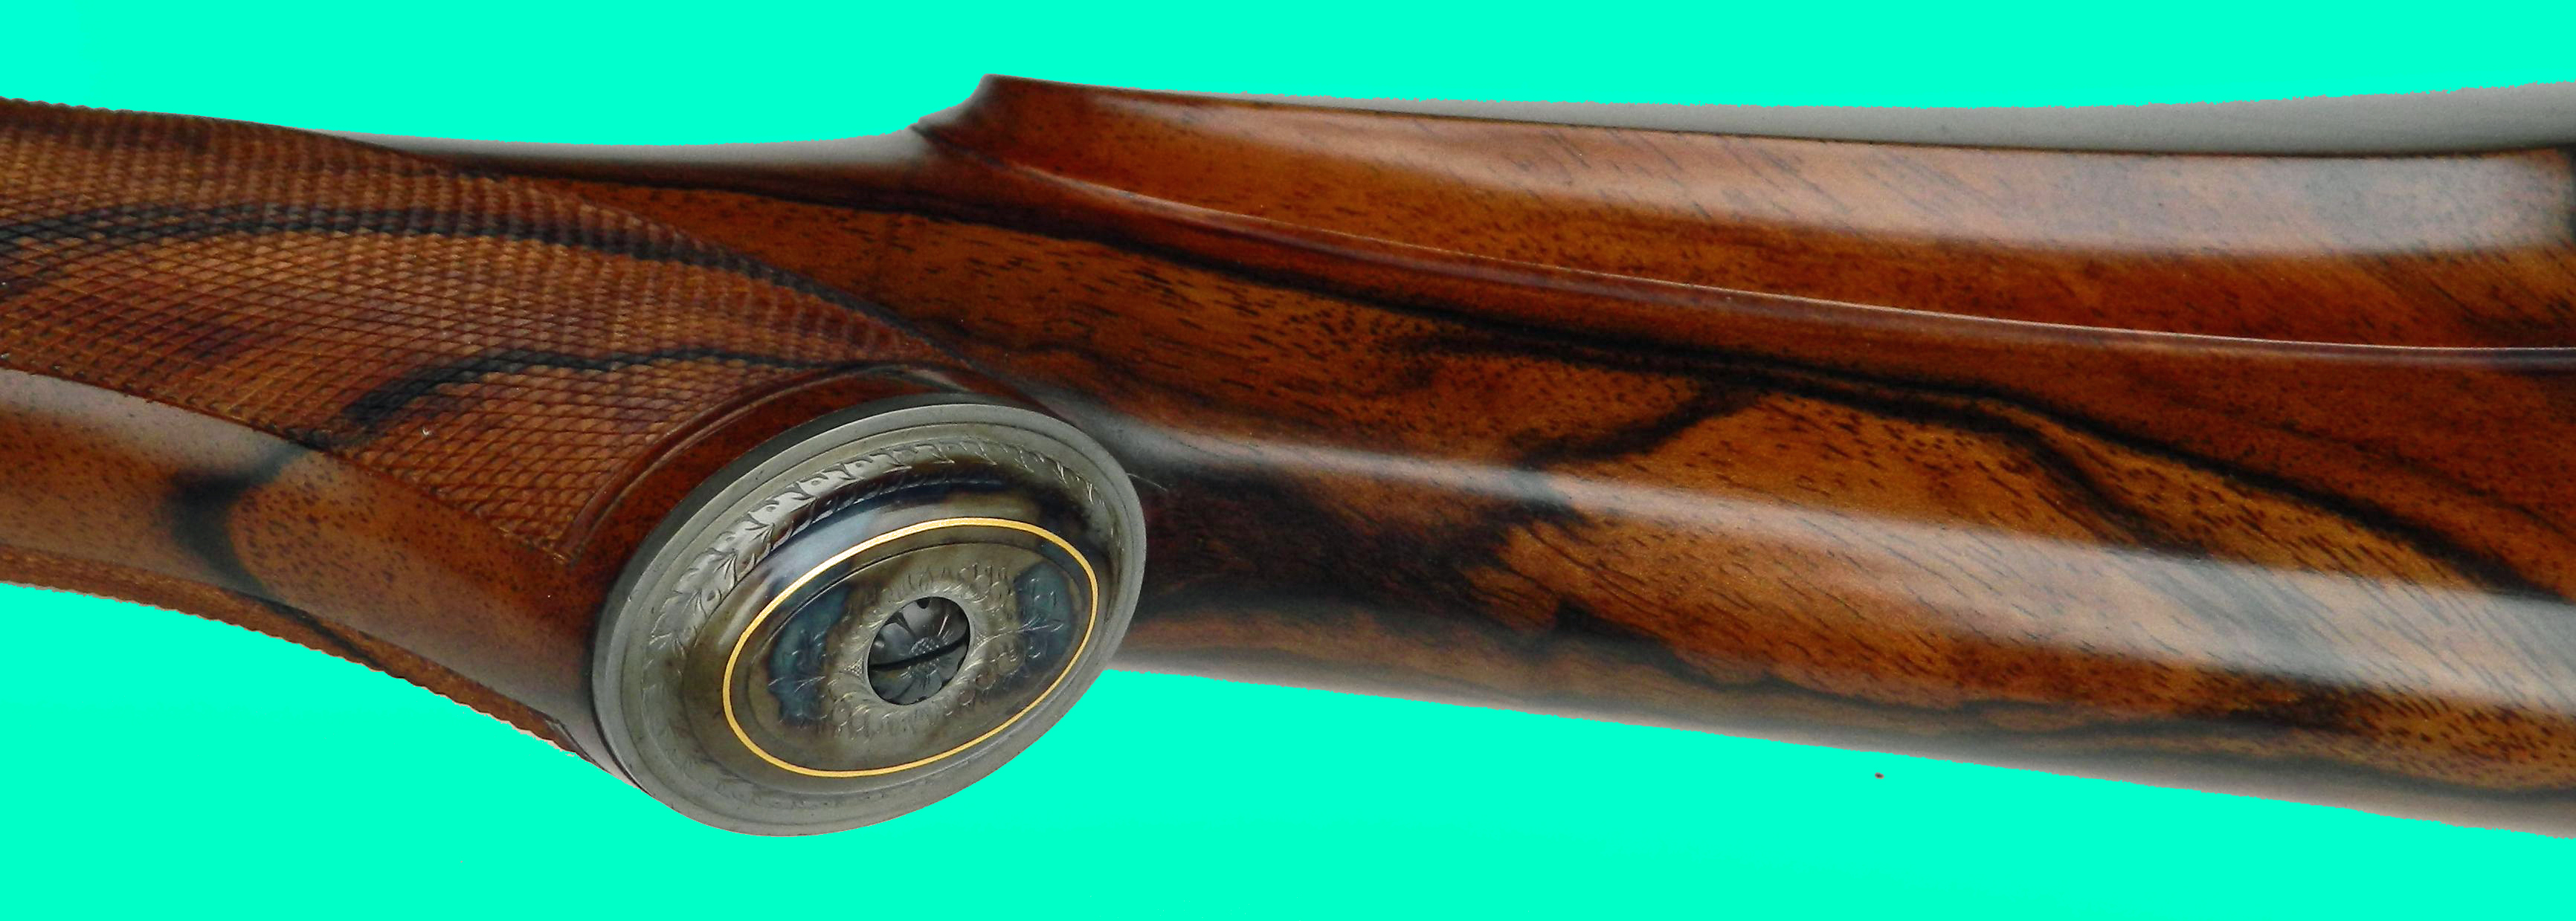
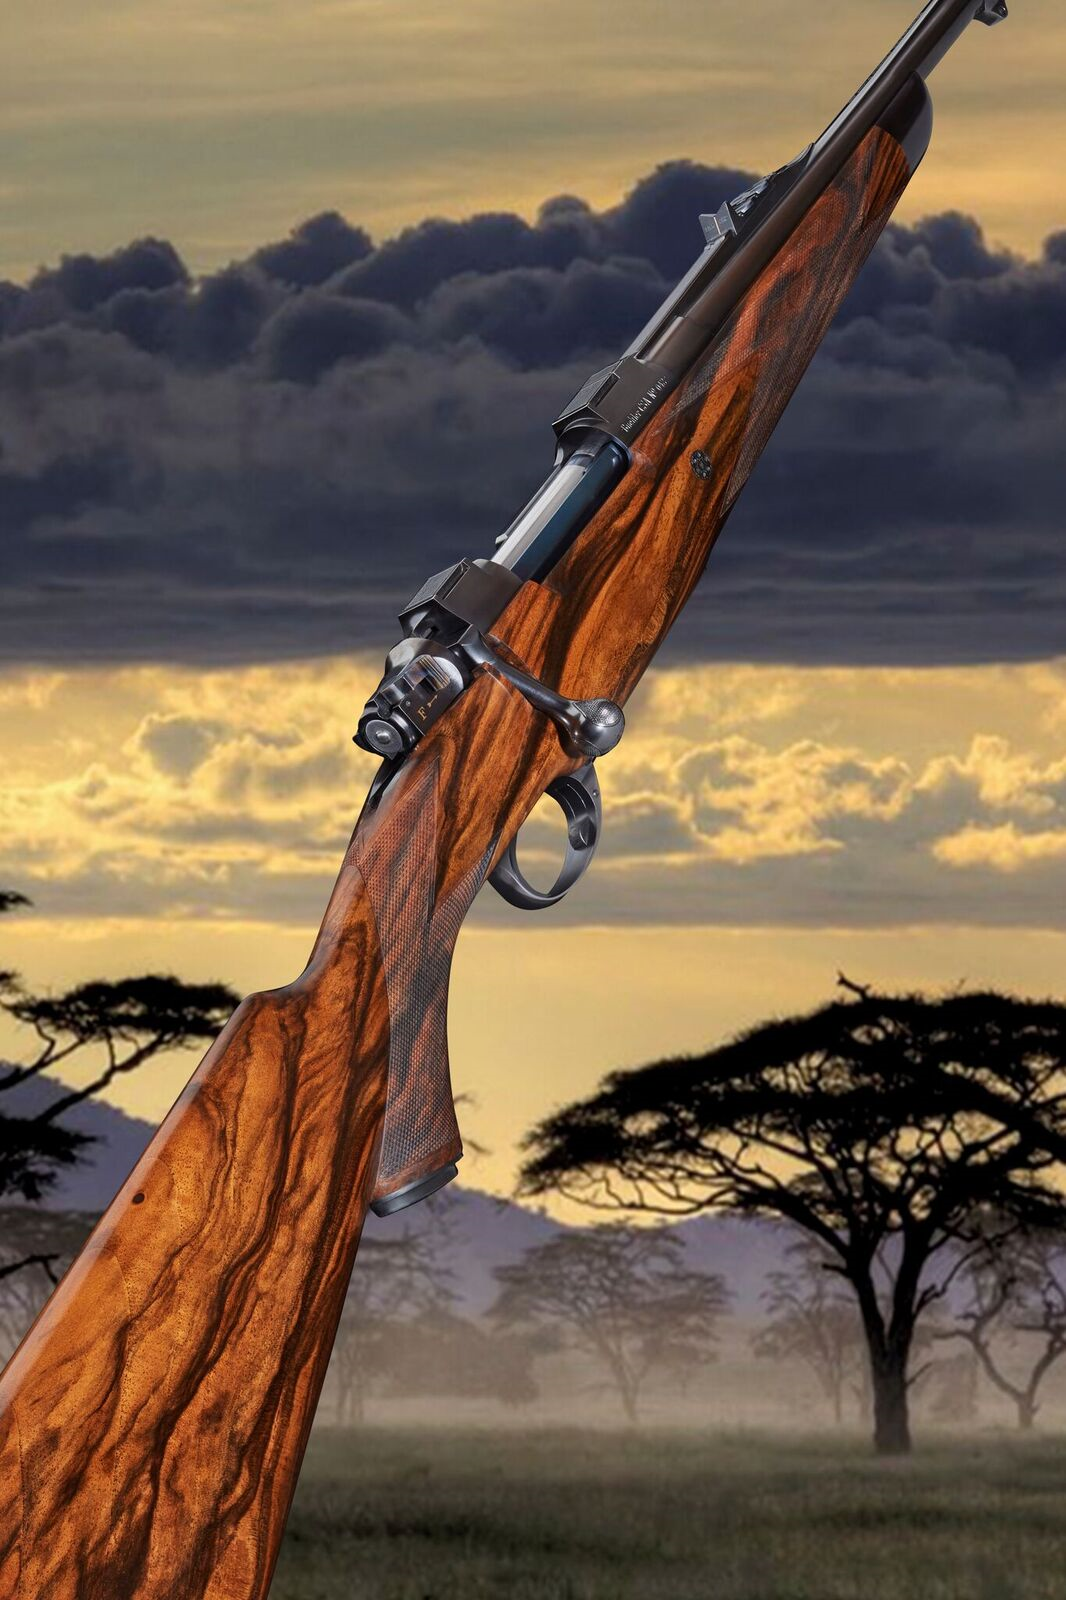
This rifle was commissioned by a very good client of mine. It is a present from him to his wife. She is his hunting partner and best friend and he refers to her lovingly as his “princess”, hence the title.
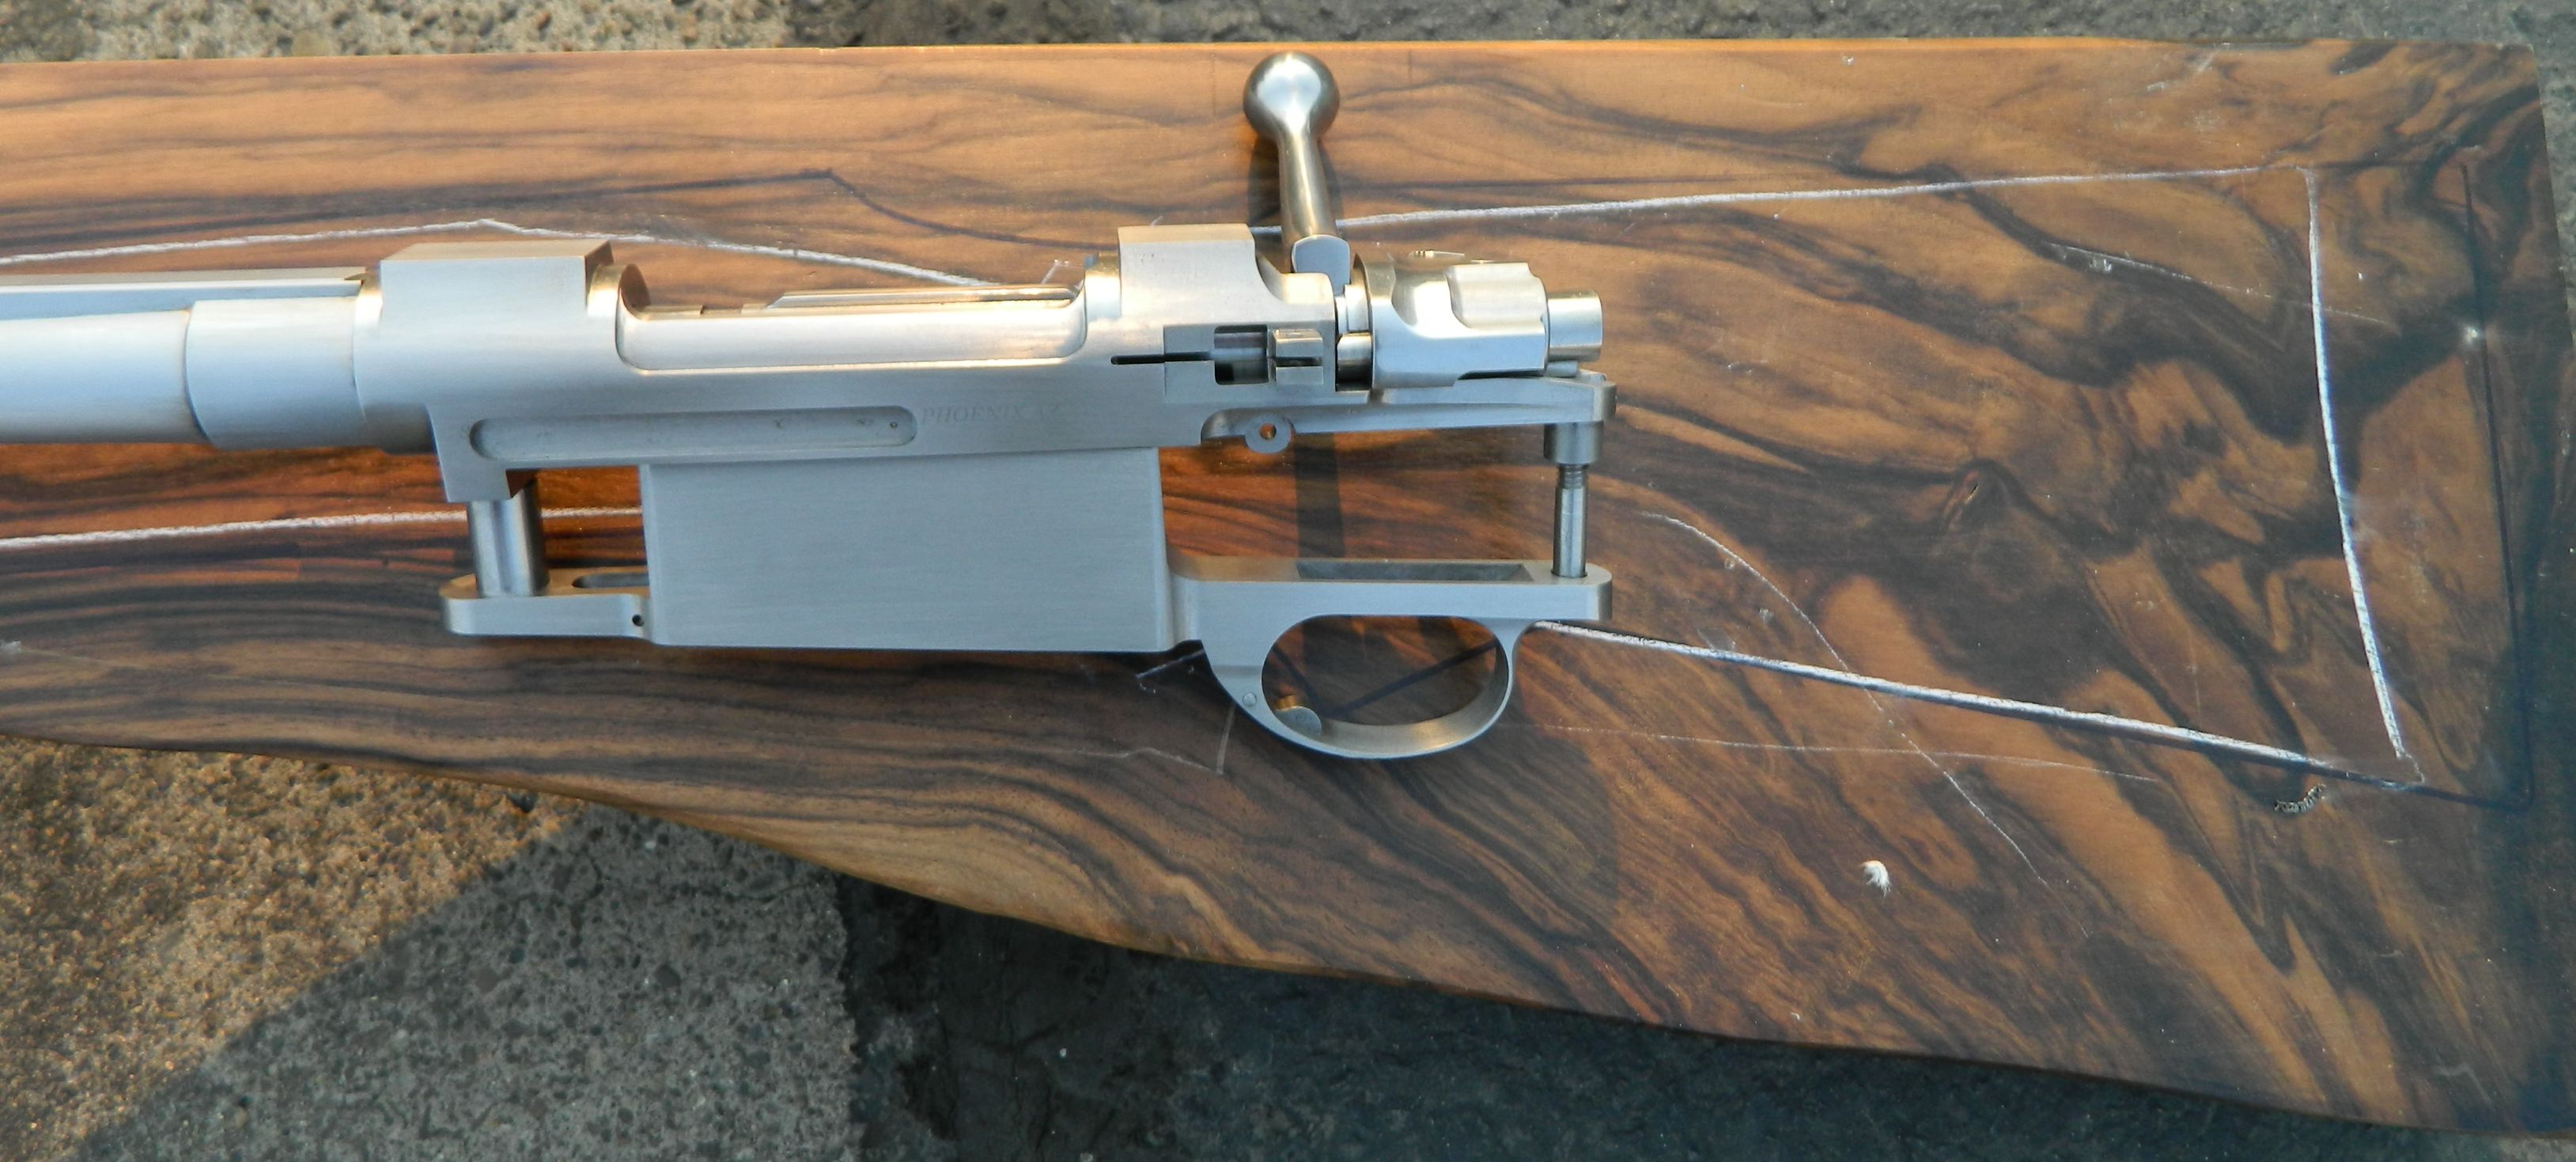
The rifle started life as a commercial Mauser “Standard Modell” which the client provided. I re-worked the action, added a bolt handle, new 3 position safety, trigger and magazine box.

The next step was to install a match grade barrel. The caliber of this rifle is .30-06.
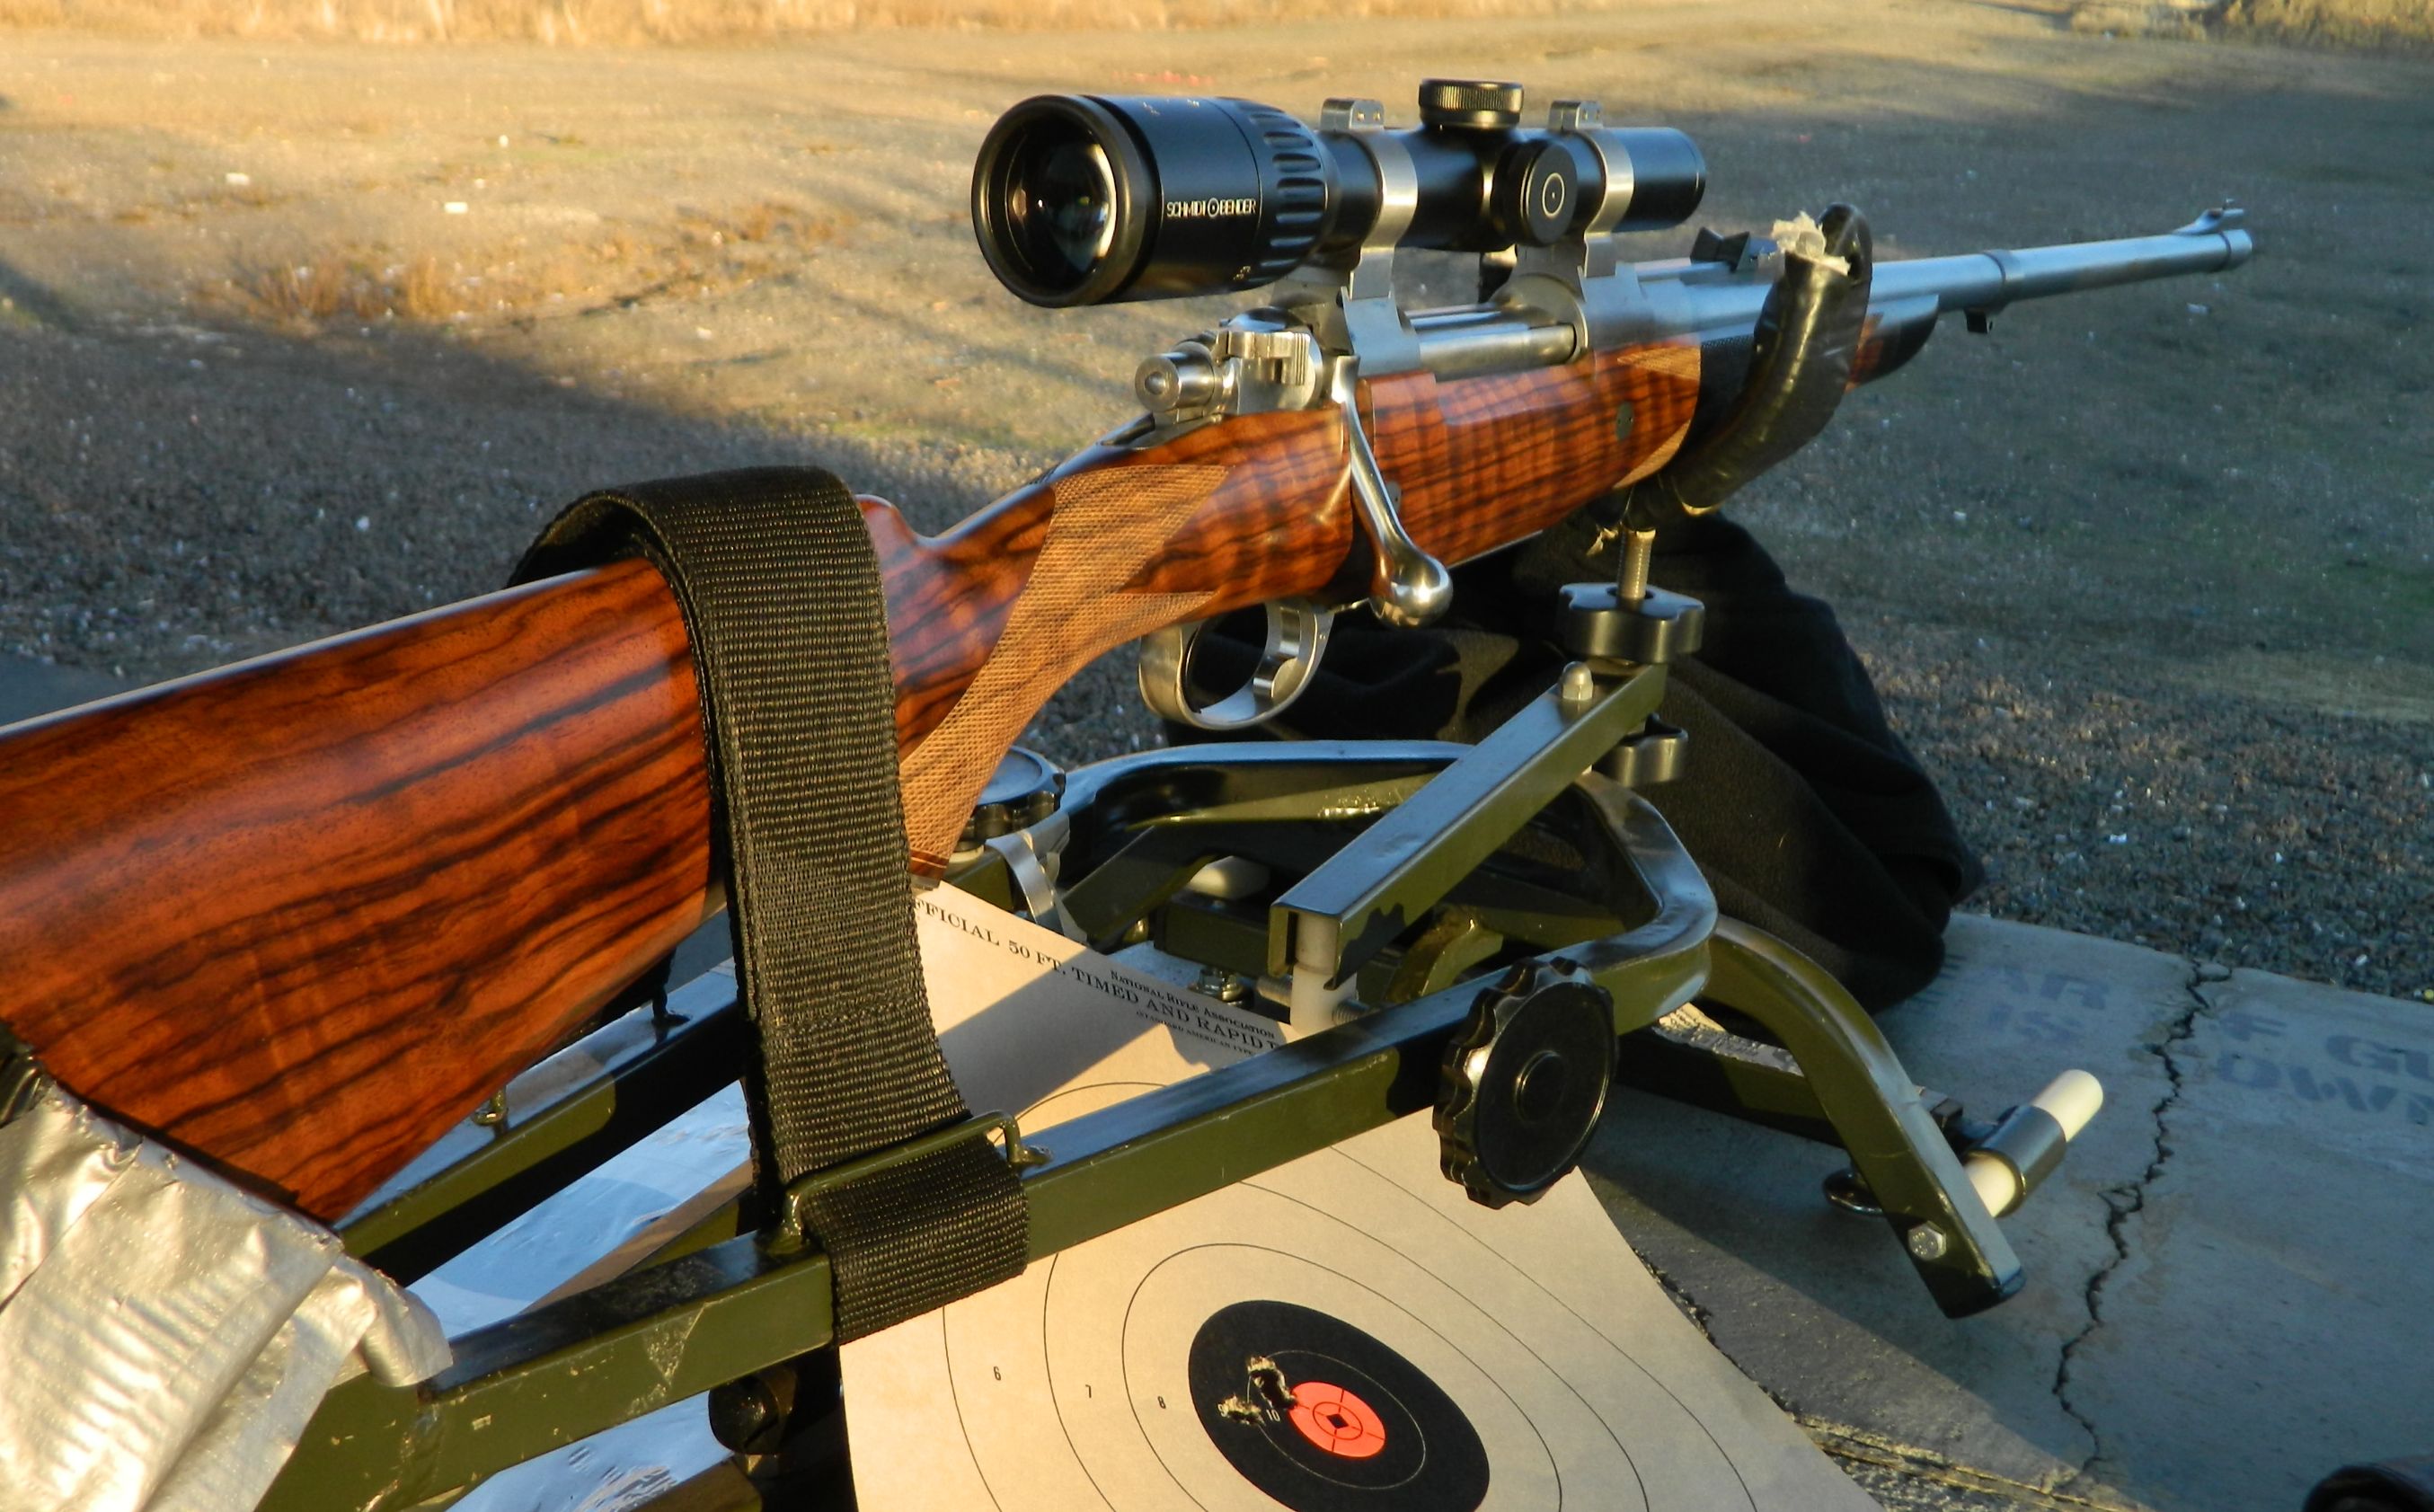
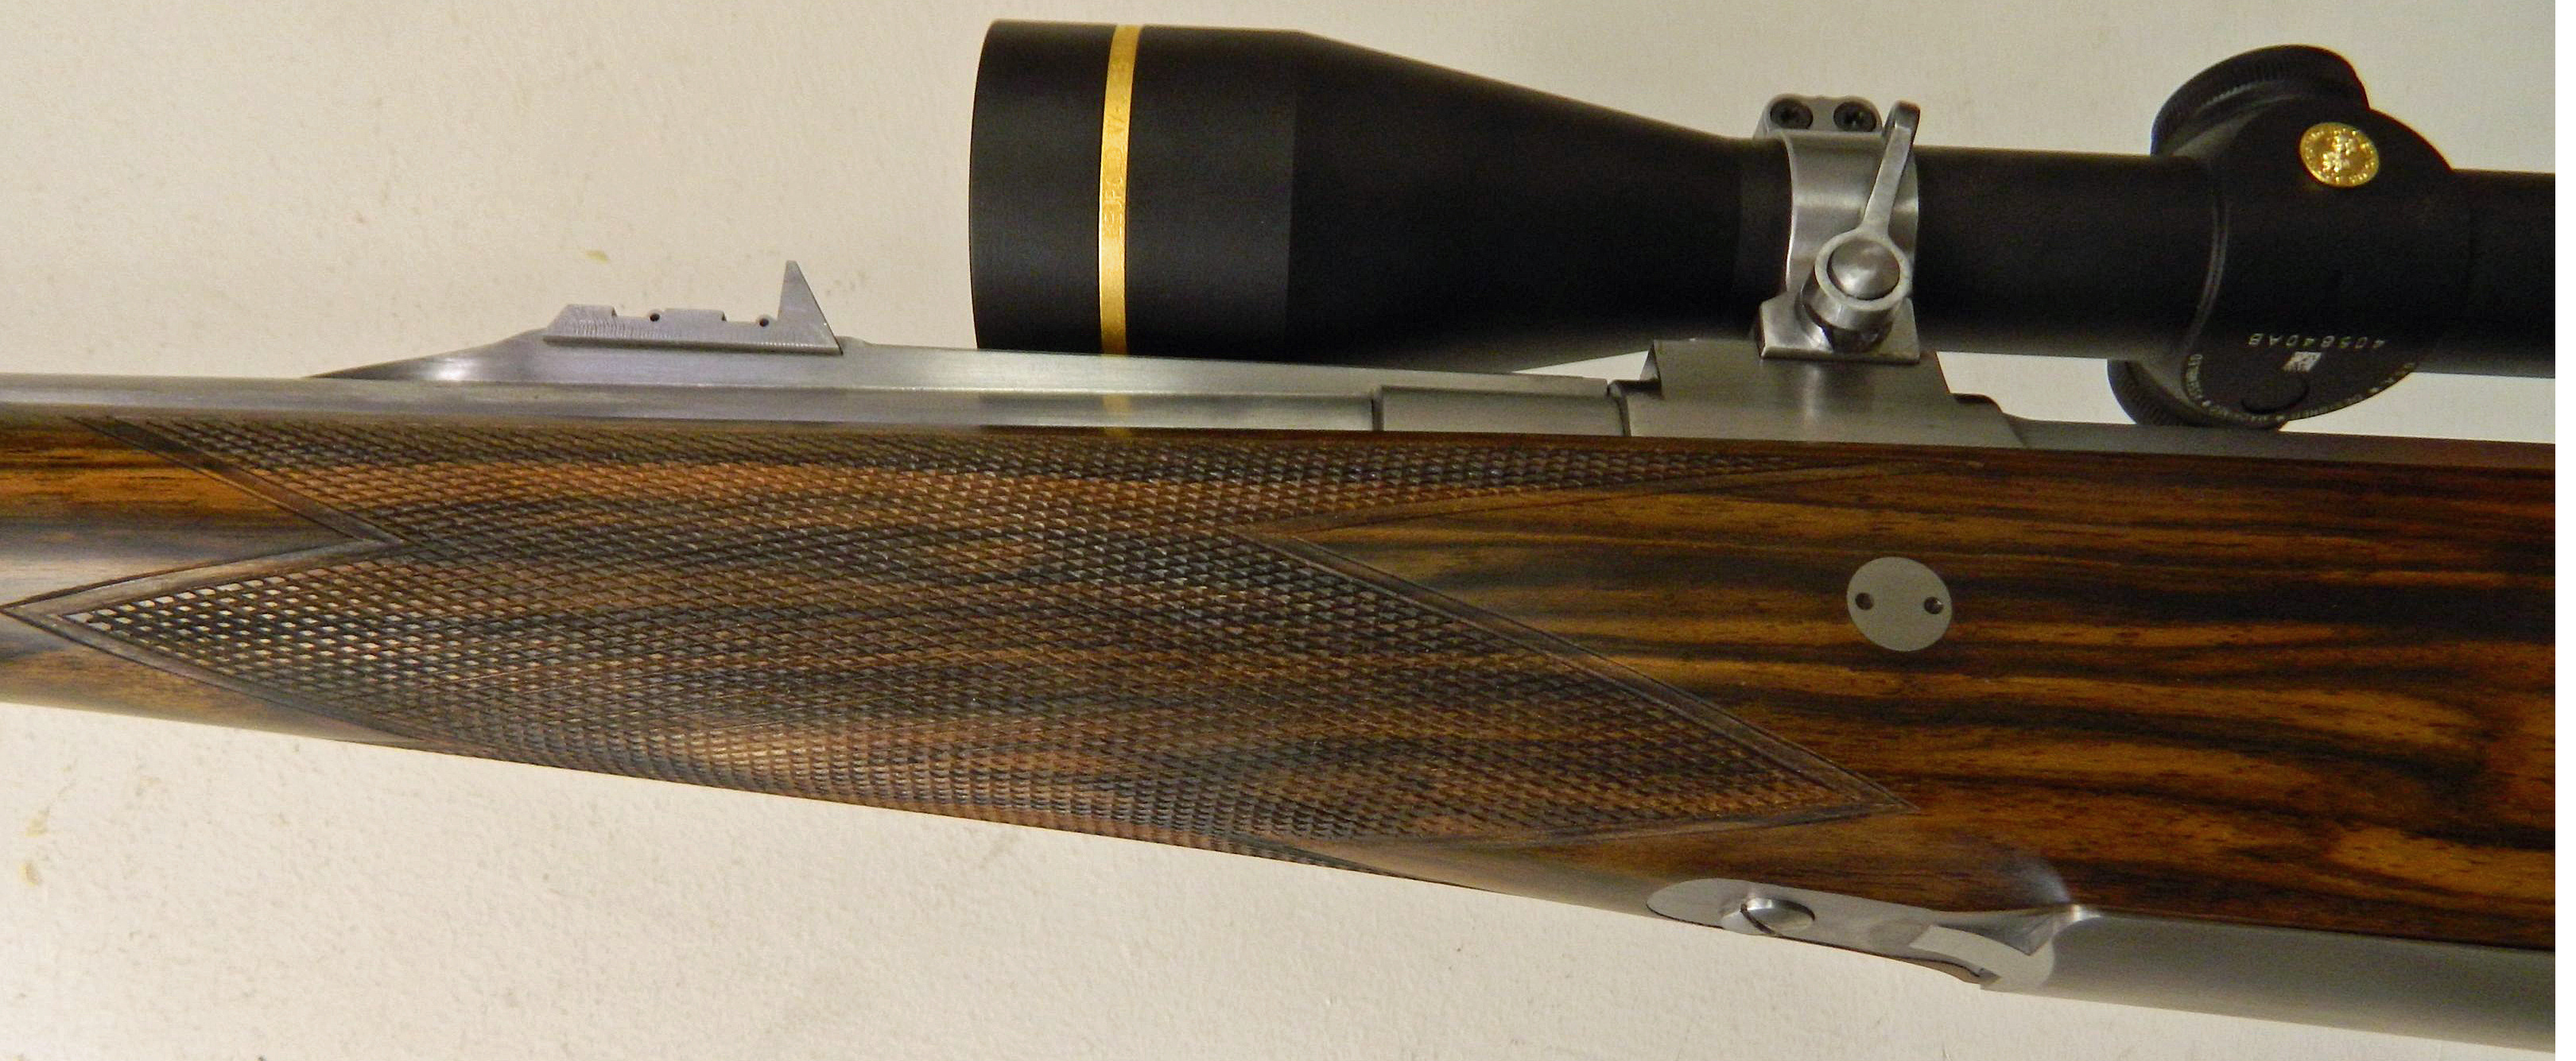
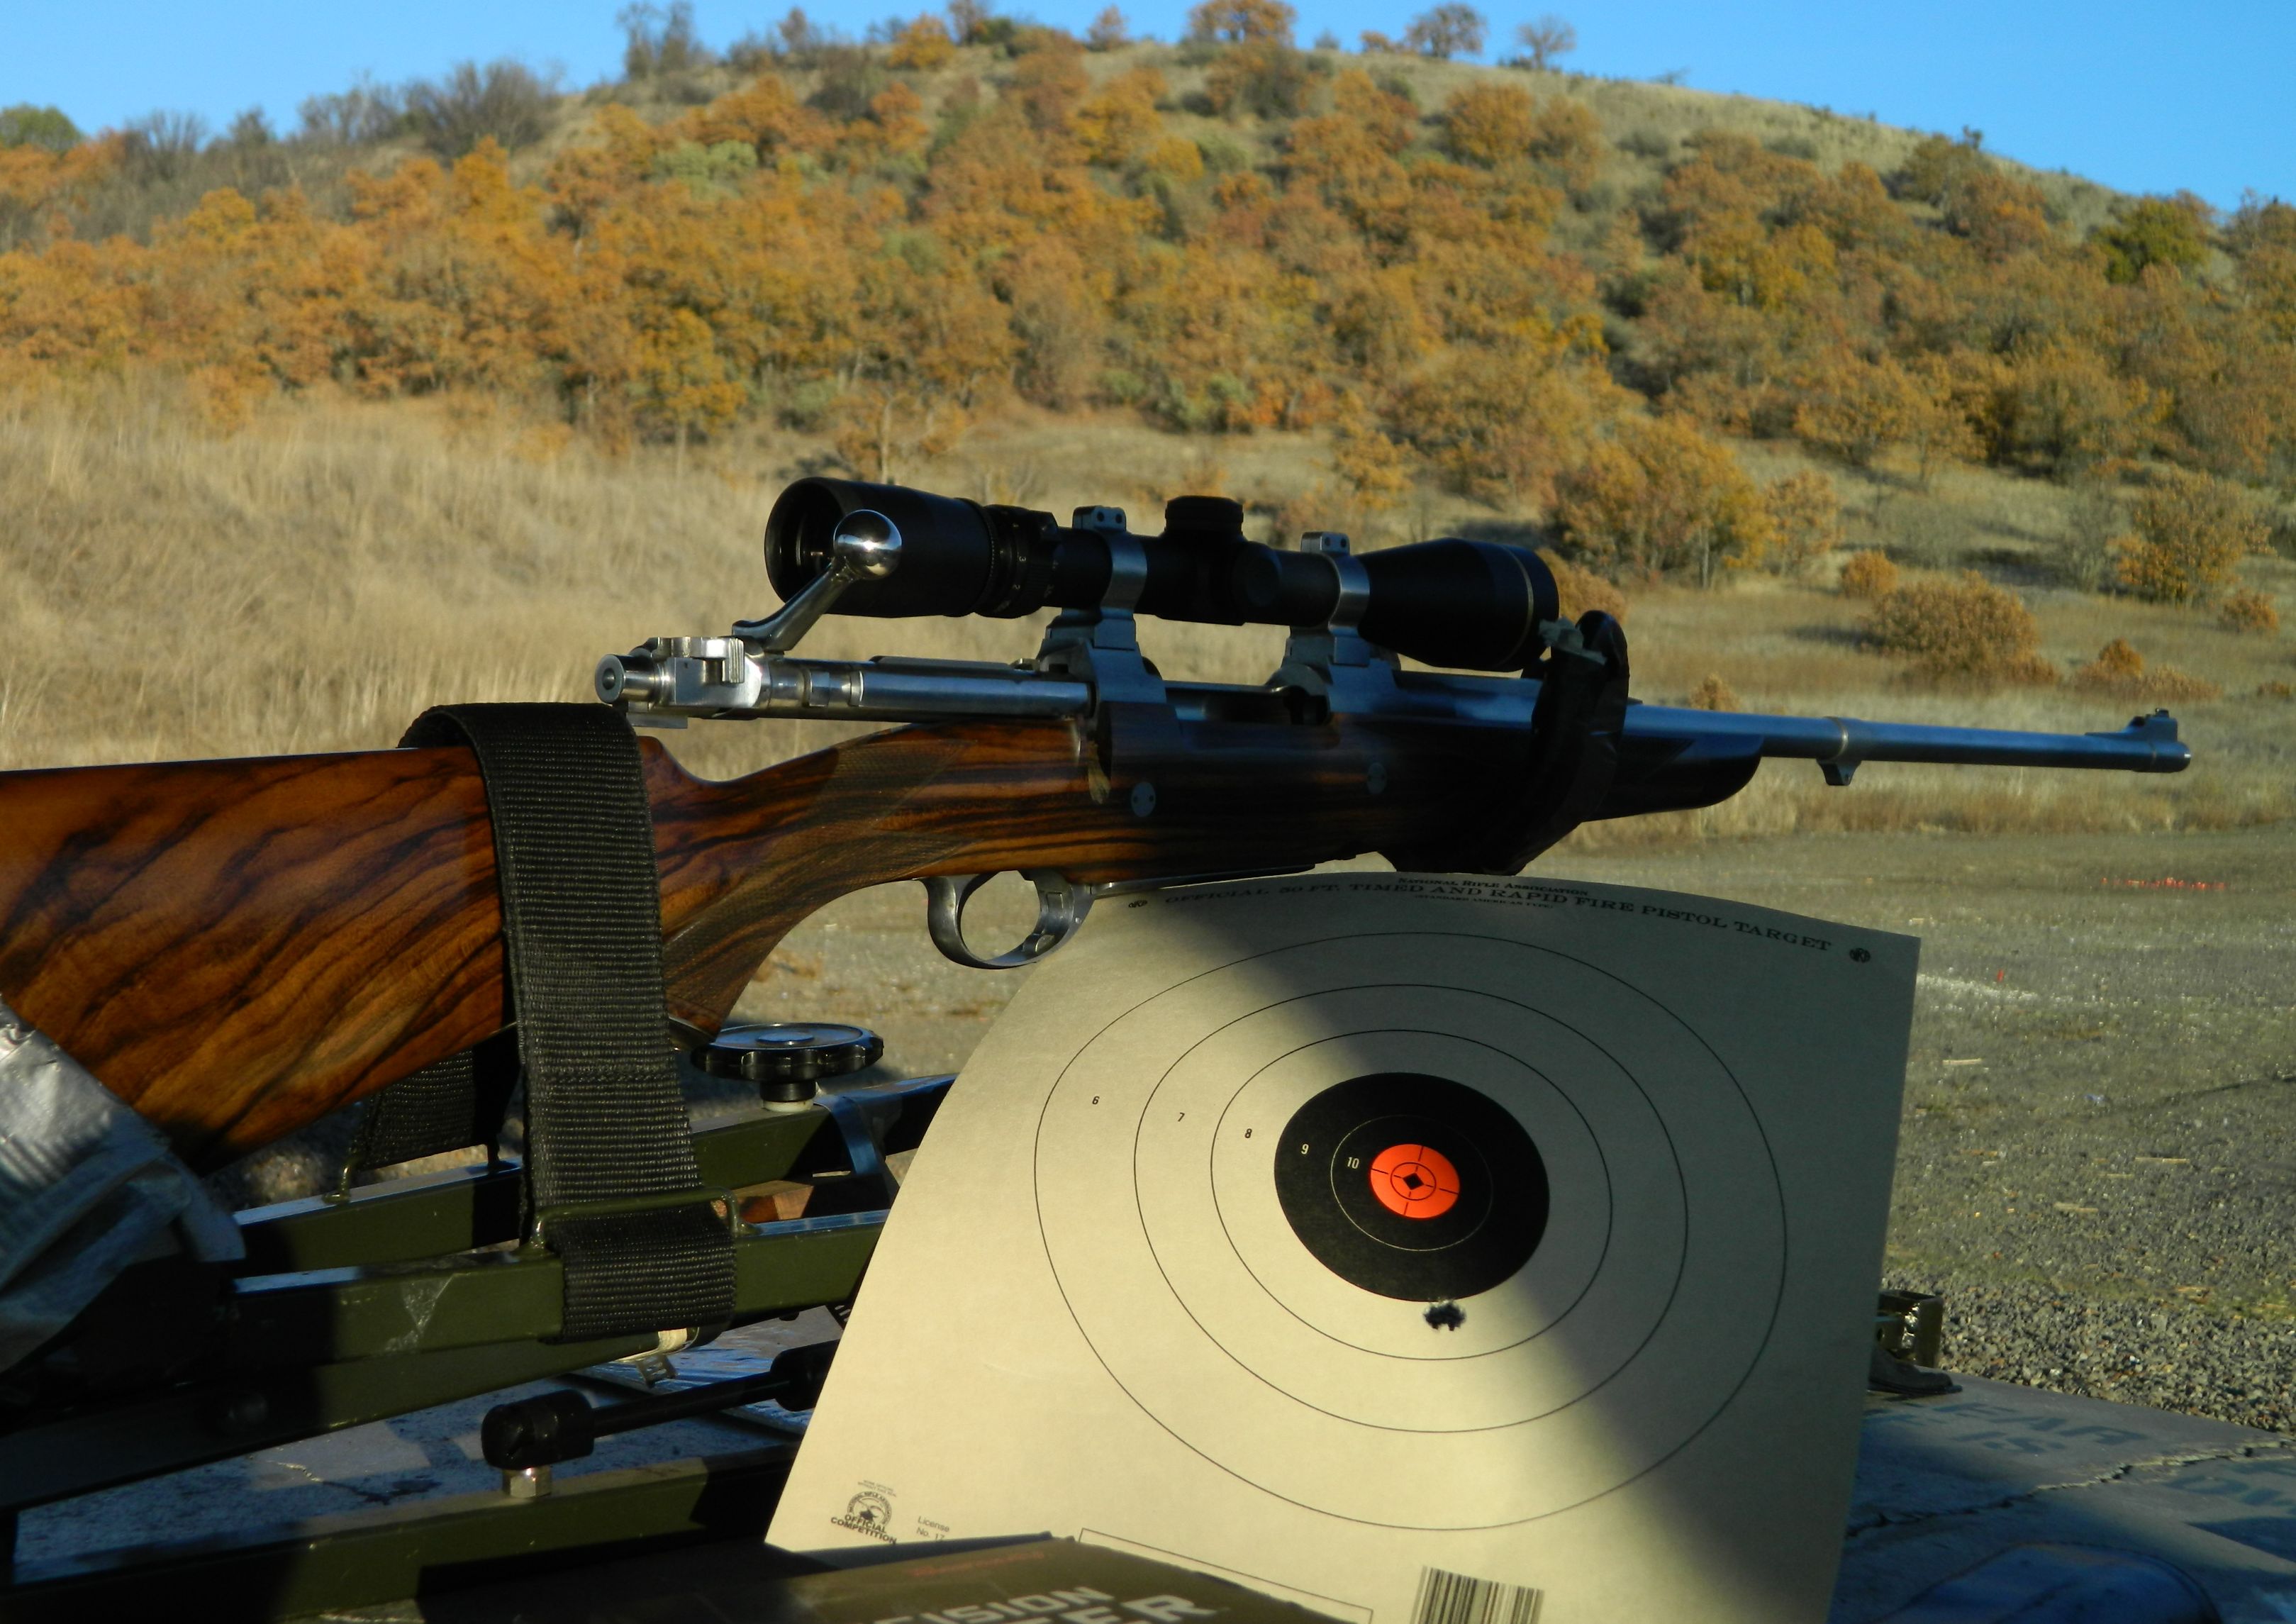
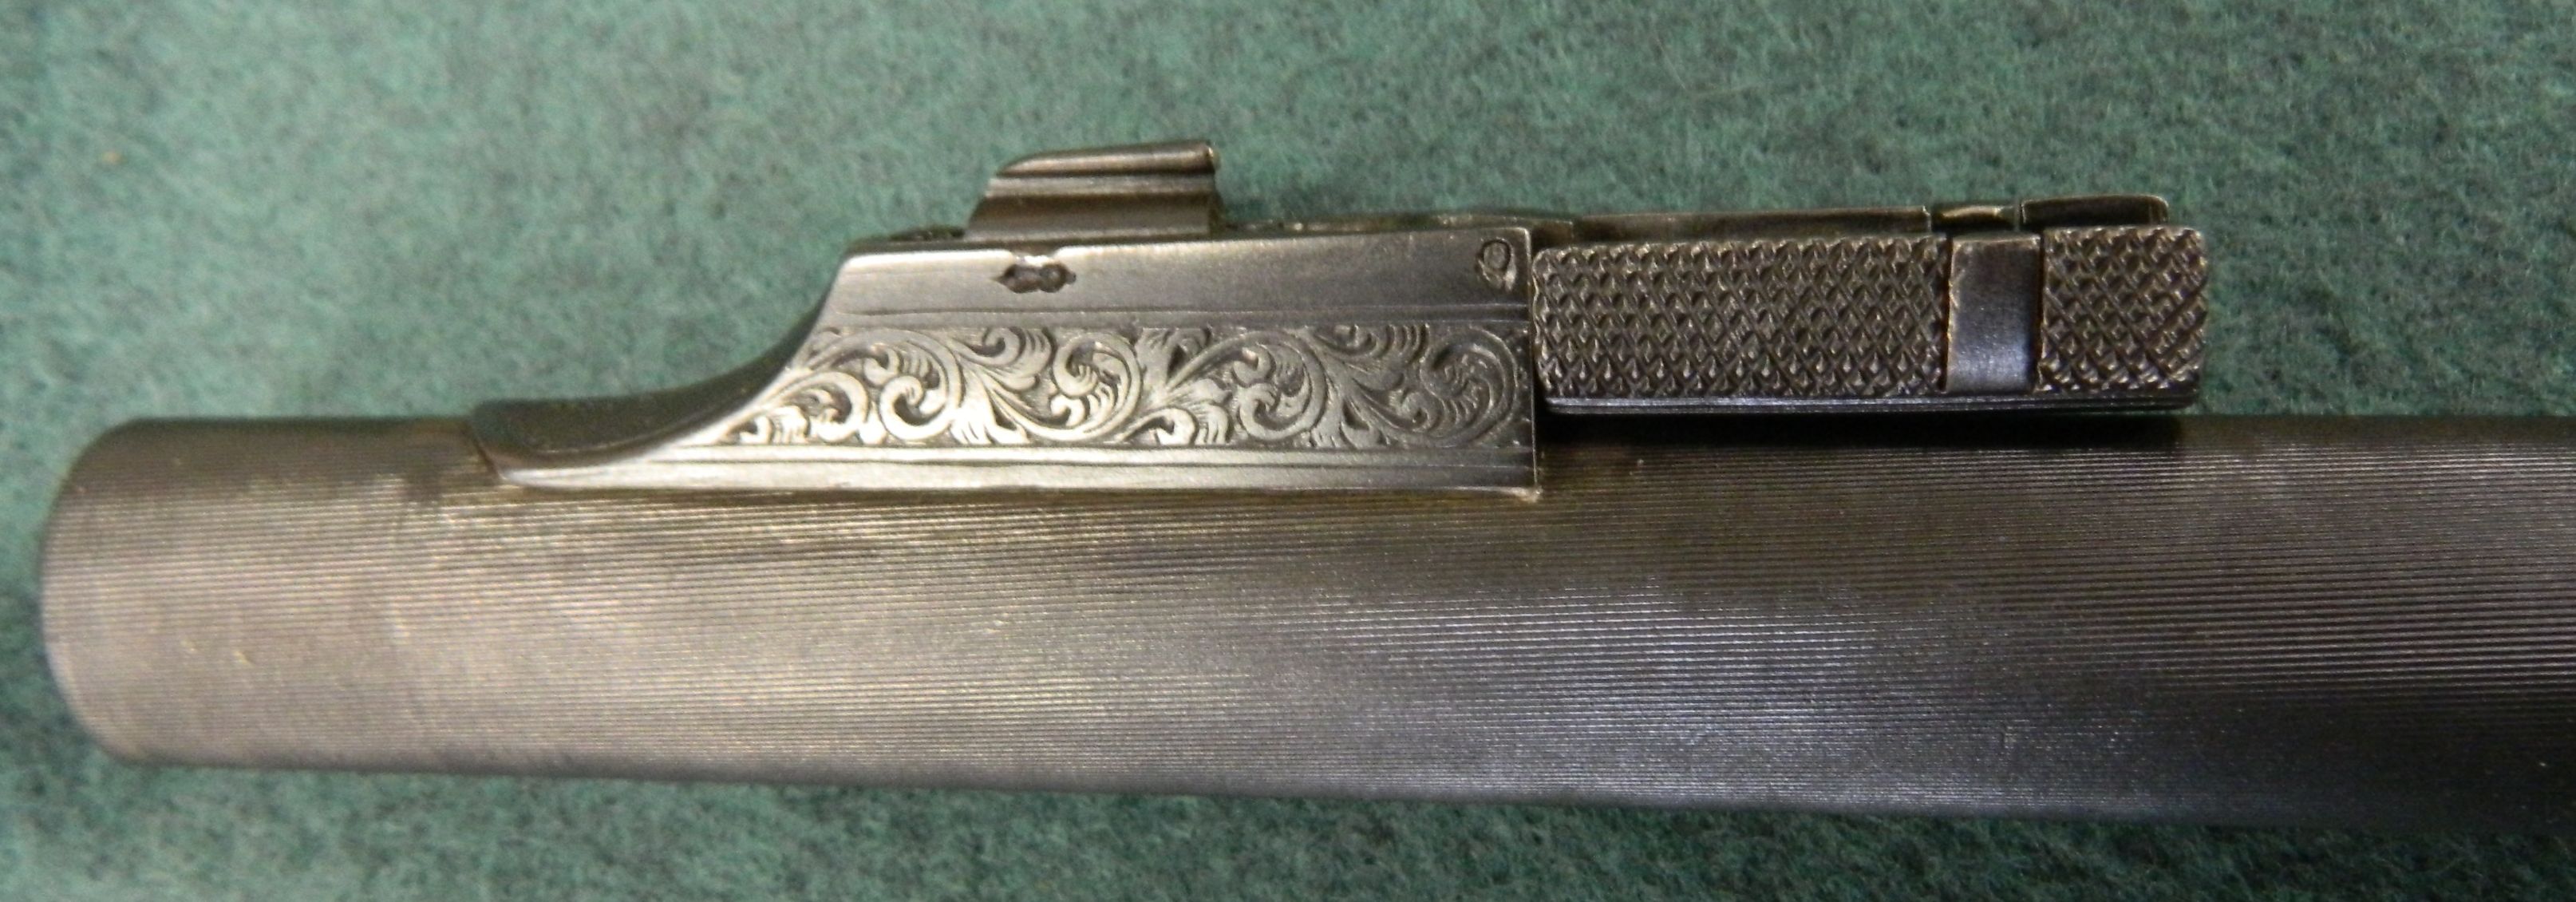
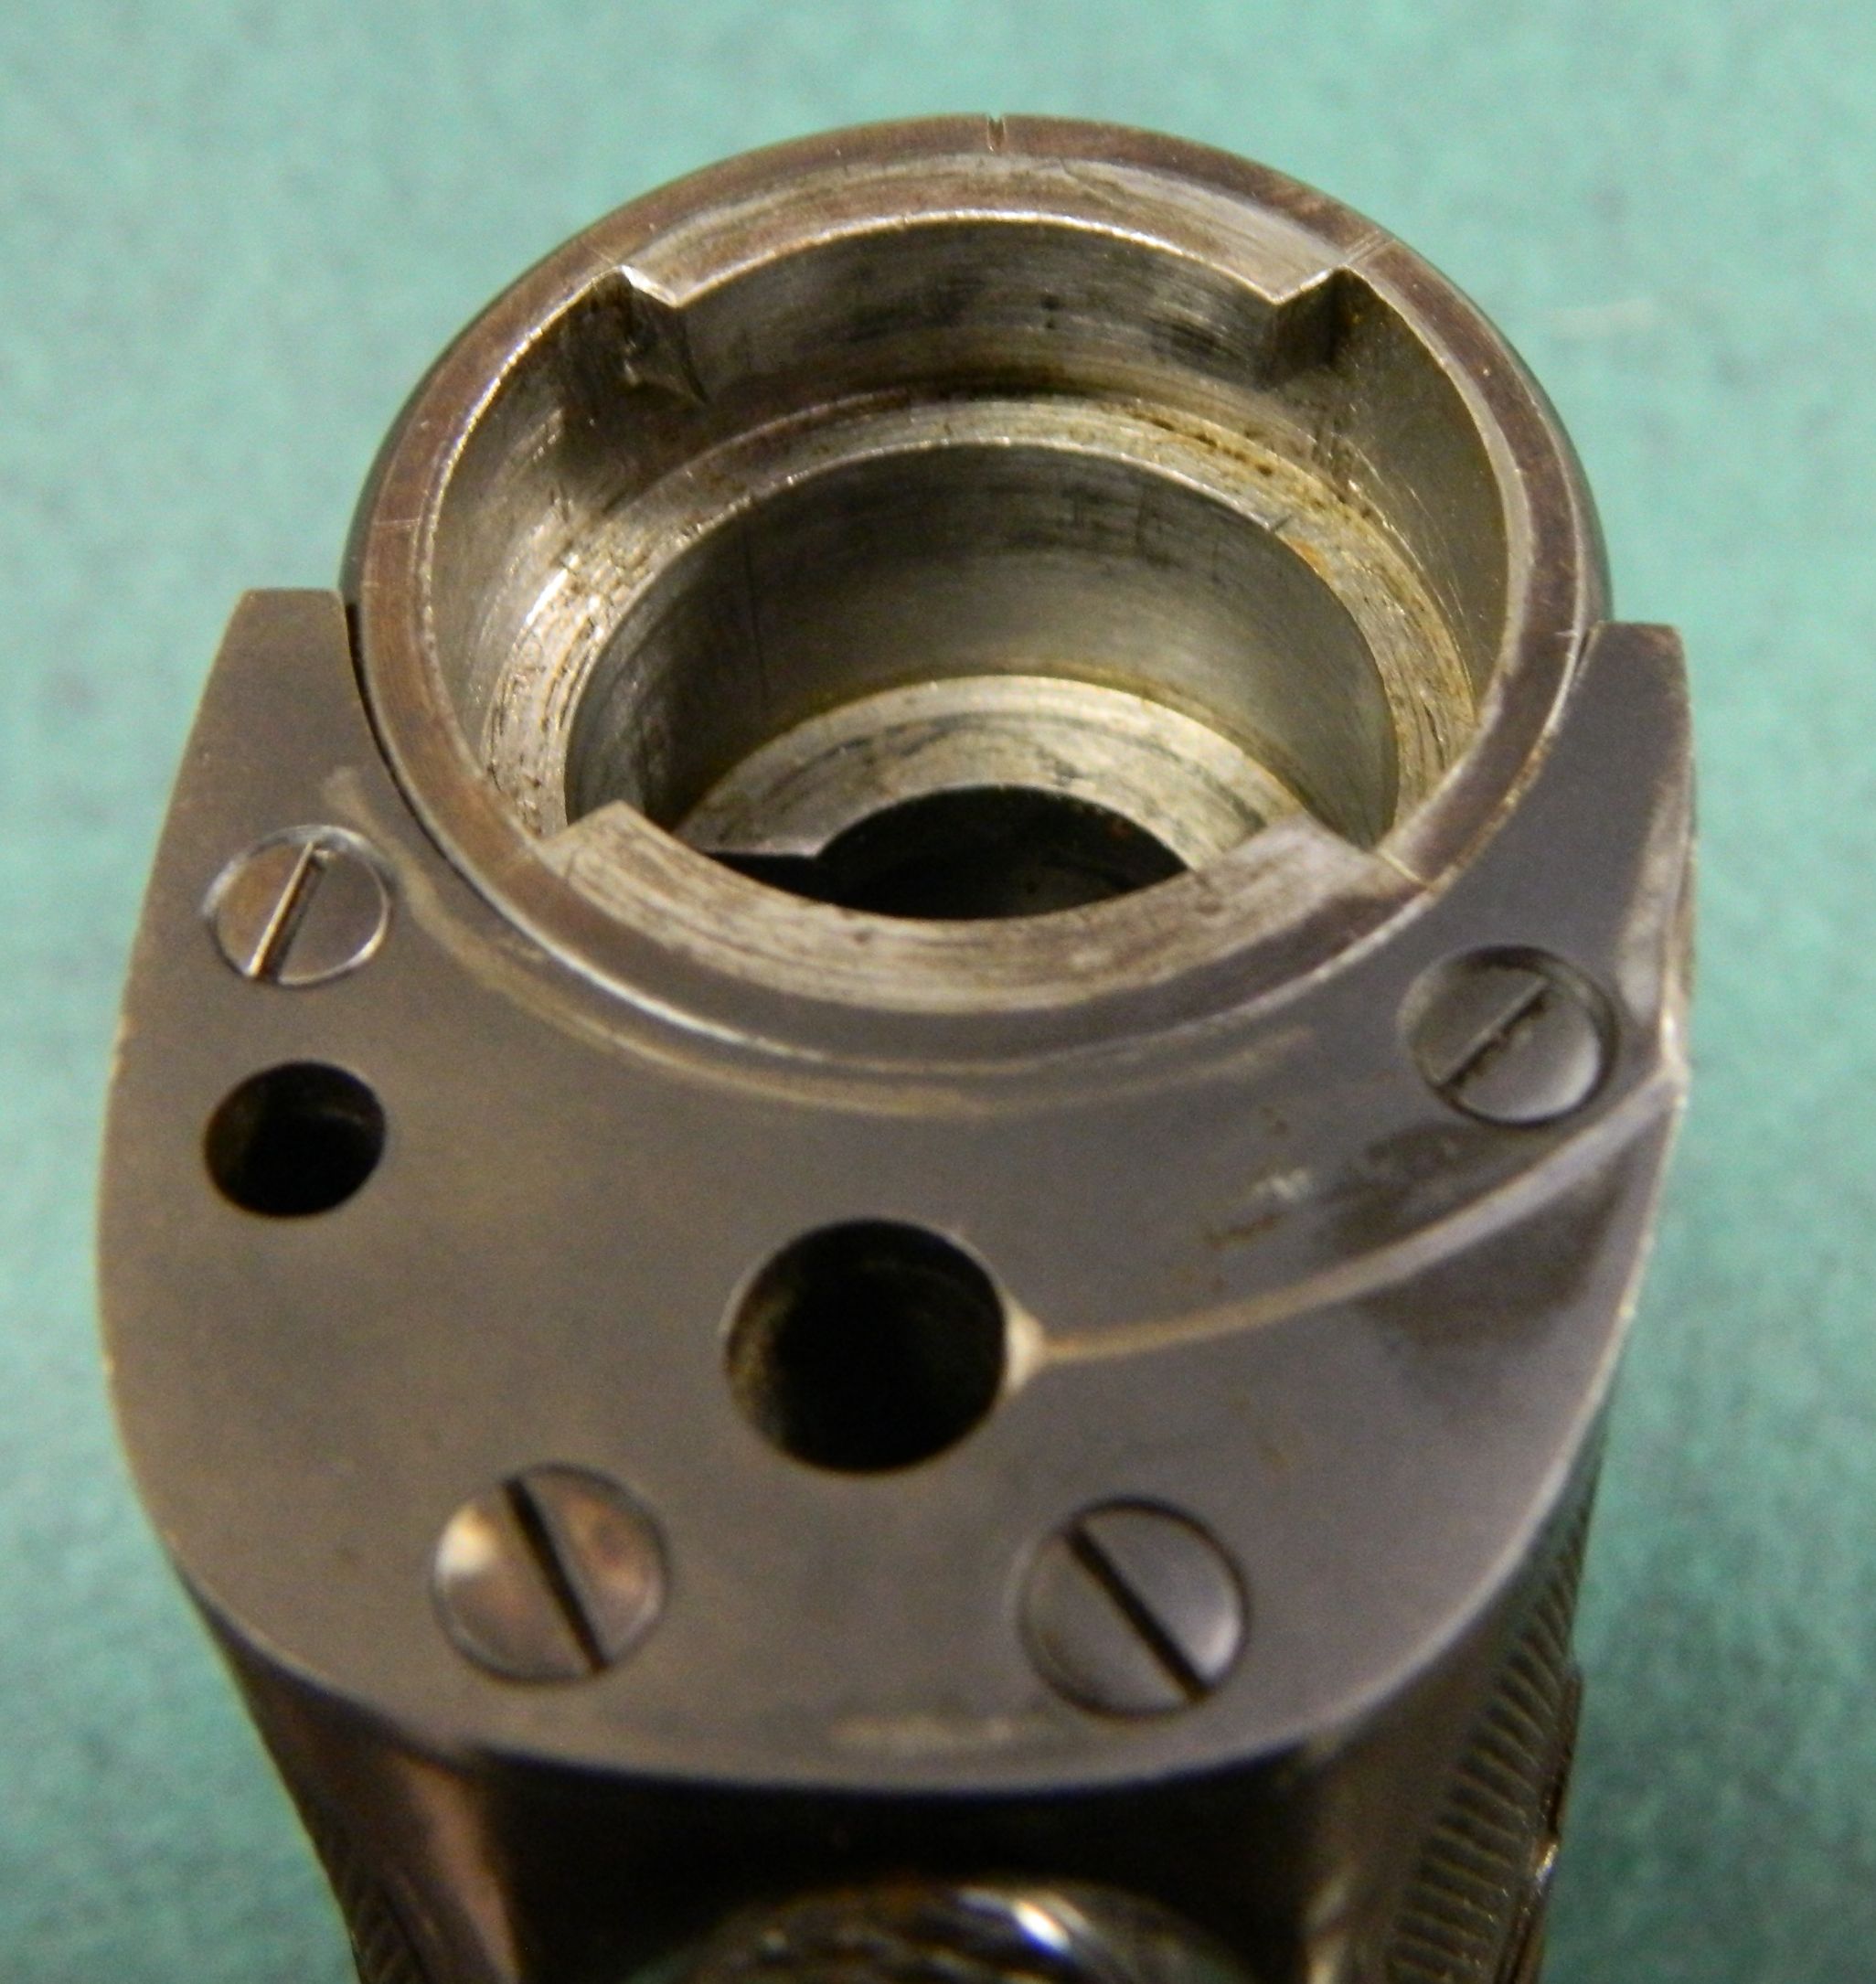
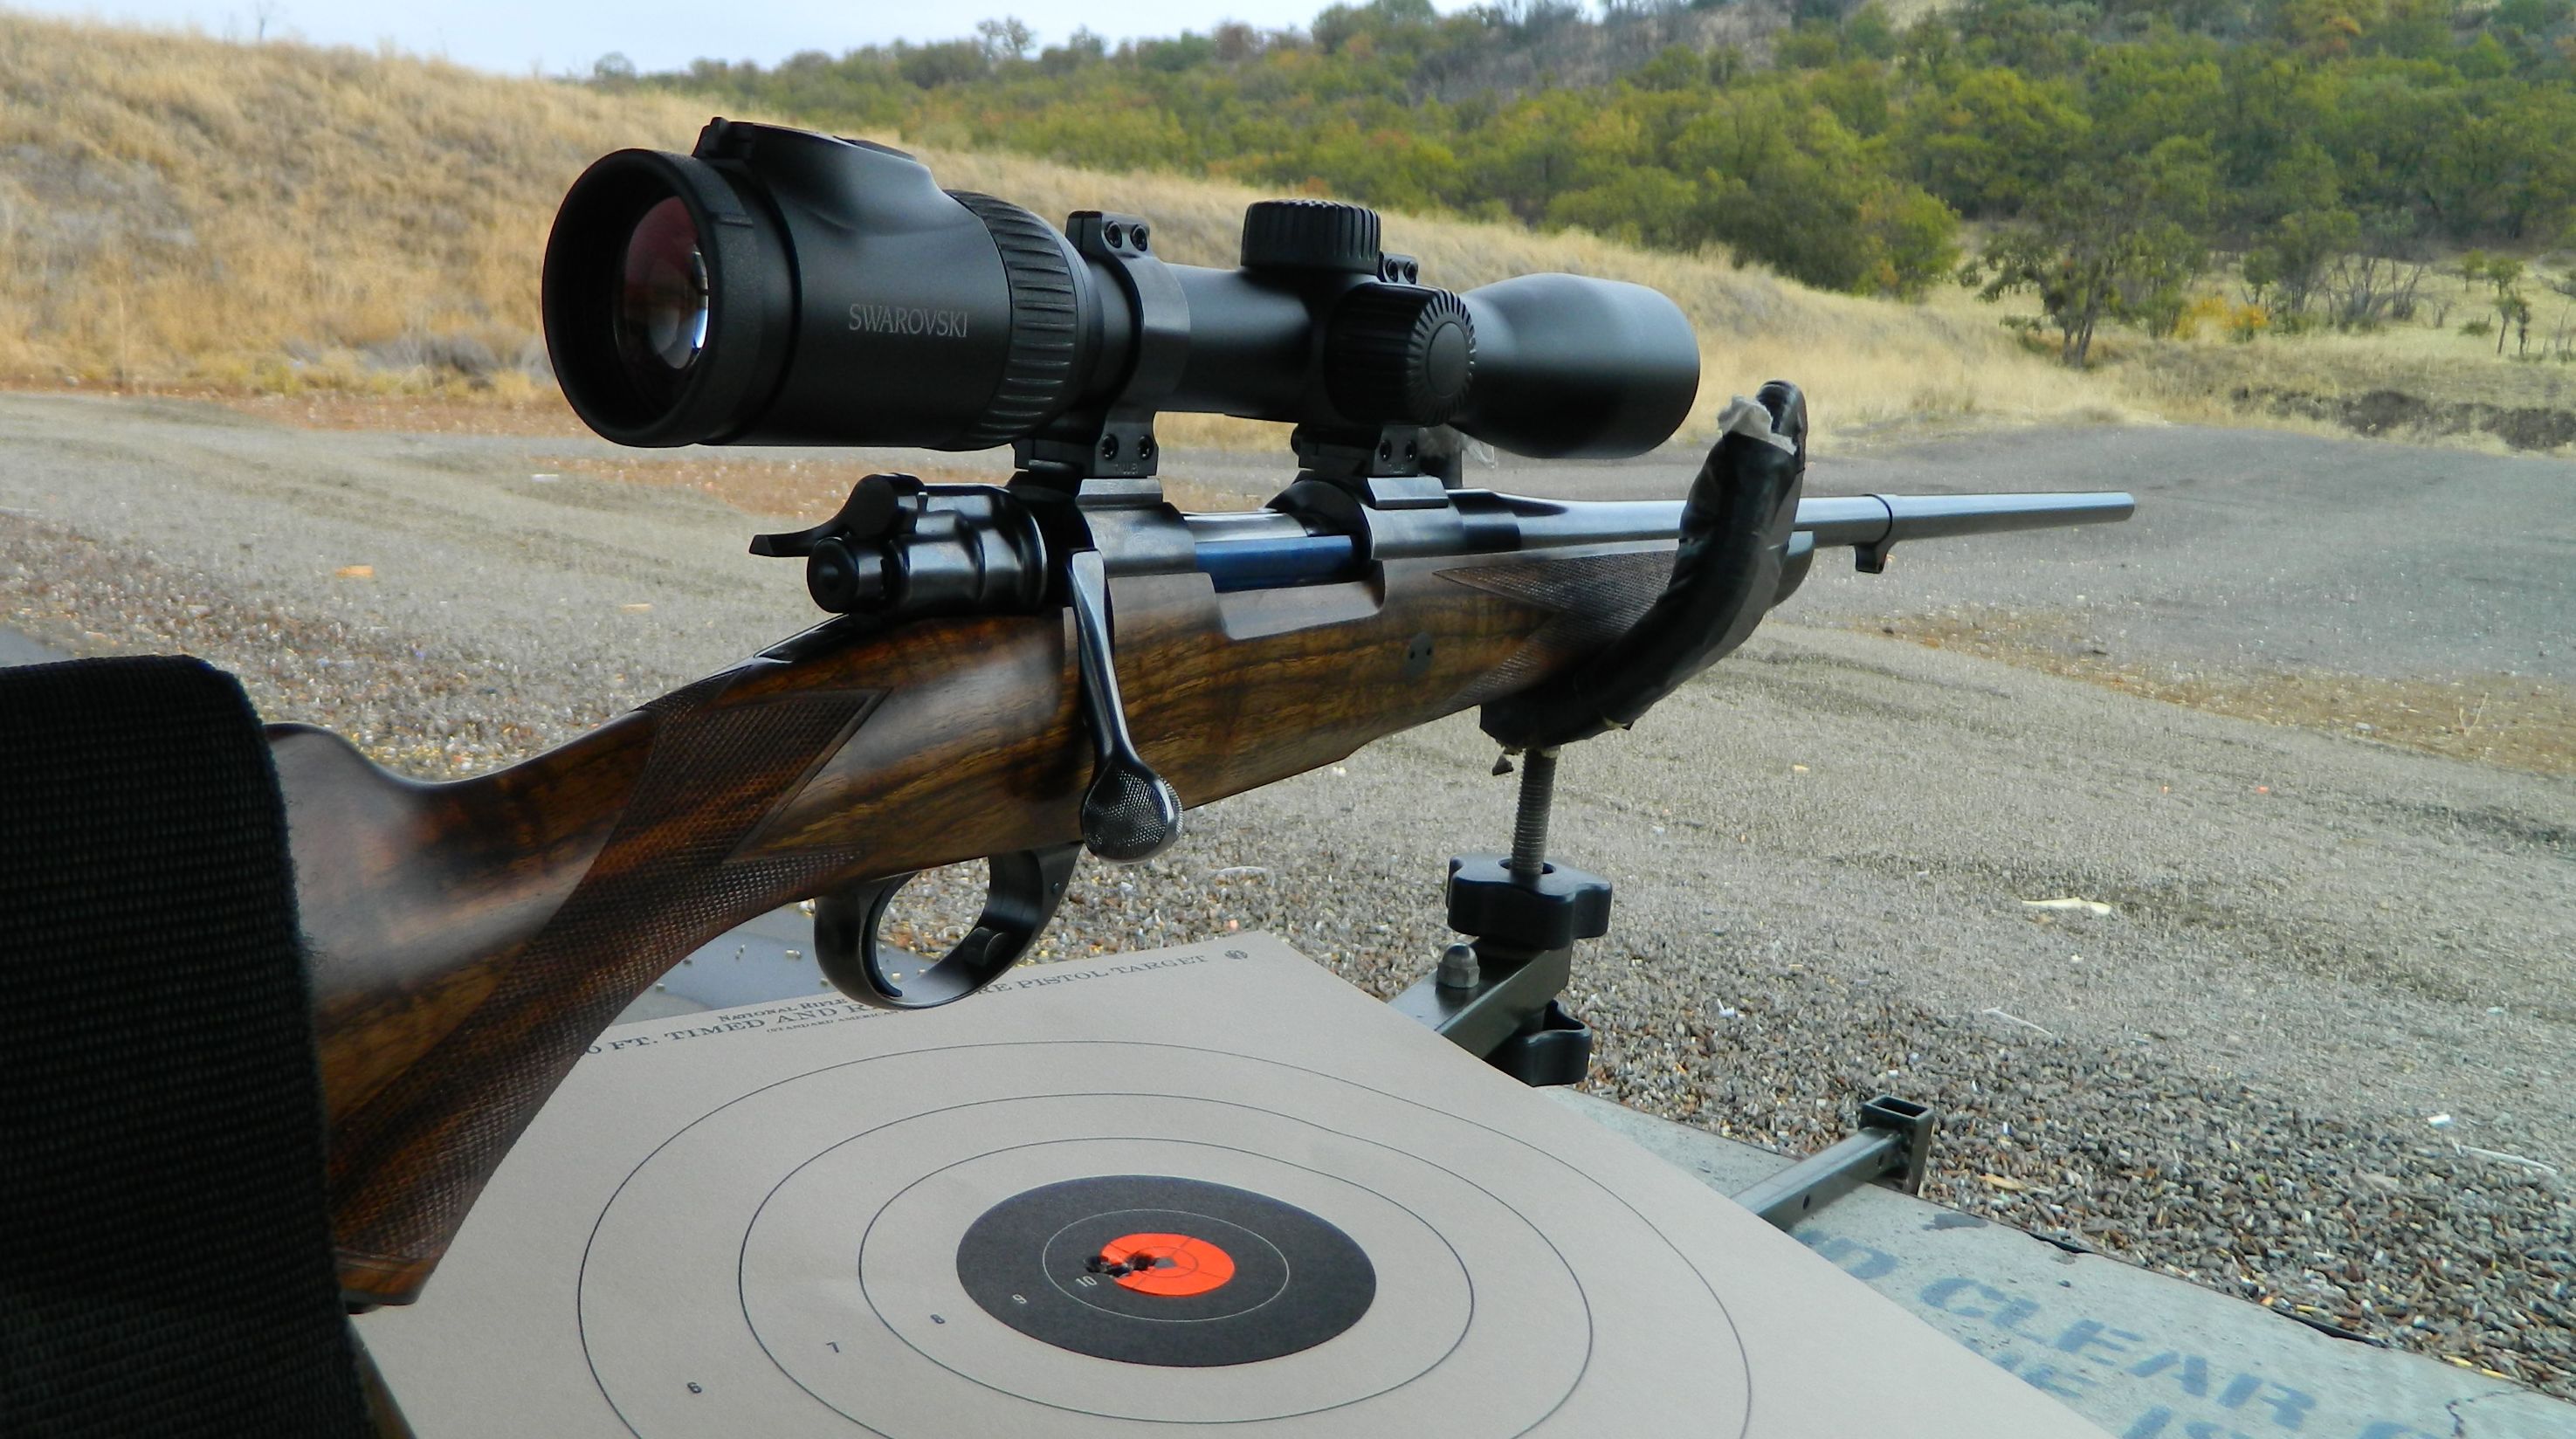
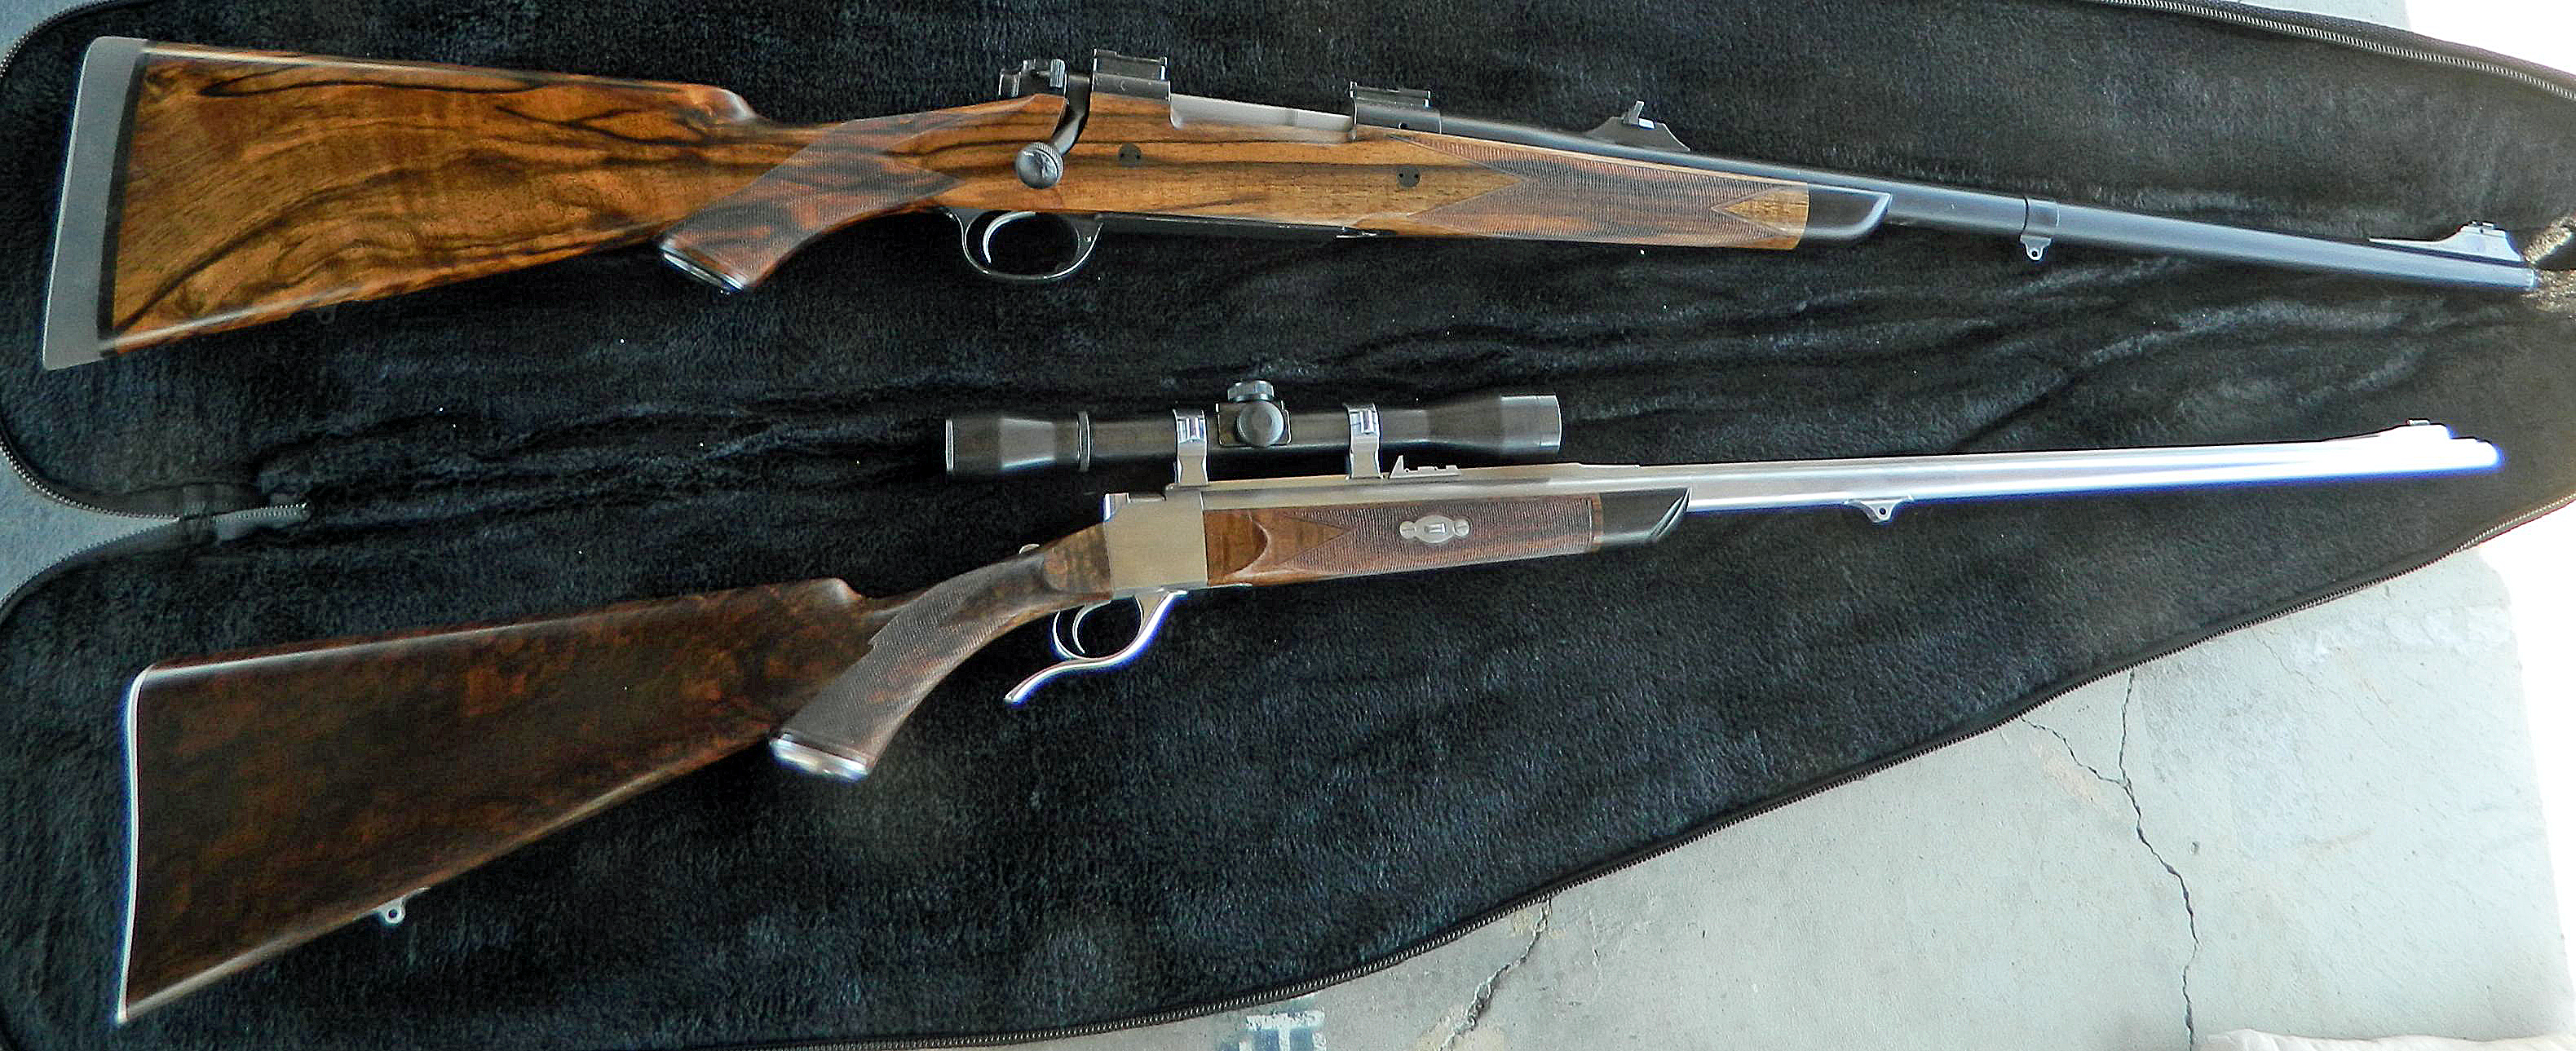
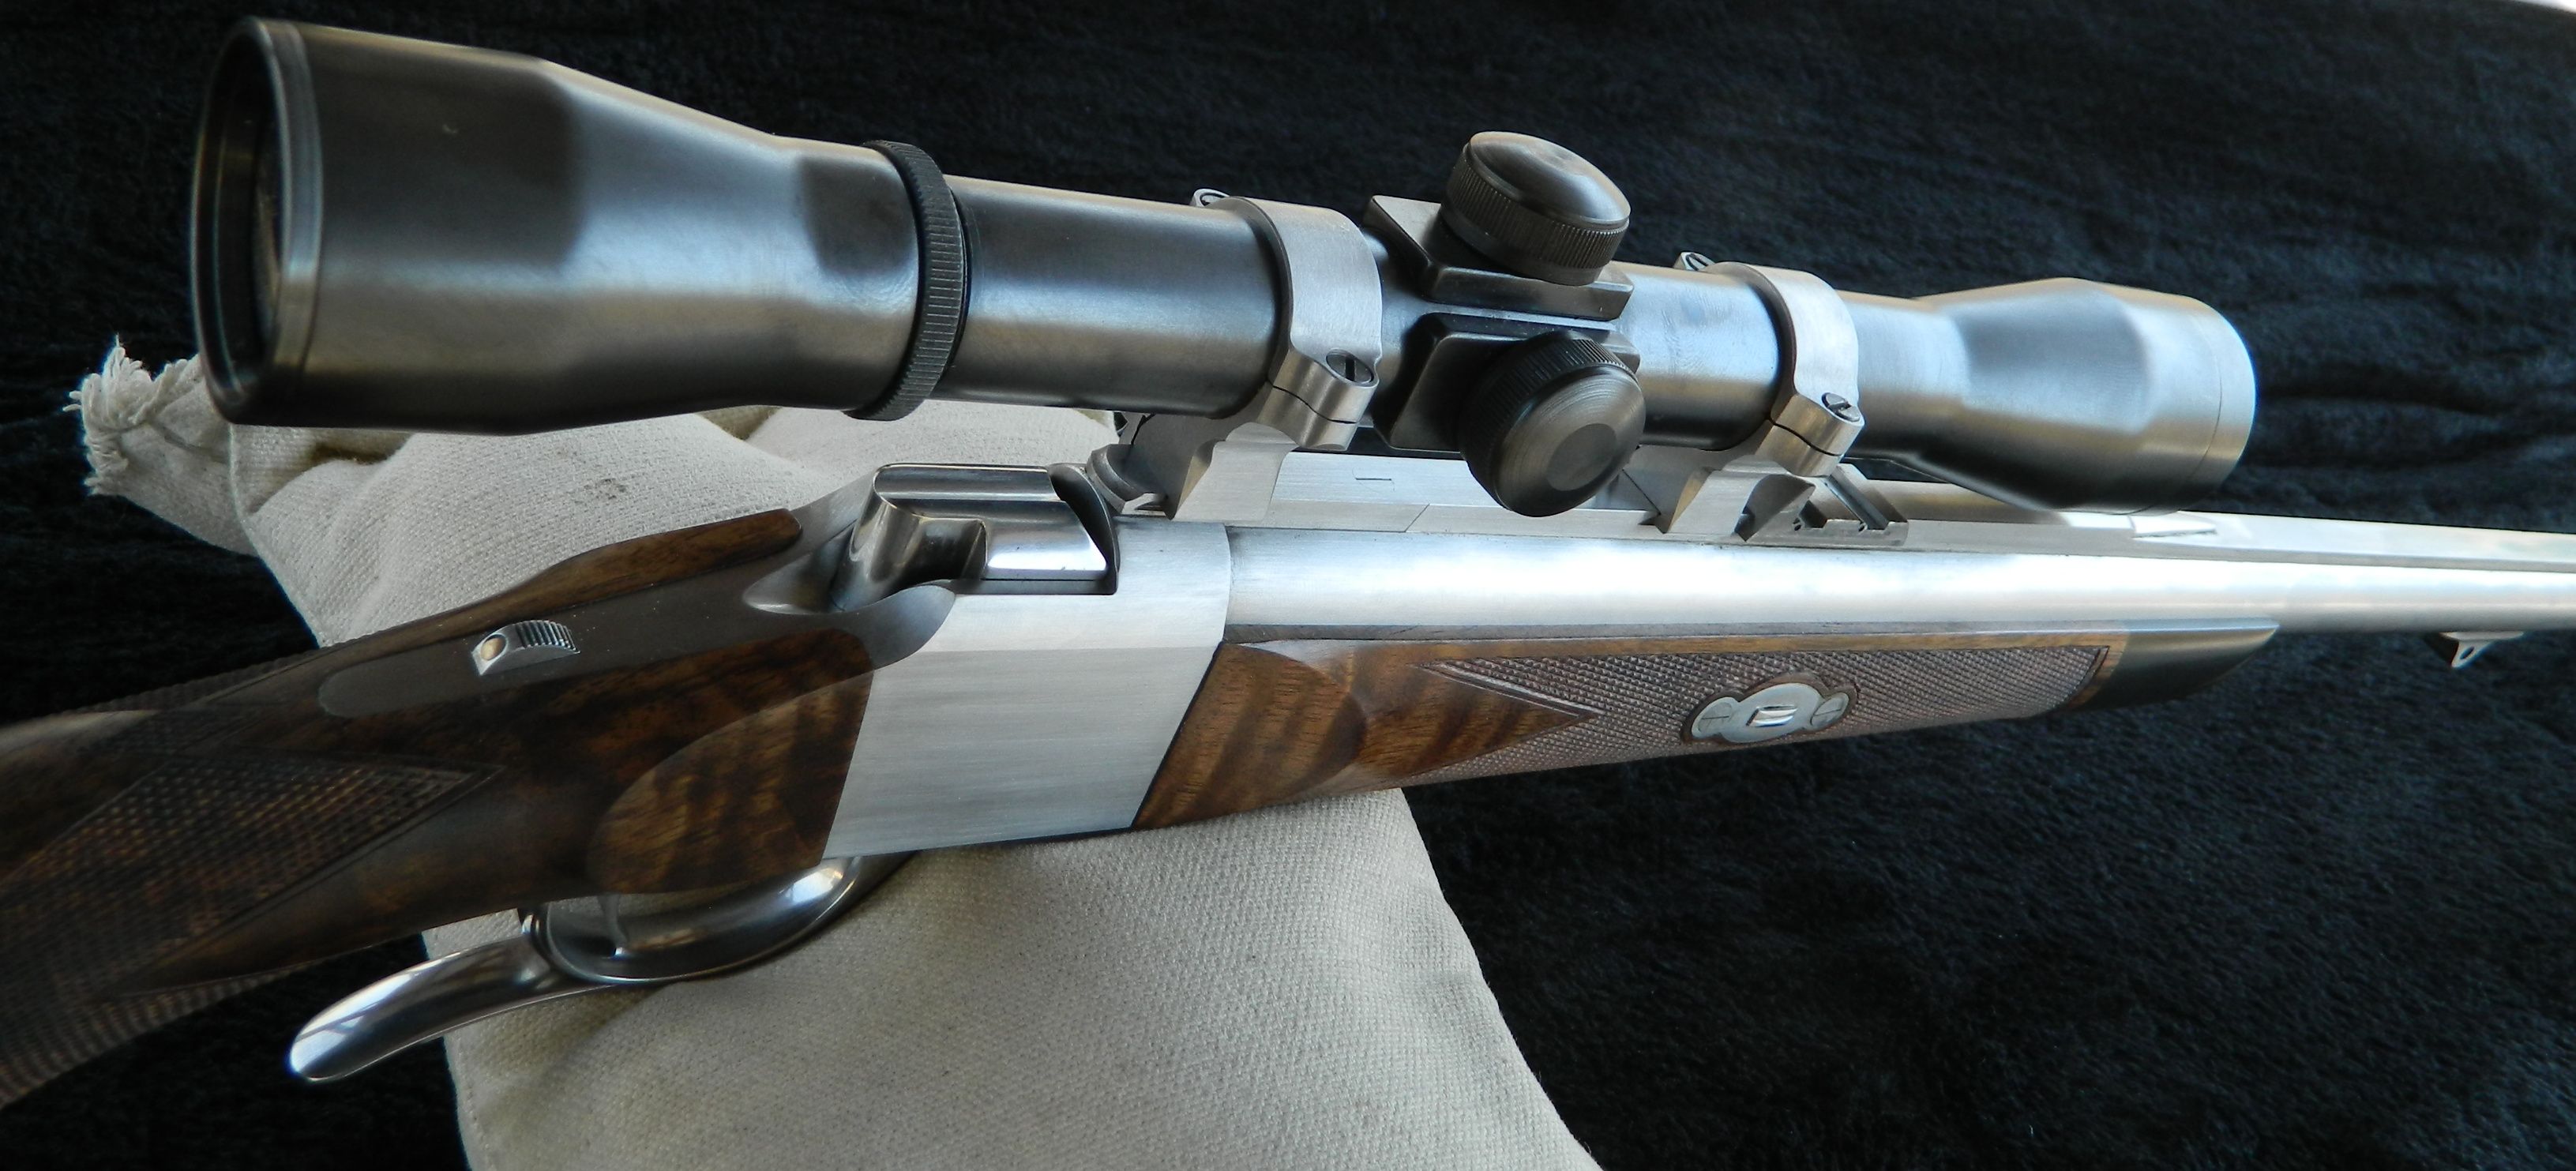
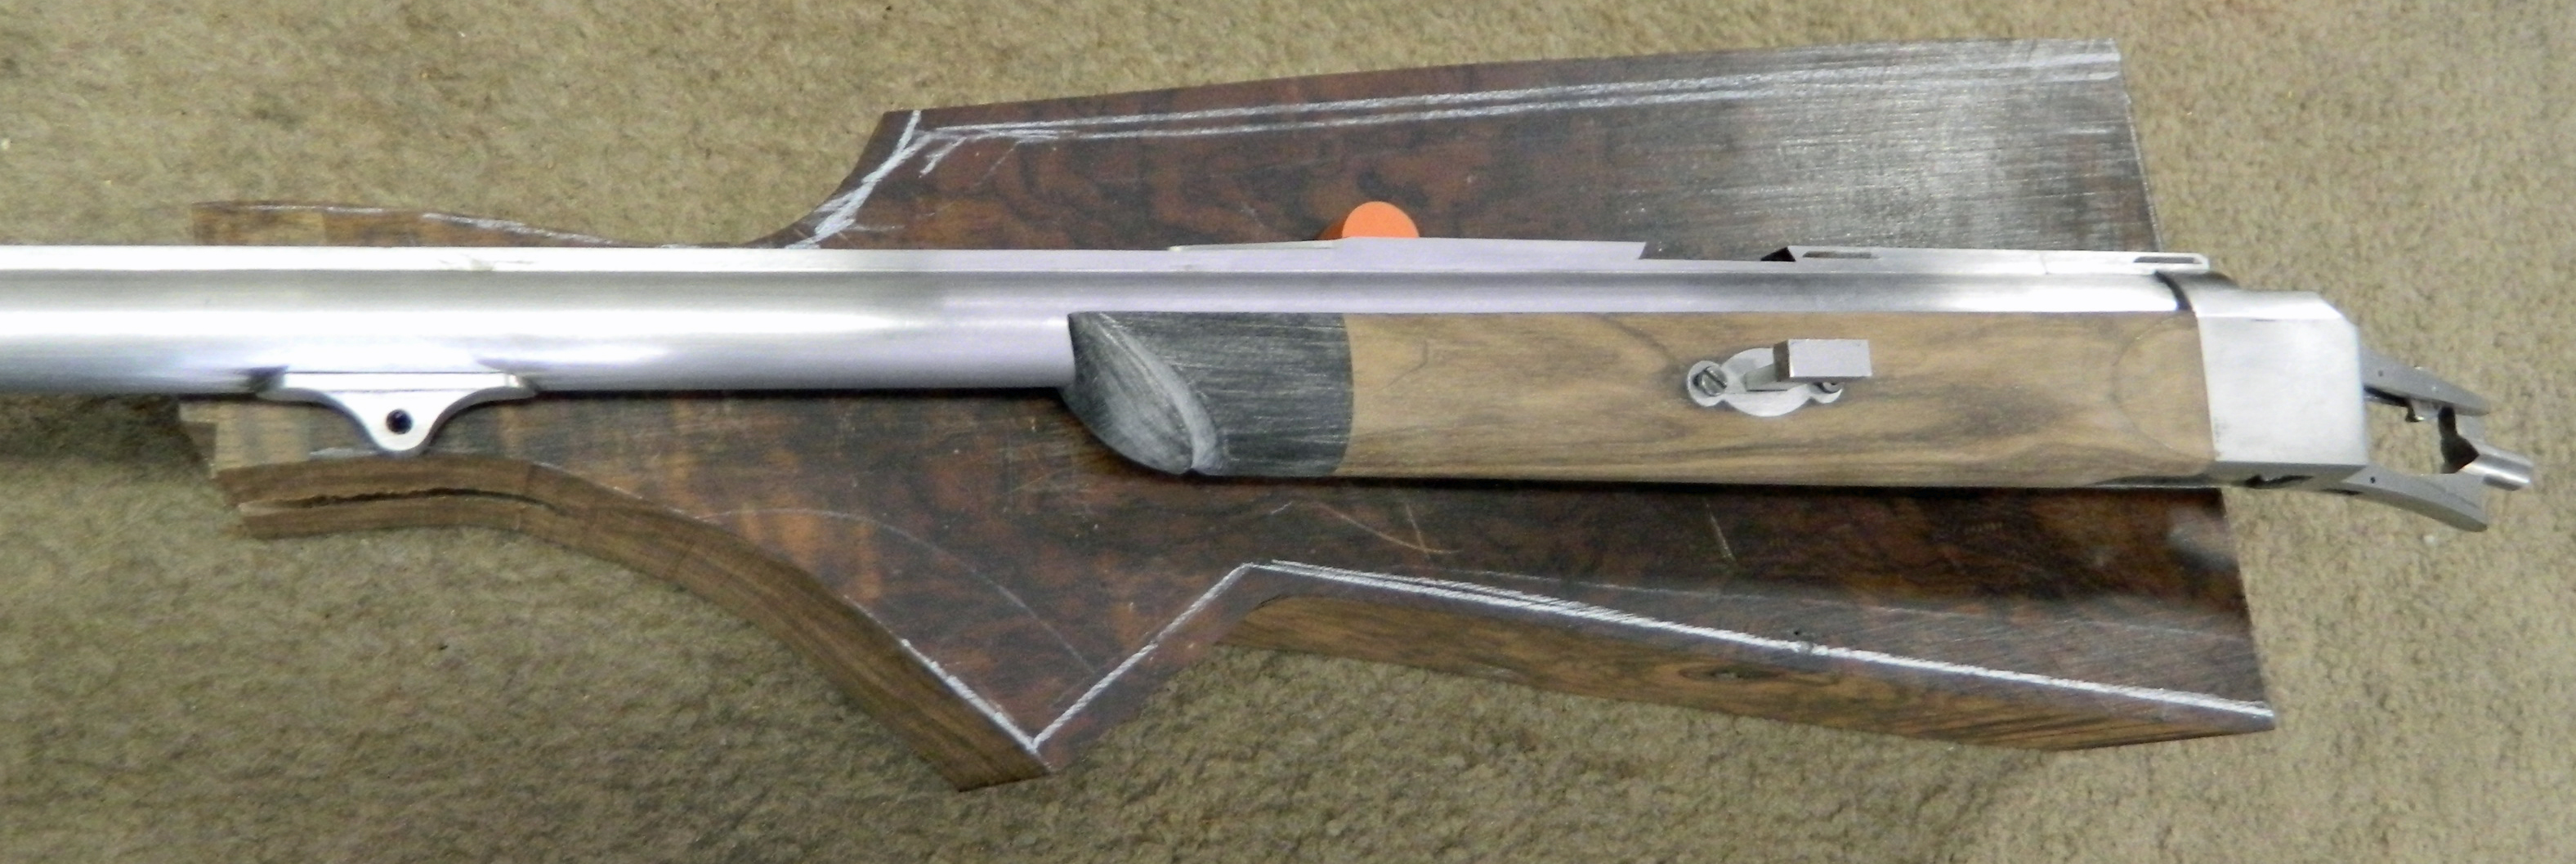
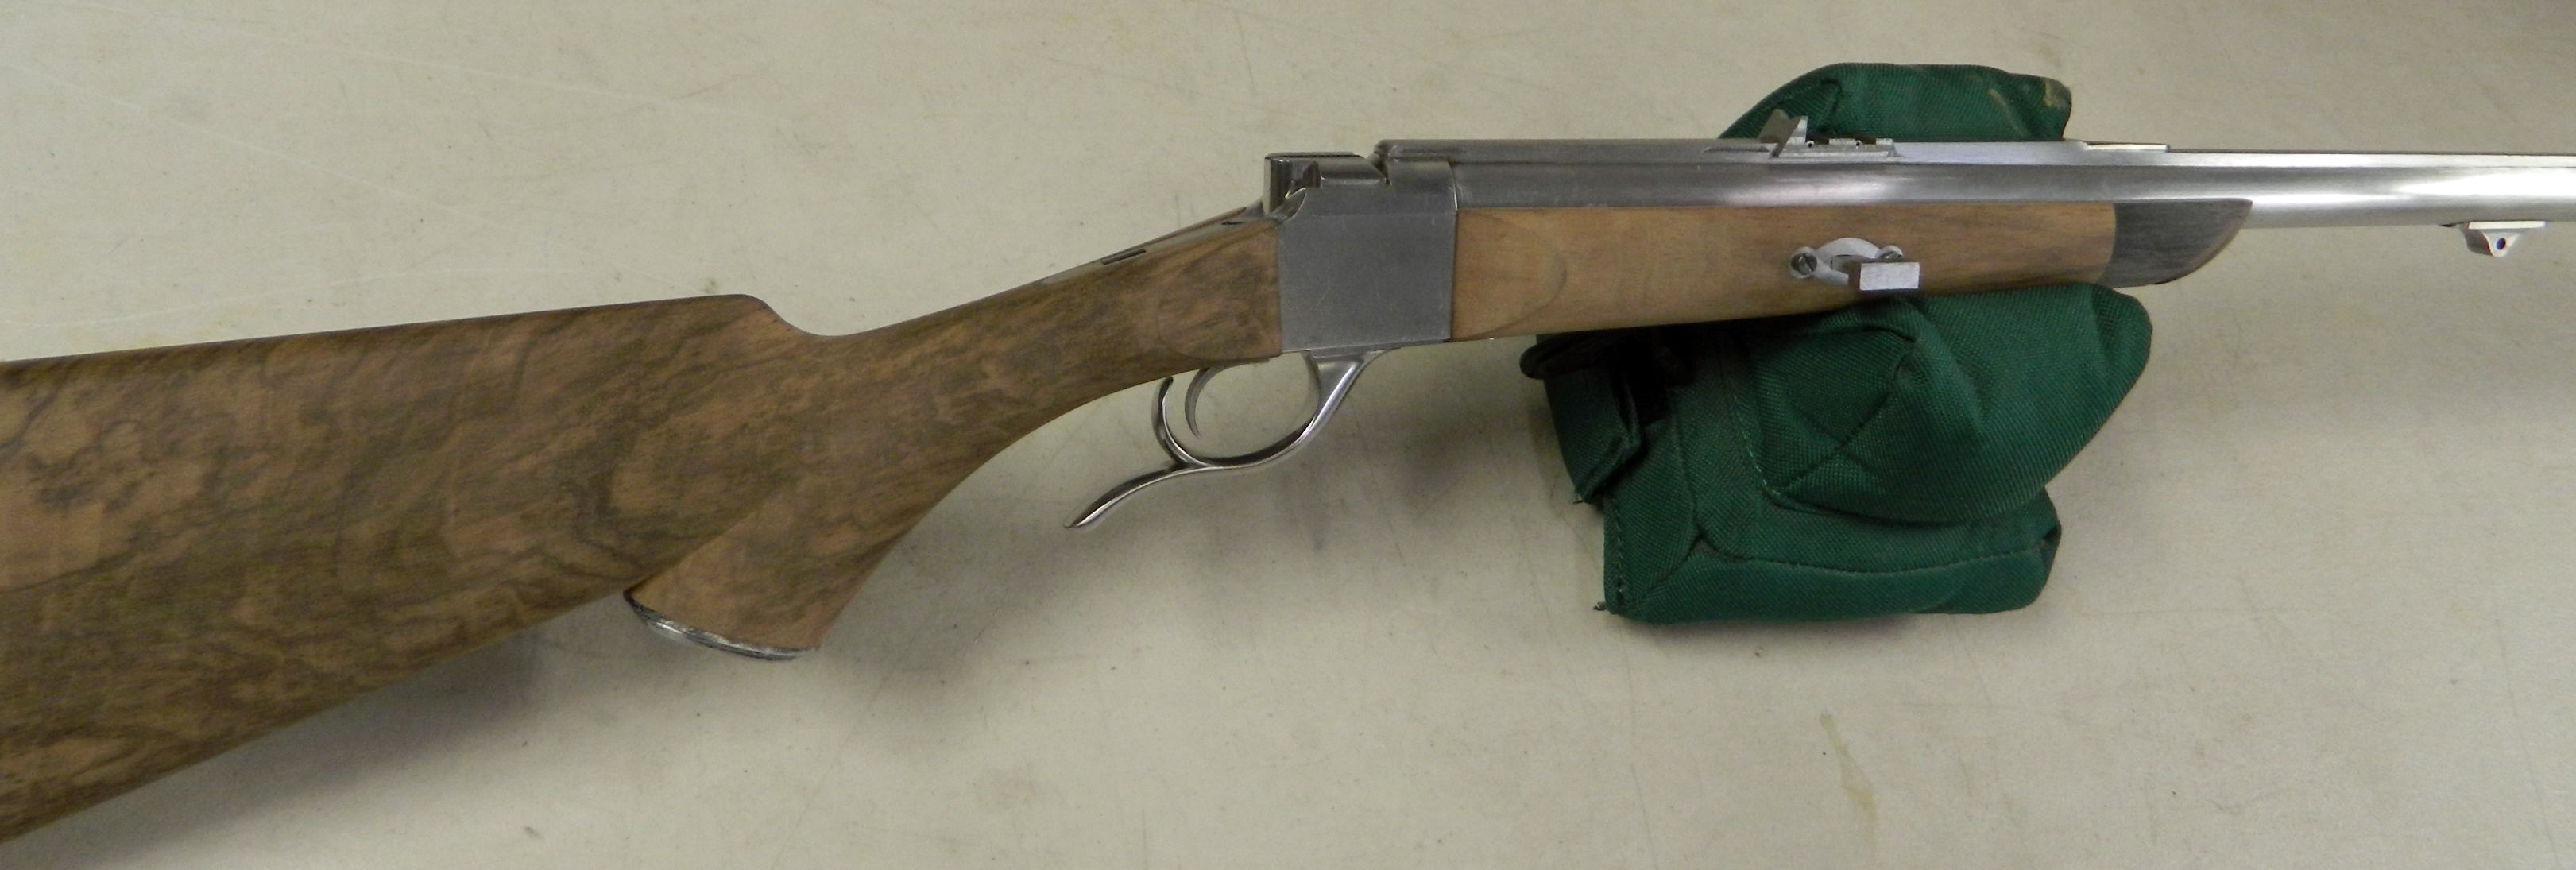
The barrel has the same contour as the pre-war Rigby rifles. A custom machined banded rear sight ramp was added to it. The front sight ramp was inspired by a vintage Holland & Holland rifle. The sling swivel band and the ramps where as usual machined in house from bar stock. I also machined a set of custom scope bases for the receiver. The scope mount is my Buehler CSA lever cam mount. The scope can easily be removed after turning each lever 1/4 turn.
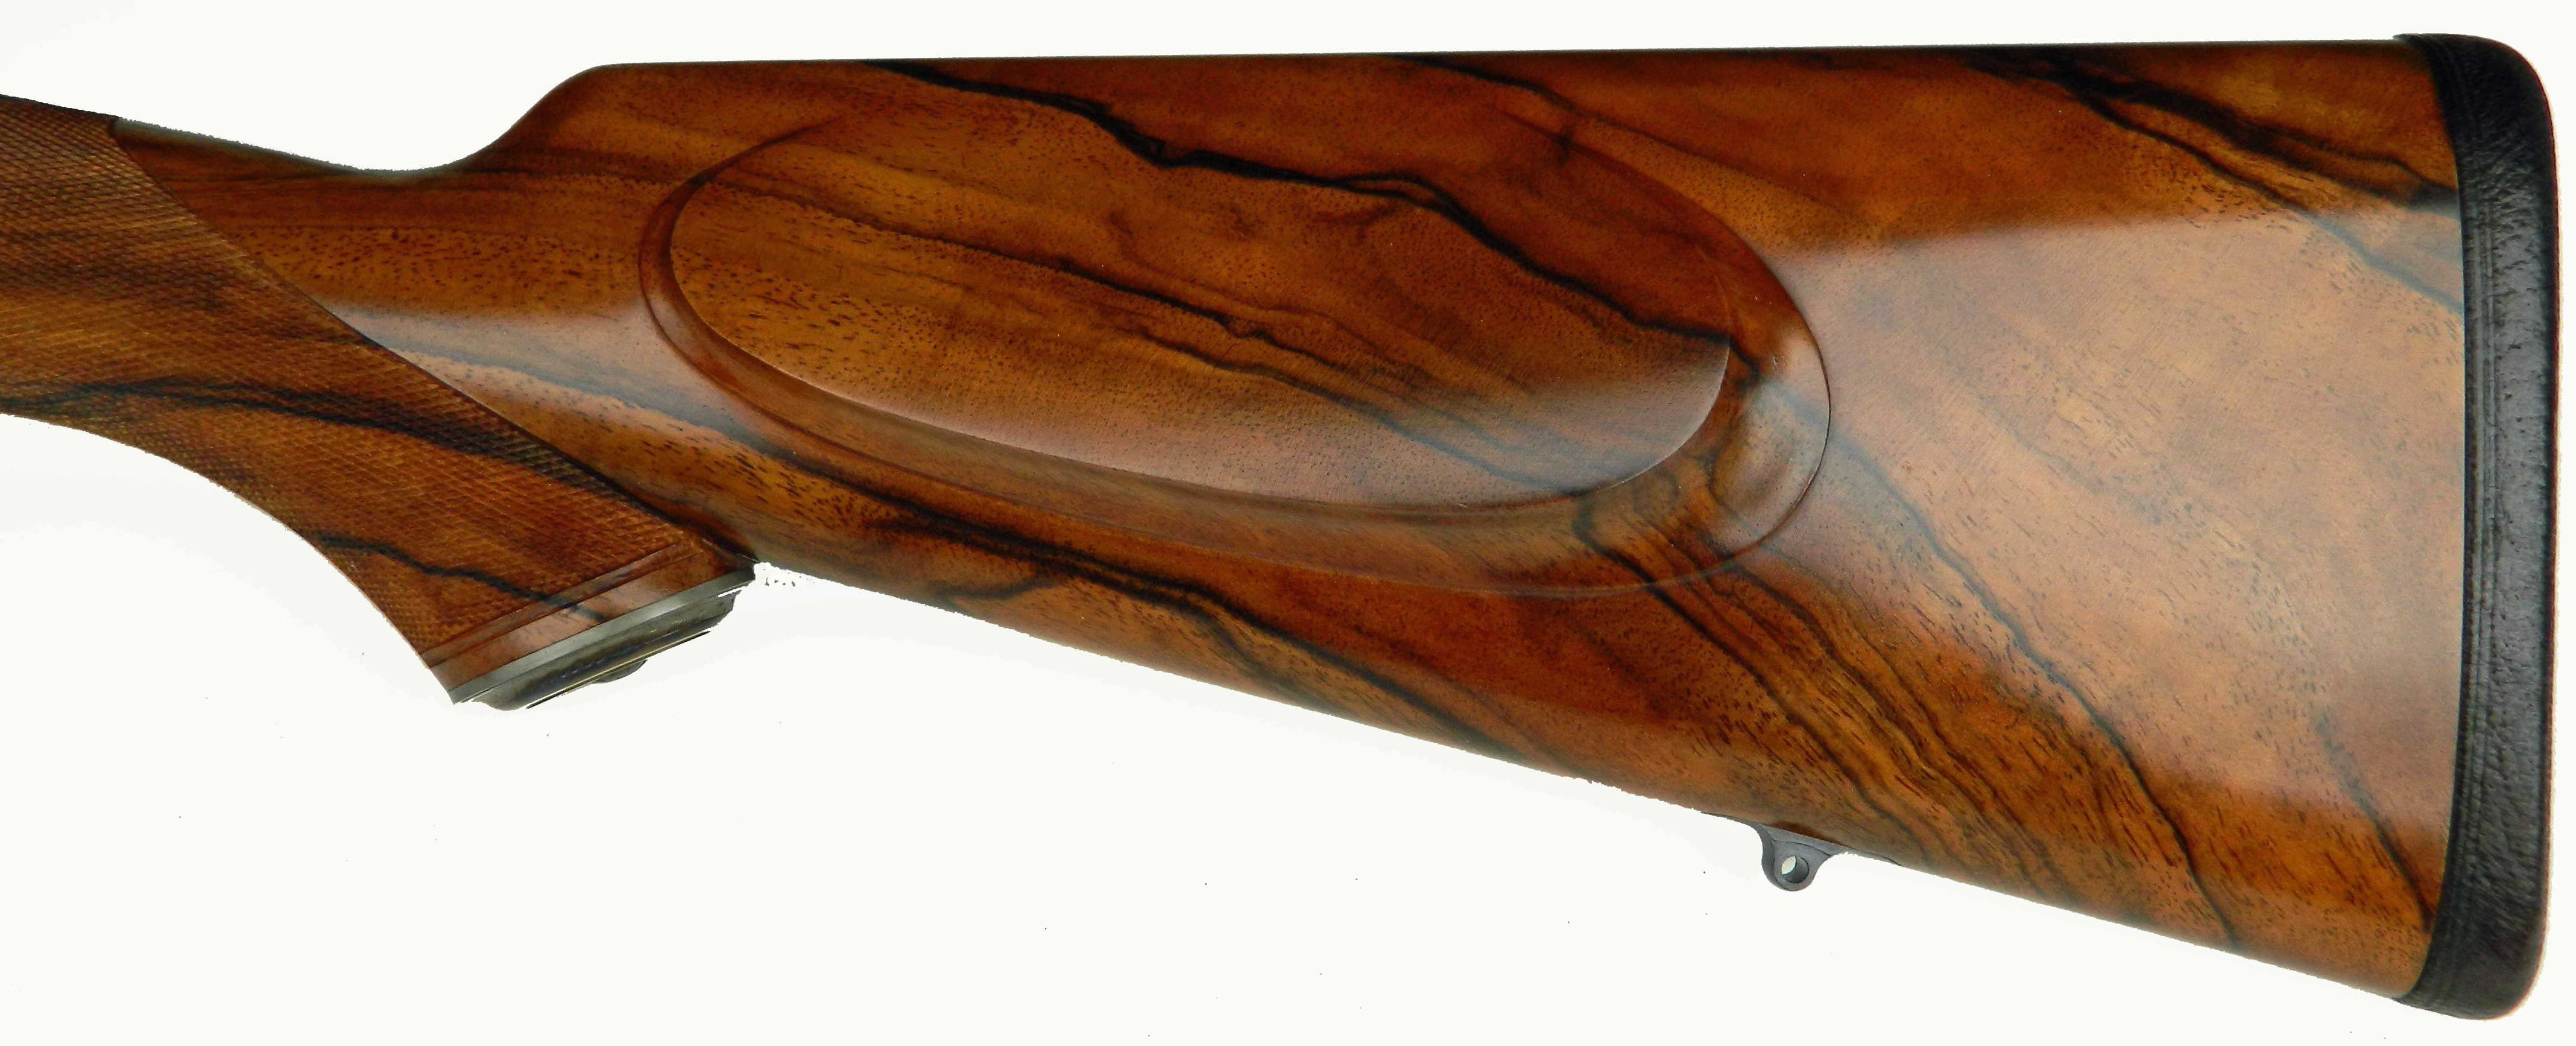
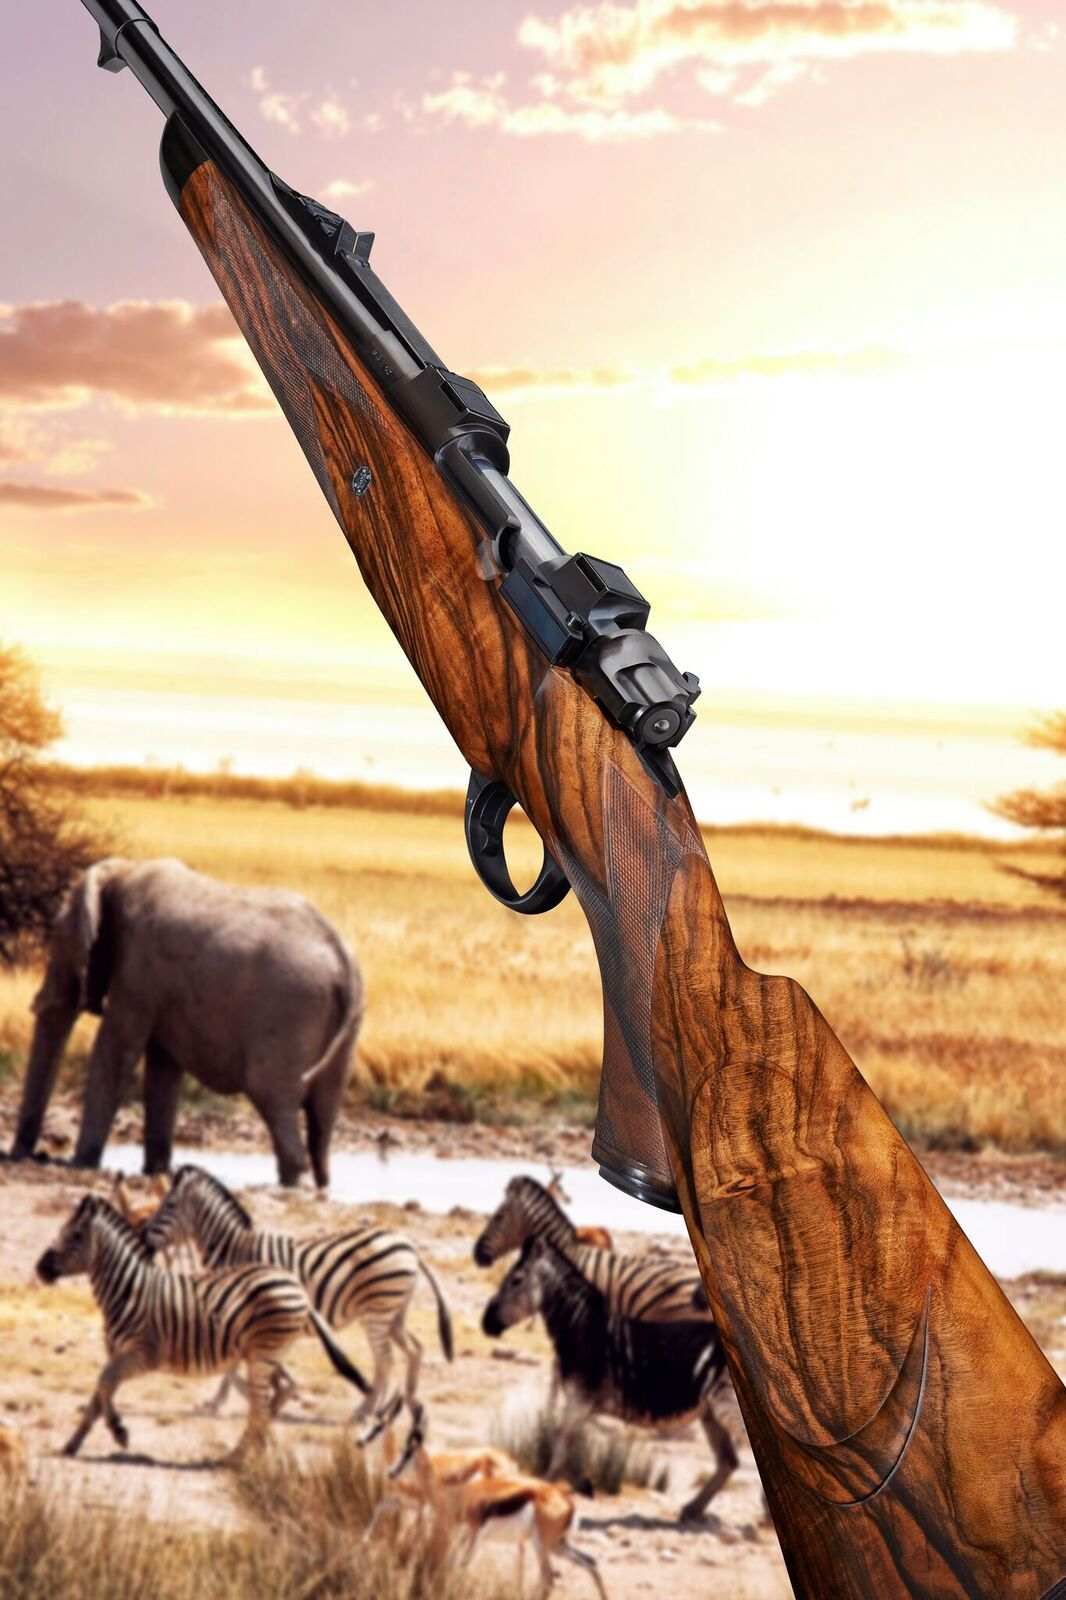
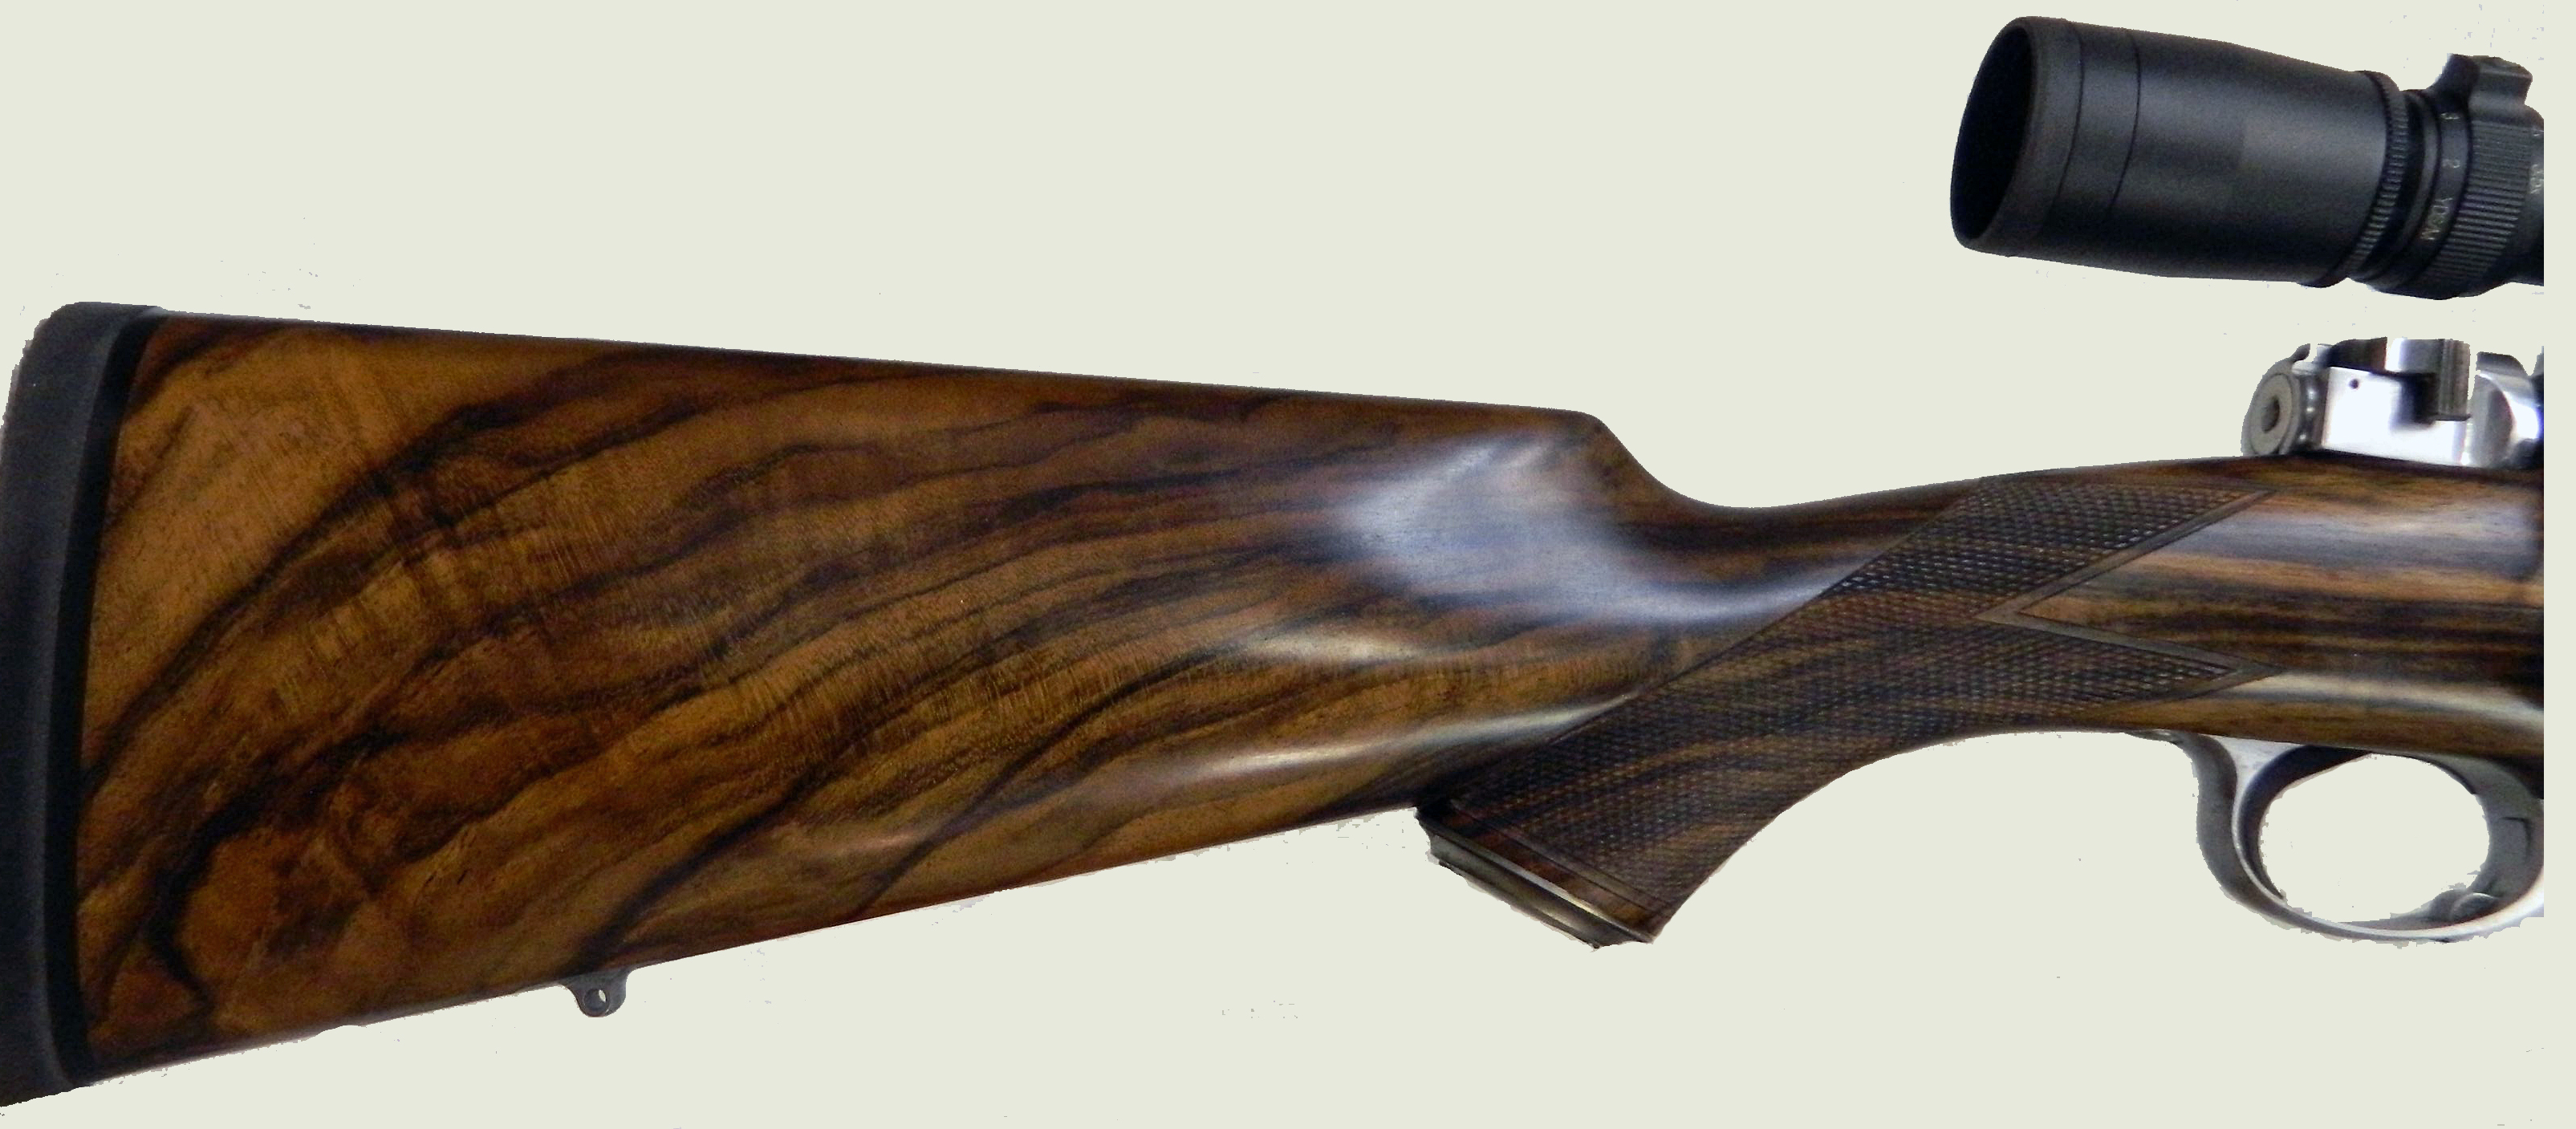
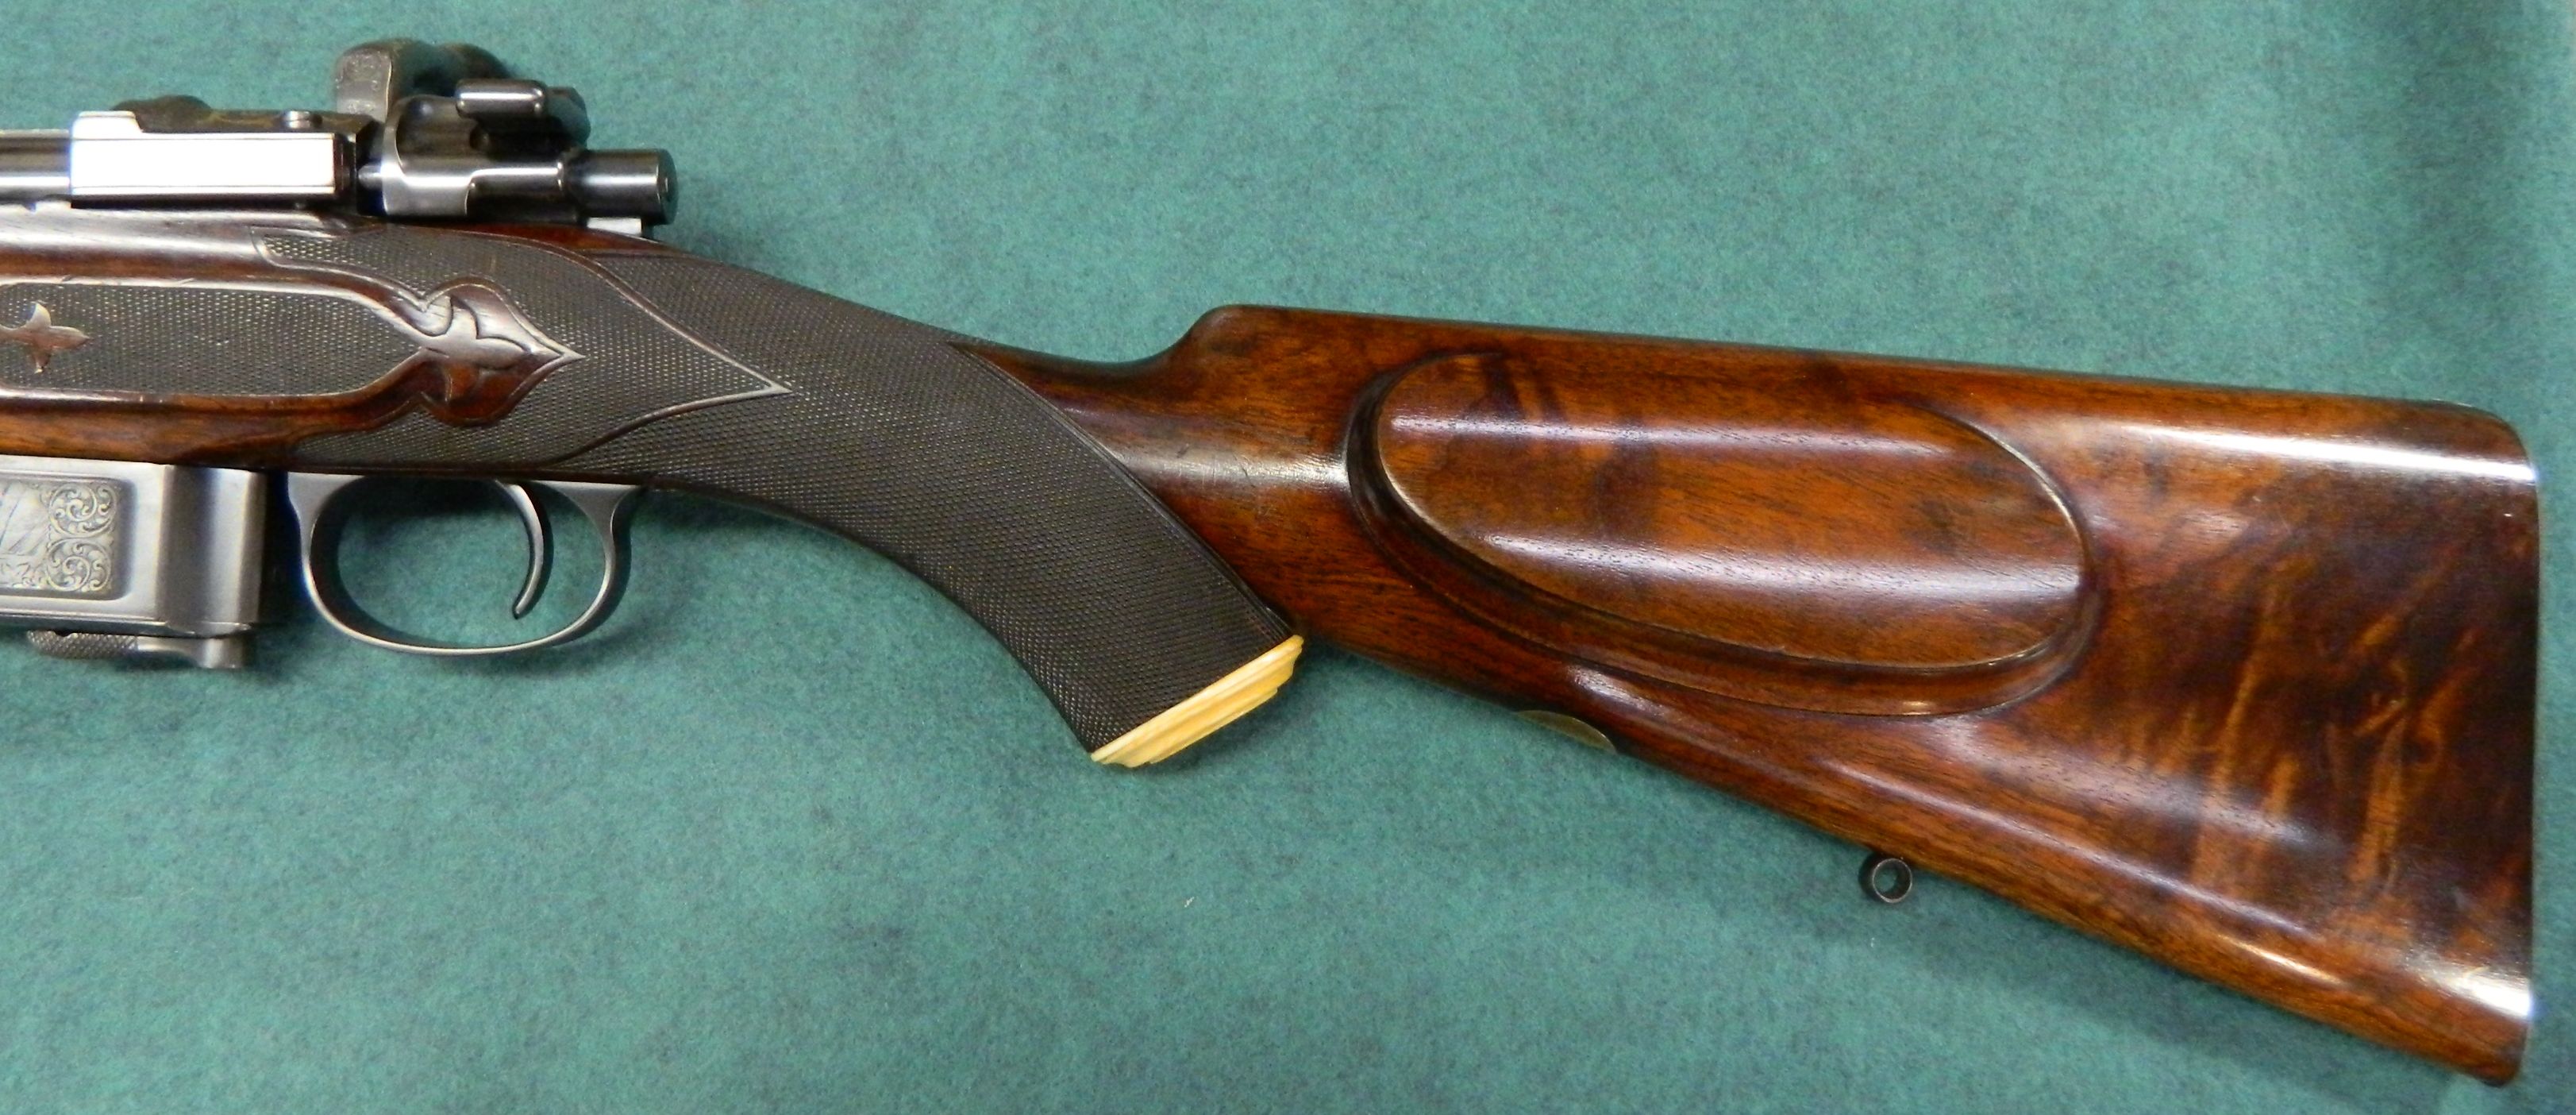
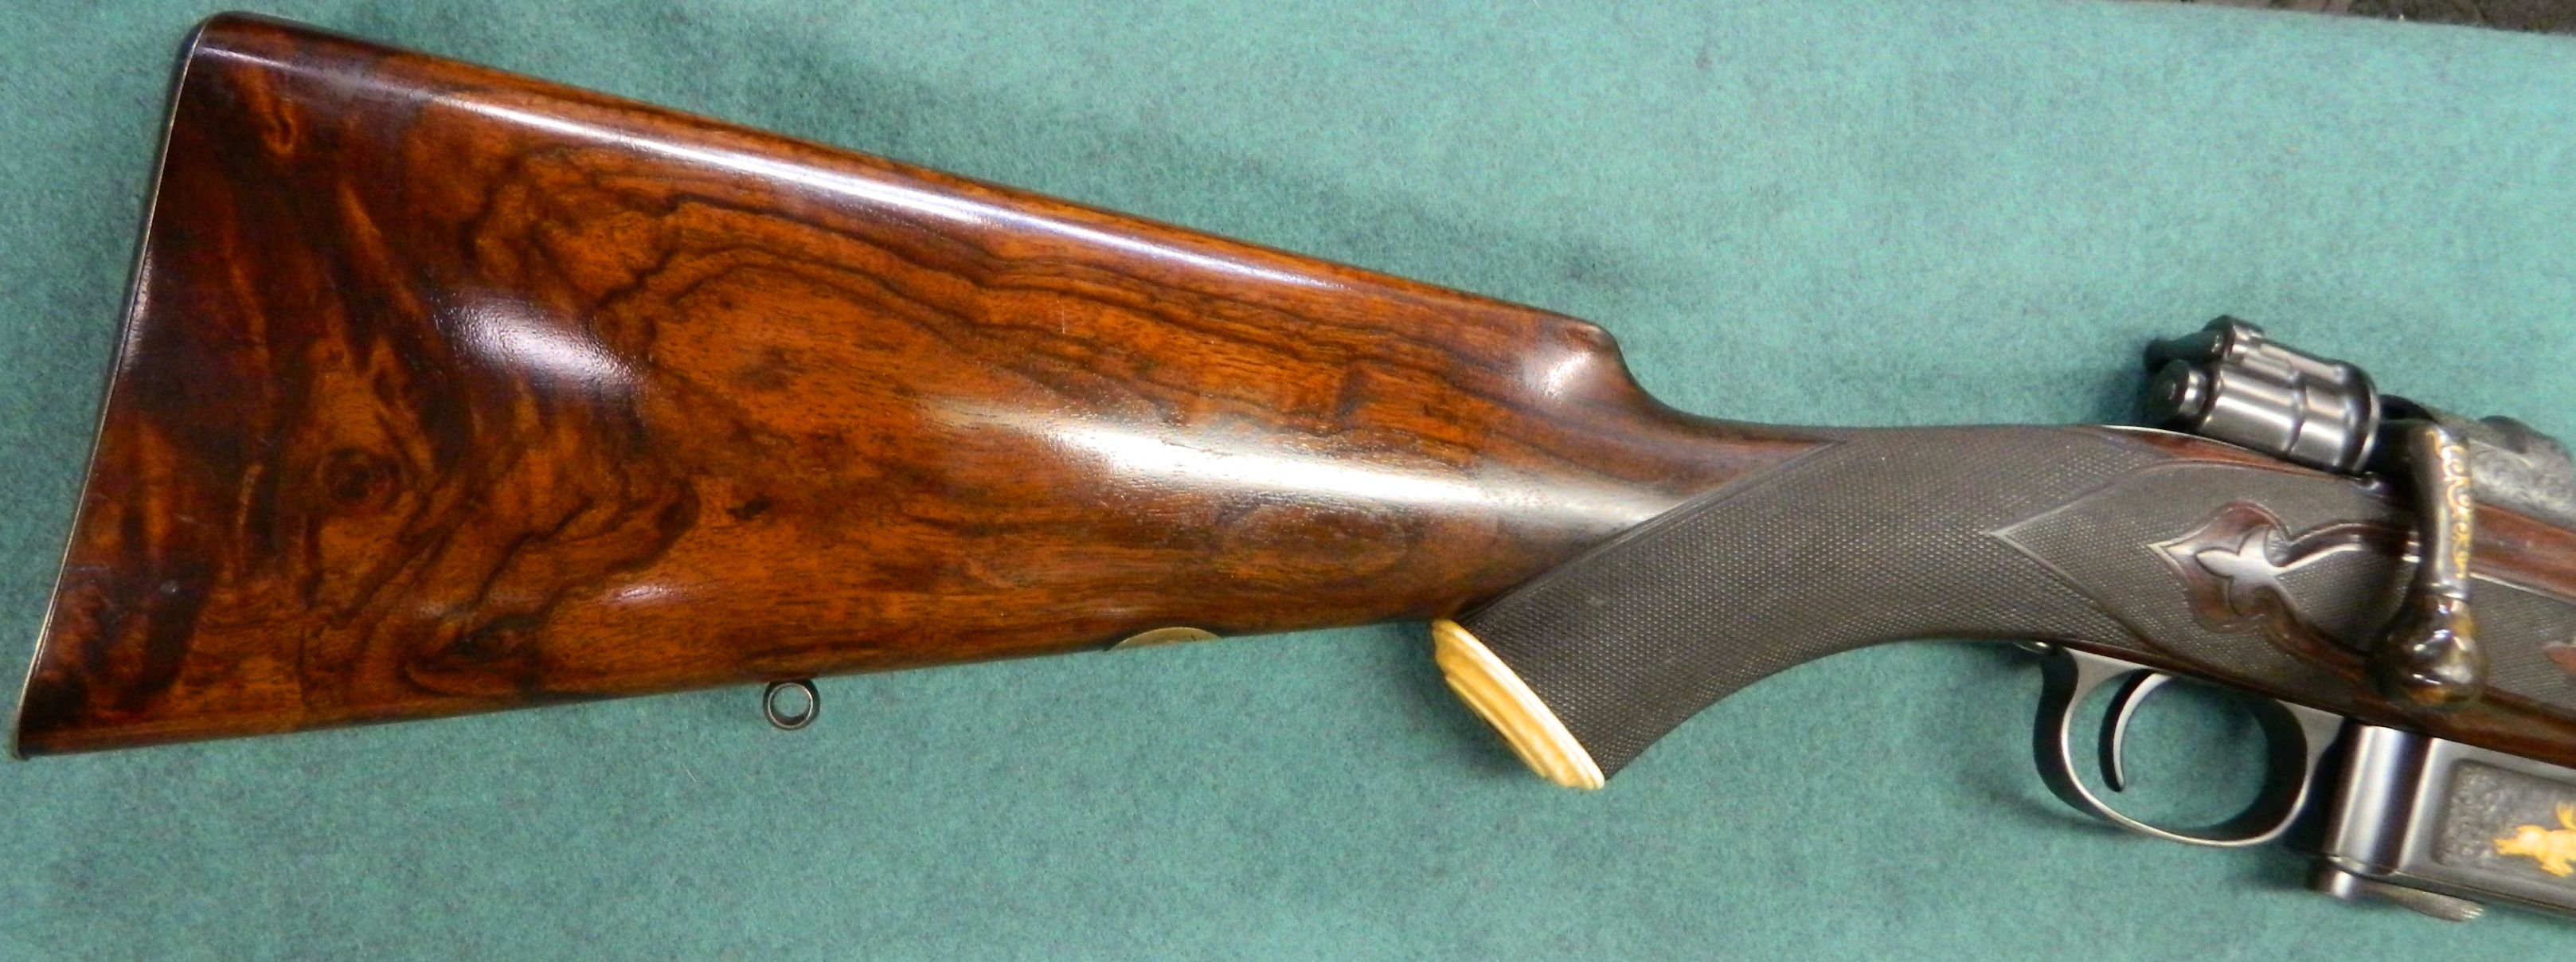
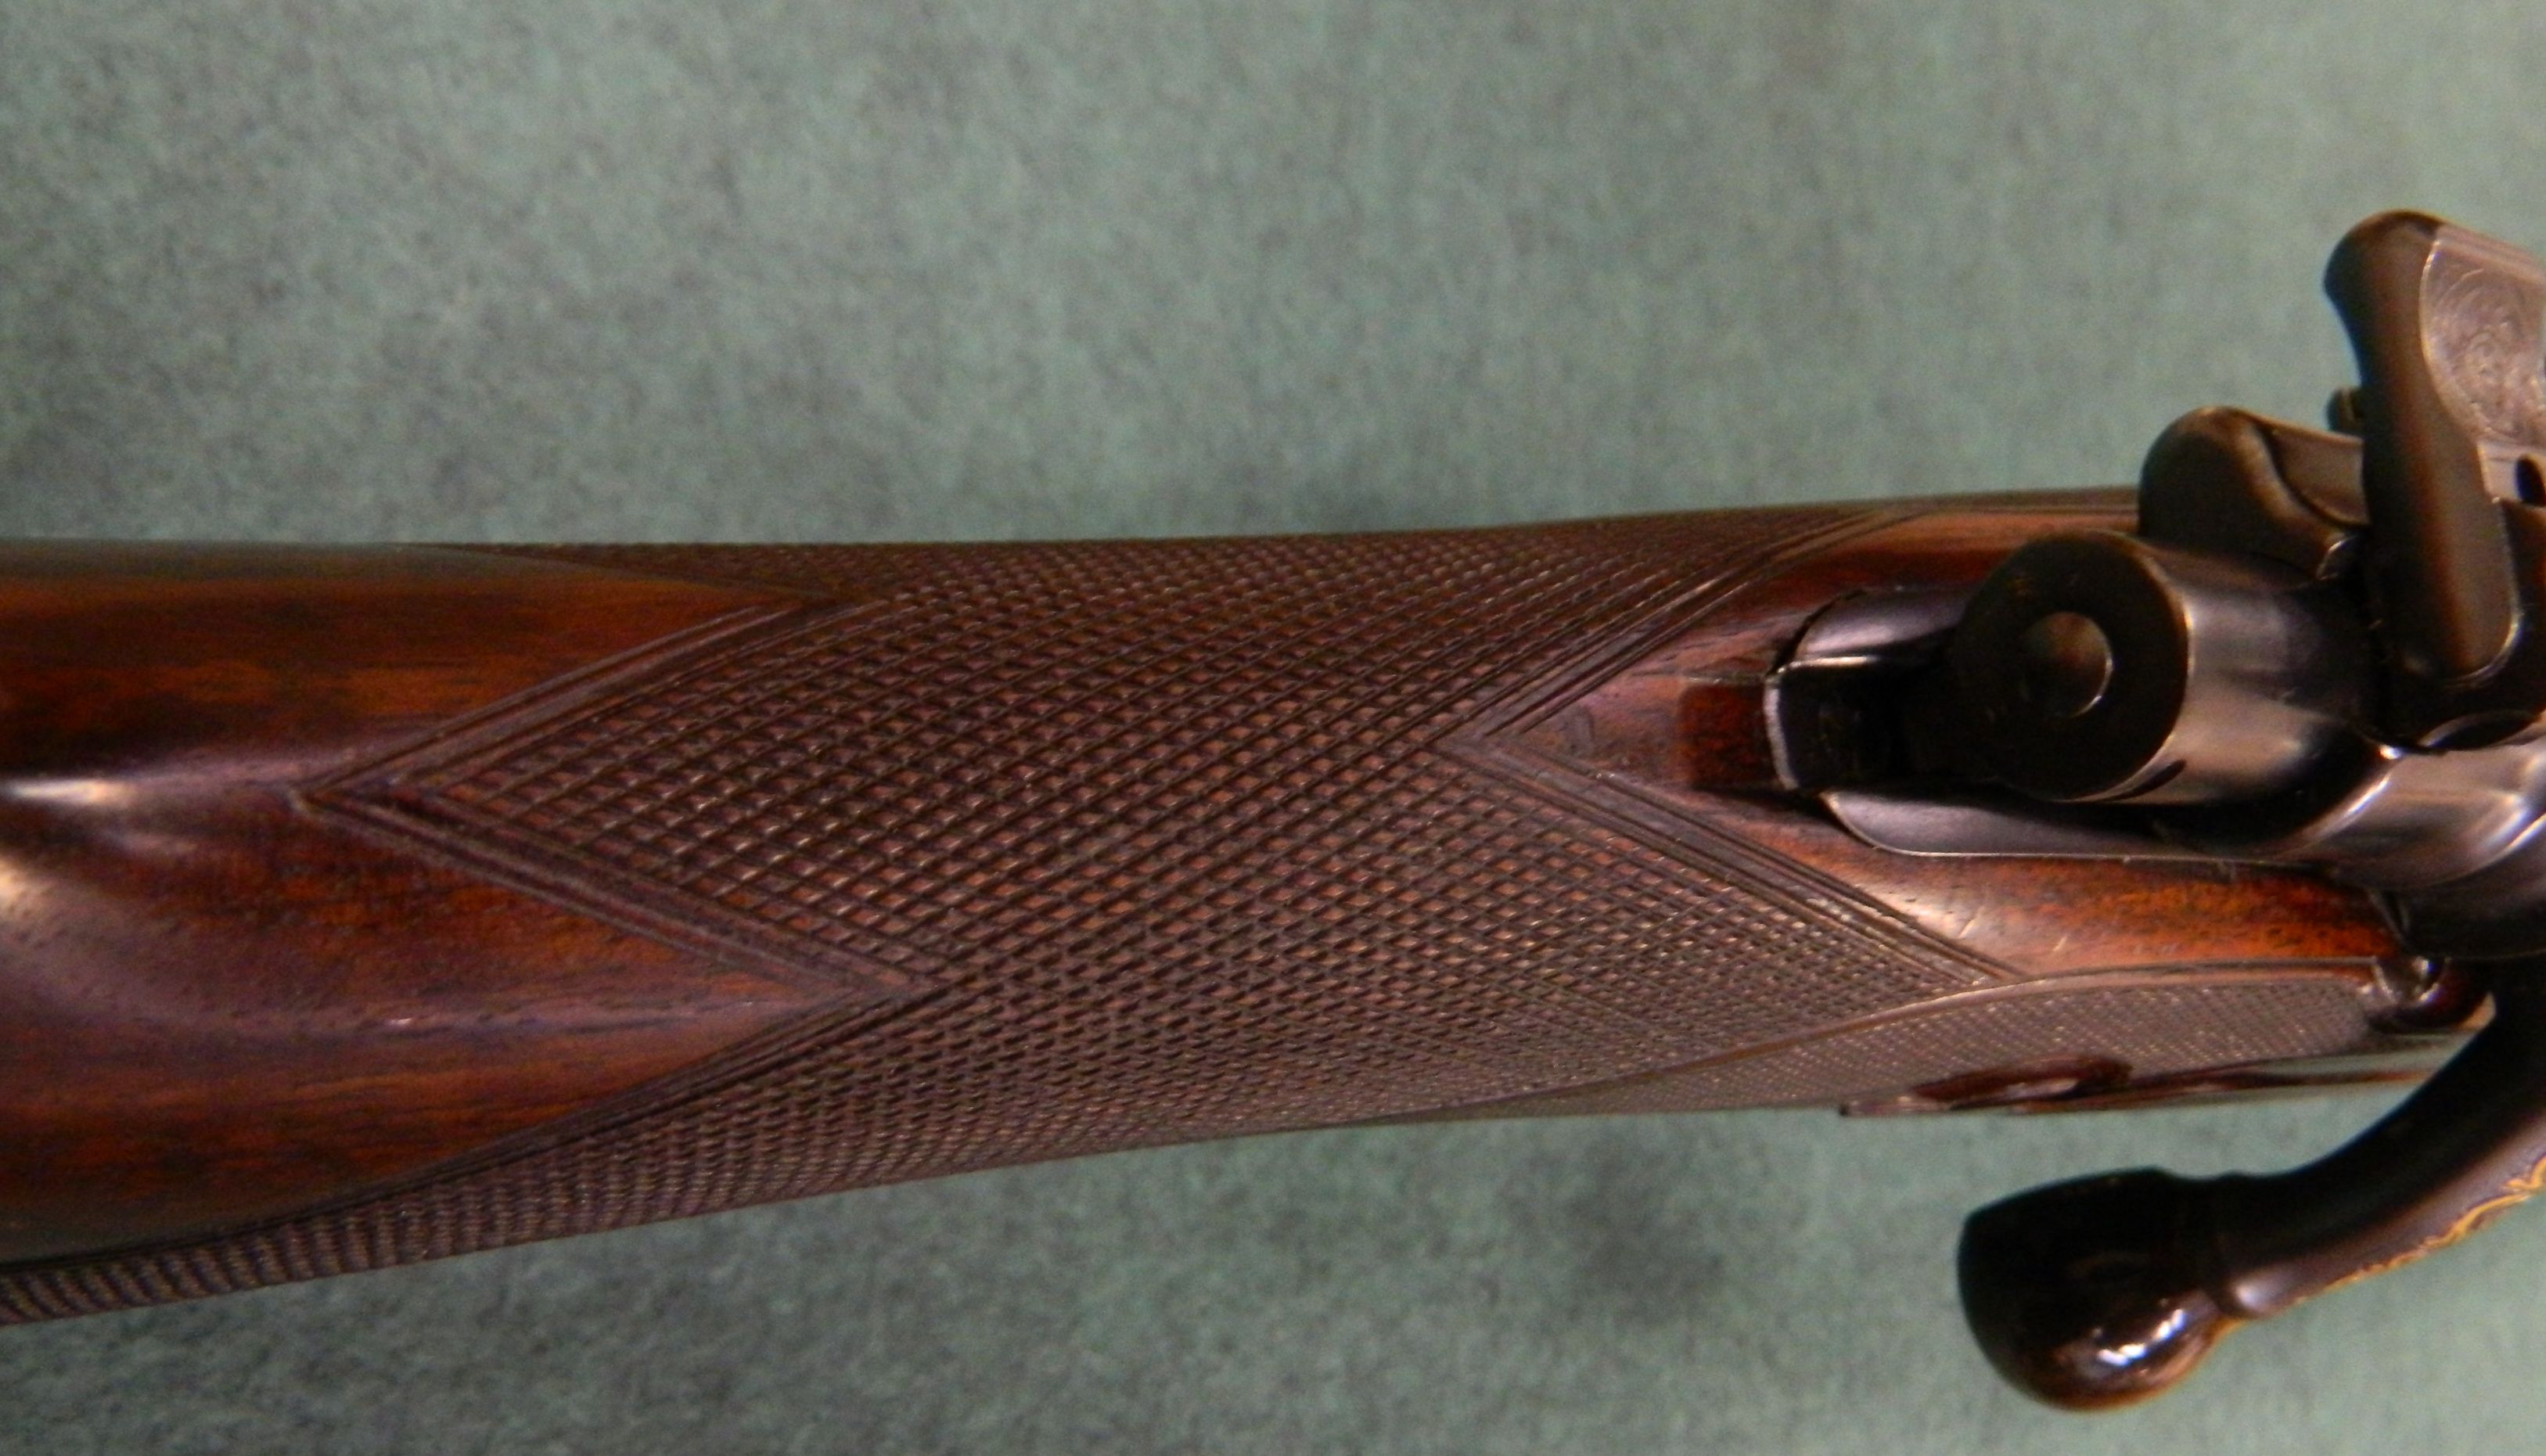
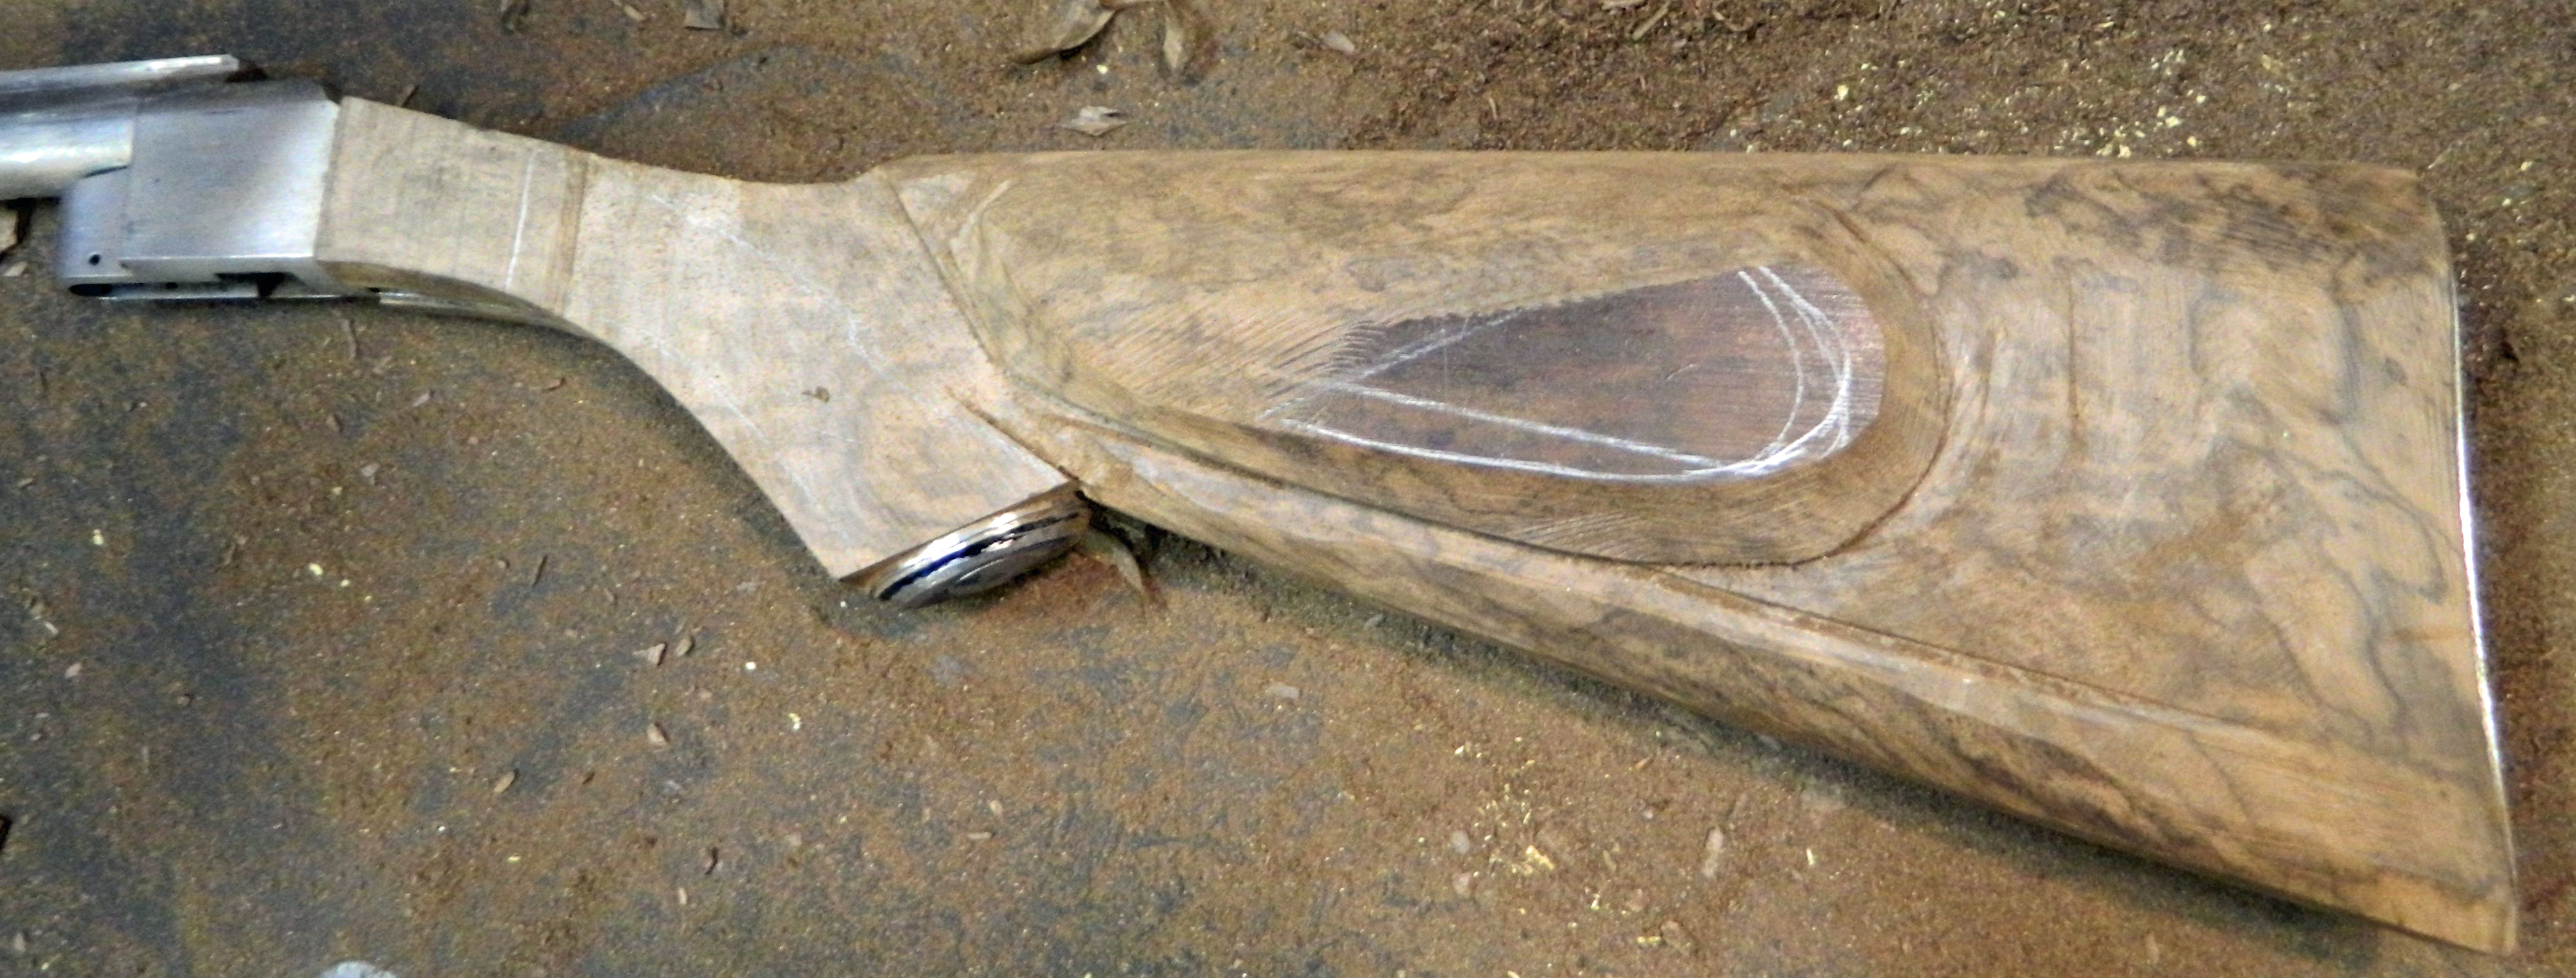
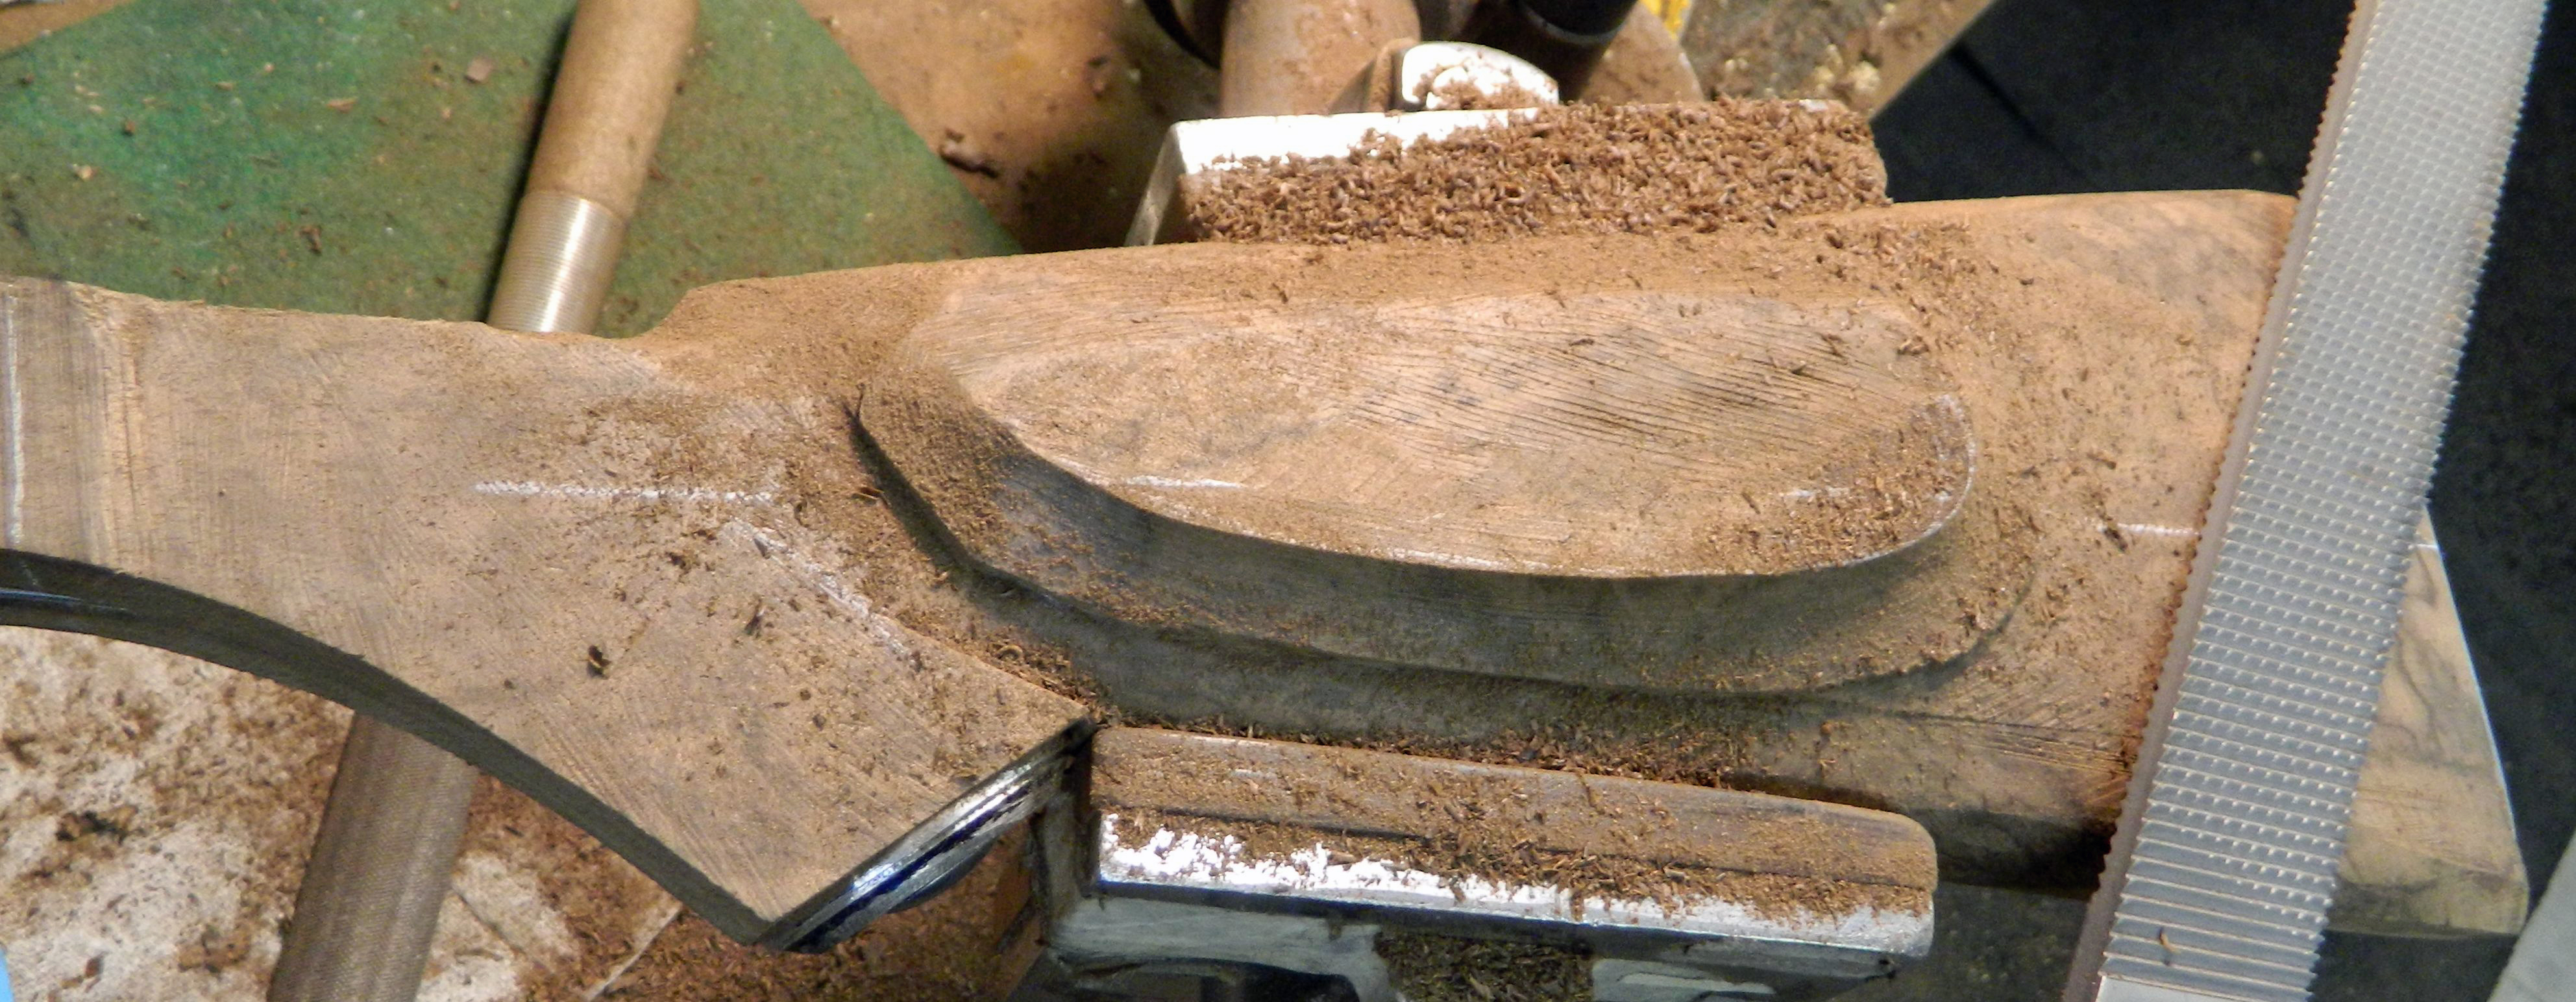
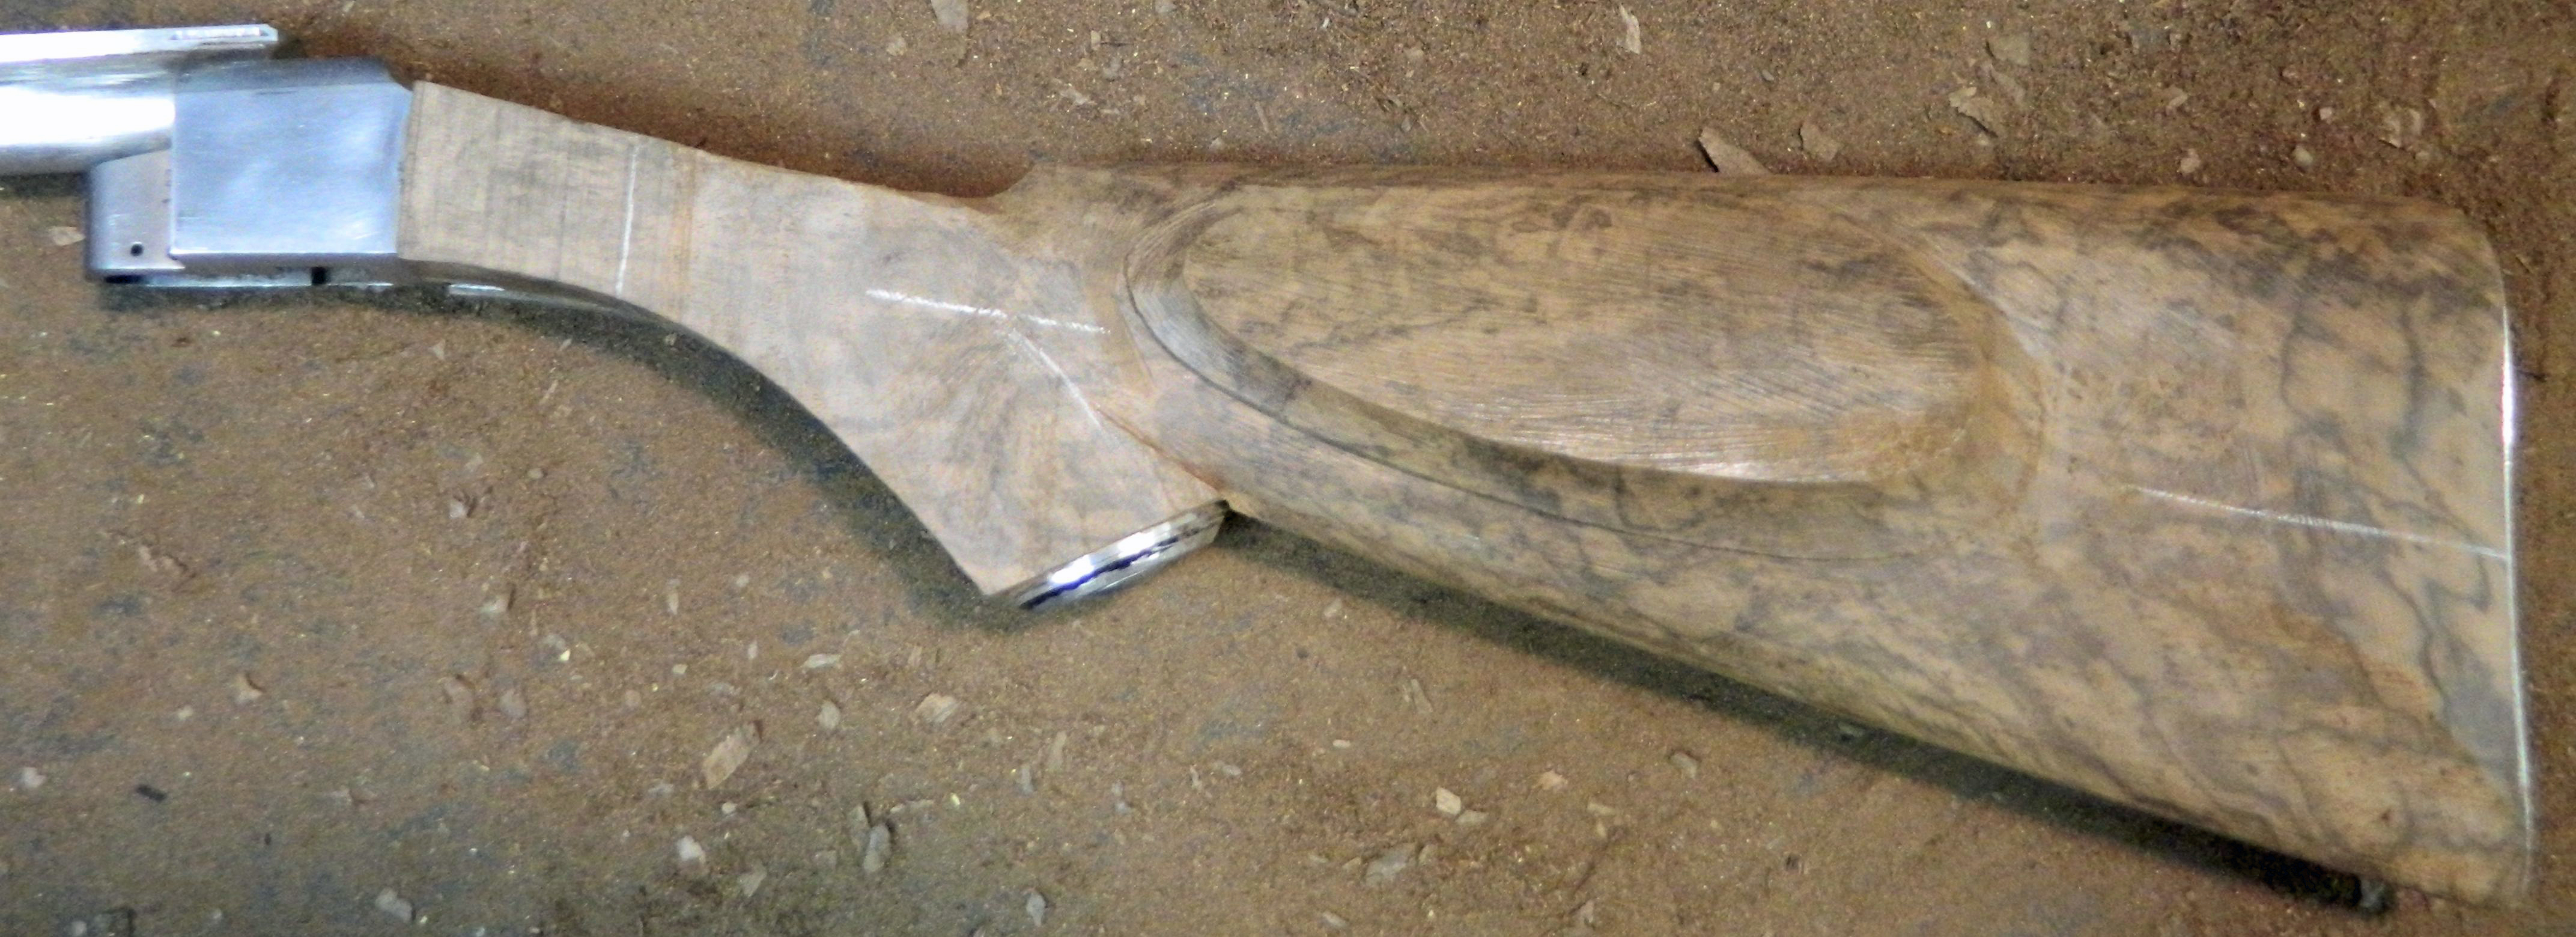
The next step was to make the stock. The blank was California-English and was harvested over thirty years ago. I like it a lot, as it has a wonderful natural honey color. The style of the stock would probably be consider as pre-war English.
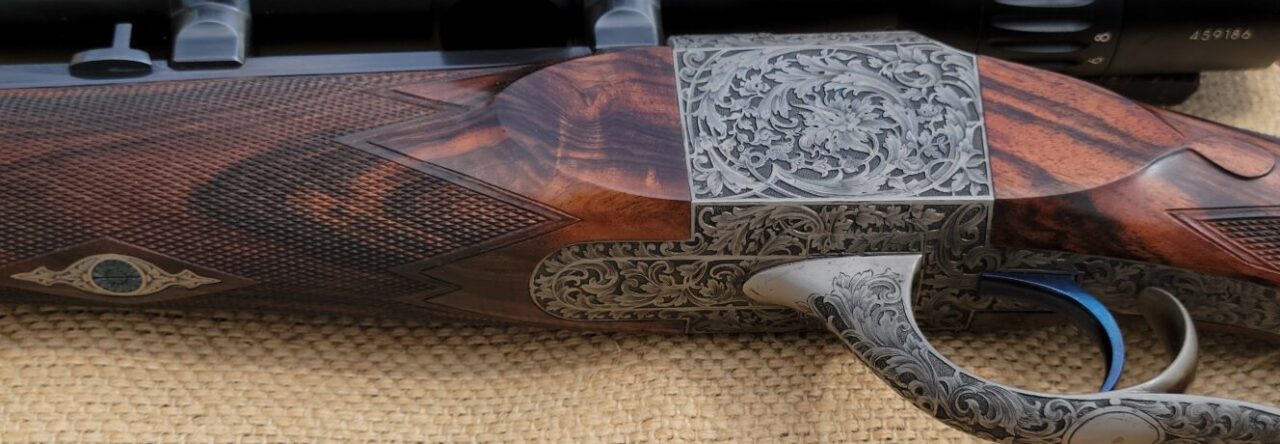
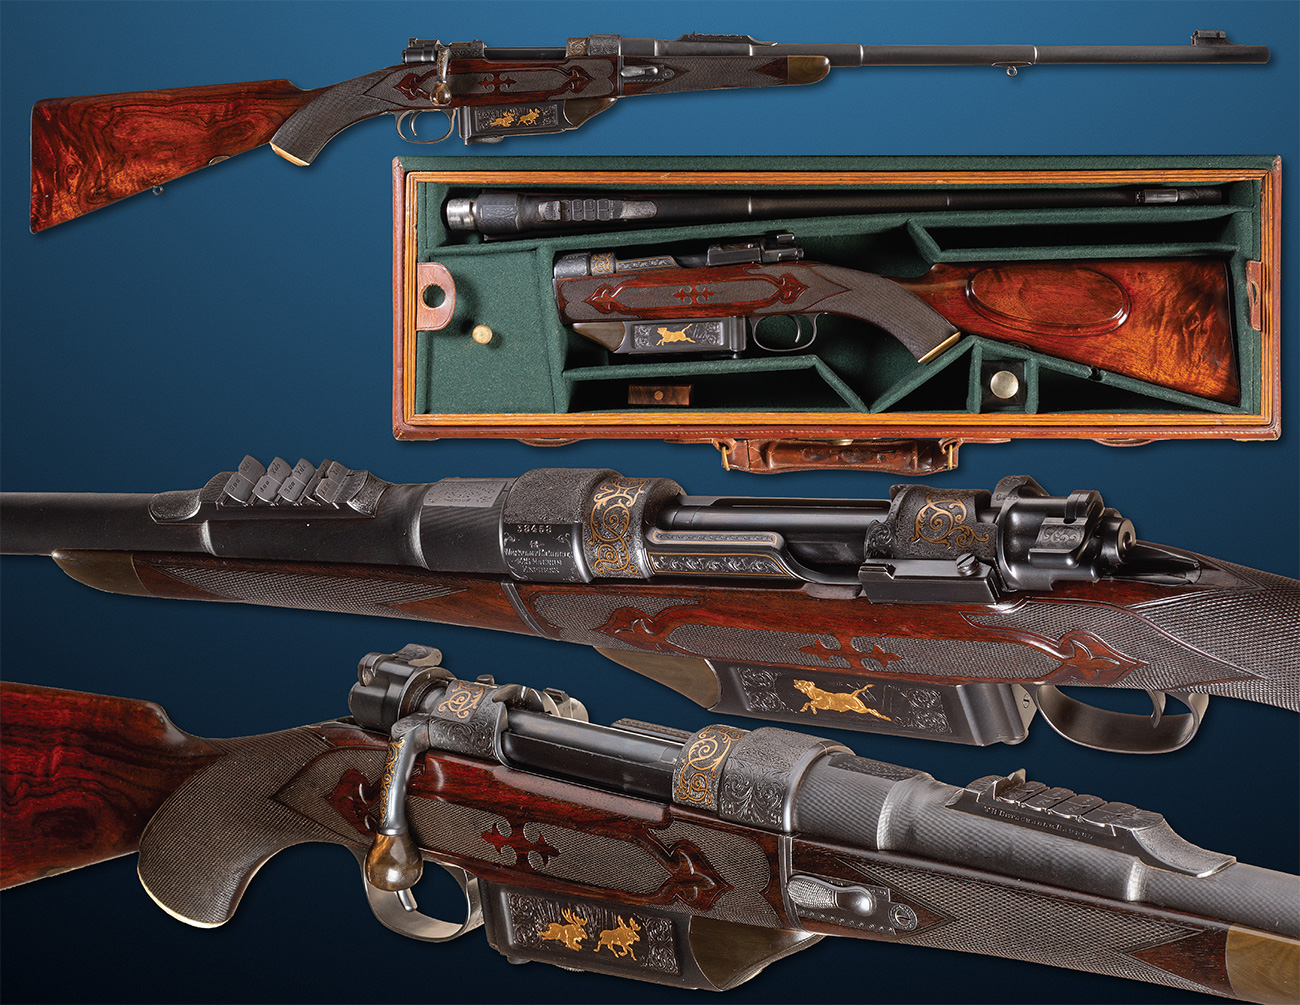
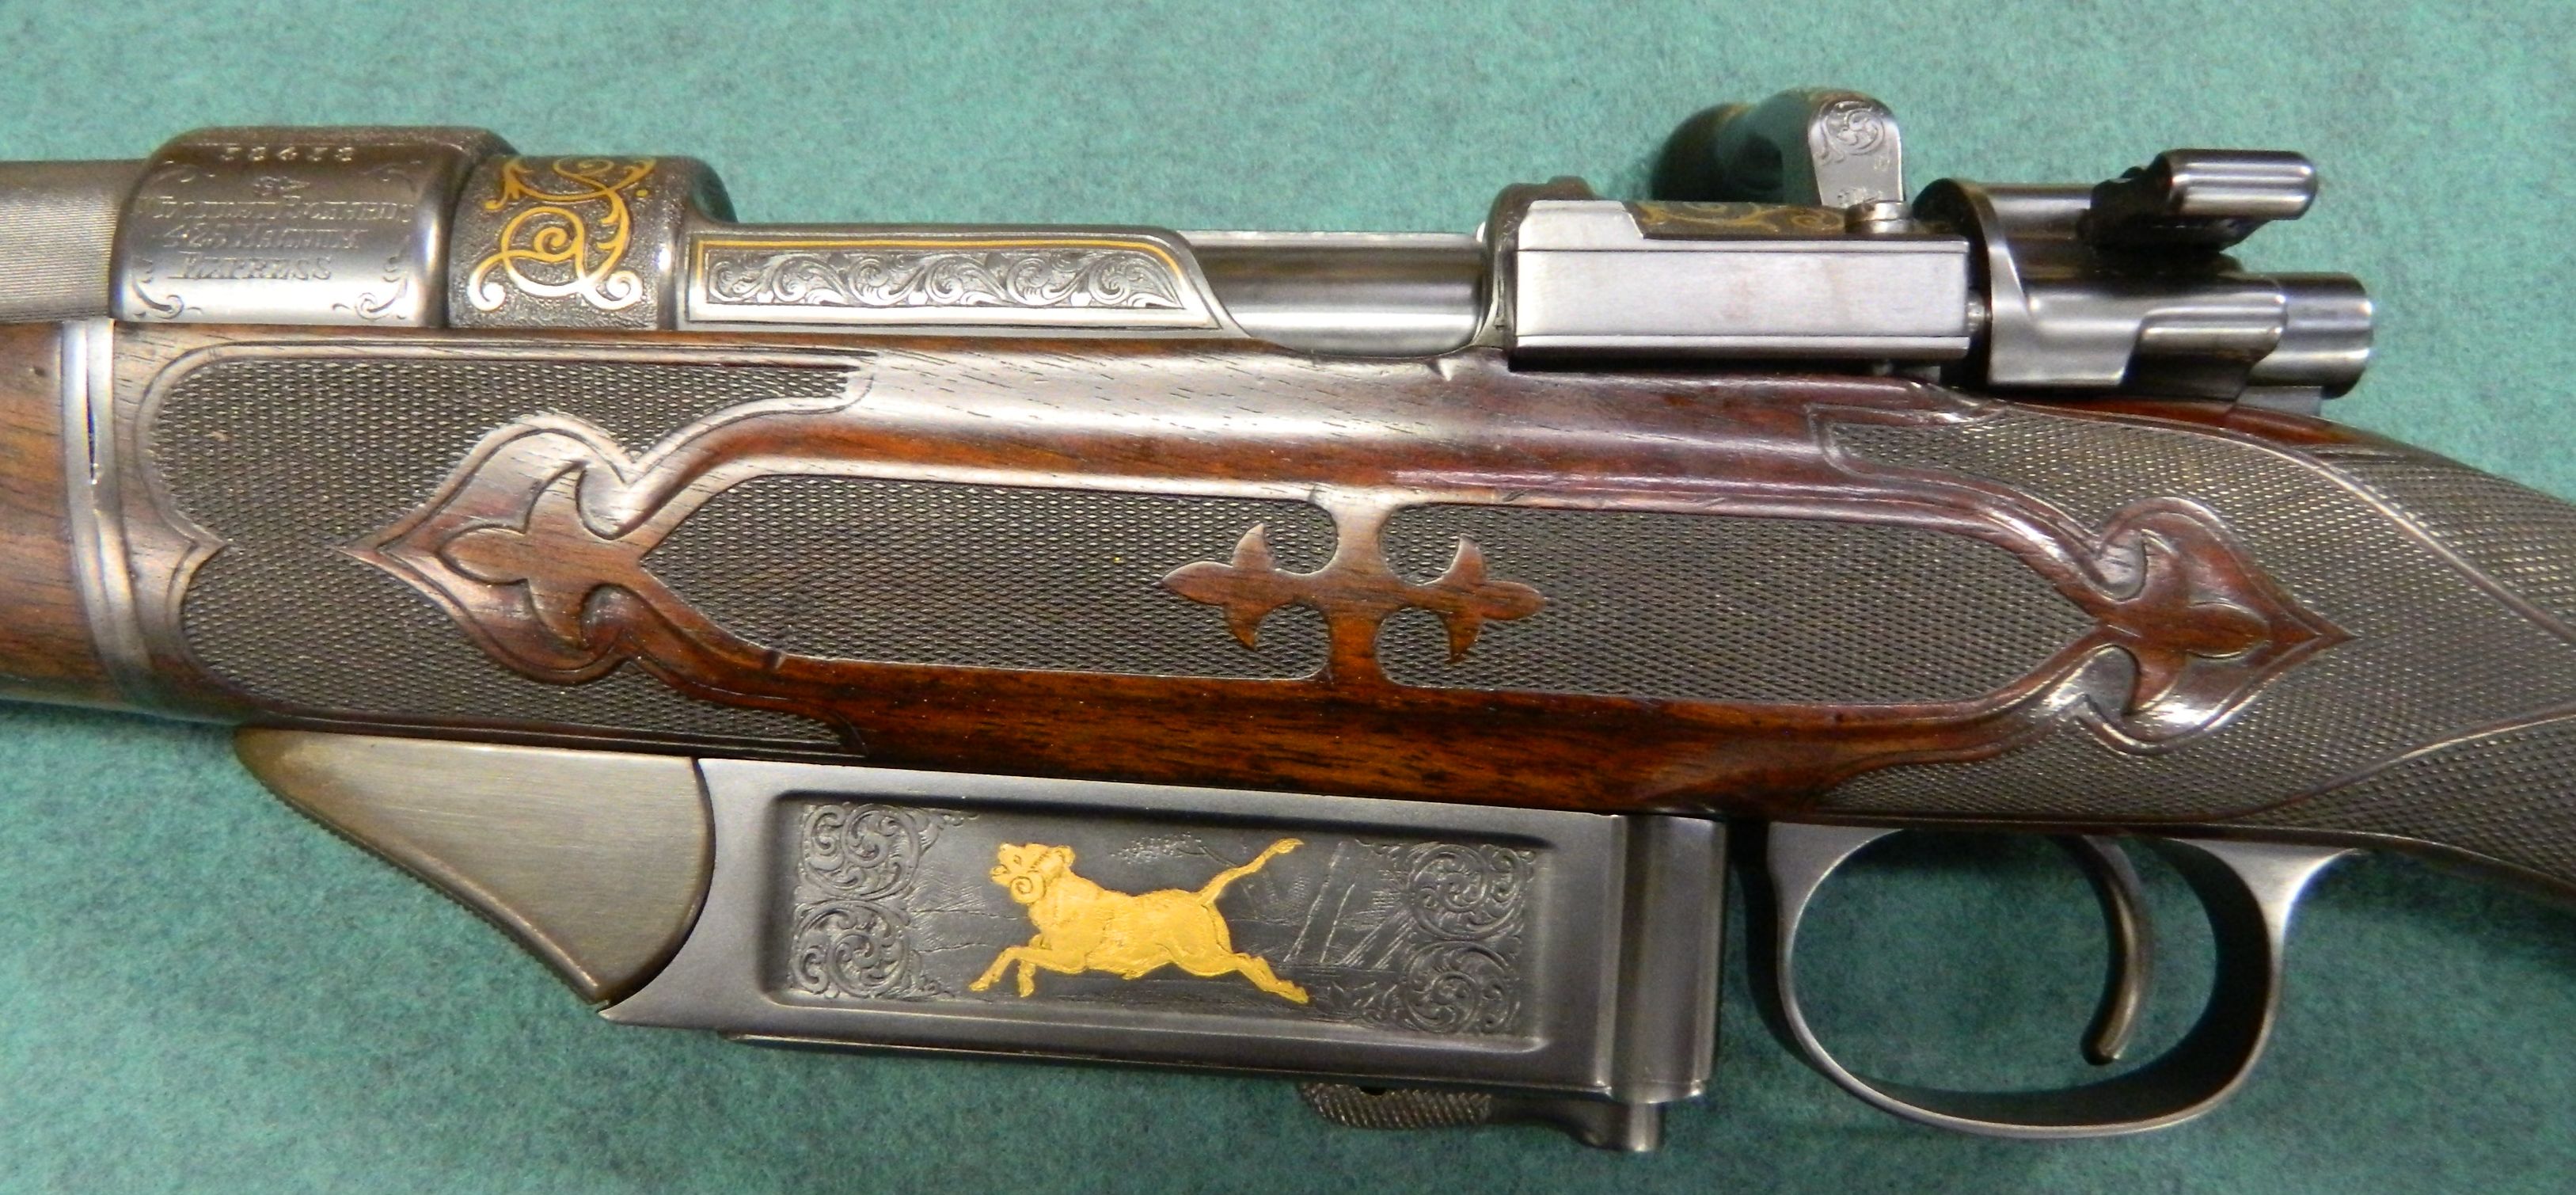
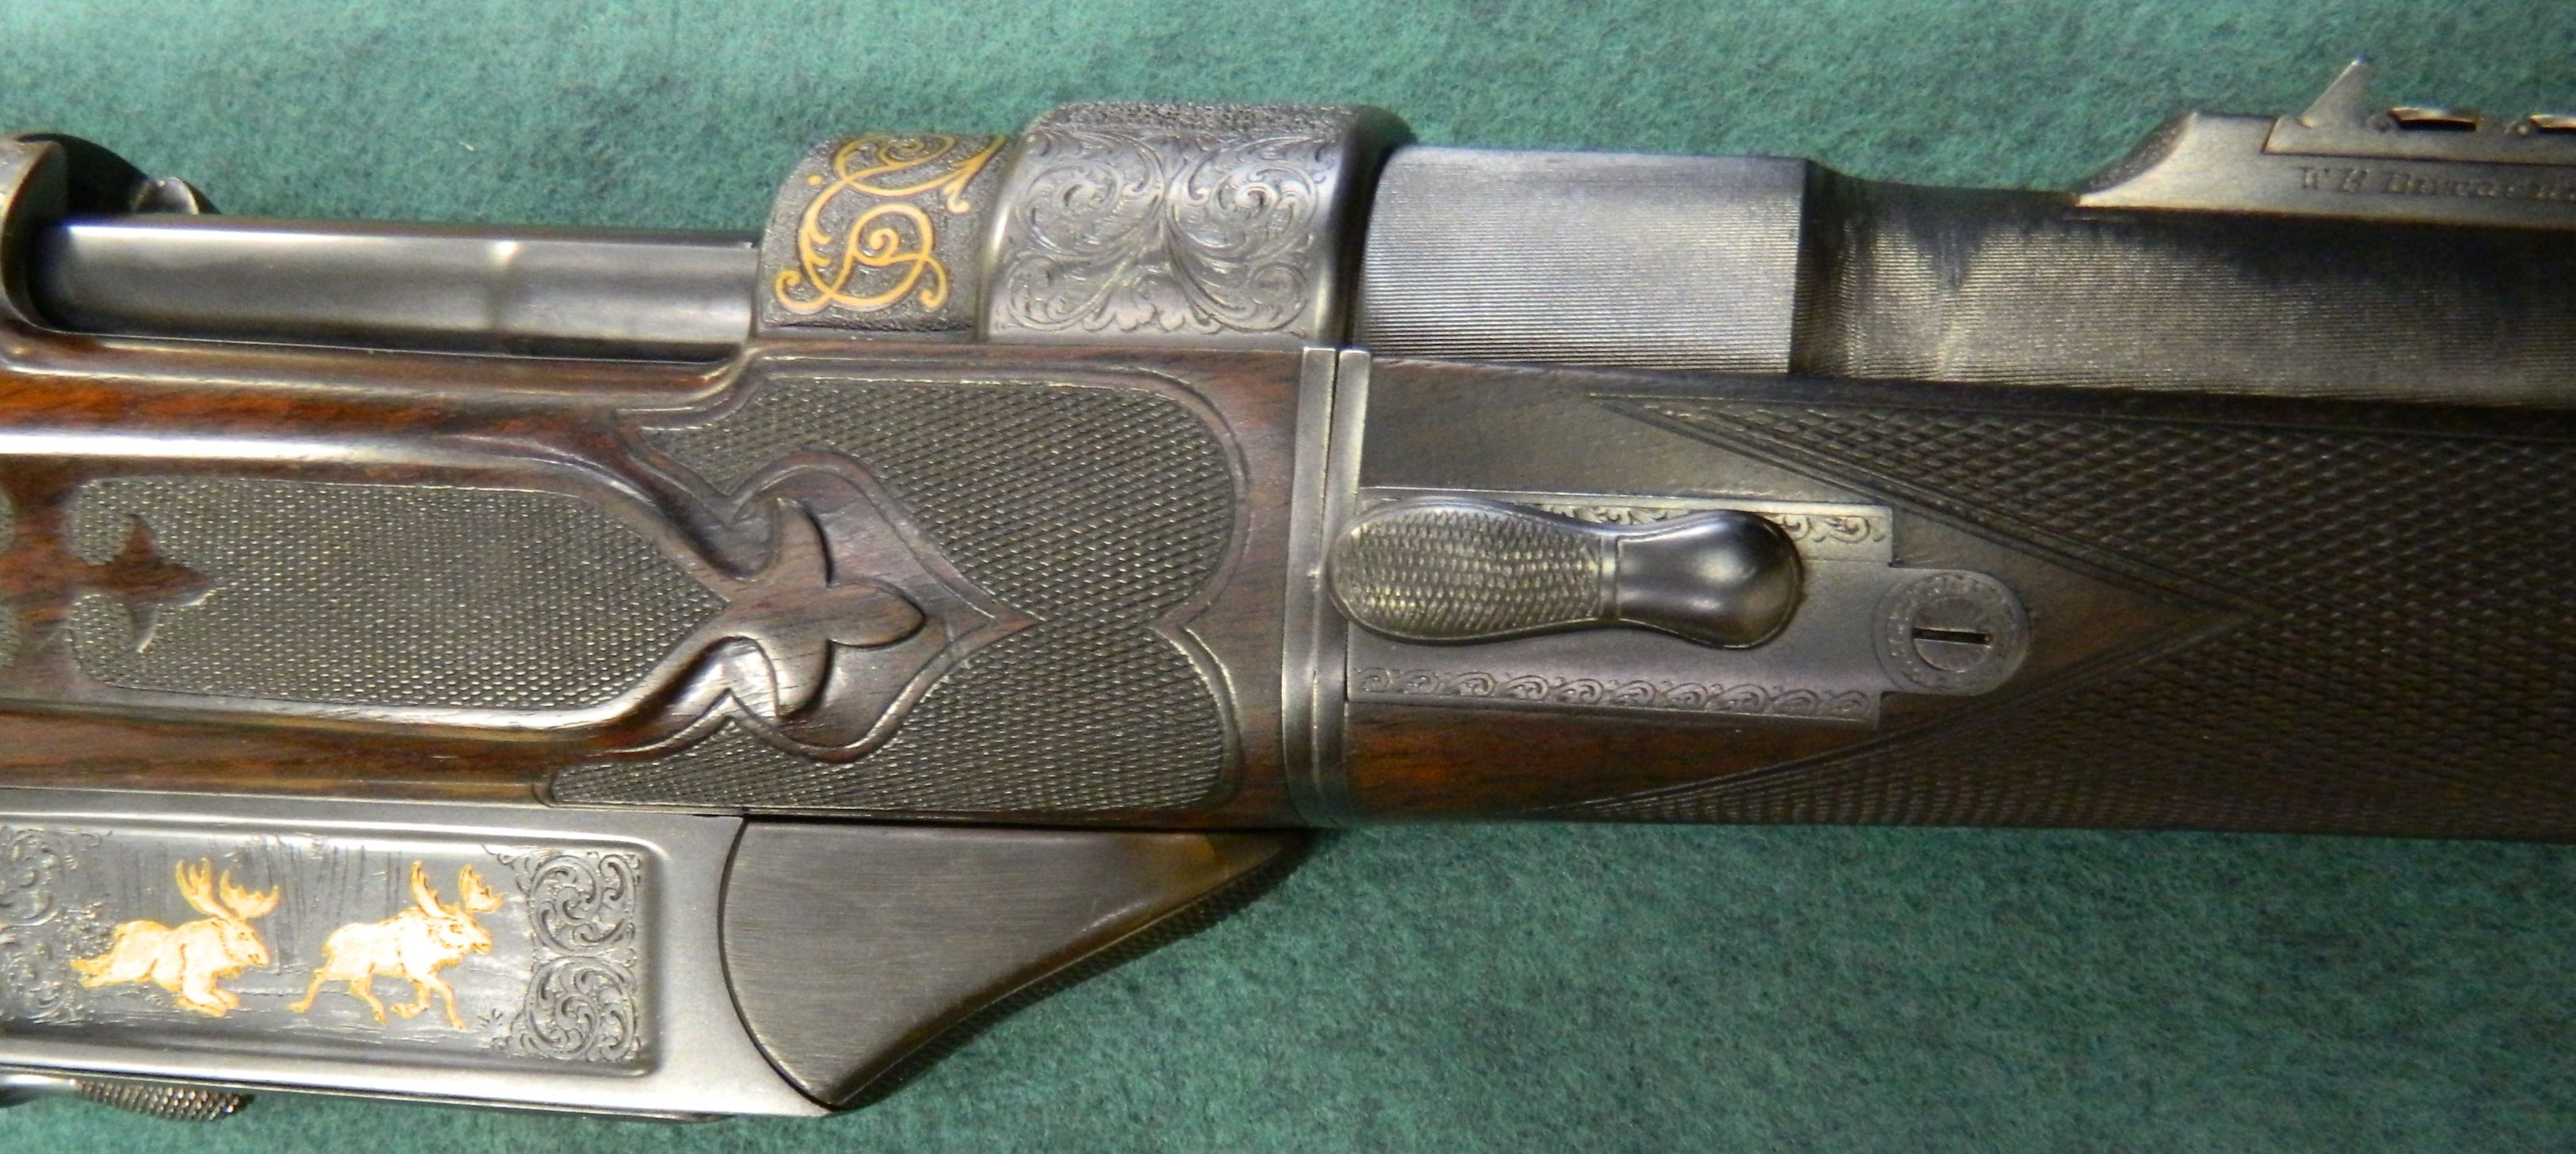
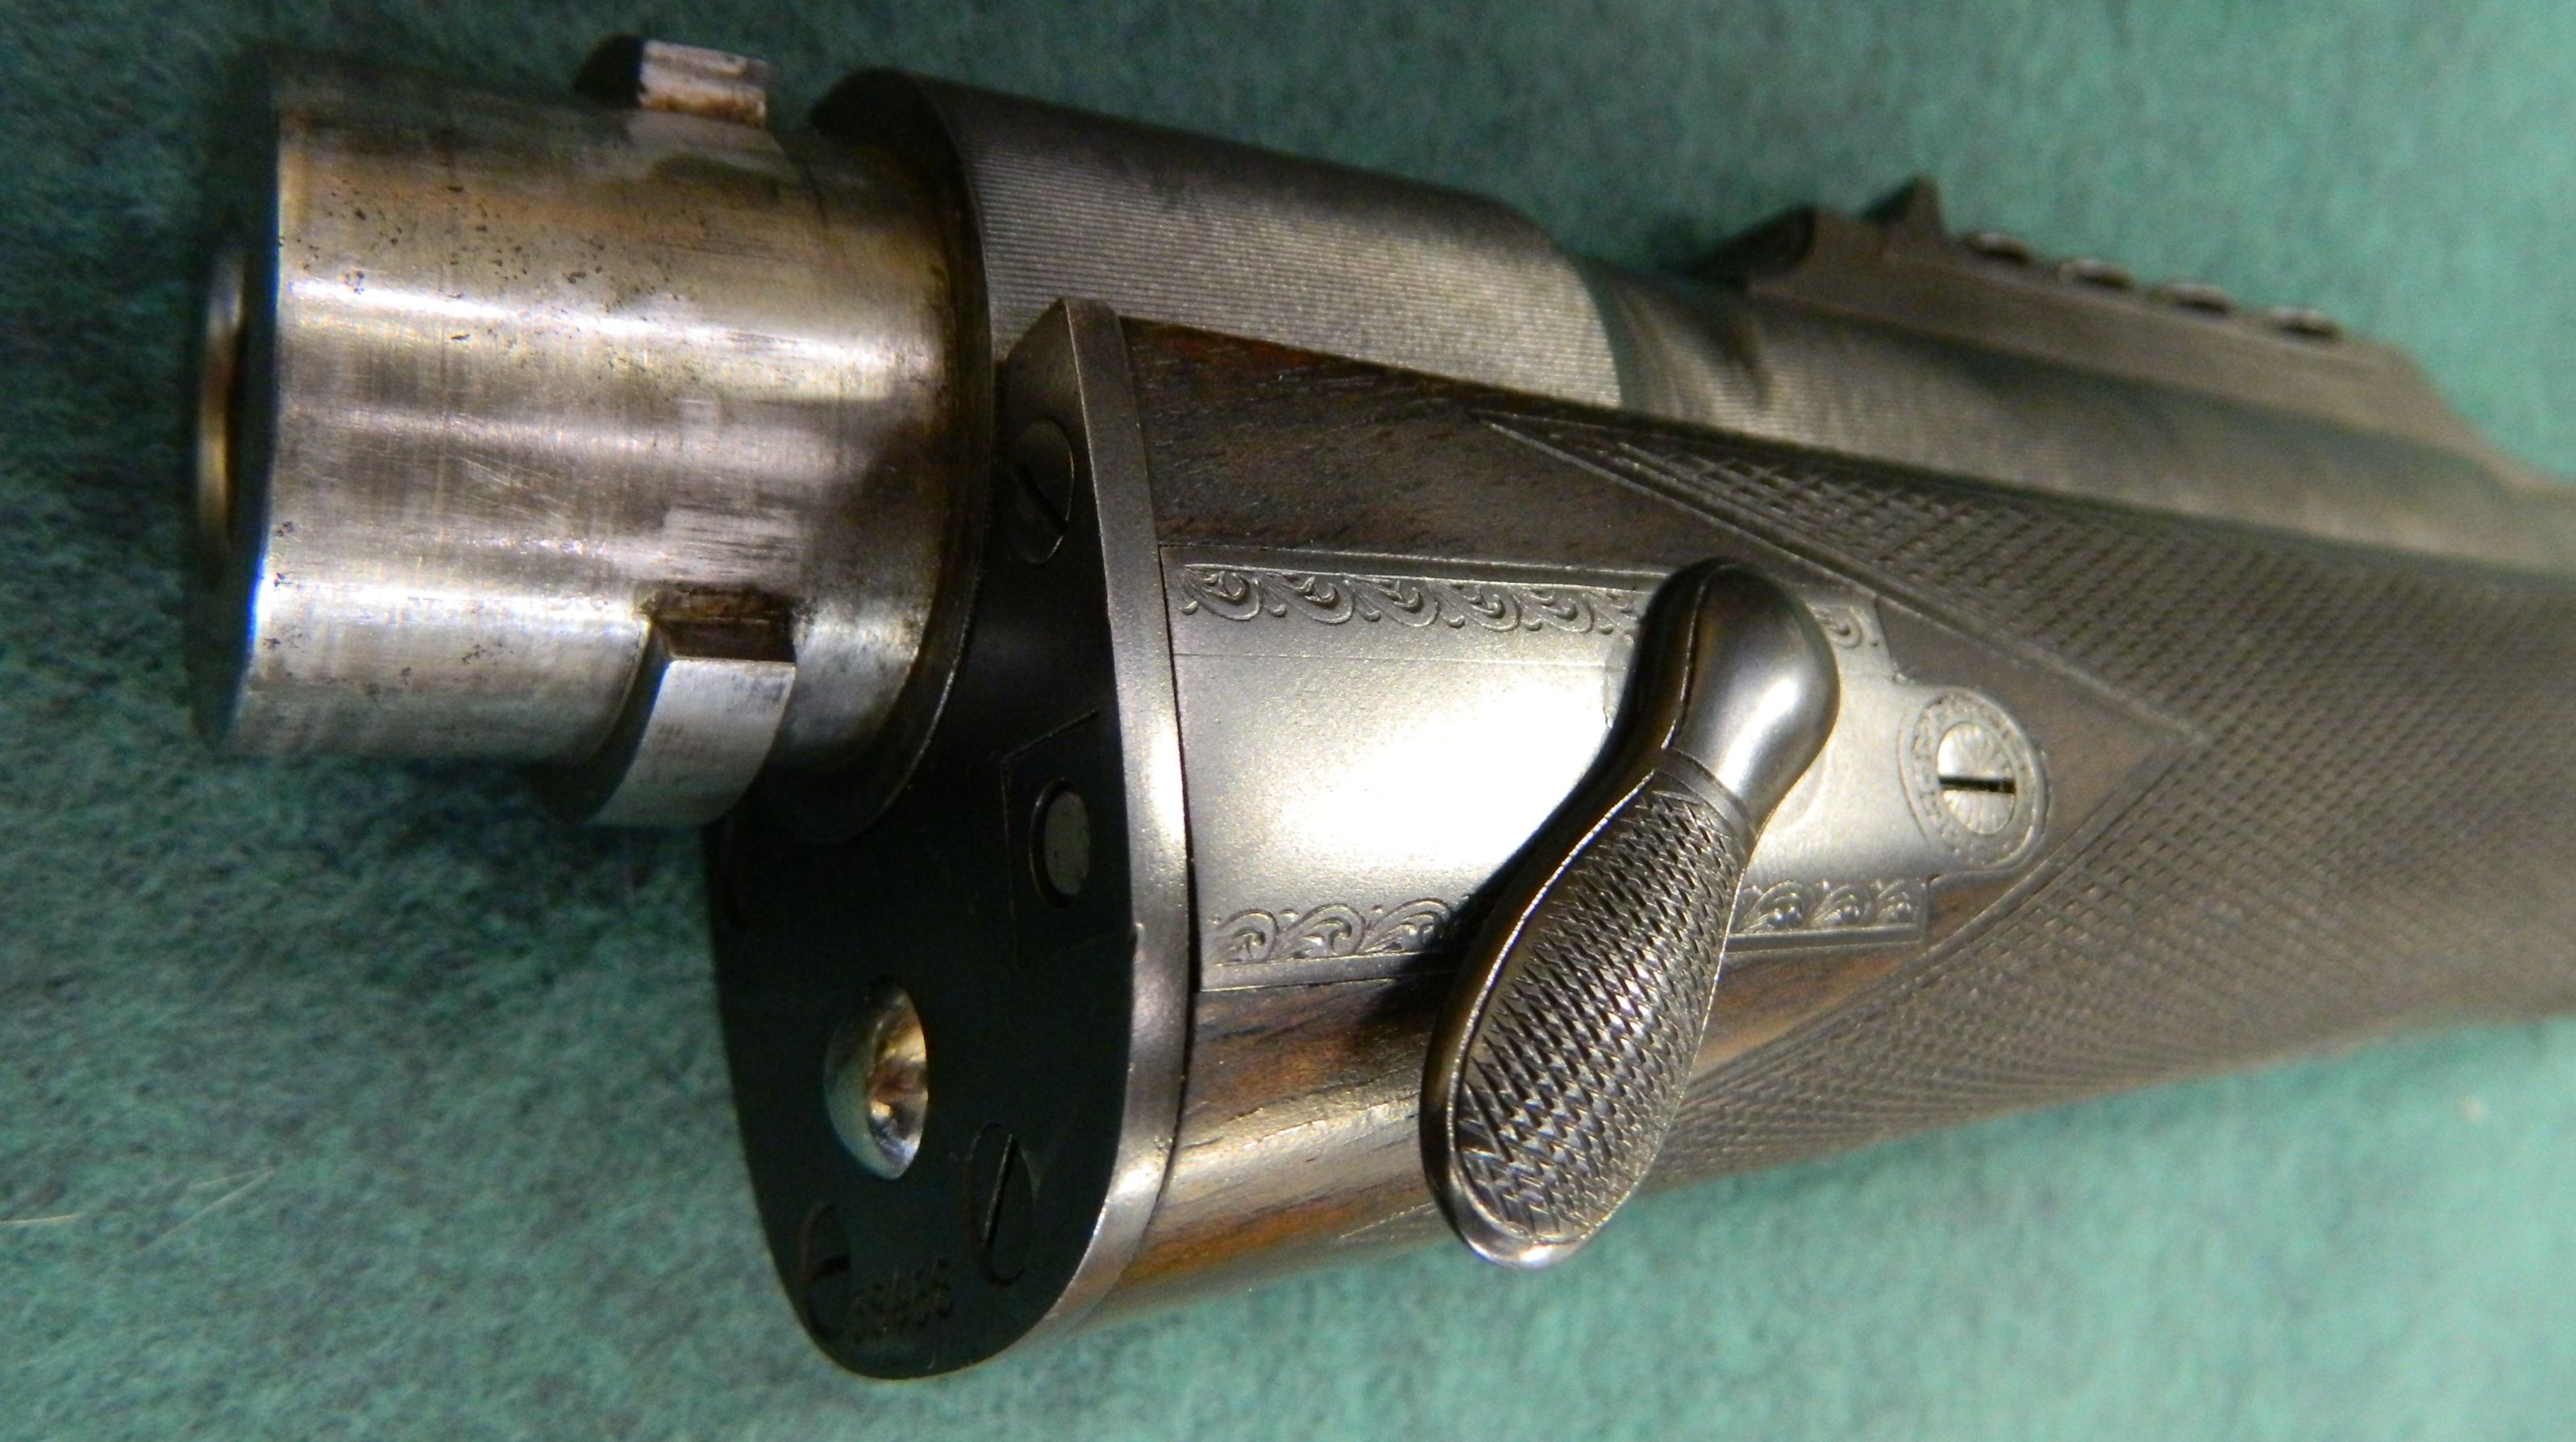
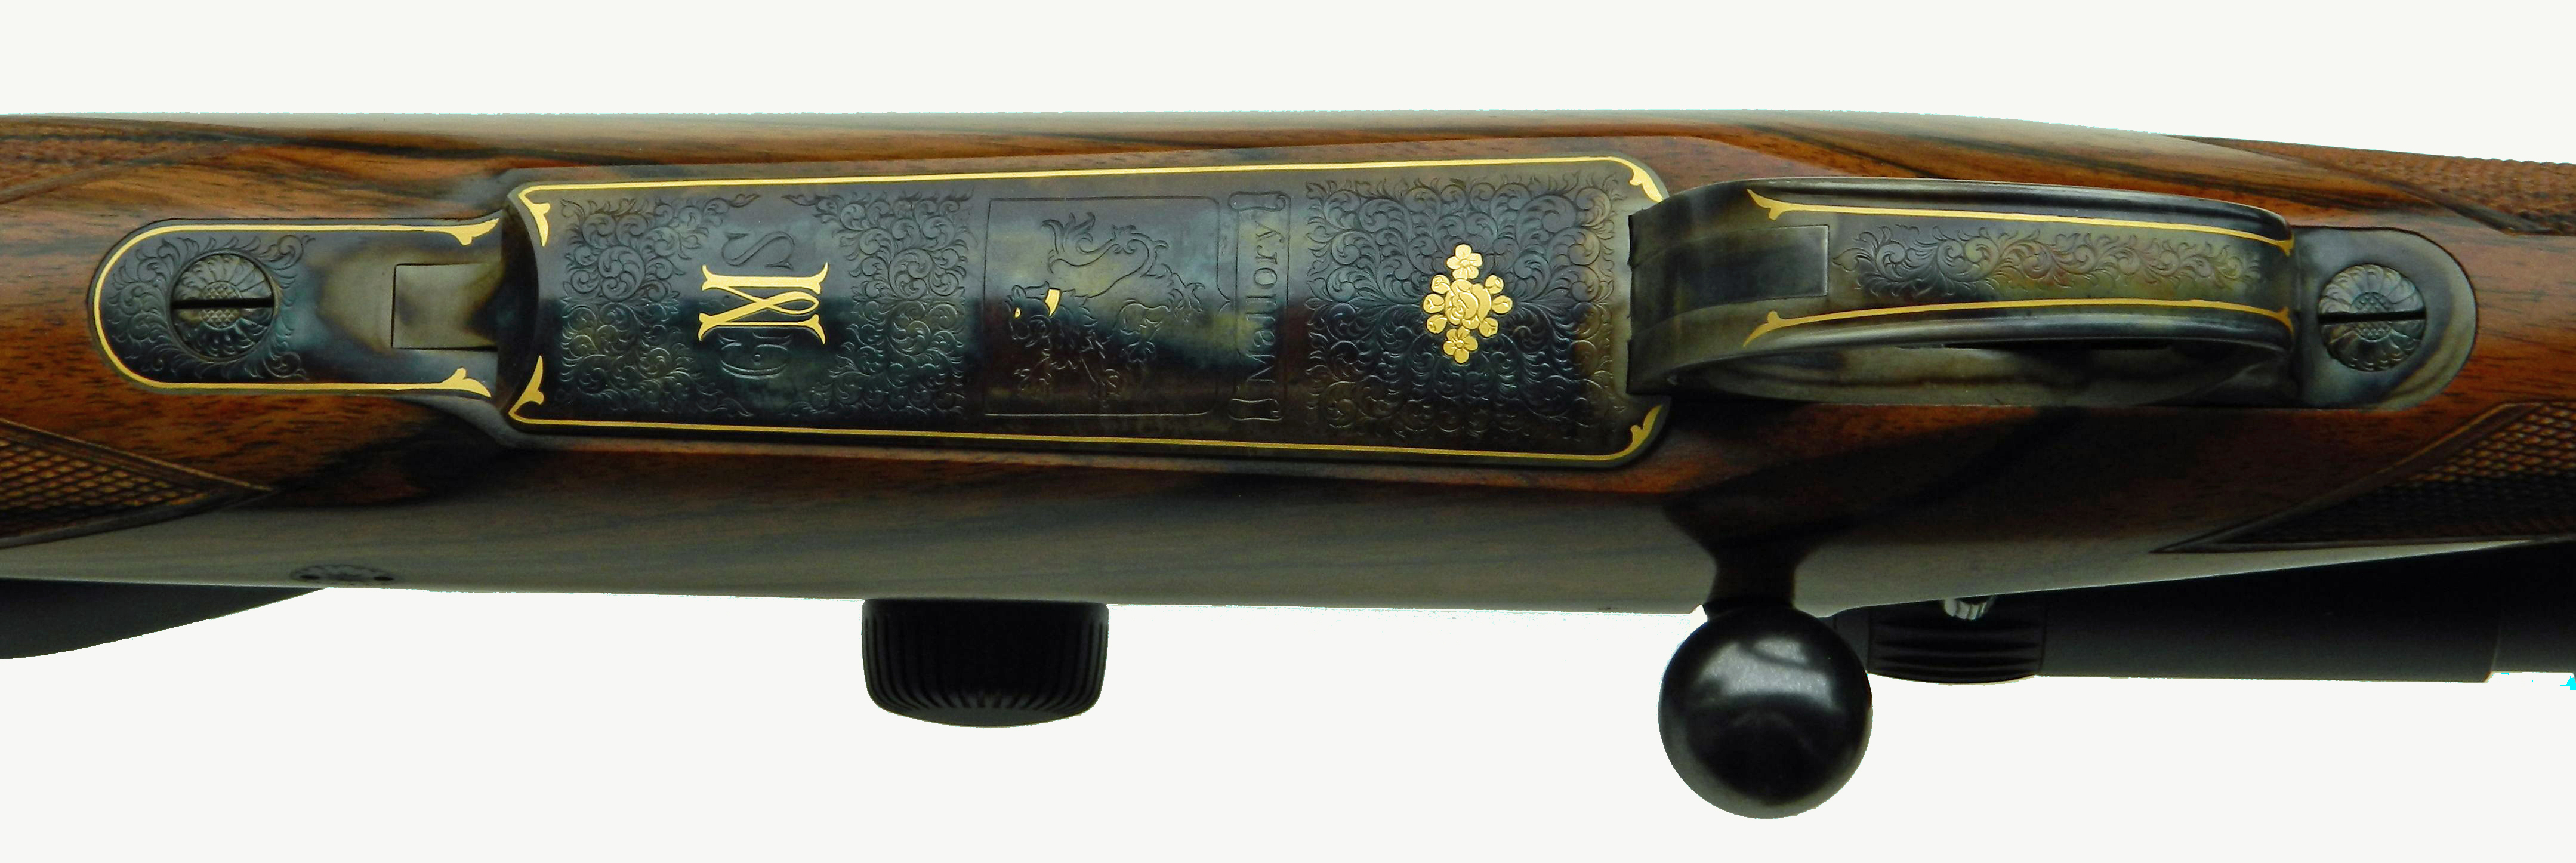 The engravings where performed by Lisa Tomlin. I’ve known her for many years and she is in my opinion one of the best engravers in this country. Unfortunately my amateur photography doesn’t do her work justice, but I’m very happy with the engravings.


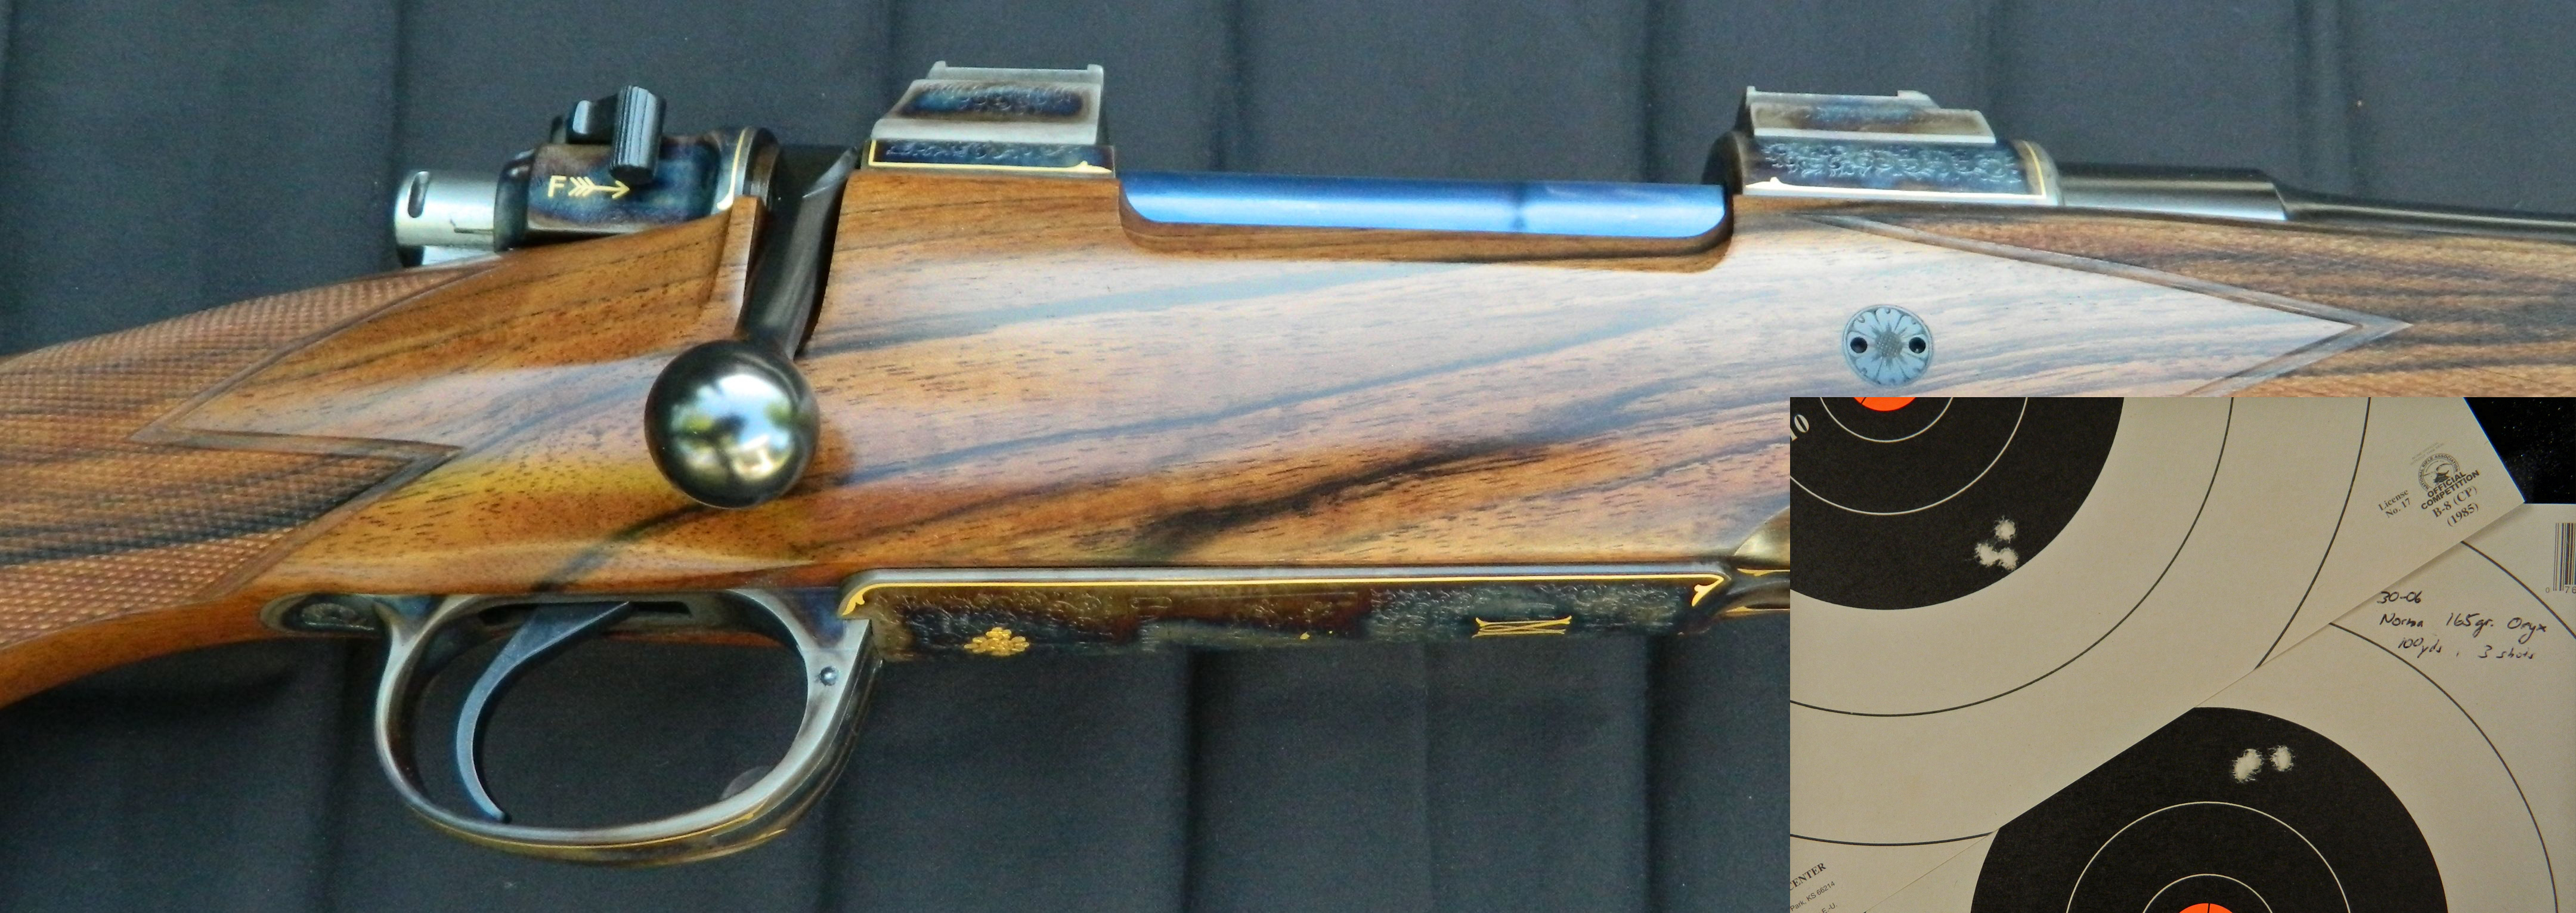
The color case hardening was performed by Turnbull restoration. It certainly adds a nice touch to any gun.

I was very pleased with the accuracy of the rifle. I was able to shoot two successive 3 shot groups with Federal and Norma ammo that measured between 1/4″ and 1/2″ at 100 yds.
As always I hope this rifle will bring much of joy to the owner and a lifetime of reliable service.

 My next step is to time the screws and prepare the metal for engraving and bluing. All will be disassembled and the barrel removed off the action. After the bluing and final assembly I will test the rifle again at the range for function and accuracy.
 The picture above was taken in 1995 shortly before I left the company for a job in Canada. I had a full head of hair back then and lot’s of confidence. My shop mates where a happy bunch and we had a many good laughs.
 These pictures where taken in 1995 when I worked for Corlane Sporting Goods in Dawson Creek, BC.
 The picture above is from around 1999. At that time I worked together with stock maker James Tucker for a company in California.
 This picture was taken around 2003 in New Hampshire. I left New Hampshire in 2005 and founded Buehler Custom Sporting Arms LLC in Oregon.


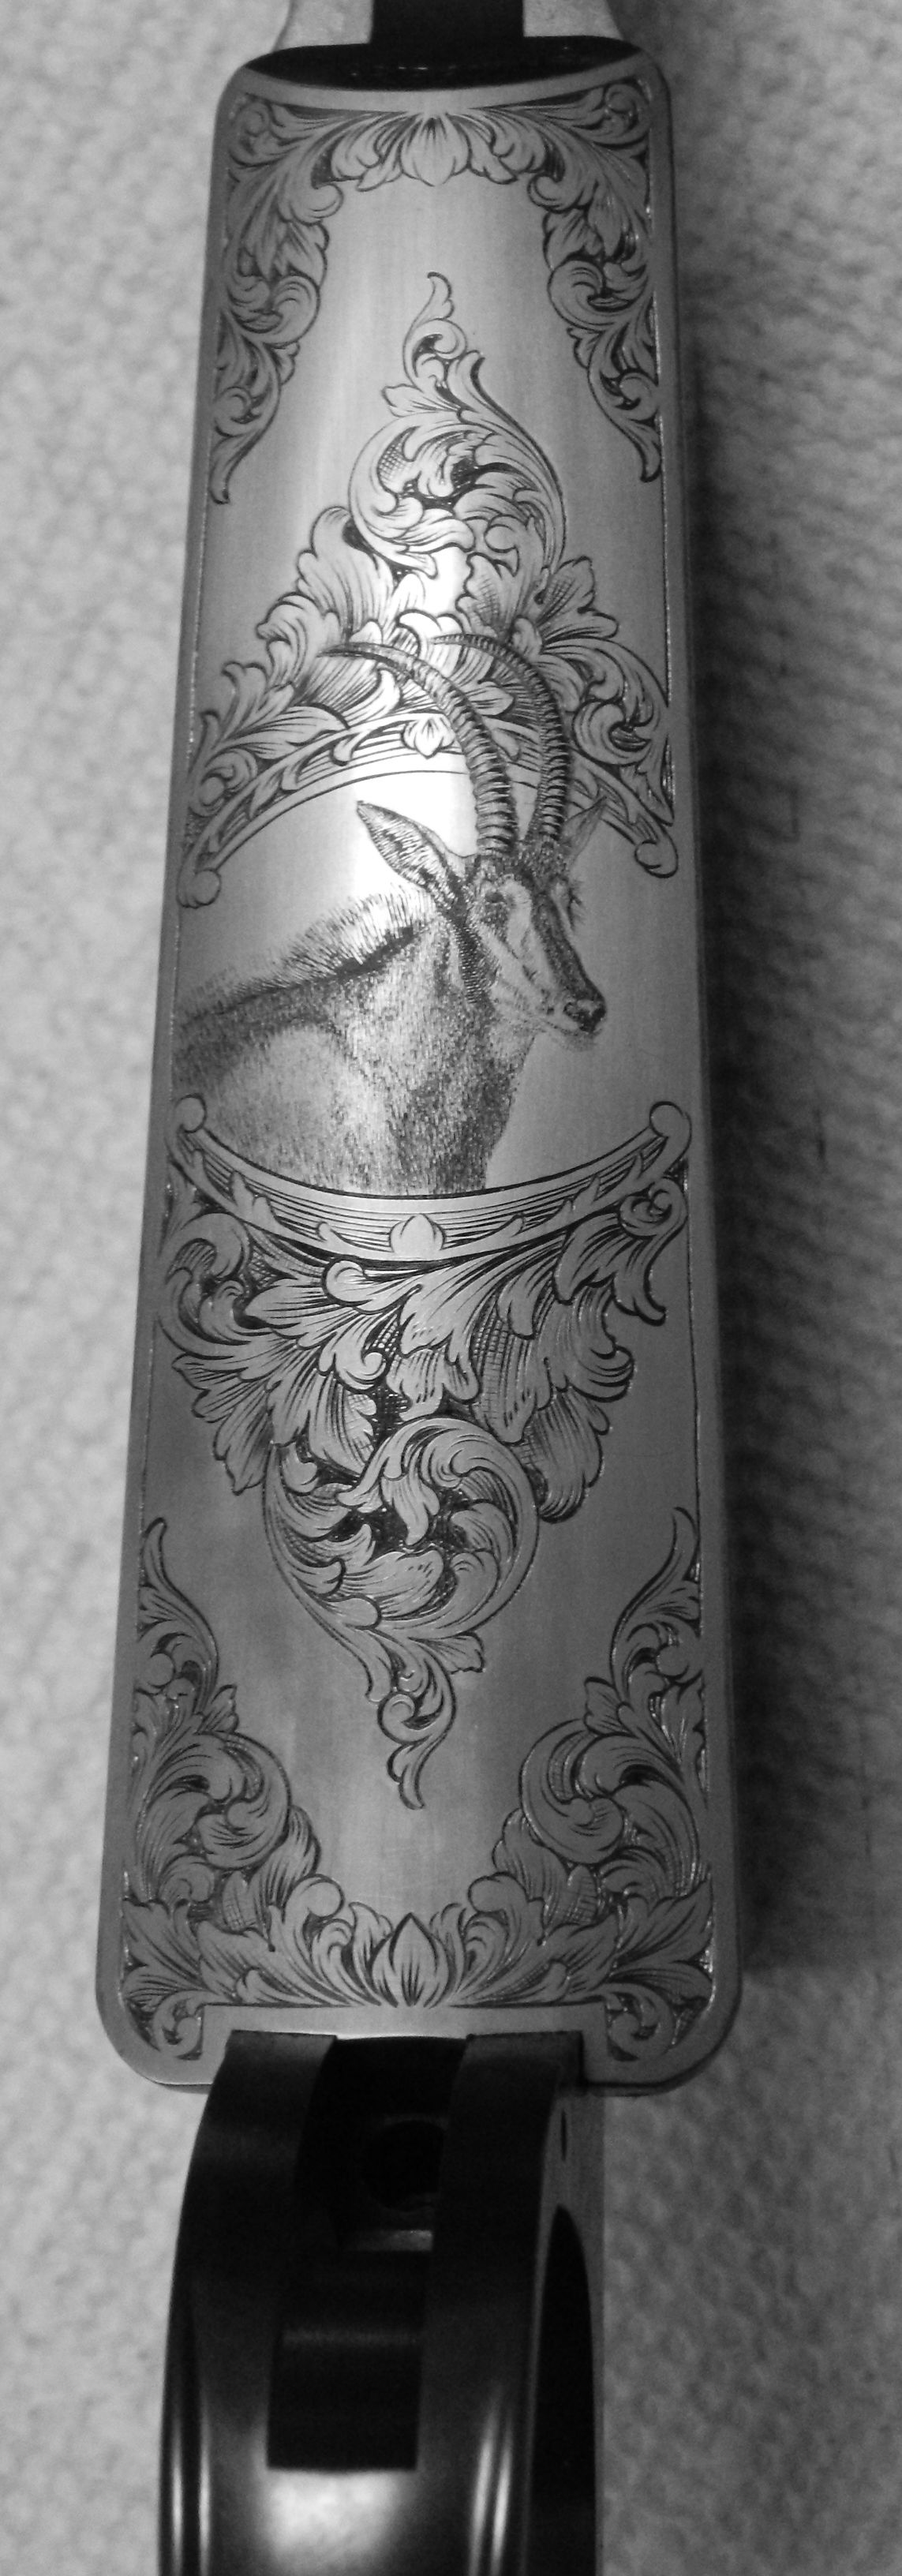







 The engravings where performed by Lisa Tomlin. I’ve known her for many years and she is in my opinion one of the best engravers in this country. Unfortunately my amateur photography doesn’t do her work justice, but I’m very happy with the engravings.


