Buehler Custom Sporting Arms LLC

Maker of Fine Sporting Rifles

Stock checkering

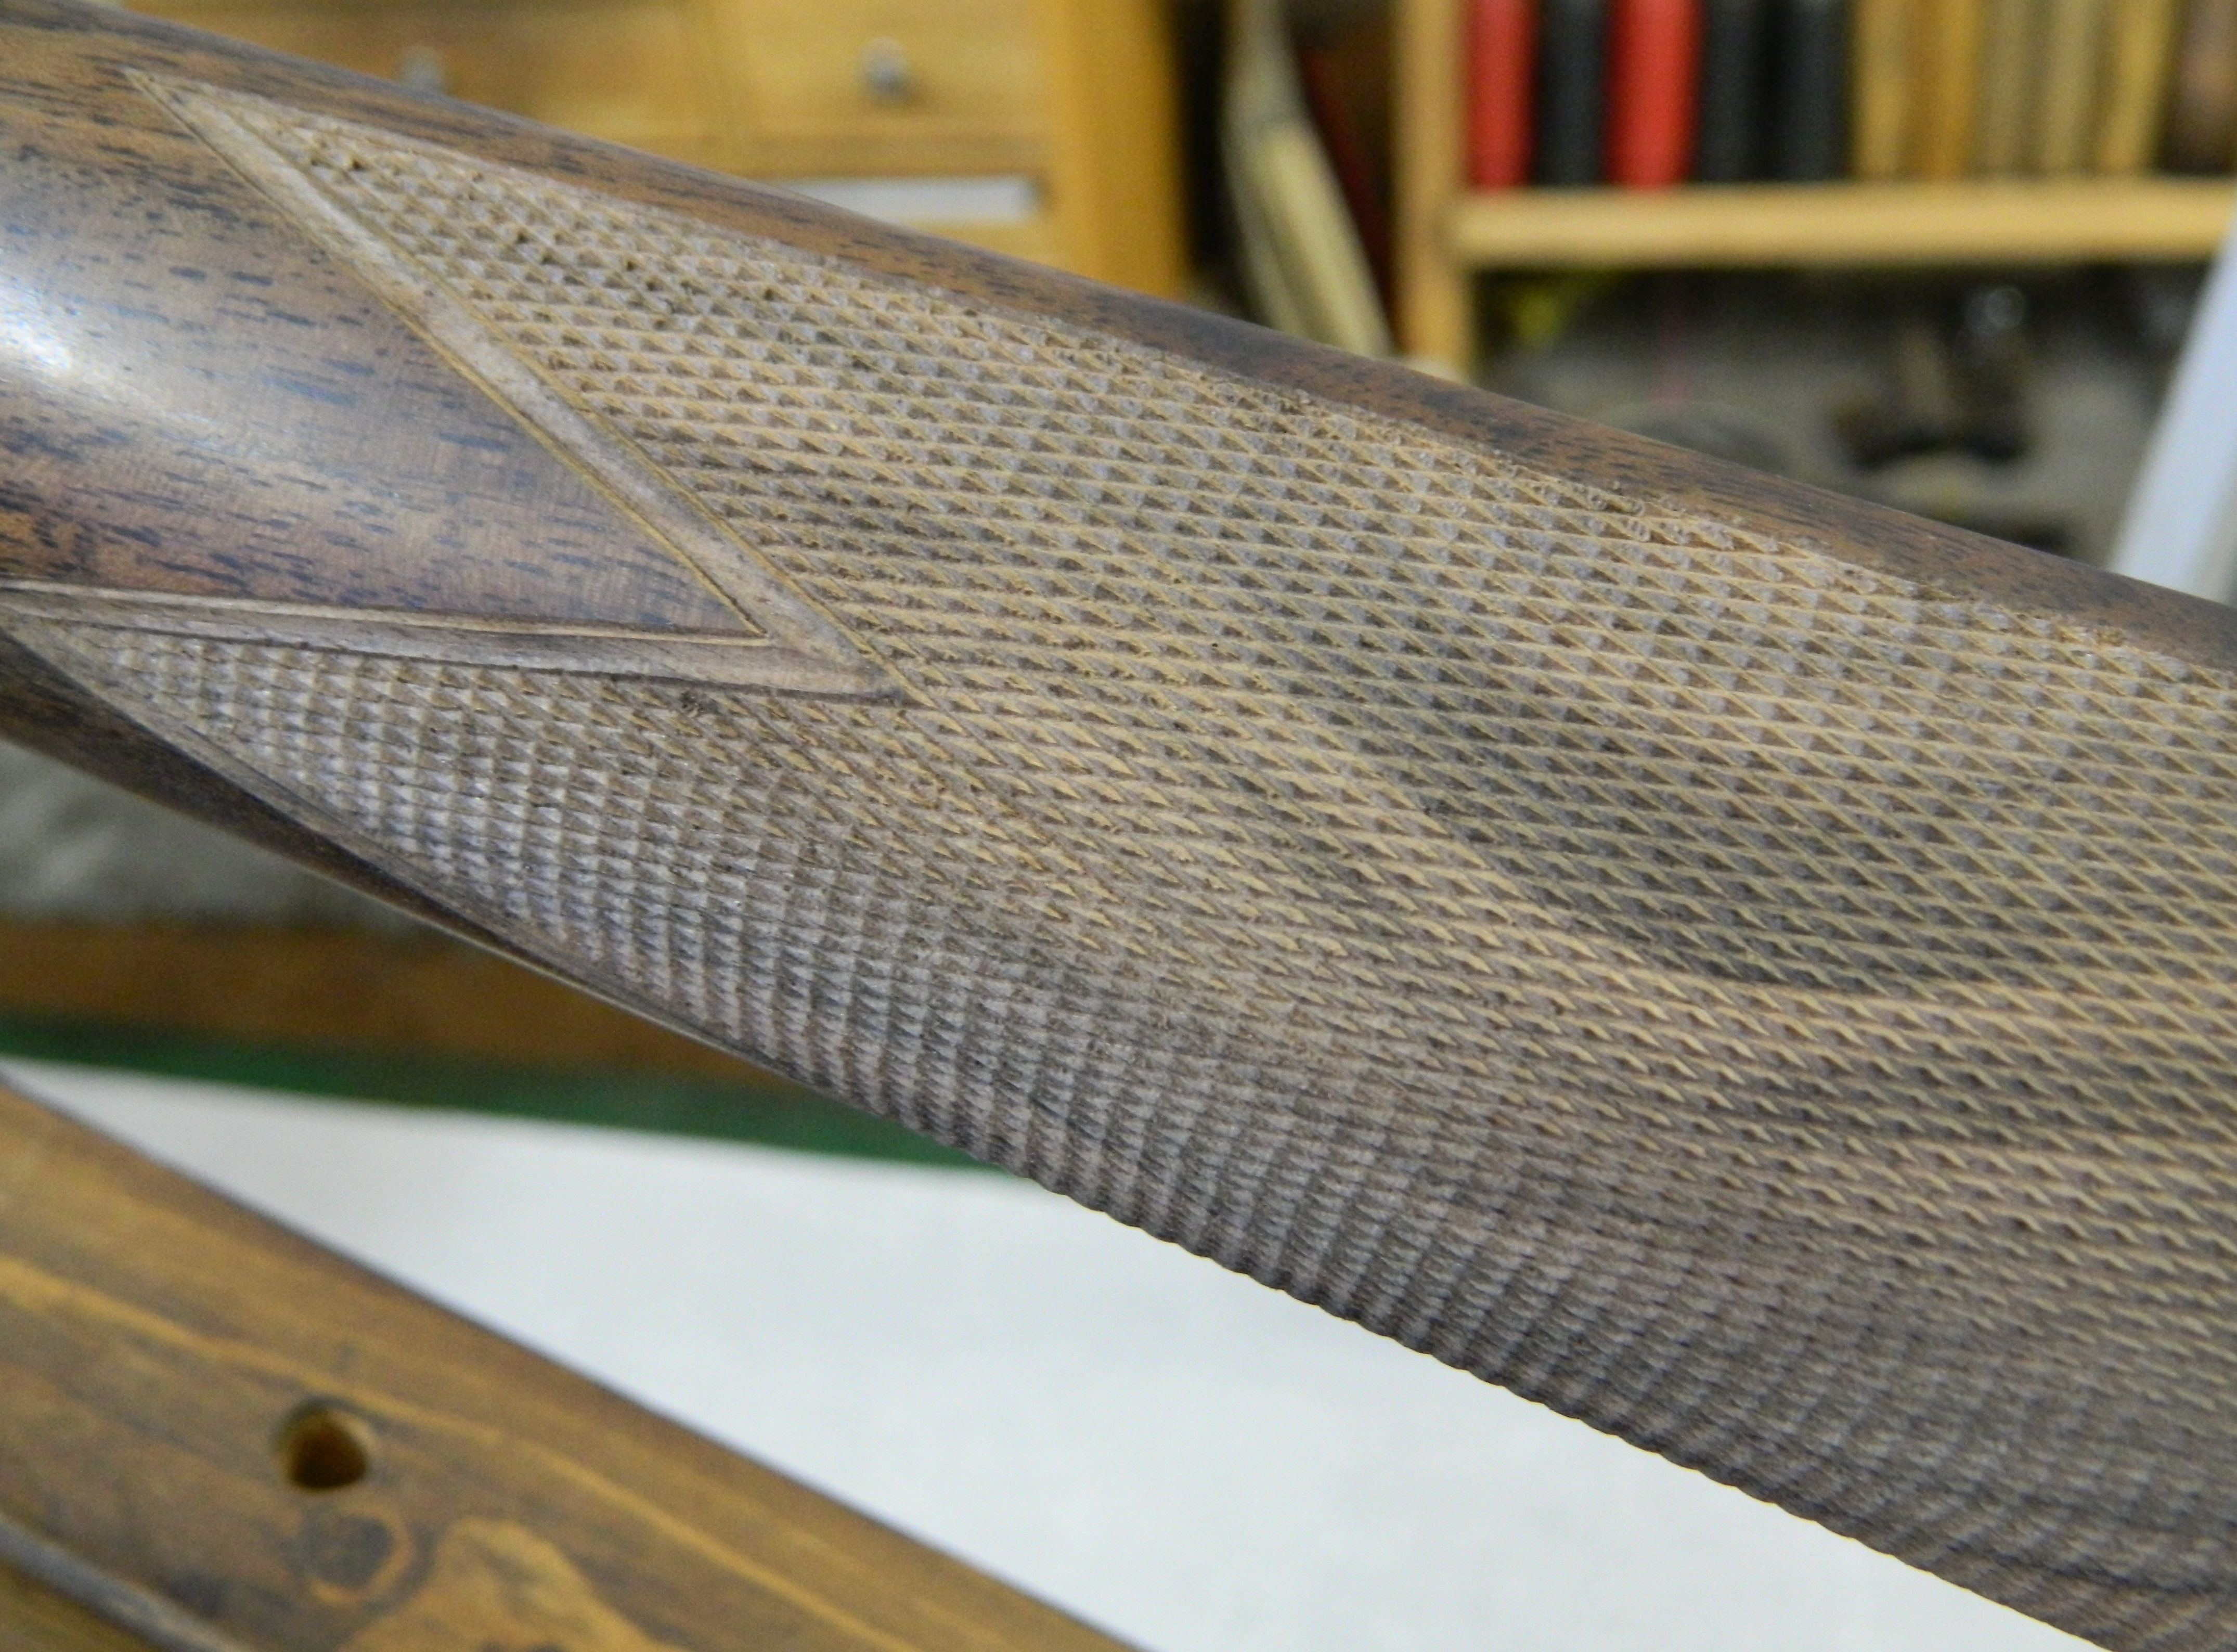
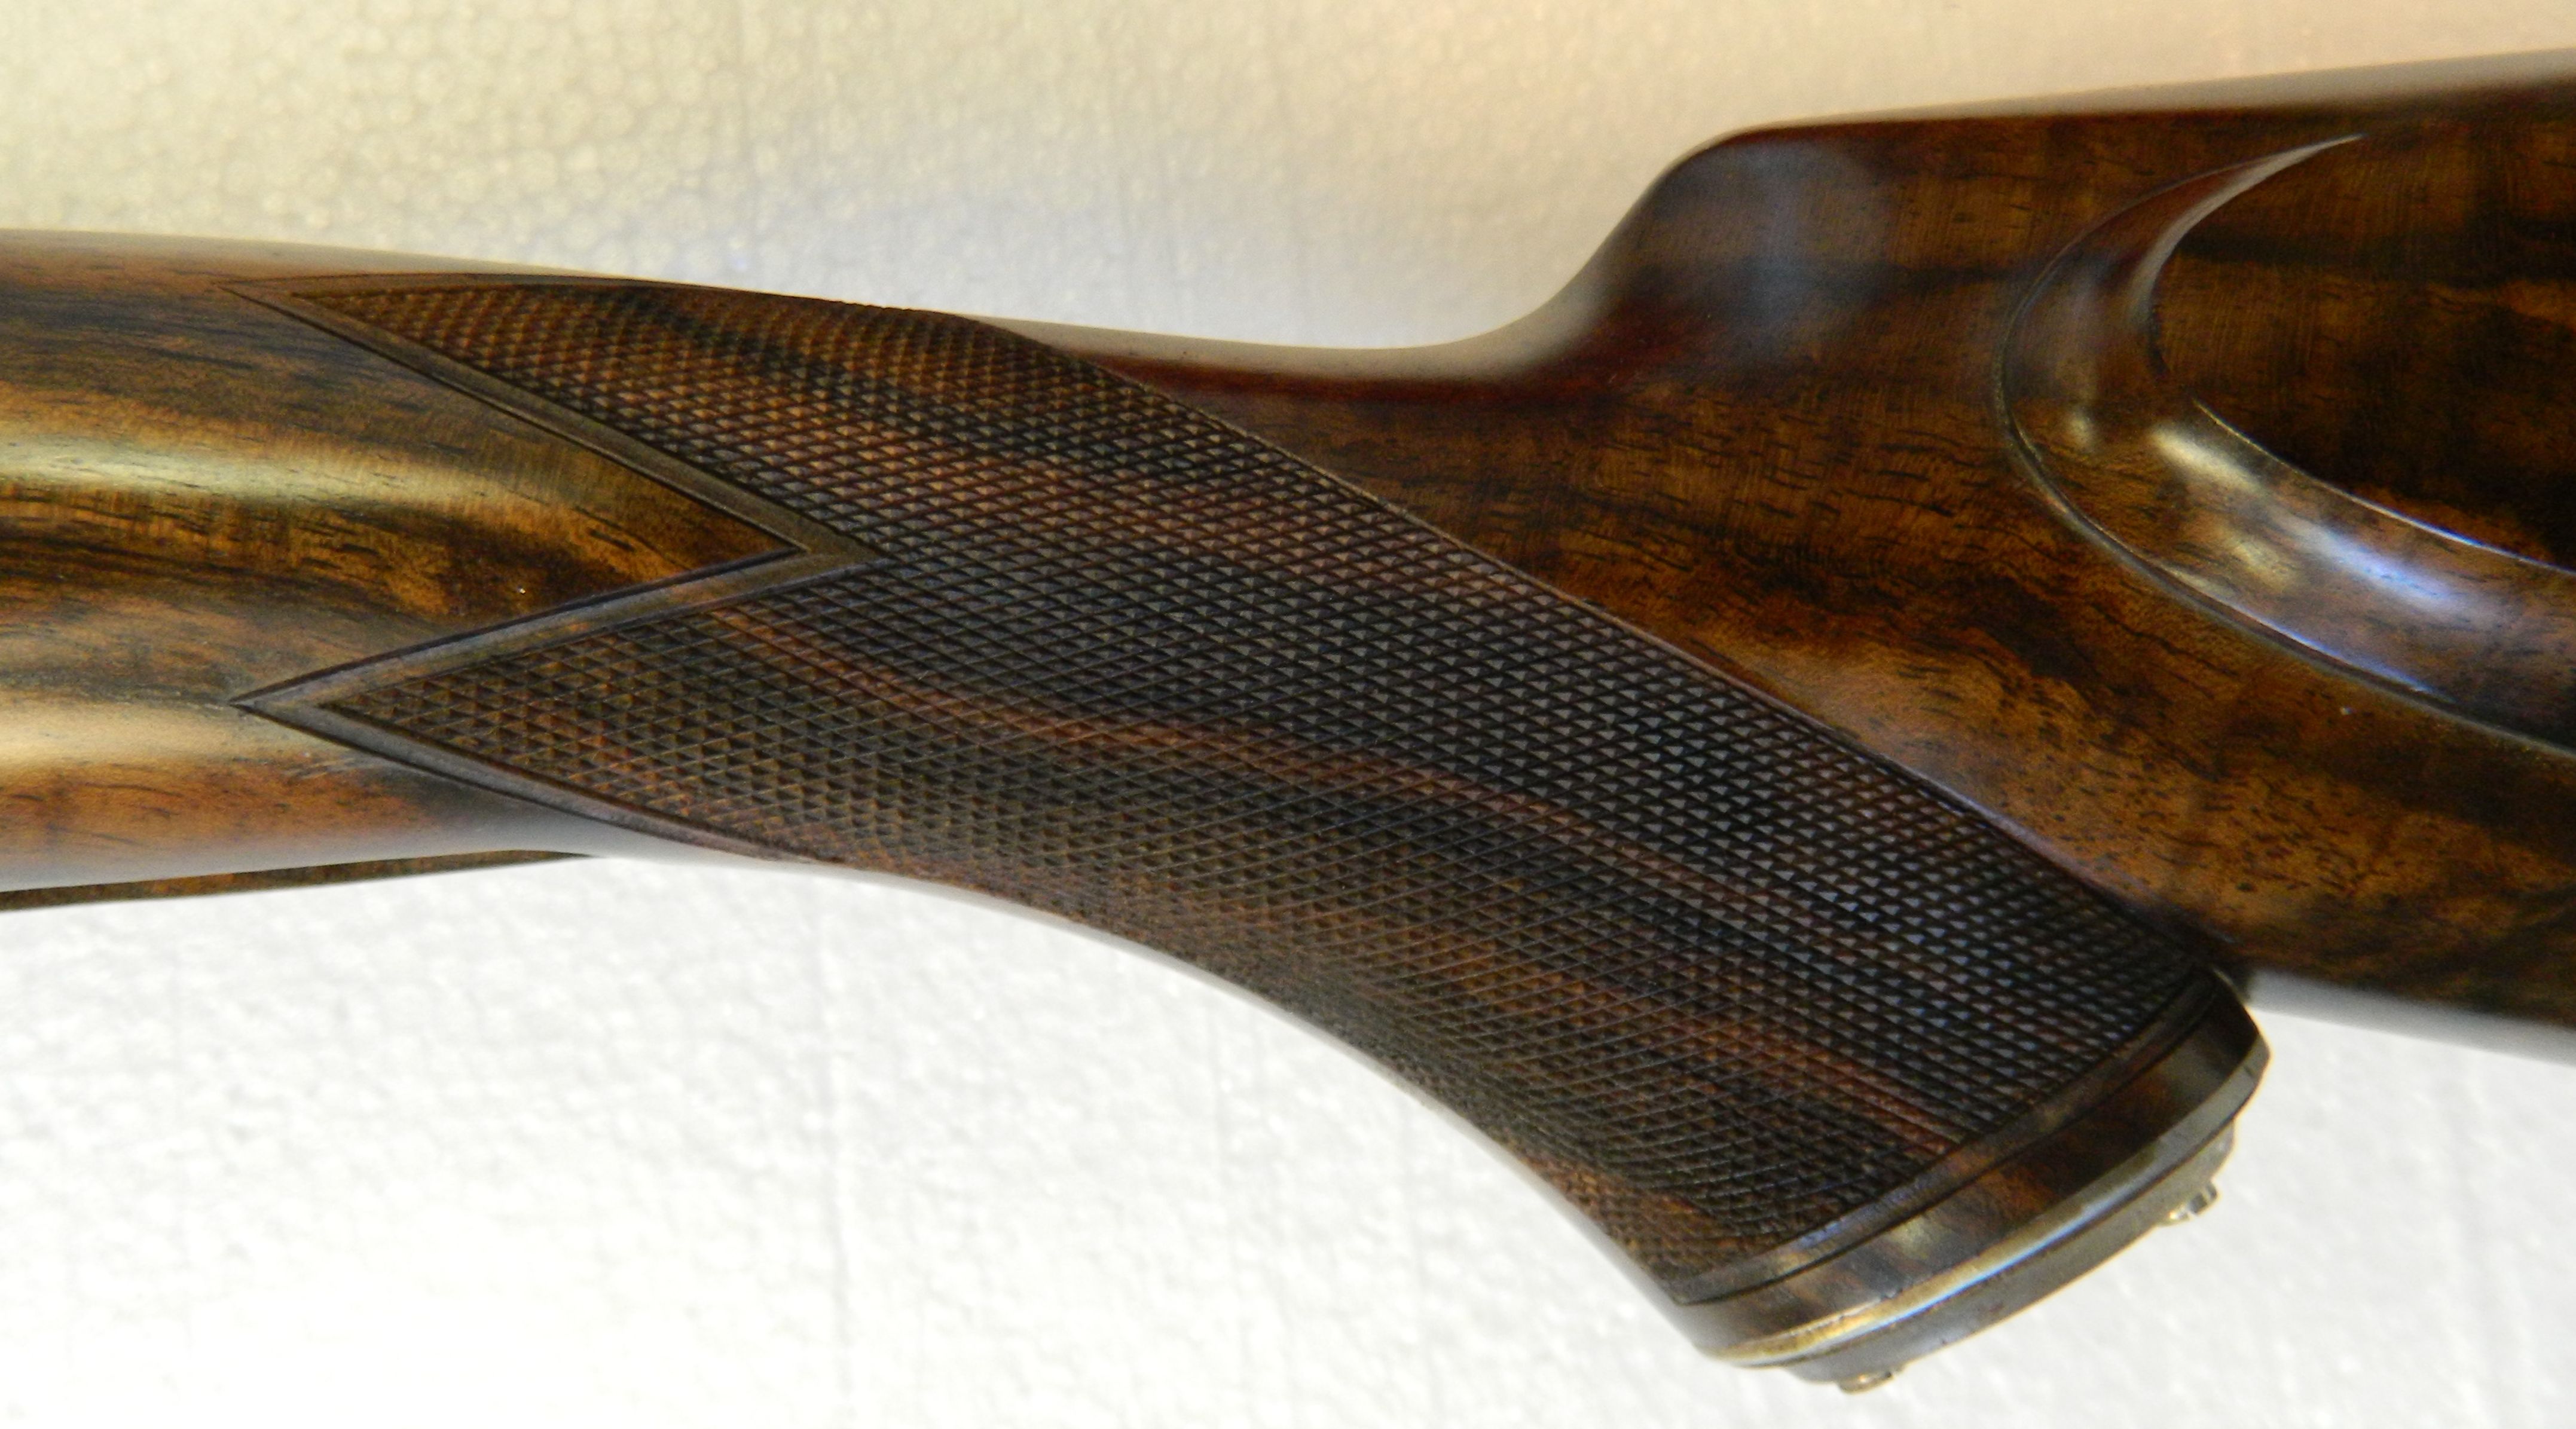
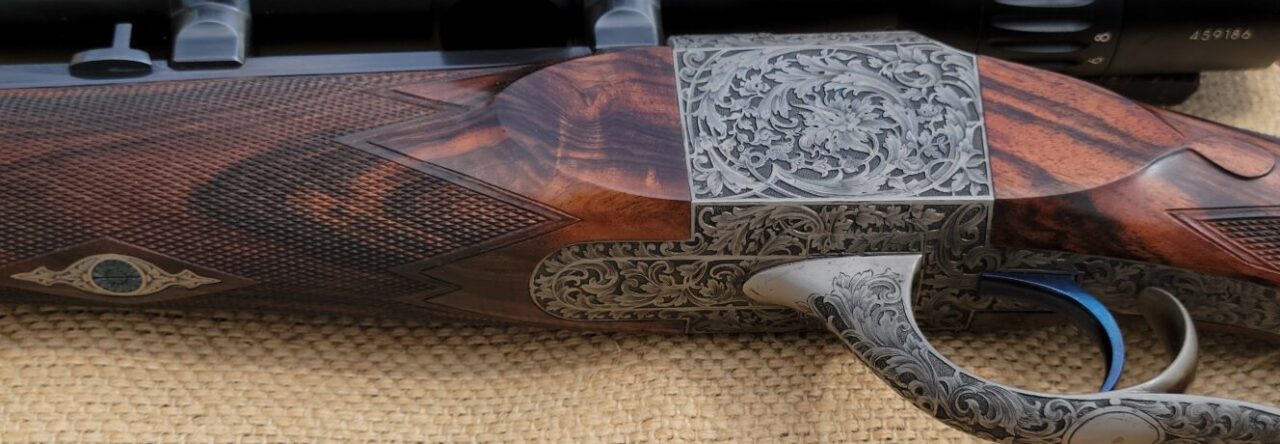
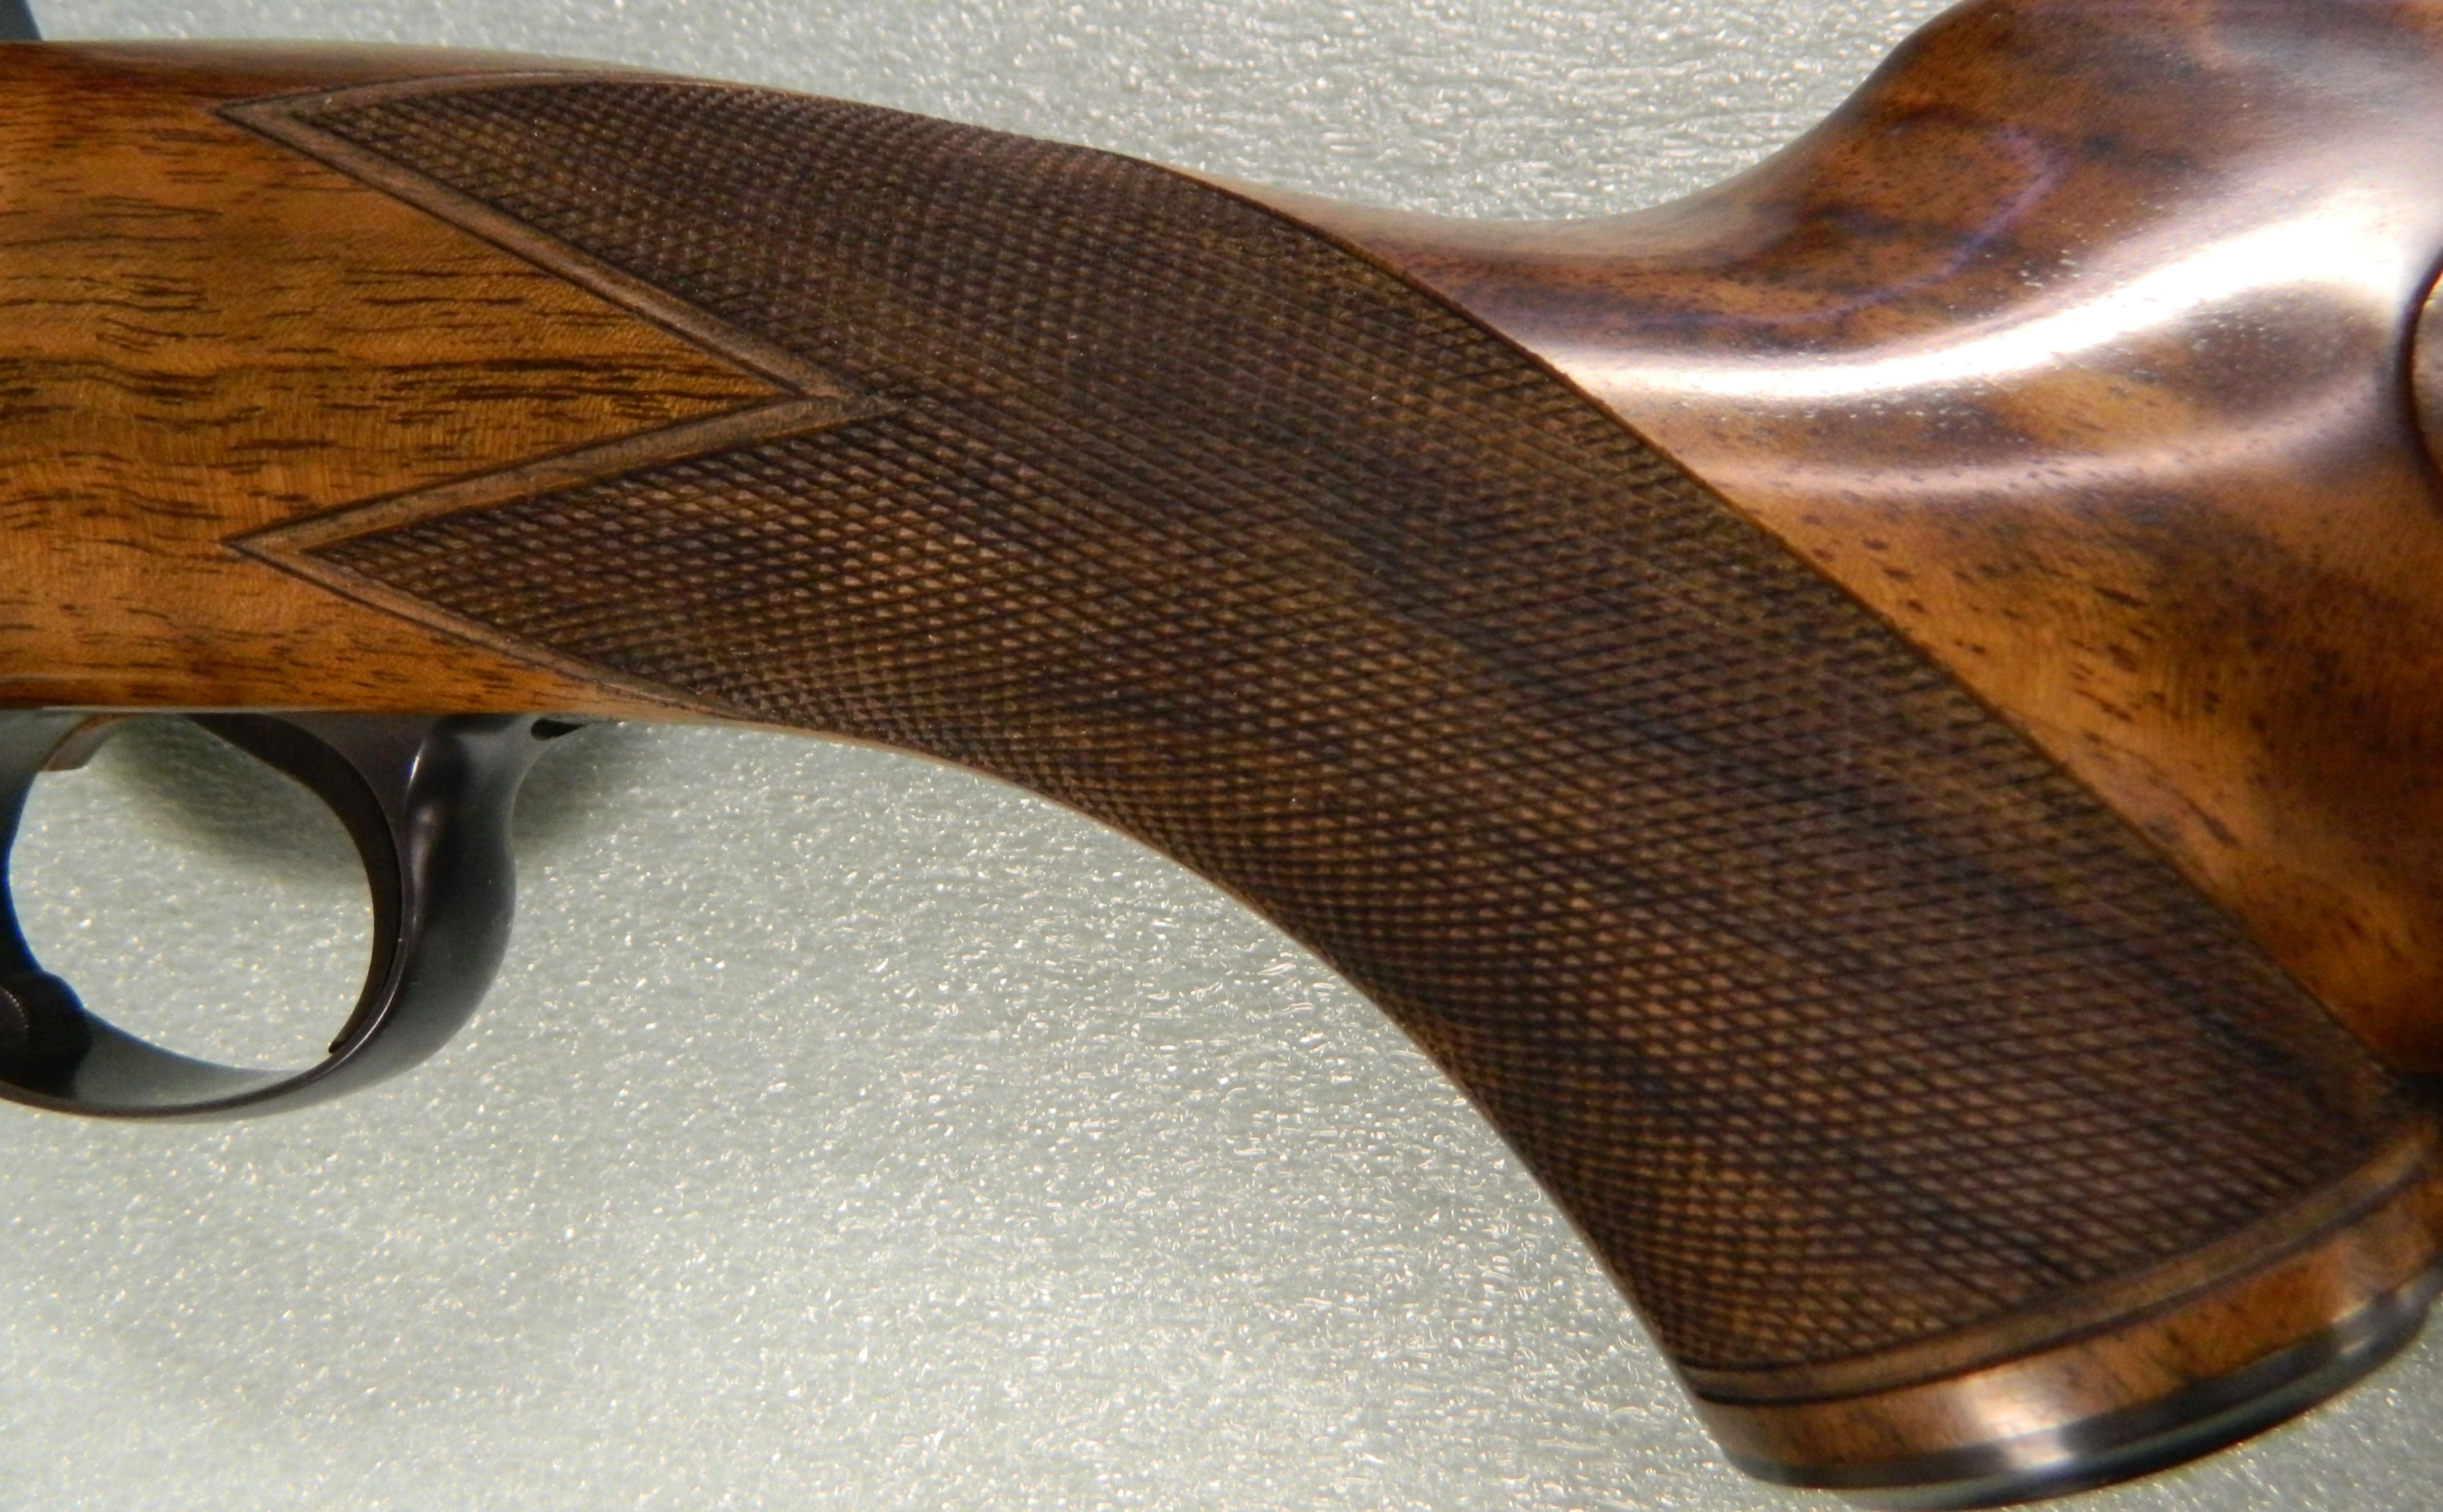
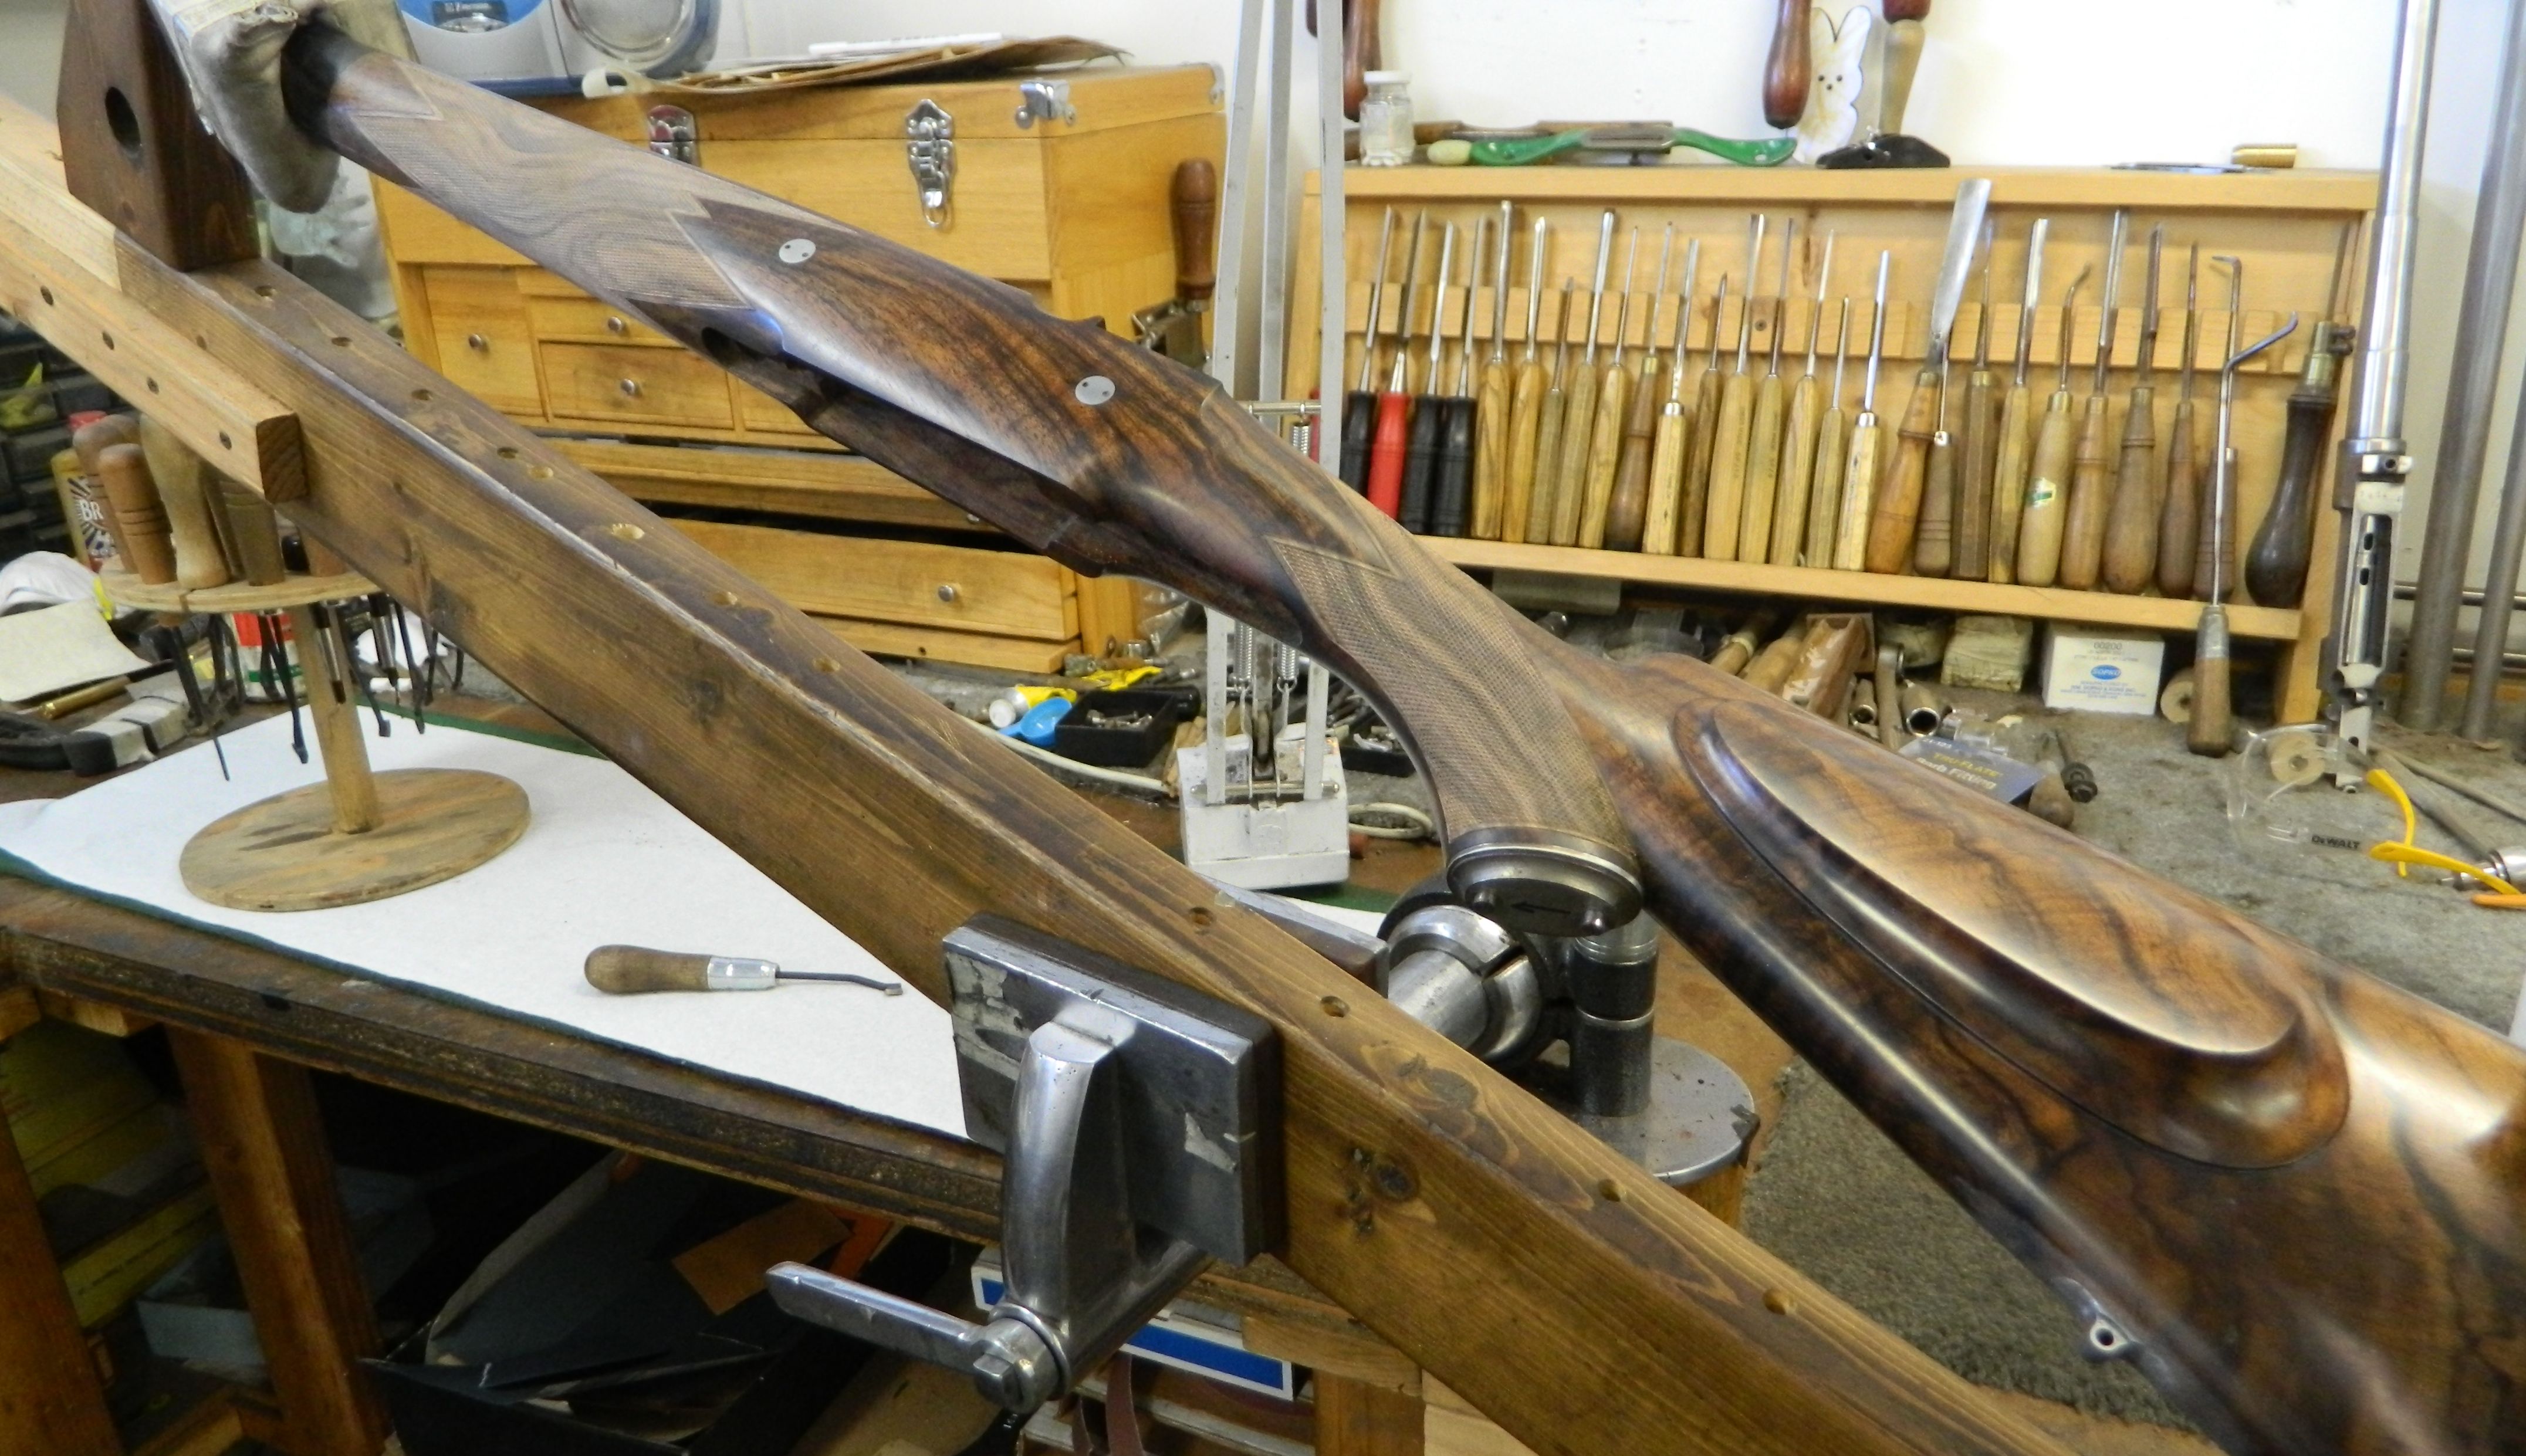
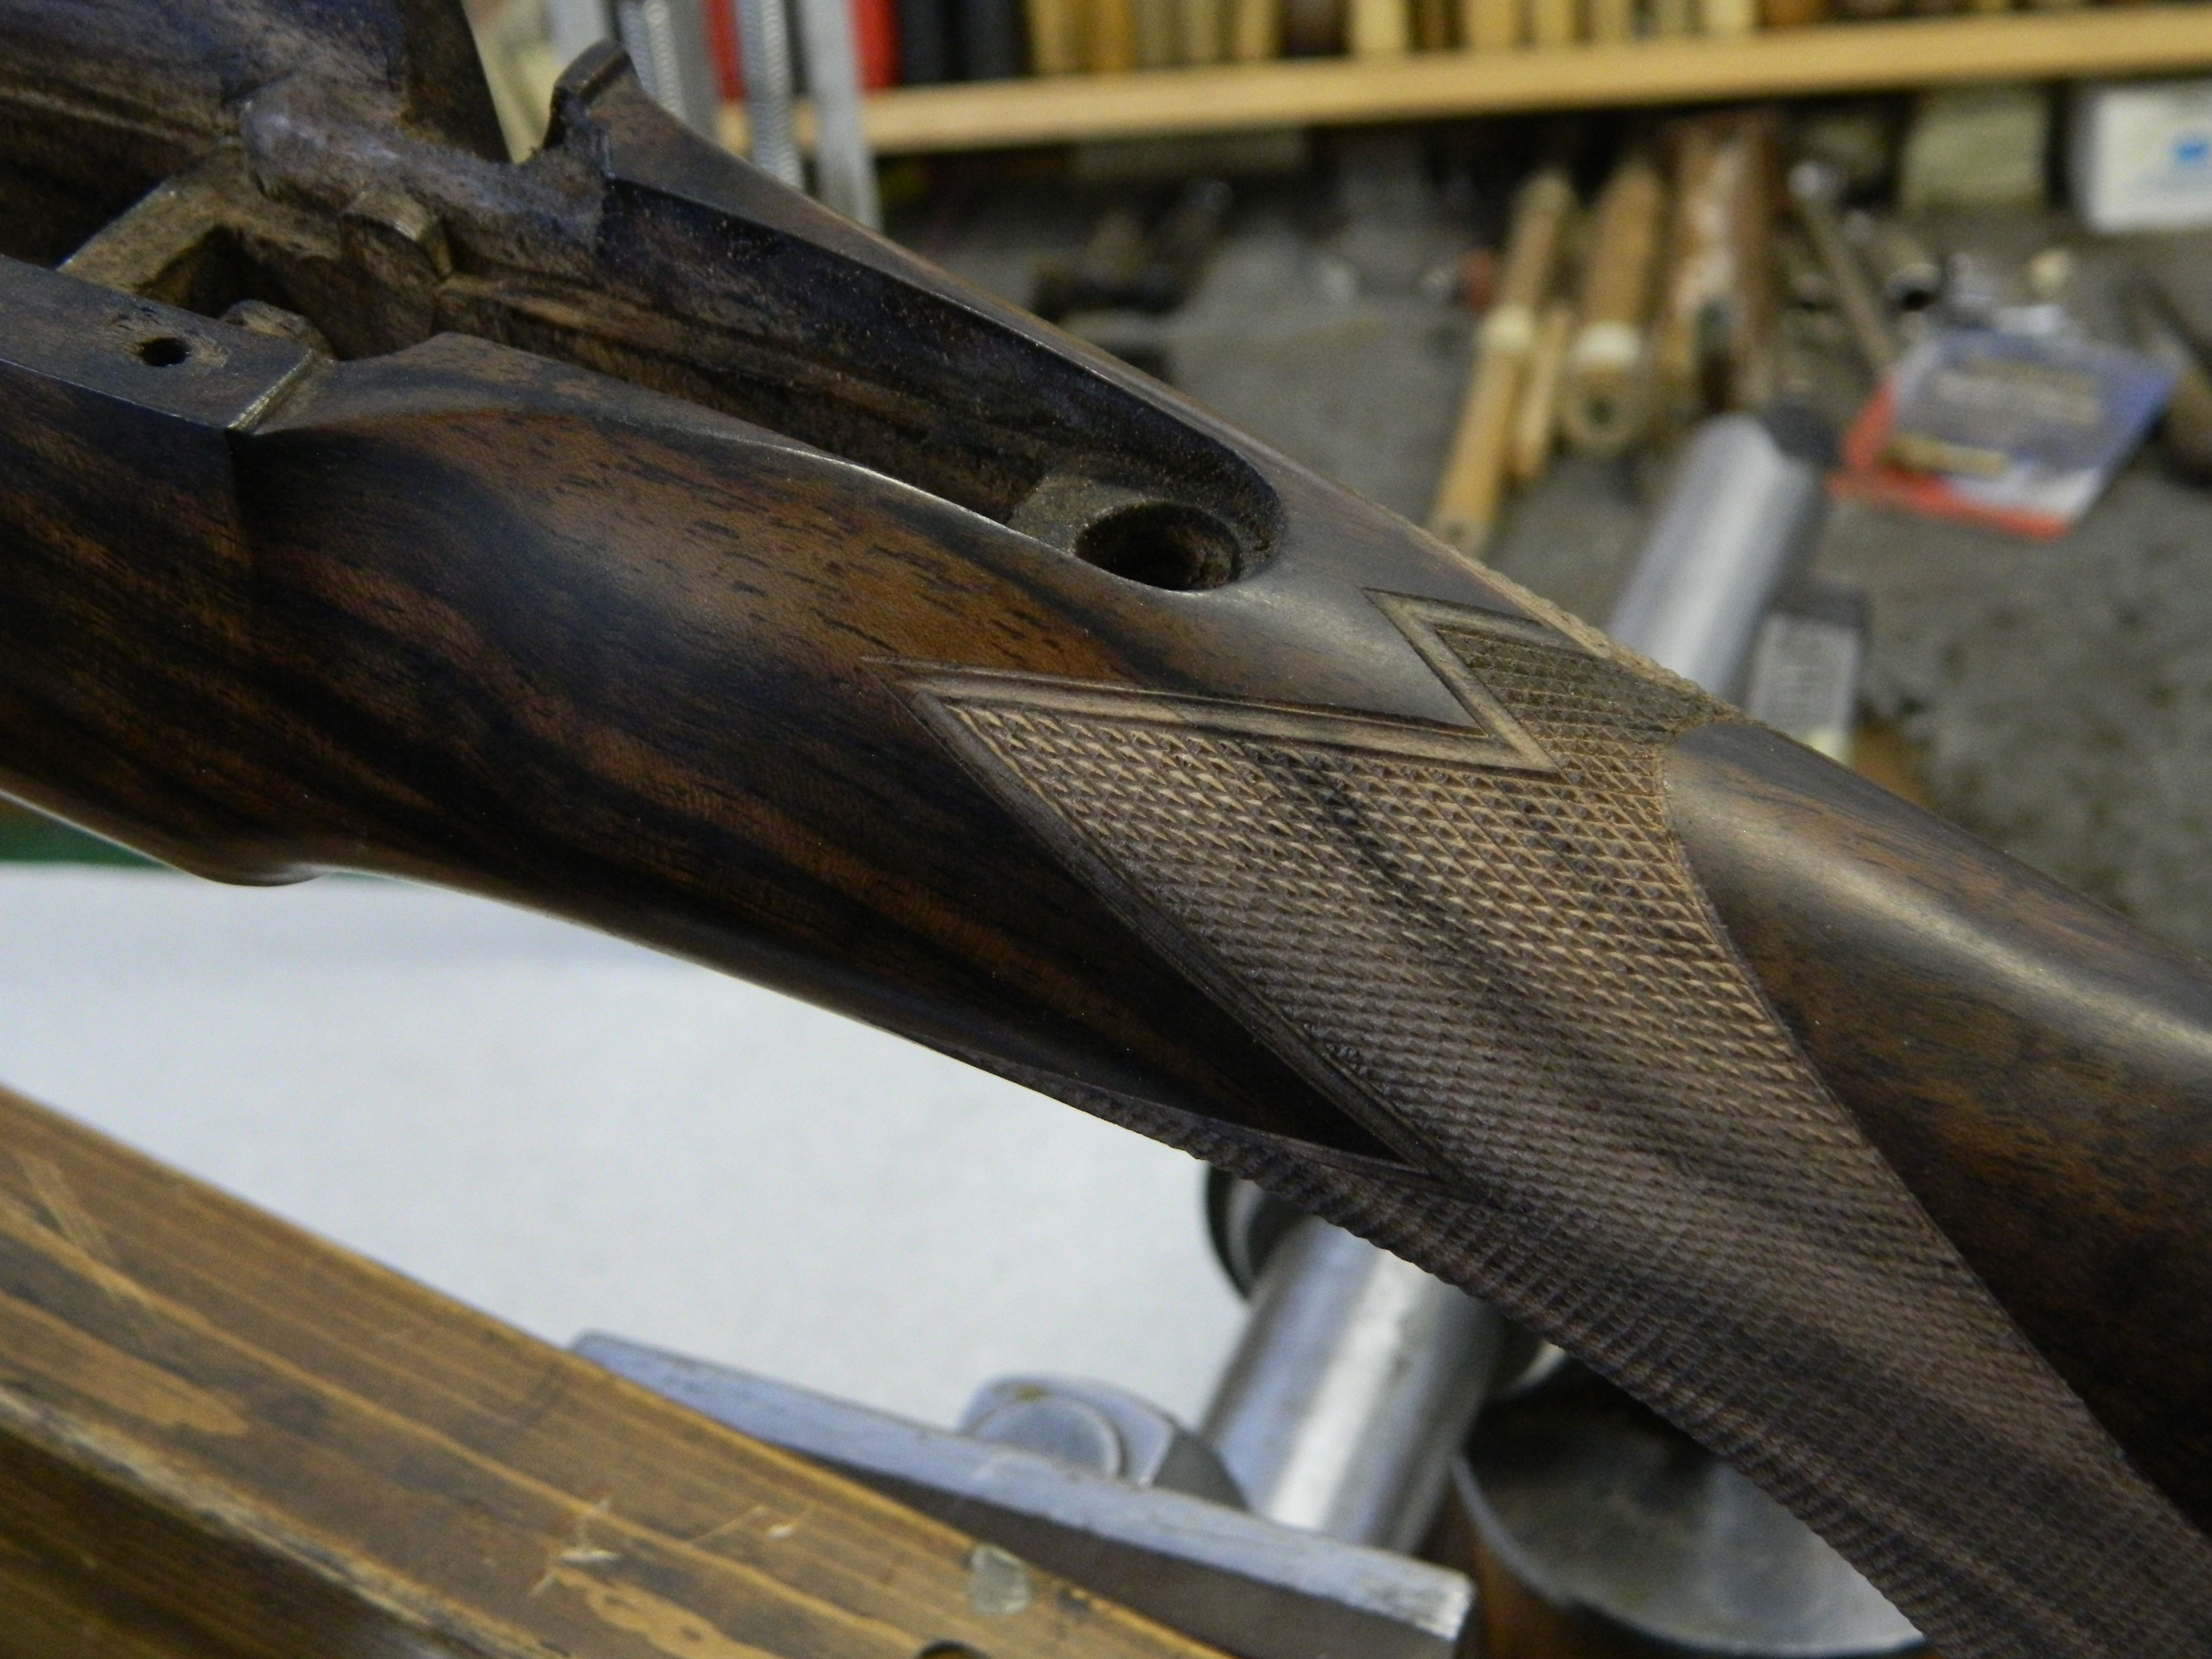
There are two types of checkering you will find on my rifles. Either diamond point or flat top checkering. Diamond point is probably what you might be most familiar with and it is what is found on most modern guns. The tools used for cutting this style have a 90 degree V shaped profile. Flat top checkering was often used in the old days on German and English guns, and recently it seems to have made somewhat of a comeback in the custom gun world. The tools used for cutting flat top have a different cutting profile and cut U shaped grooves. Currently no commercial tools are available as far a I know and mine have been made in the shop. The feel of the 2 styles of checkering is different, but they work equally good. I personally don’t favor one over the other. For a small caliber gun I probably prefer diamond top, simply because the flat top spacing of the lines is usually wider then on diamond top. So I think the appearance lends itself better to larger caliber guns. However, on a very fancy piece of wood, flat top checkering really showcases the wood’s beauty. I usually leave the decision up to my clients.
DSCN0847

DSCN0849

DSCN0848

DSCN0856

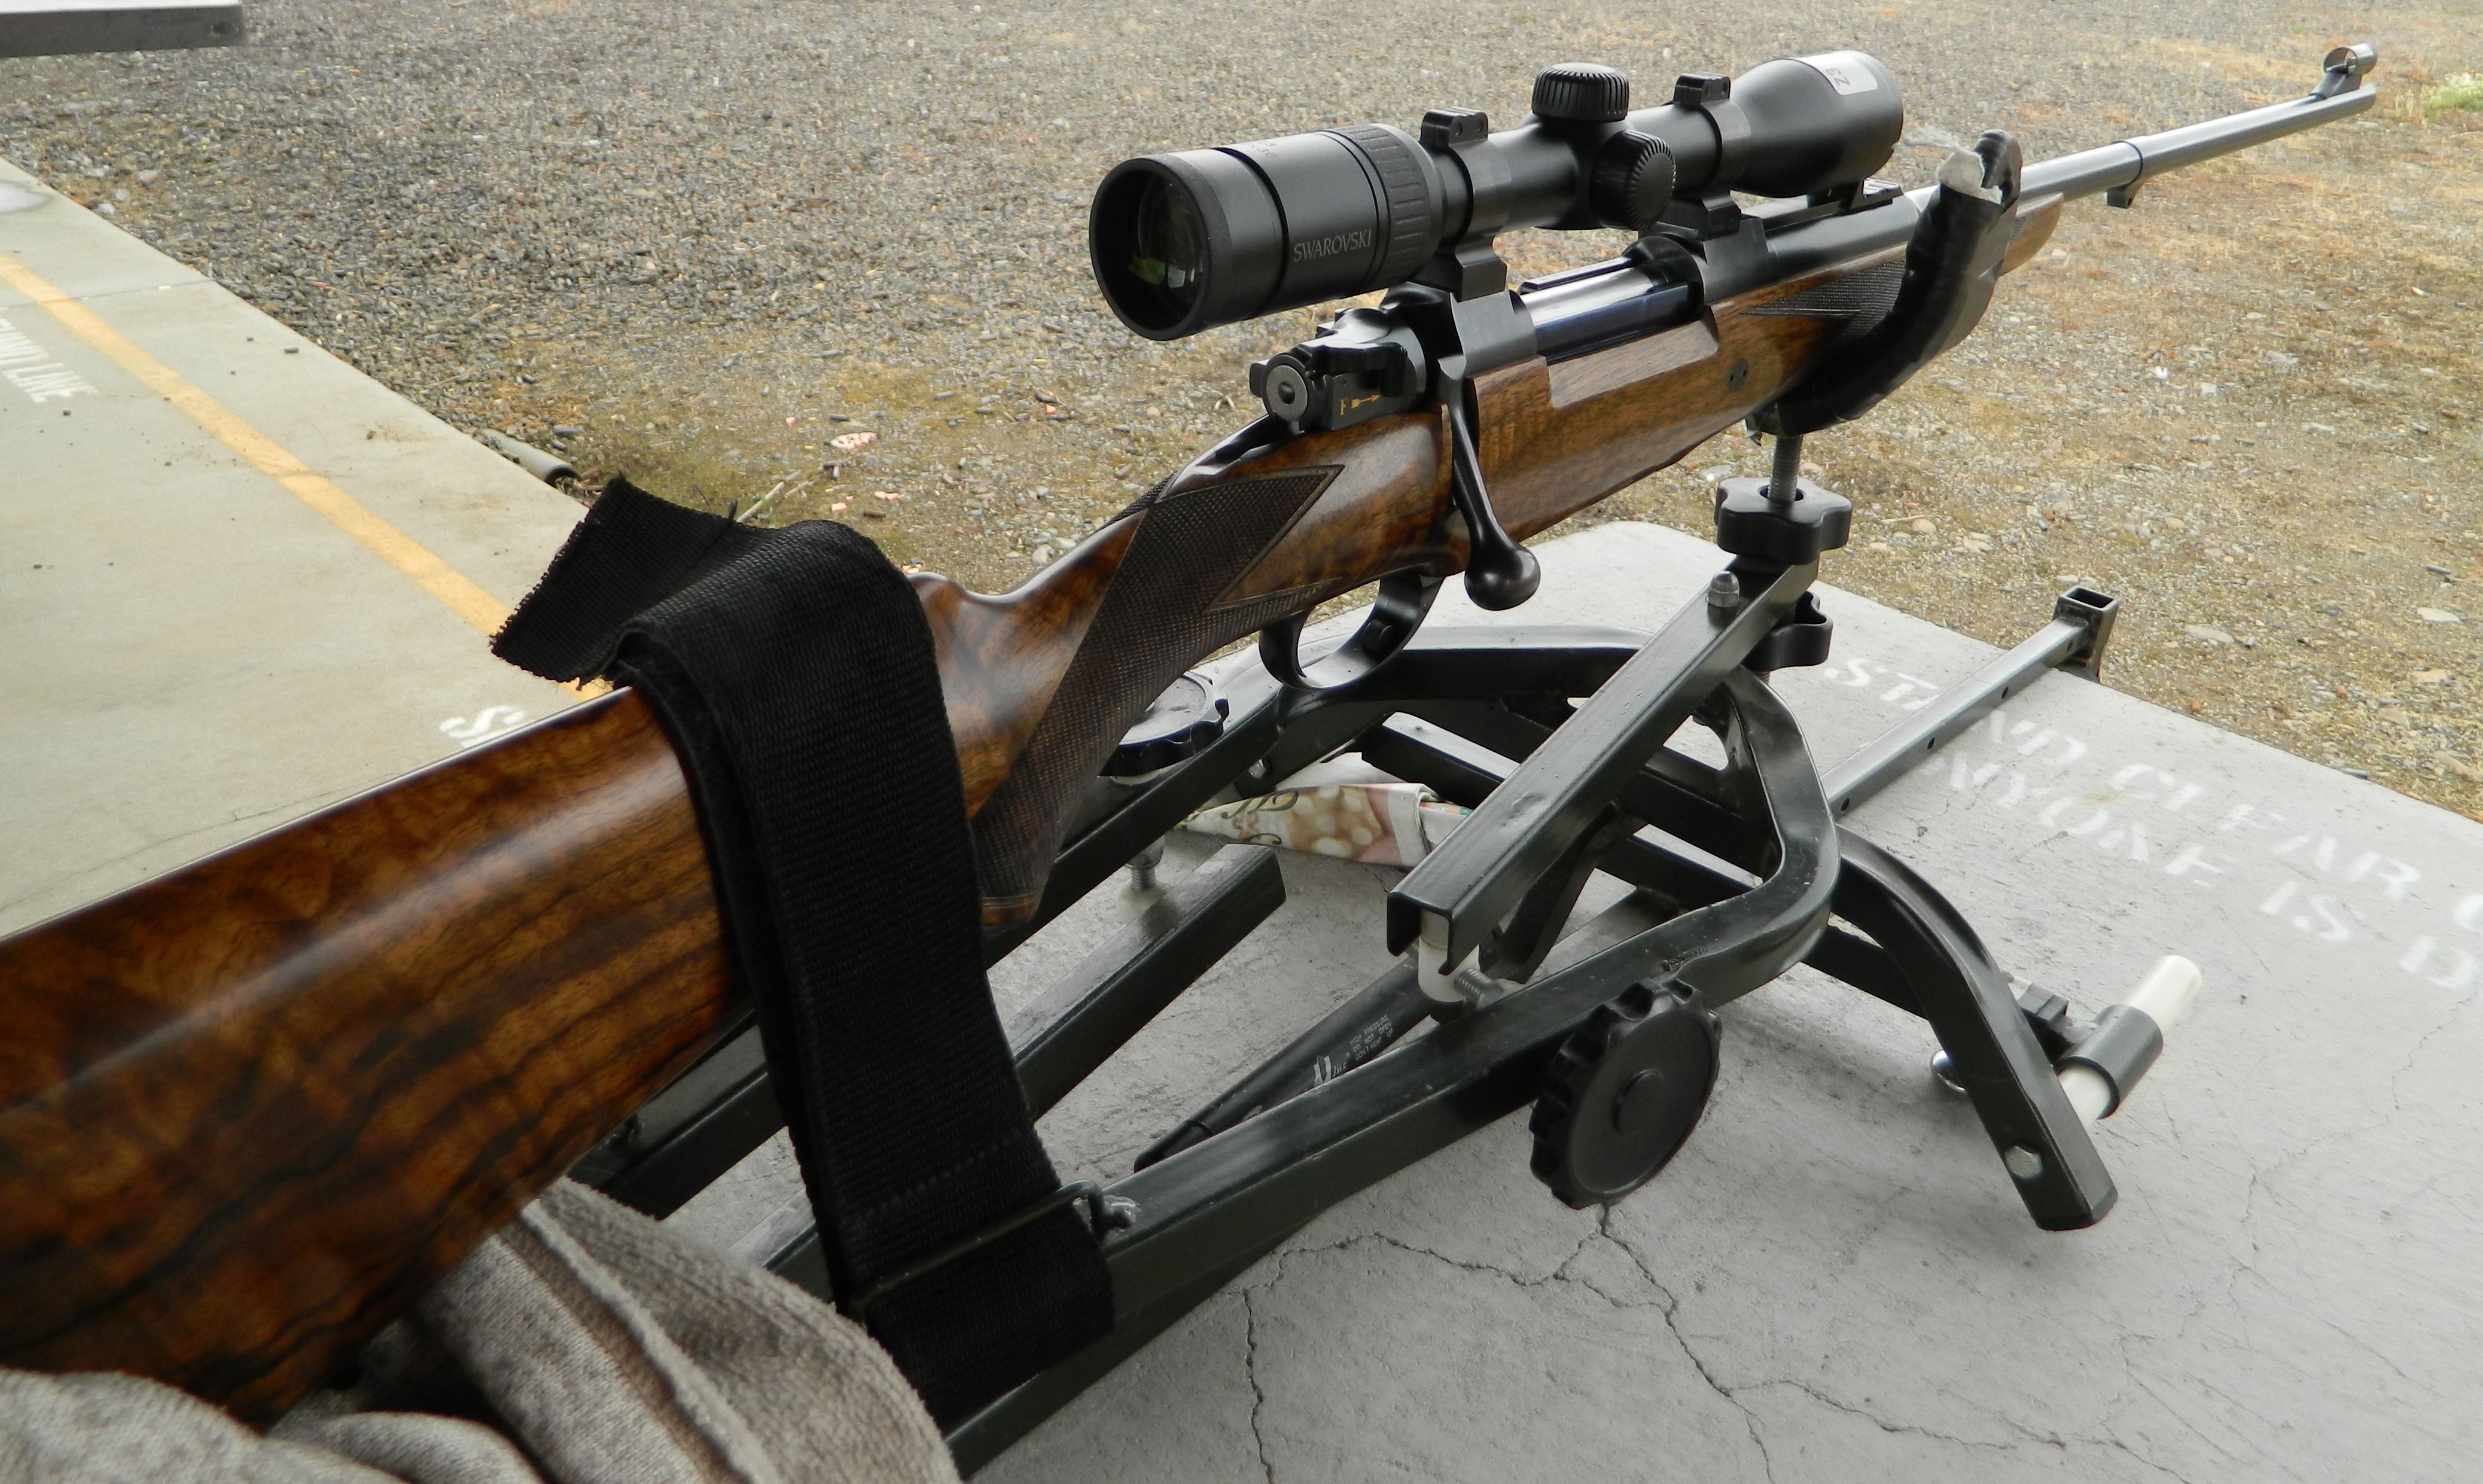
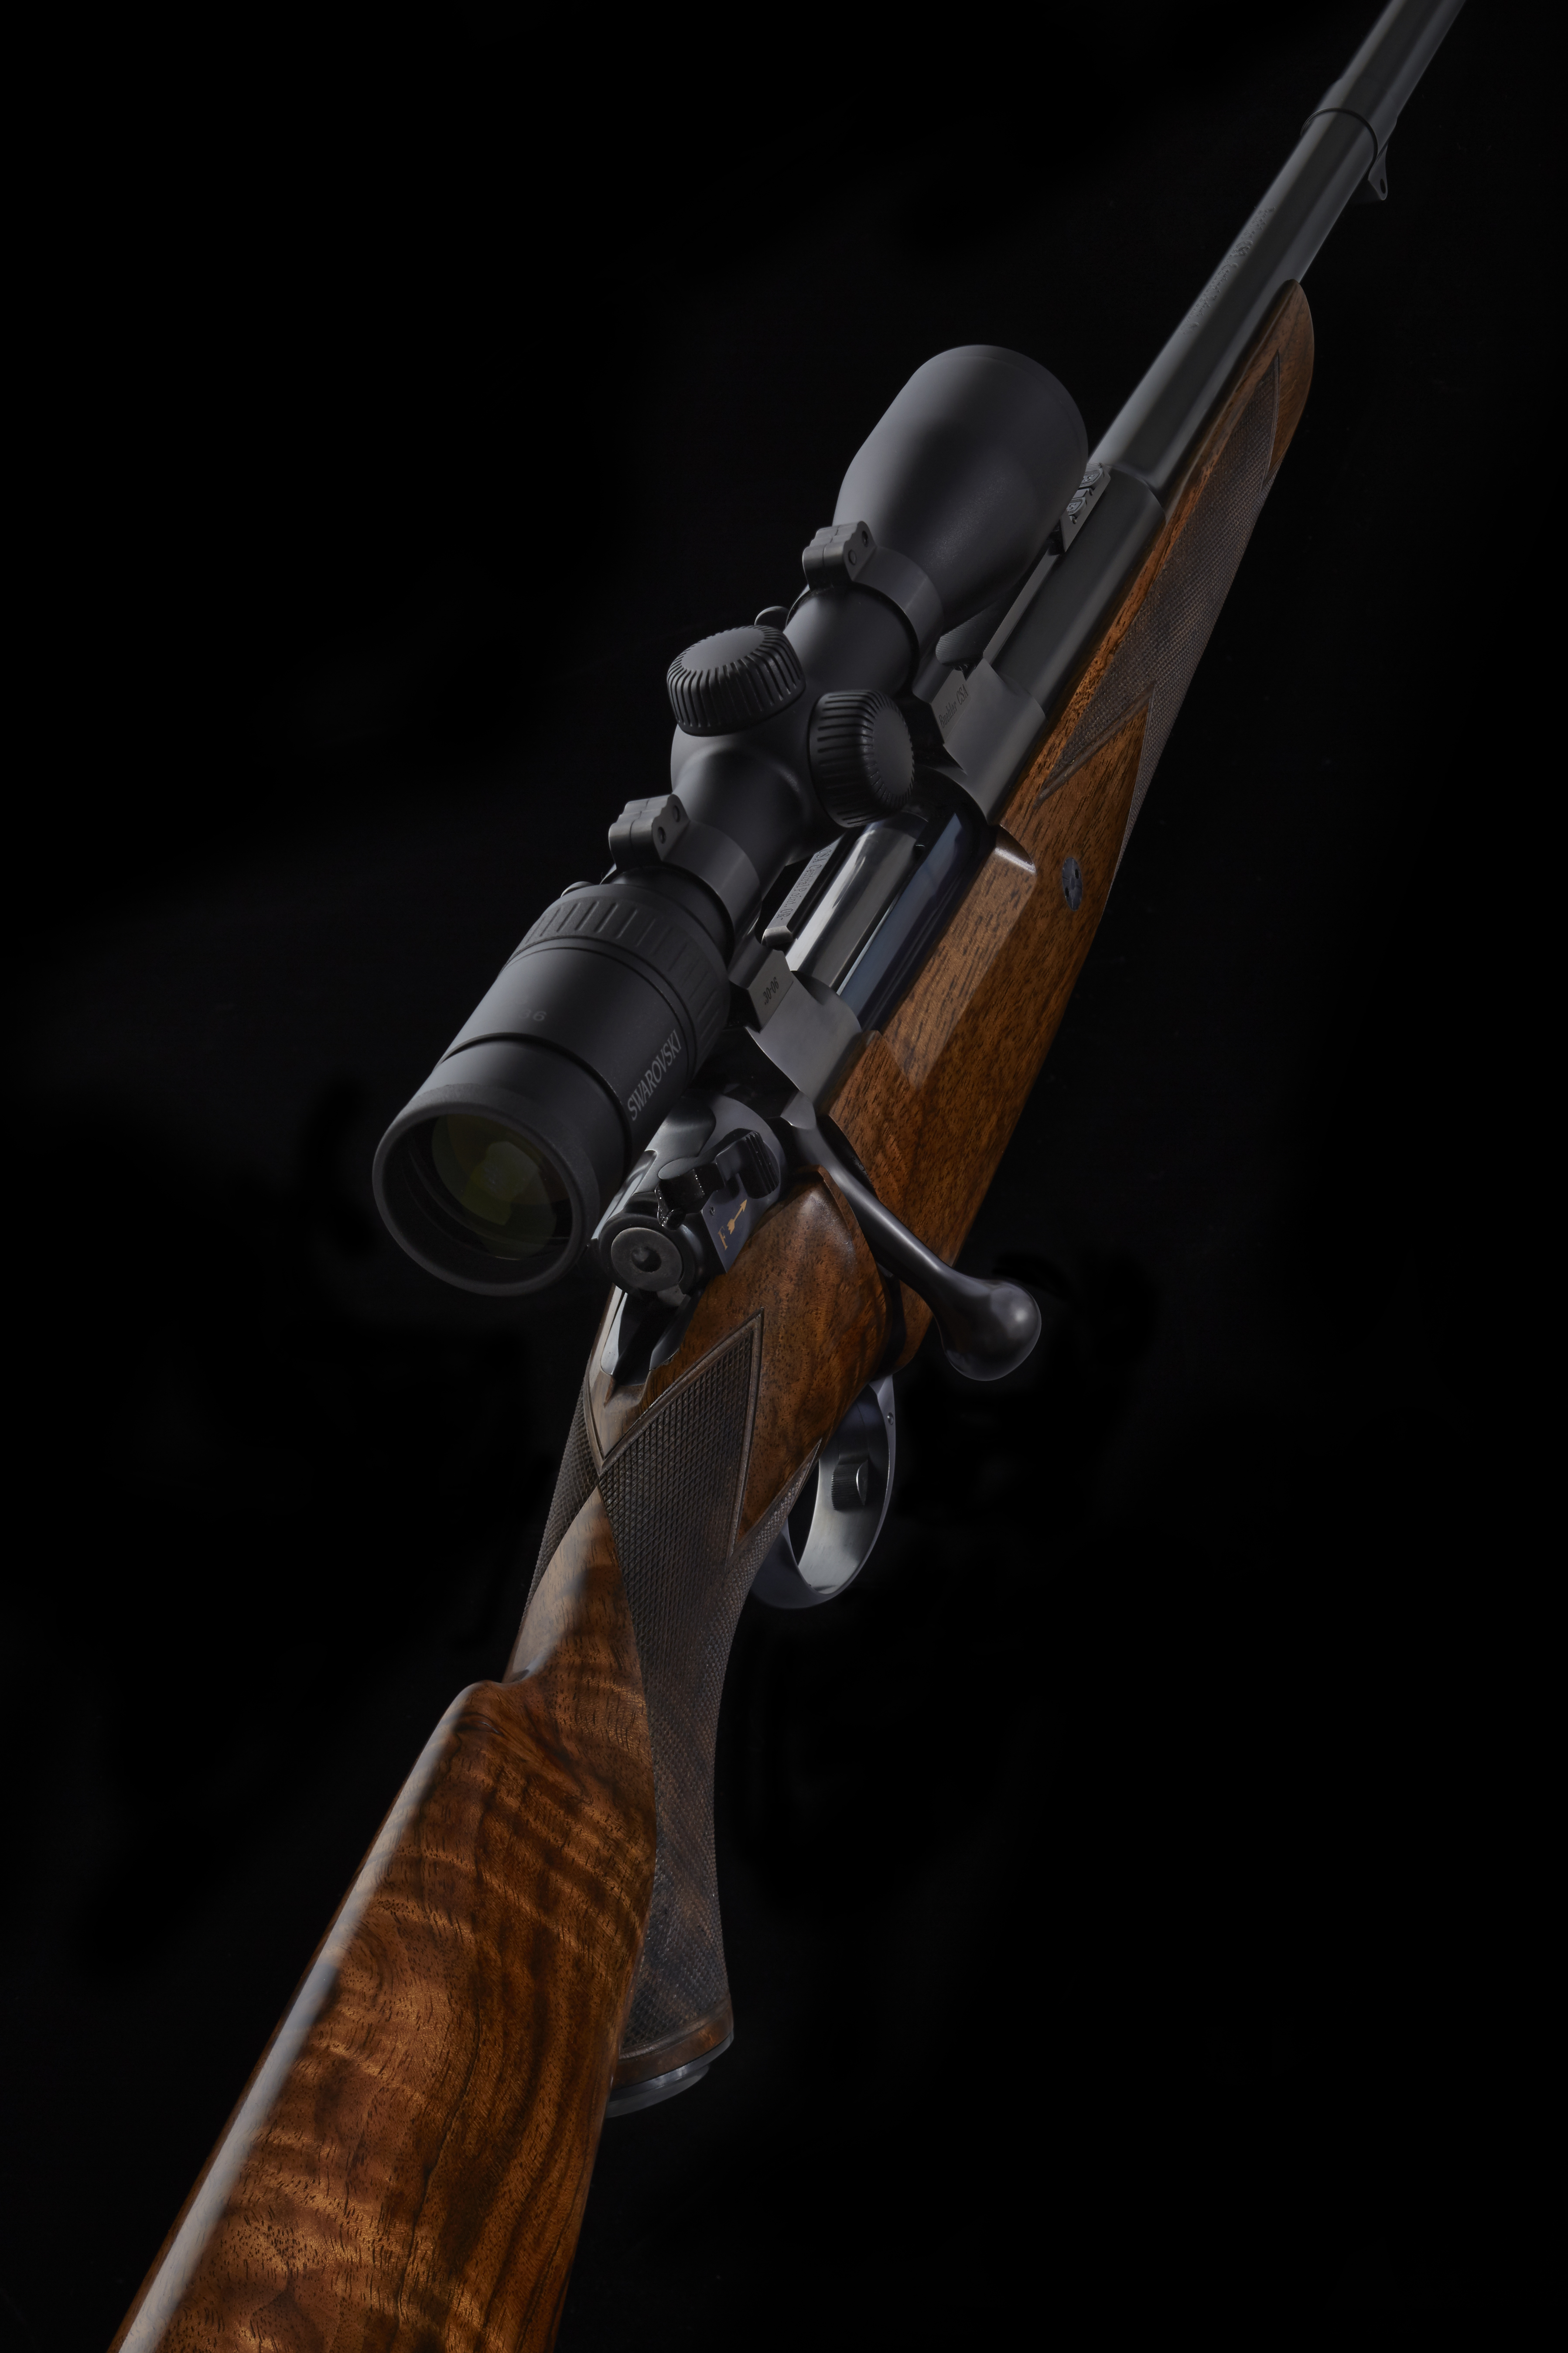
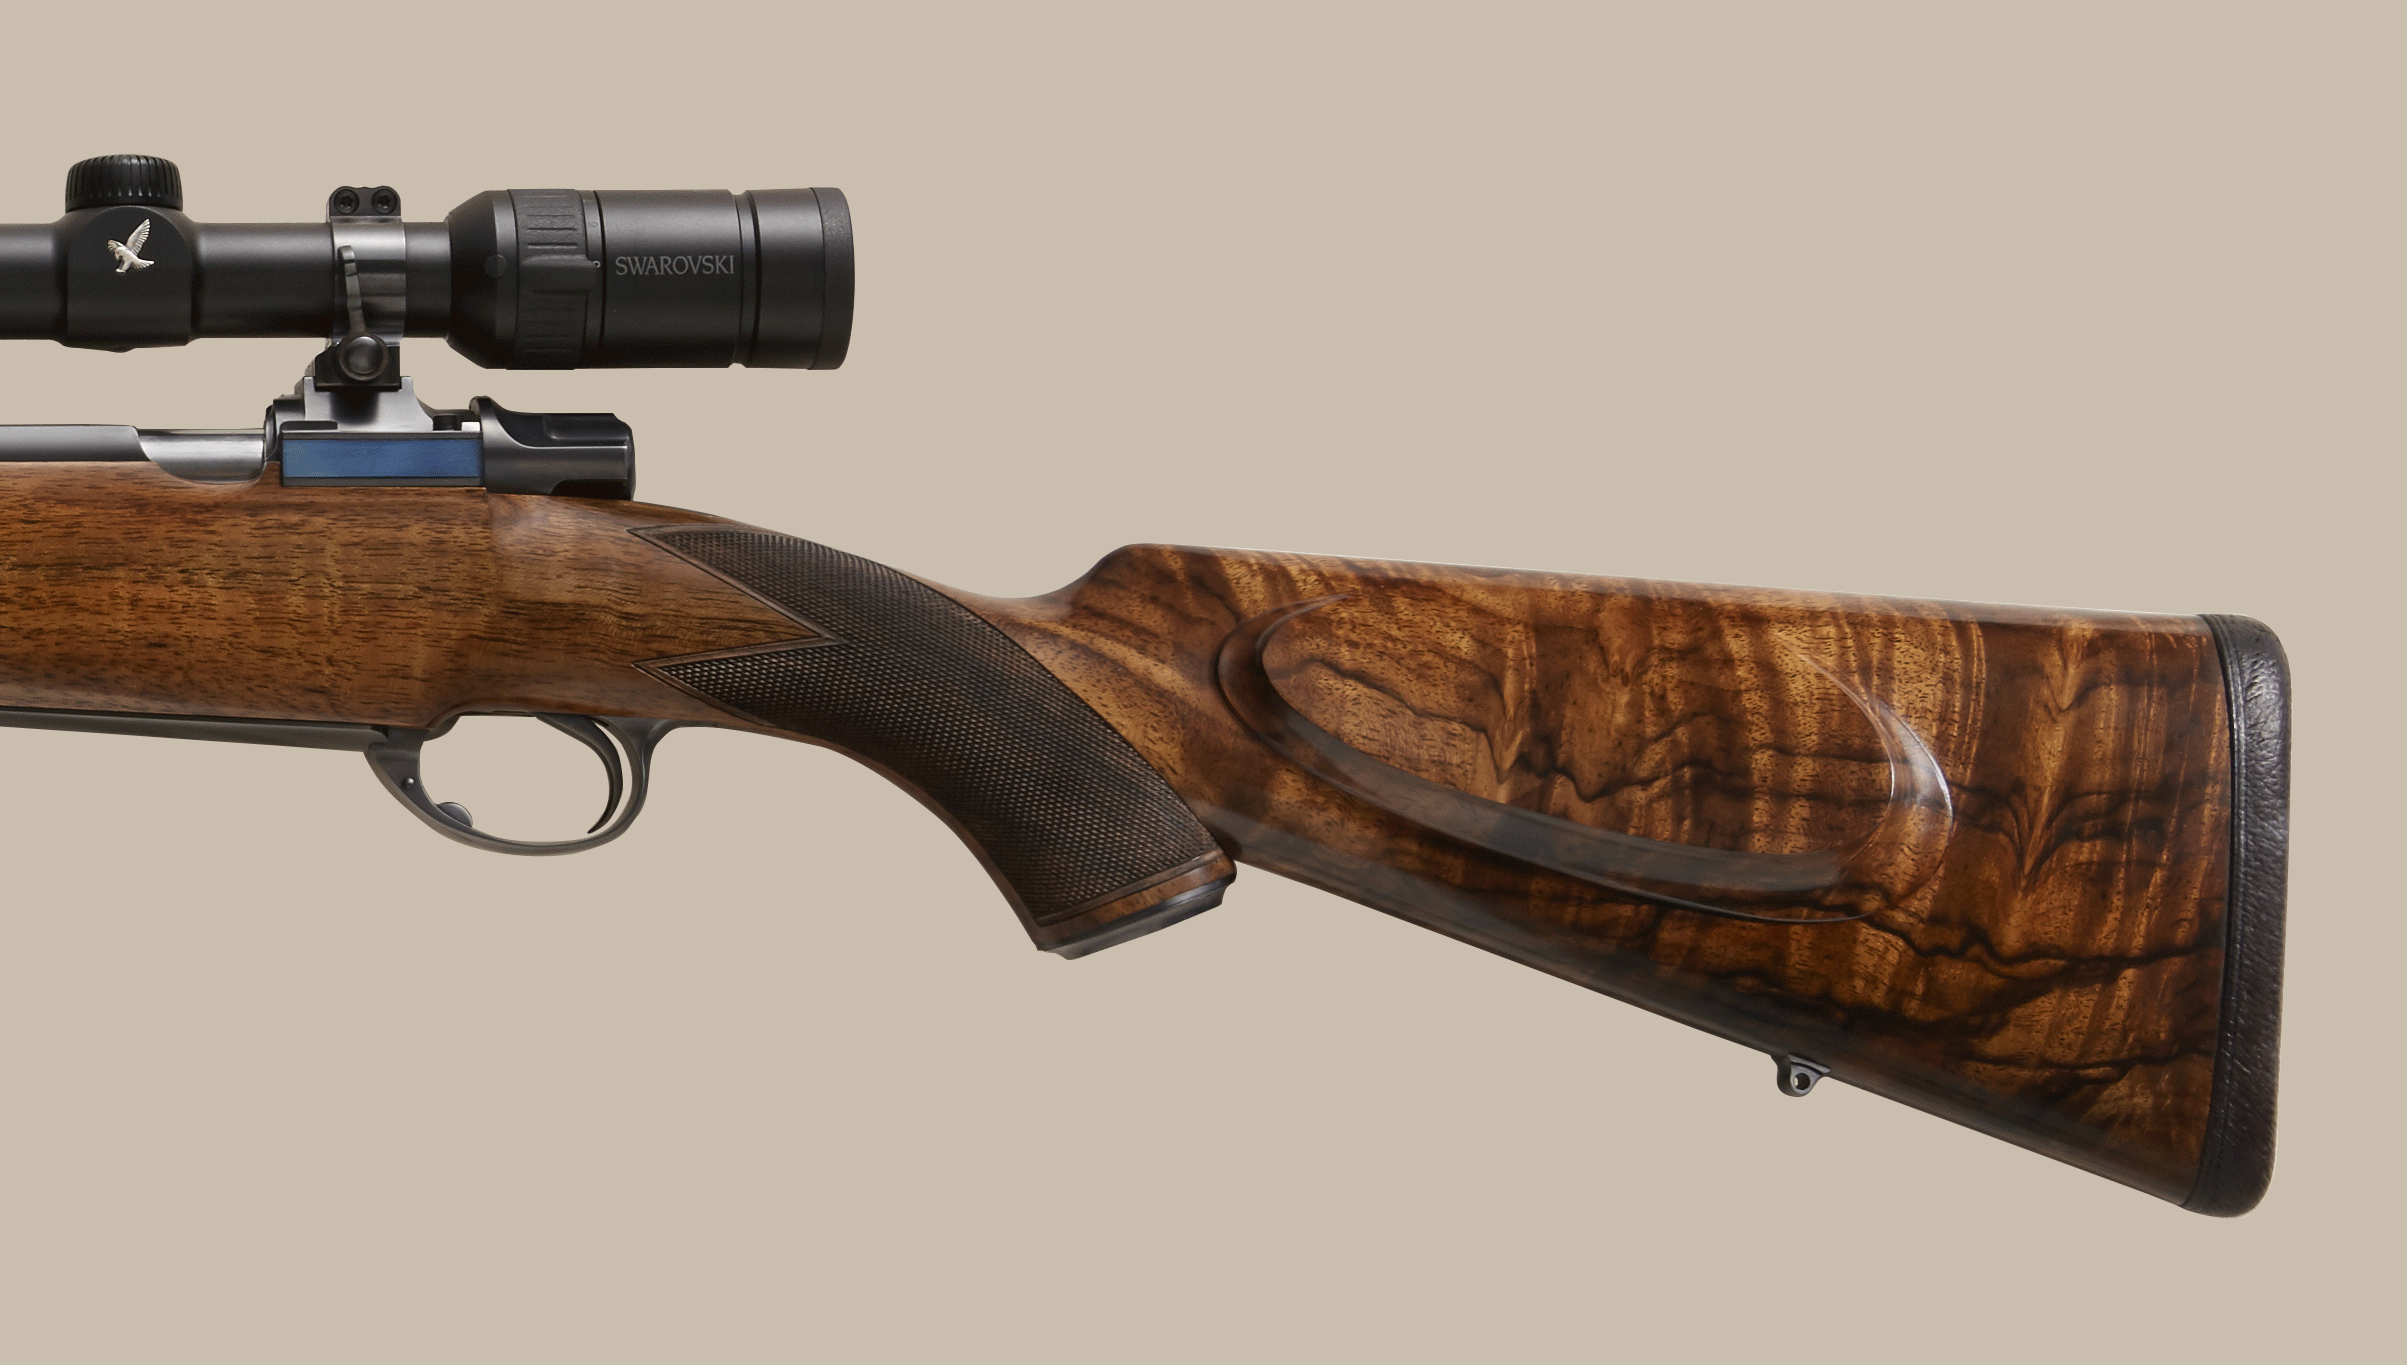
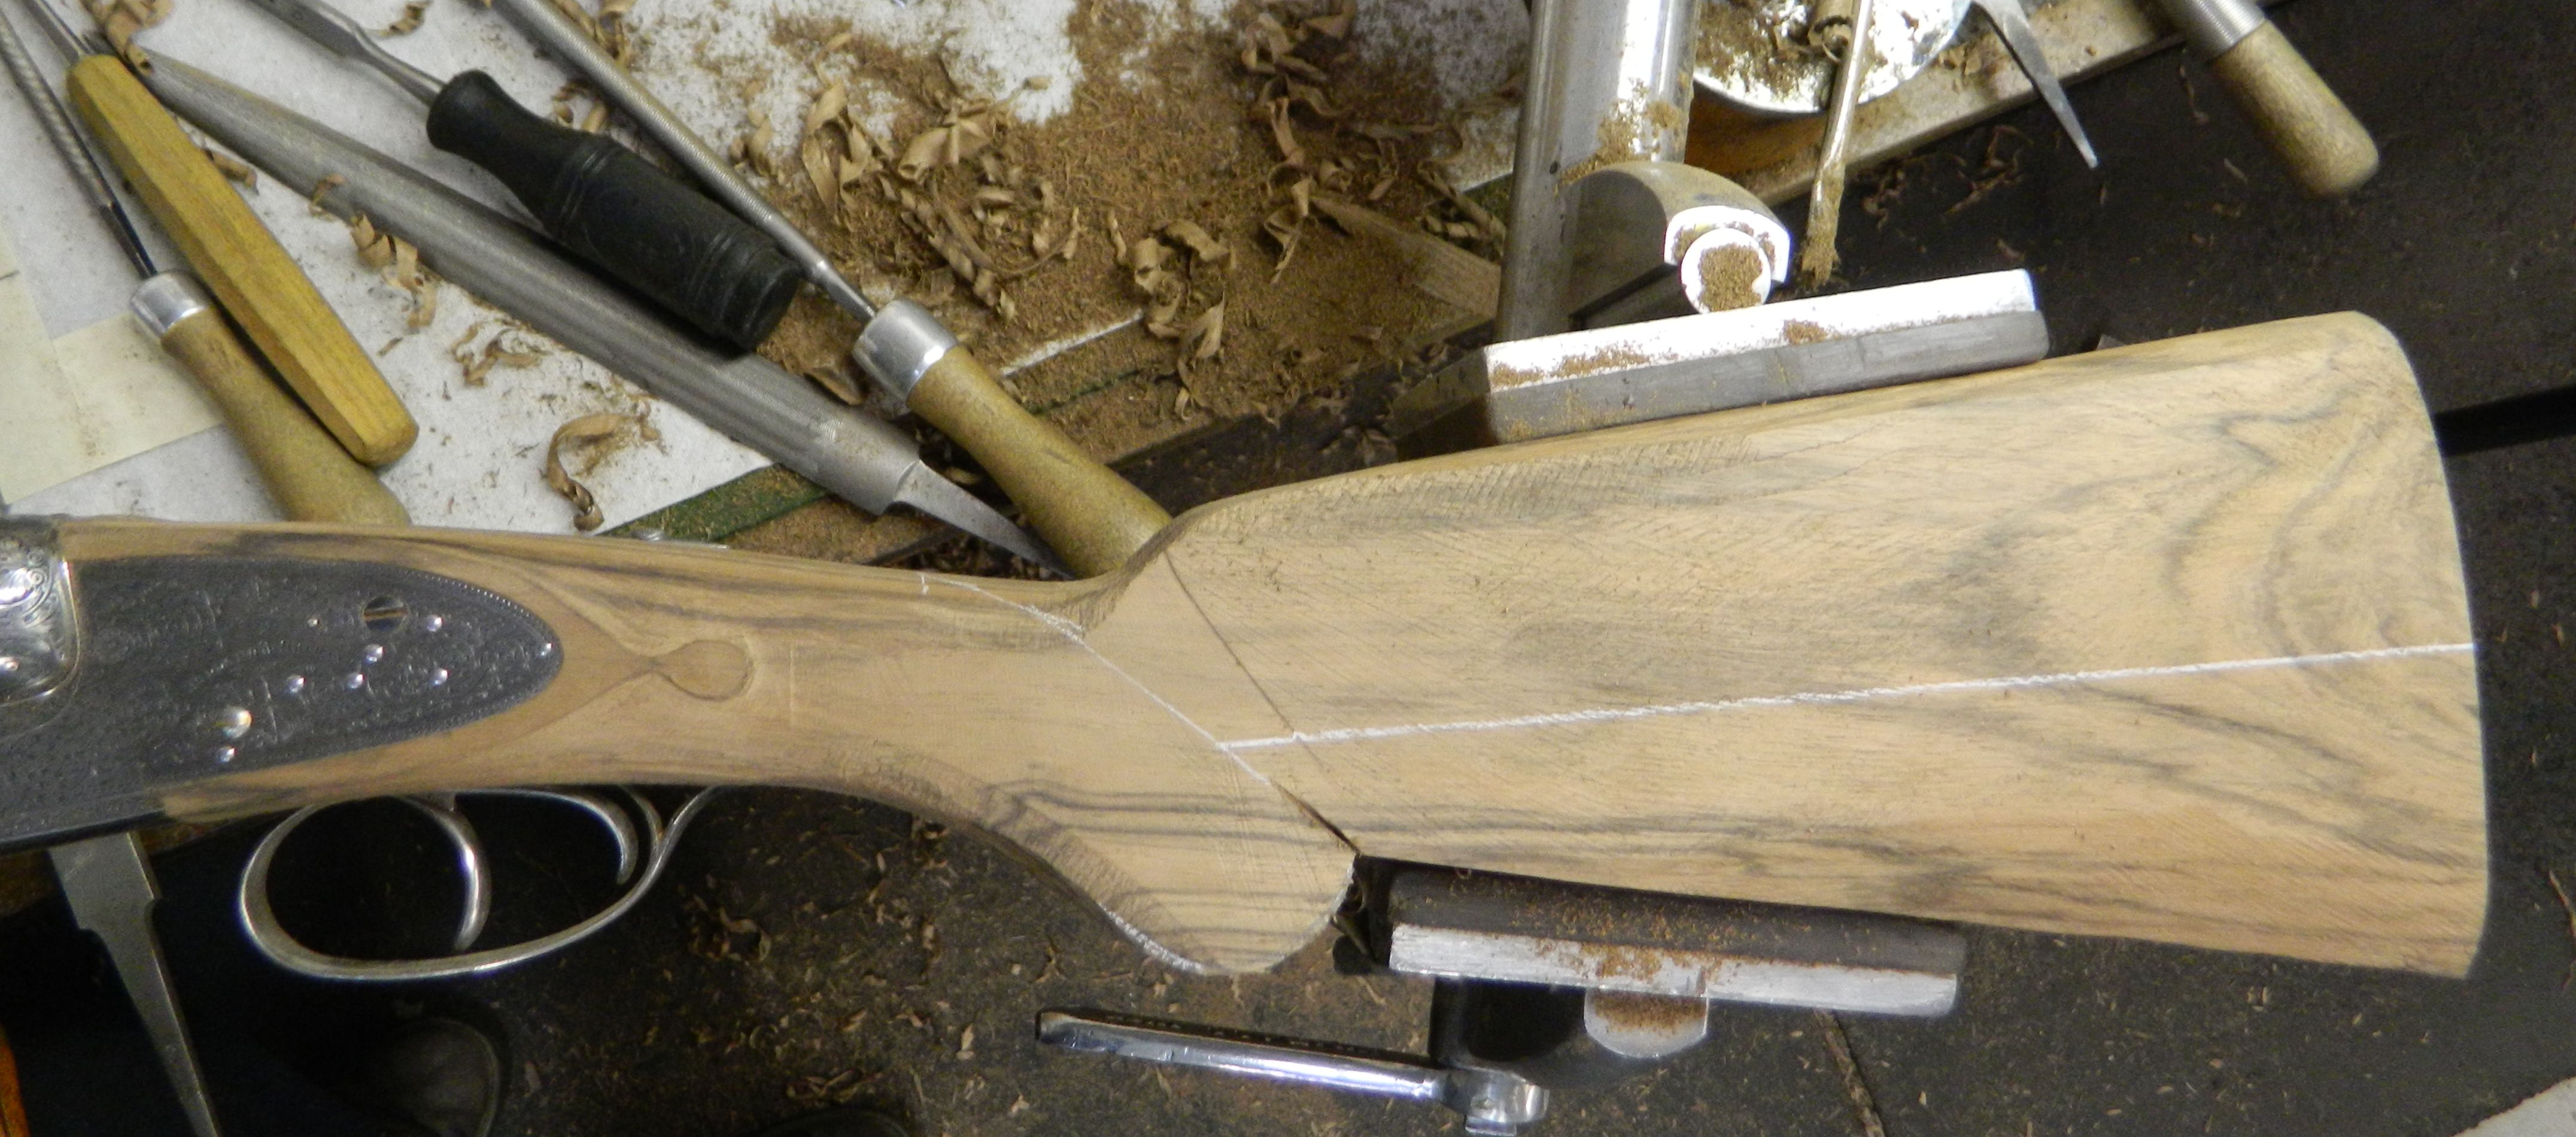
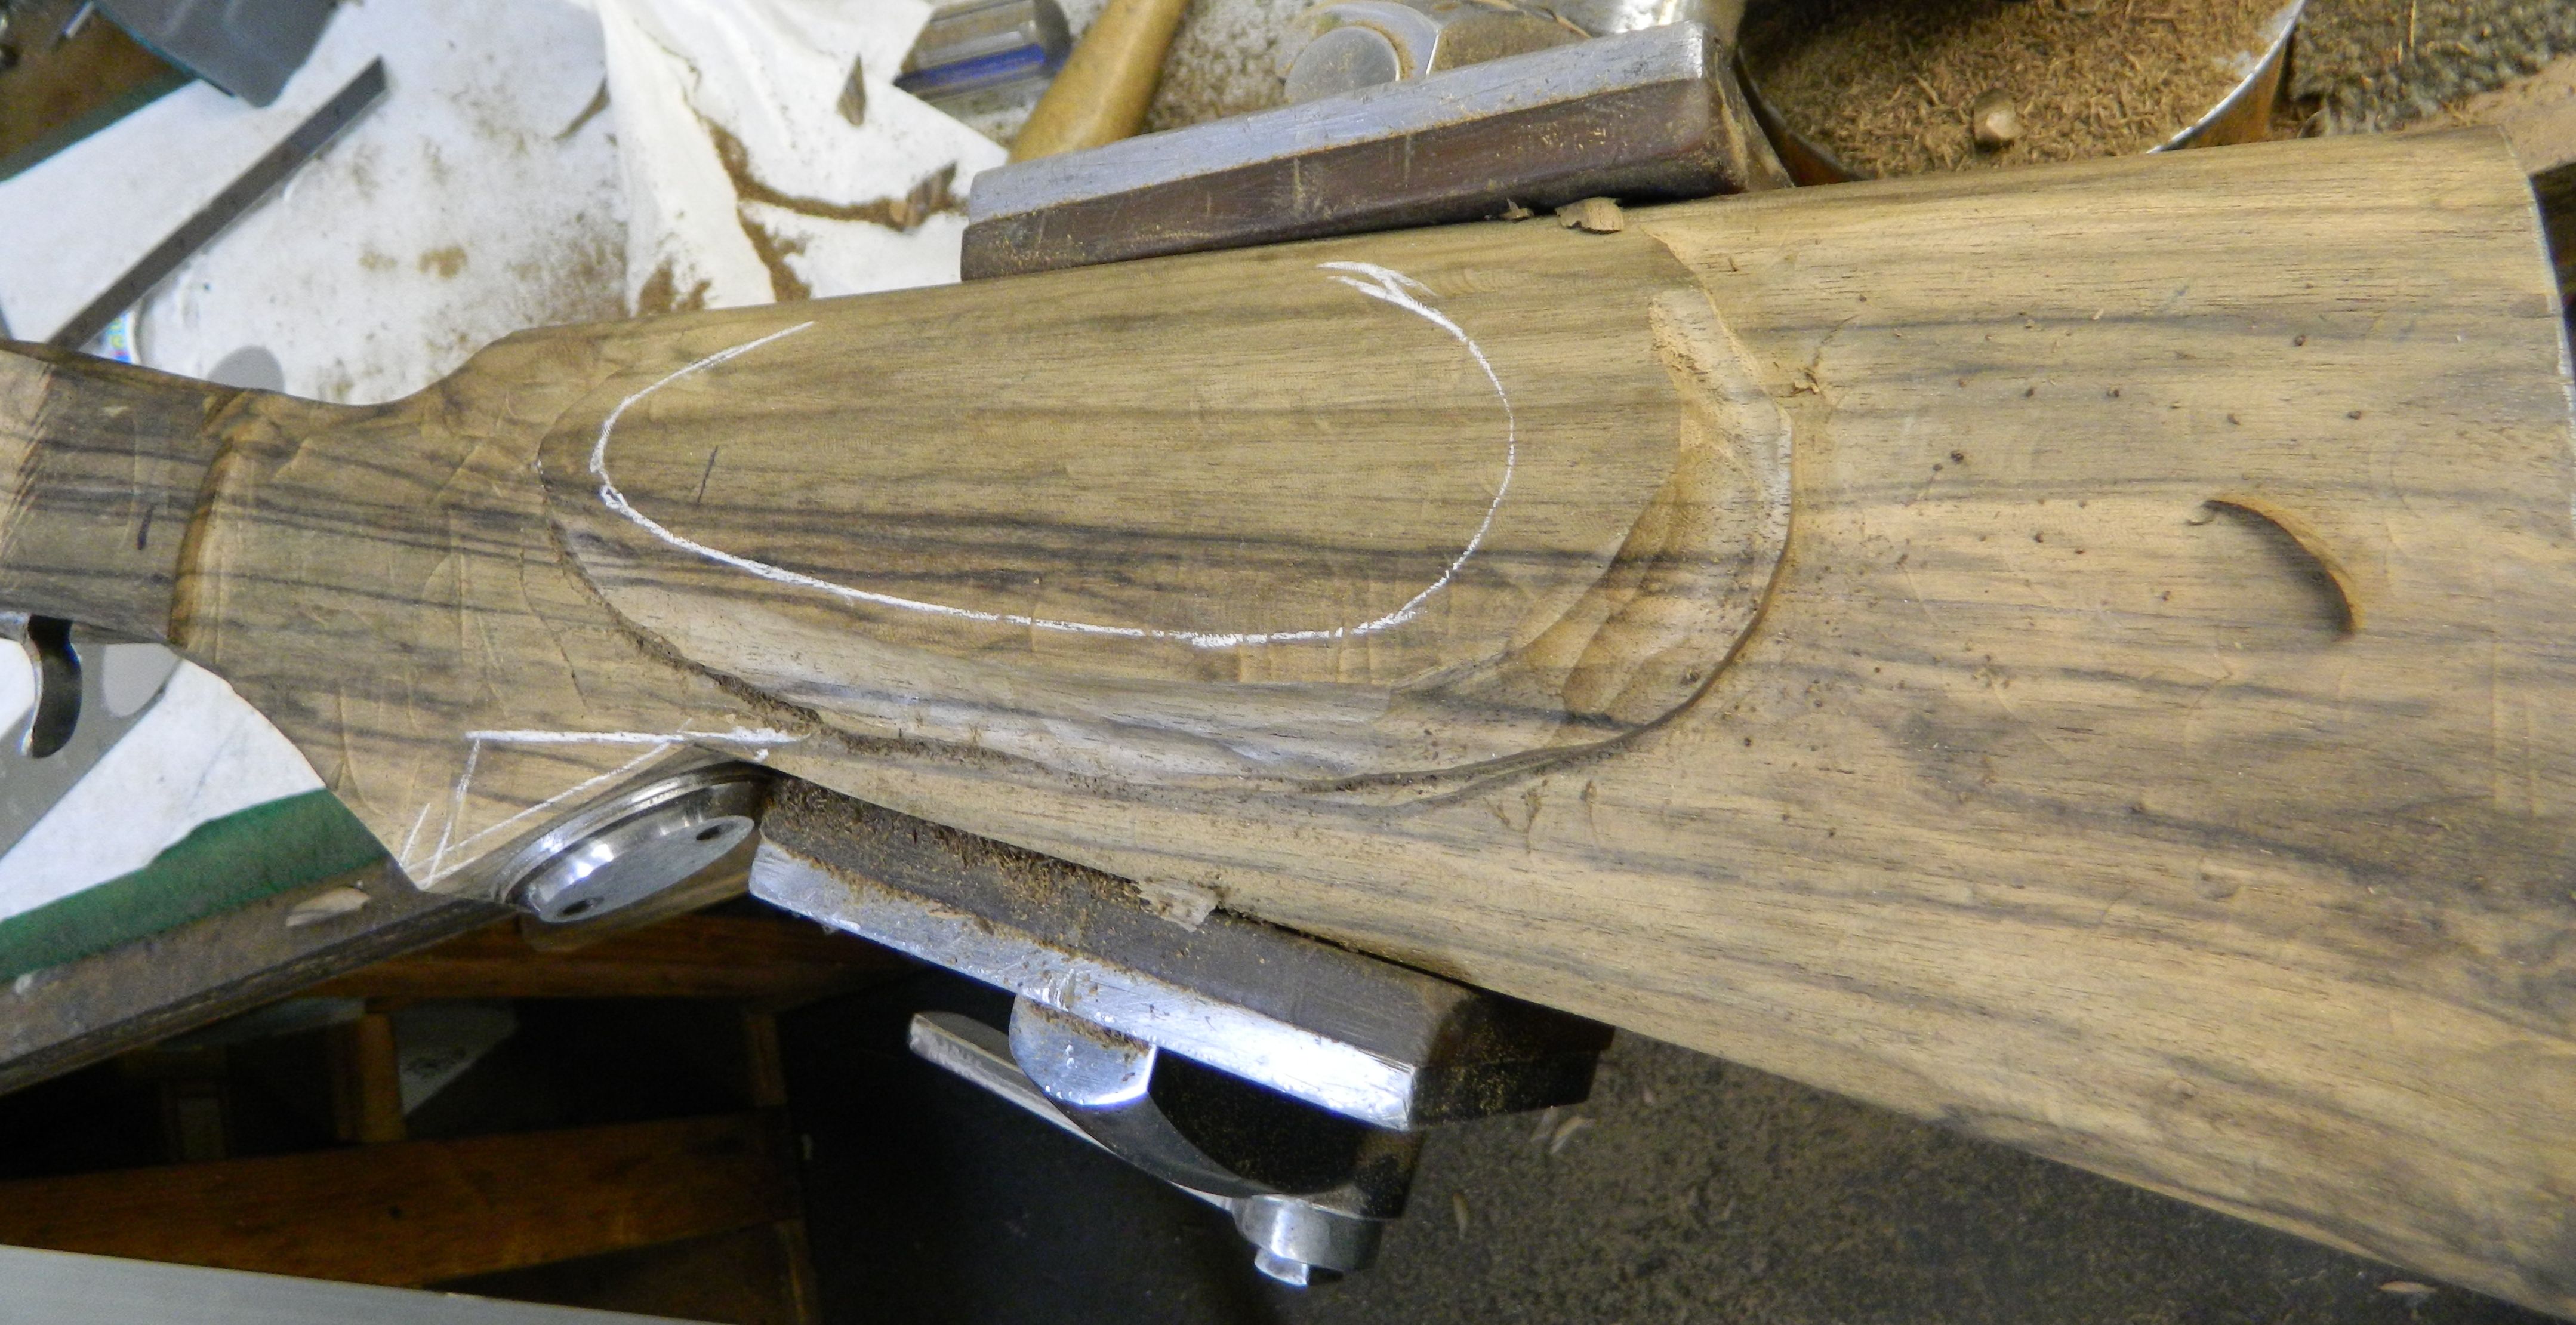
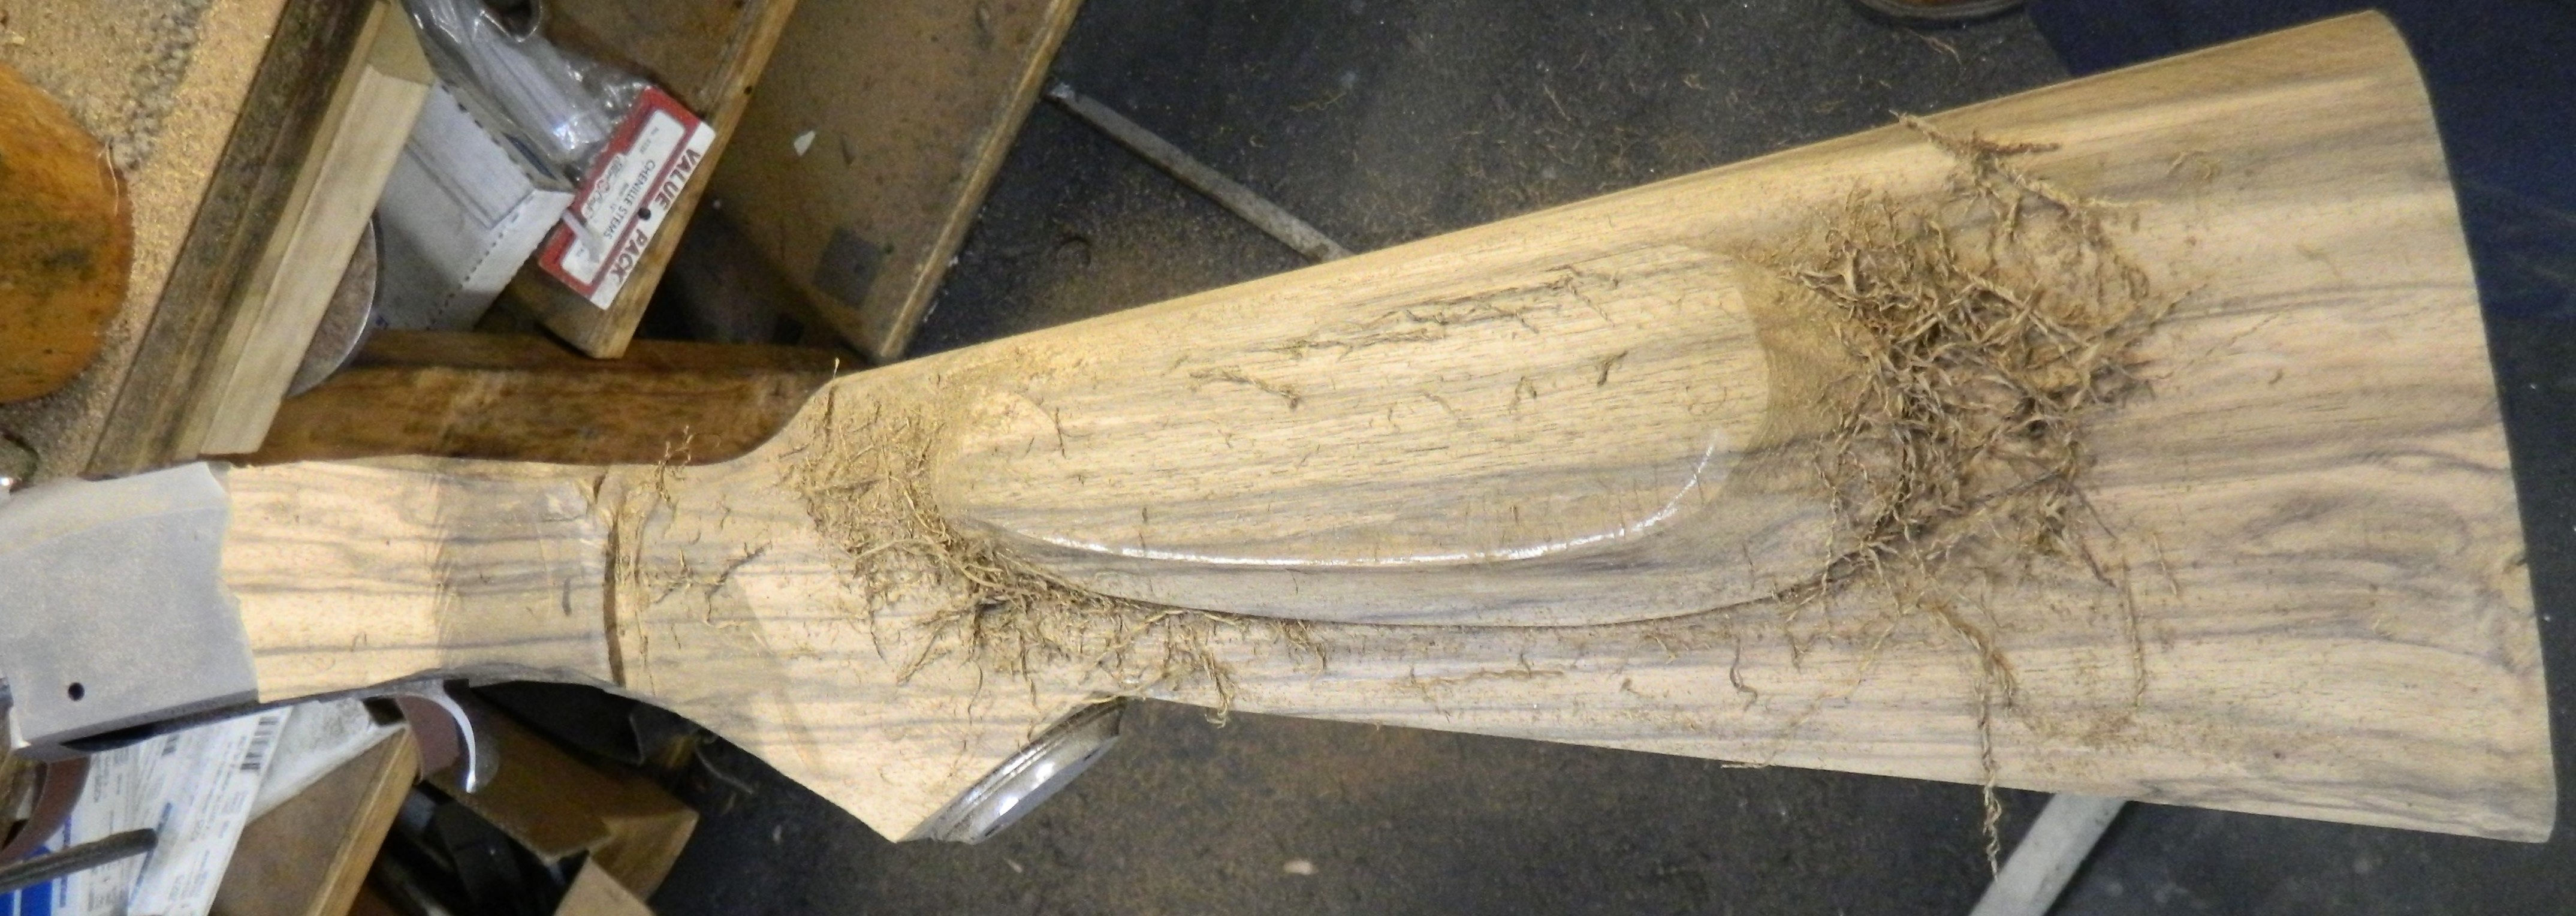
The pictures above are of a stock I have currently in process. The caliber of this rifle is .416 Ruger and features diamond point checkering.

I don’t have a checkering machine and I cut my checkering with hand tools. Good checkering machines are hard to find these days and I have had a machine on order for a few years. I’m sure it won’t be an easy switch, once I receive the machine, but it will certainly be easier on my wrists. The initial layout is always a little tricky. Once I get into the “groove” of cutting, I find checkering actually relaxing and enjoyable.  My motto always is to fight one line at a time.

This rifle features flat top checkering.
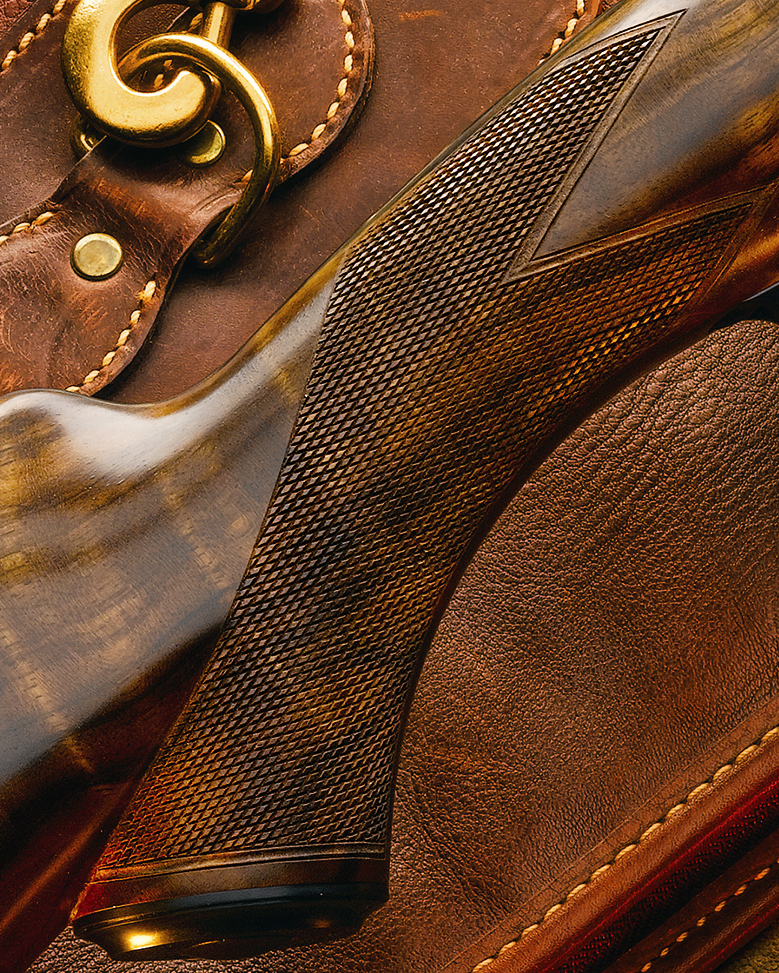
flat top checkering


An unusual .30-06 rifle

4 or 5 years ago I built a .416 Rigby rifle for a client, and that rifle was based on a vintage Rigby model #5 rifle. Basically it had many of the features of the vintage Rigby’s, such as the barrel contour, single square magnum action and overall look, but stocked to the customers dimensions and with a cheek piece. I had sent pictures of it to another great client of mine and we decided to build a rifle with the same features of the Buehler #5 in .416, but scaled down, and in the caliber .30-06.

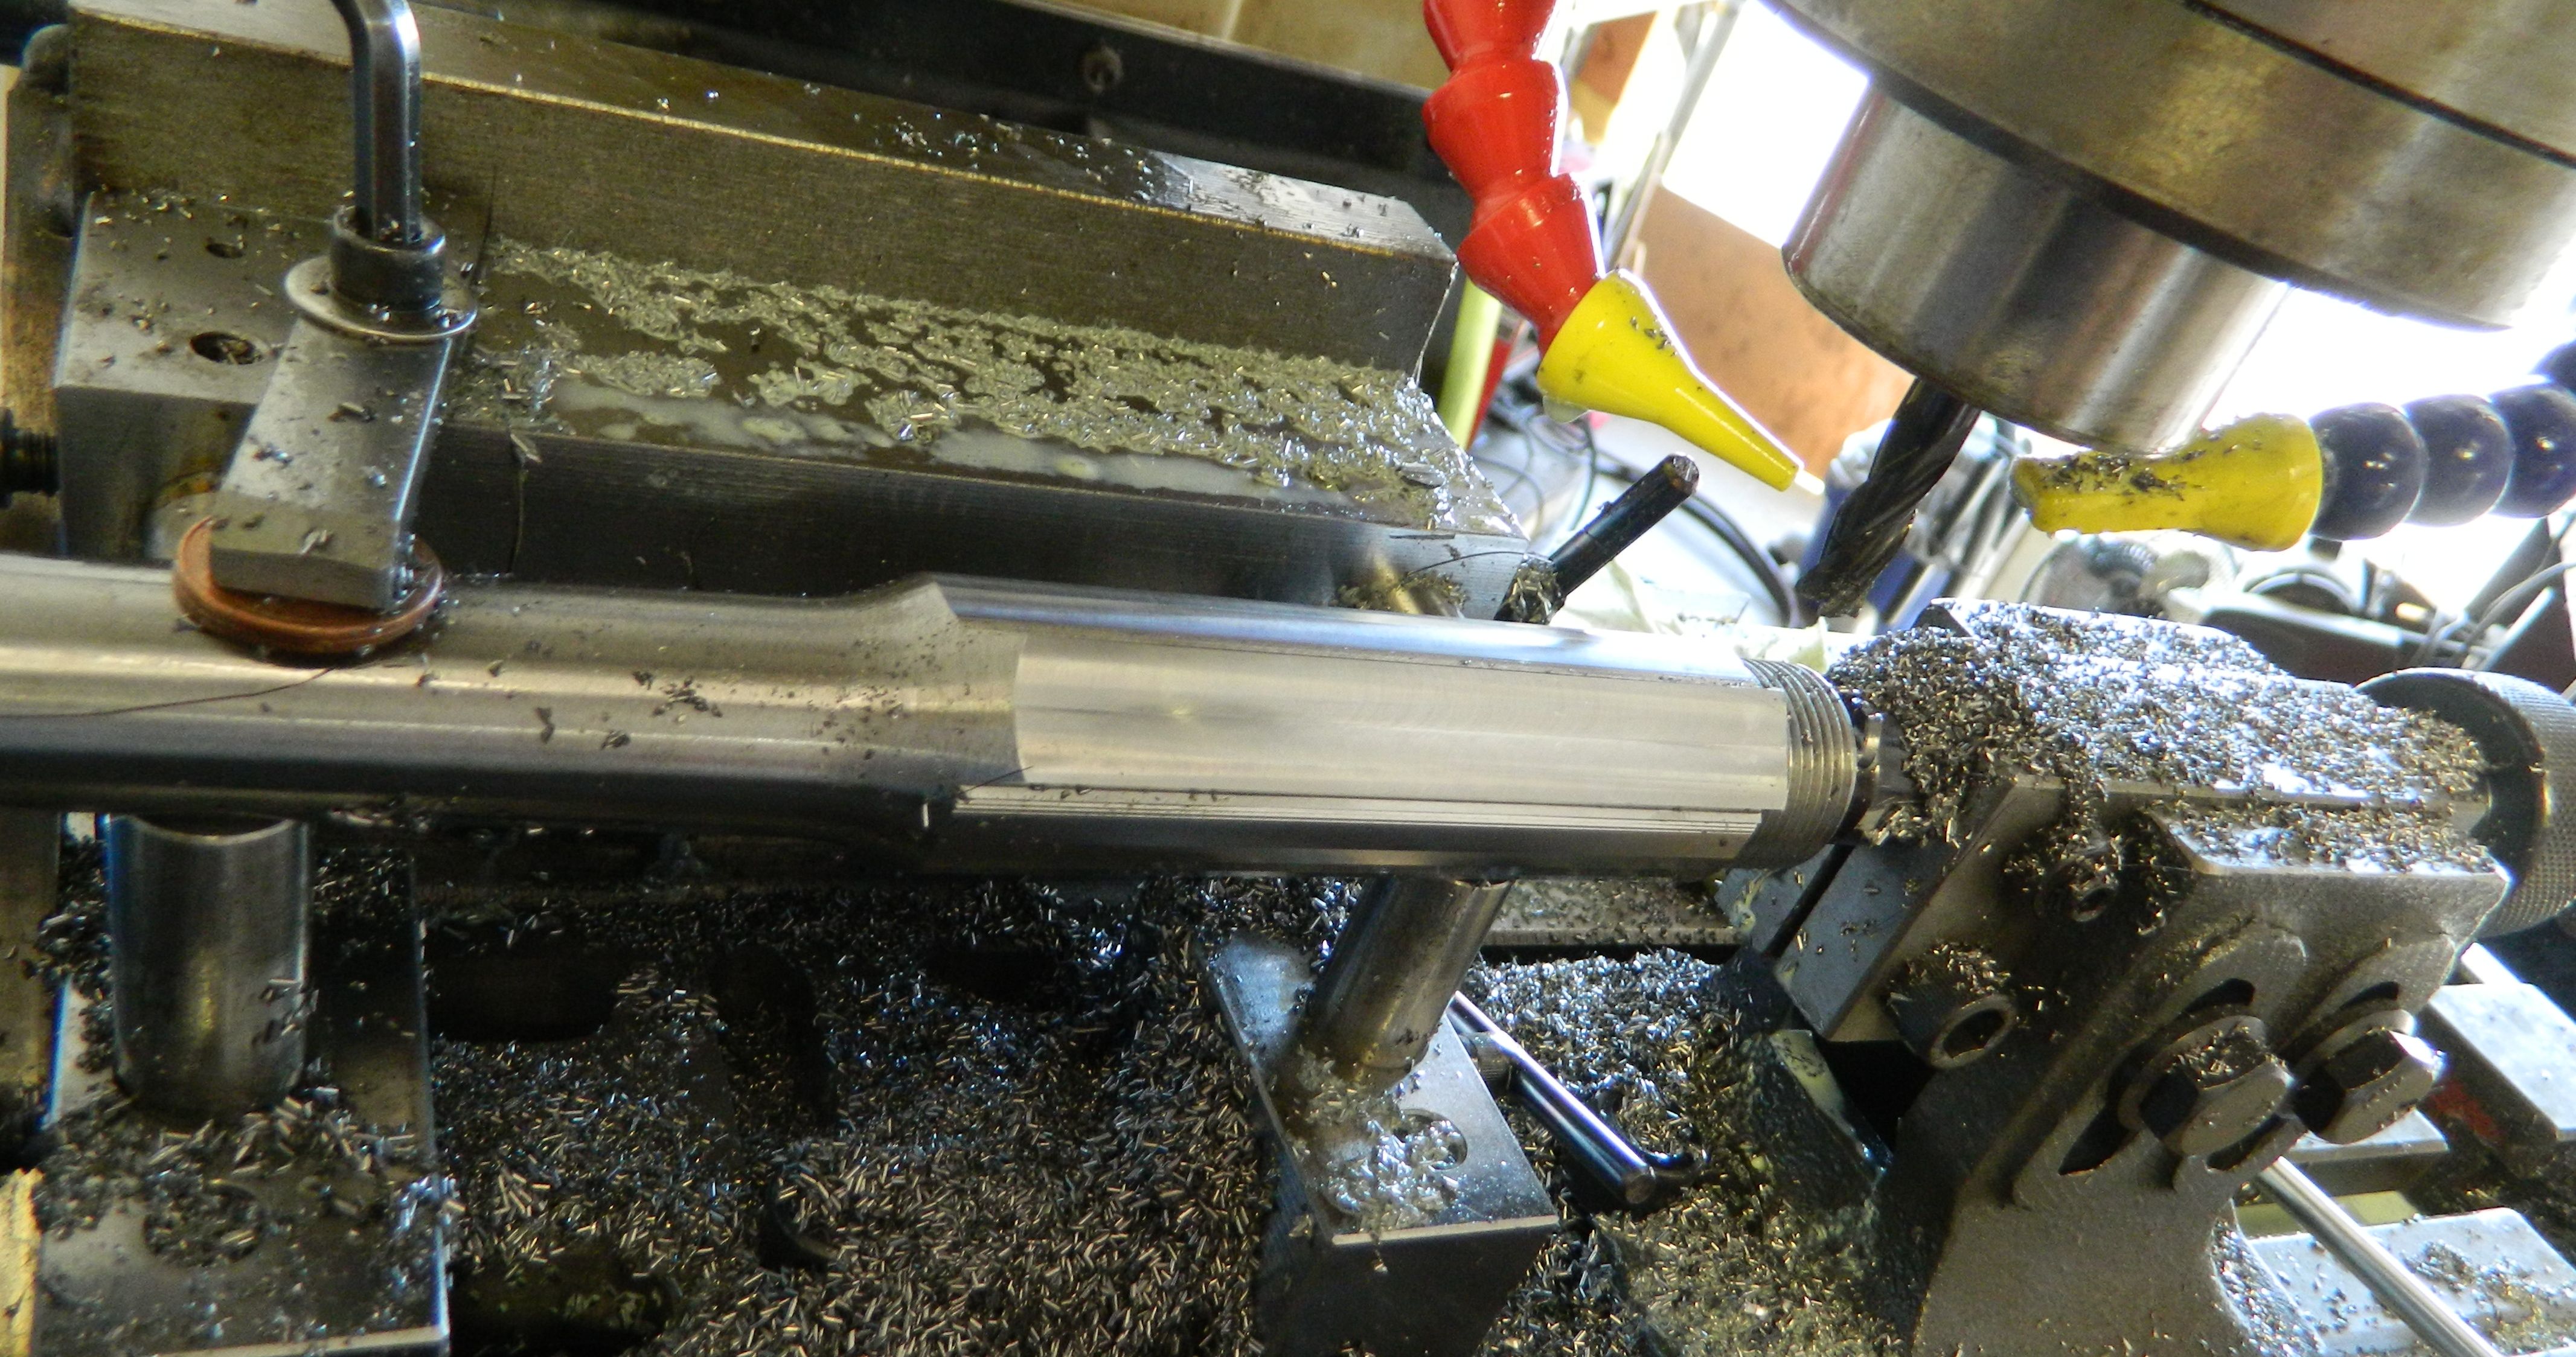
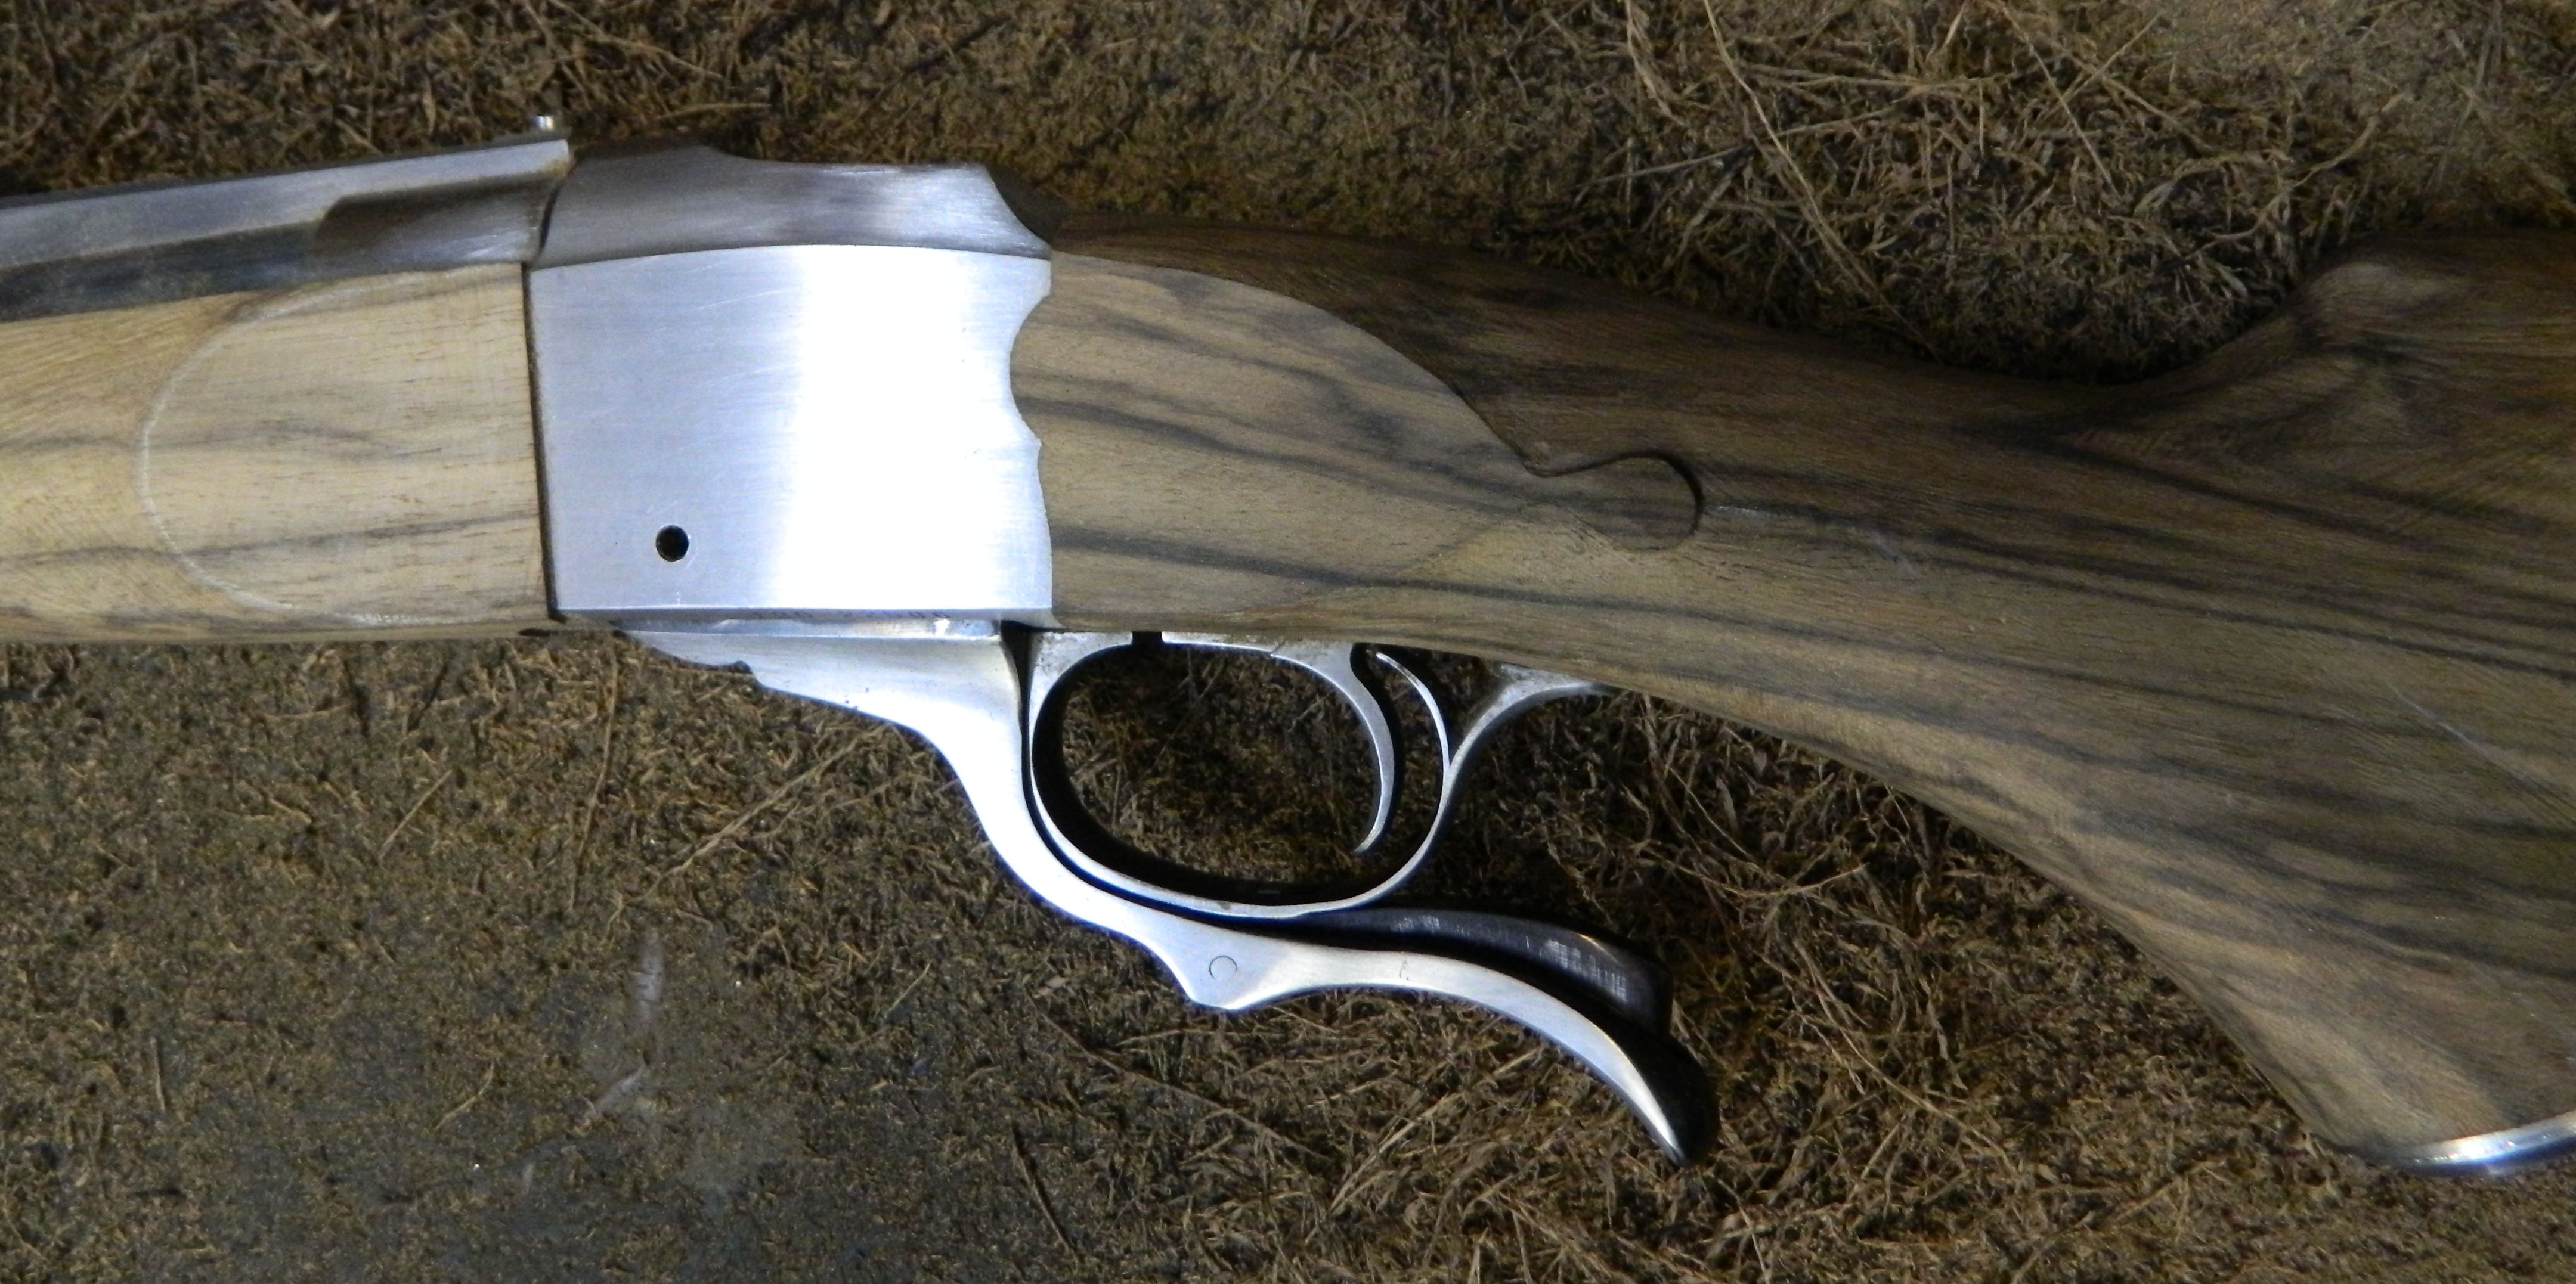
The action used on this rifle was made by Granite Mountain Arms and is a light weight, small ring 33/40 style square bridge action. I cut a thumb cut into the receiver to give it more of a vintage look. Rigby used on their #5 rifles two different barrel contours. The first was with a very heavy barrel, integral rib and stepped down at the sling swivel band. The second had a long, heavy shank with an integral sight rib, but was overall somewhat lighter. This is the contour we decided initially on the .416 Rigby and I used the same contour but much smaller on the .30-06. The barrel started off oversize and I machined the integral rib into it.

DSCN0157

The banded and flush fit front sight ramp and the sling swivel band I machined from solid and soldered to the barrel.

A Blackburn drop box magazine was added to the action and the rifle was stocked with a nice Turkish walnut blank. The scope mount on the rifle is my cam-lever mount and it is detachable with a 1/4 turn on each ring lever. This scope mount is especially well suited for square bridge actions, as the rifle still looks very clean with the scope removed.

DSCN0773

The stock was made to the customers dimensions. After checkering and finishing the rifle was, as always, tested at the range for function and accuracy.

DSCN0762

And here is the final result:

.30-06 # 5 rifle

_gif

_gif-2


Modern technology and old fashioned gunmaking

Do we apply modern technology in building our custom guns? You bet. To be honest, it does not come easy to me. I received my training in the 80’s and the novelty of CNC machines and Cad designs was pretty foreign and unaffordable to the small shop where I worked. My first inclination is always to reach for a hacksaw and file when making a part. In the early 2000’s I worked for a short time for Sigarms and became friends with a manufacturing engineer. He really opened my eyes and introduced me to computer aided drafting (CAD) and to basic CNC (computer controlled) machining.

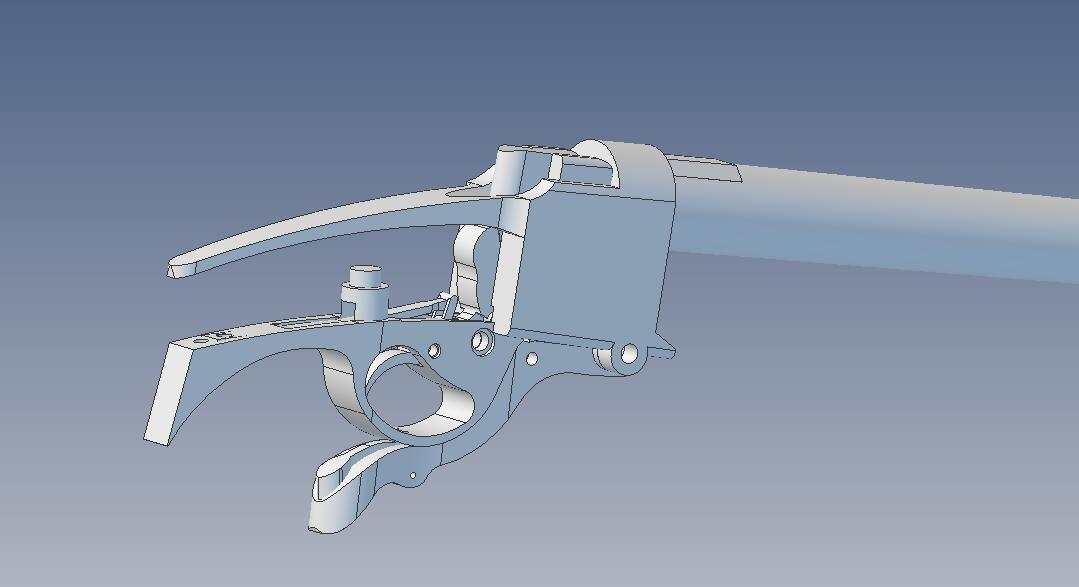
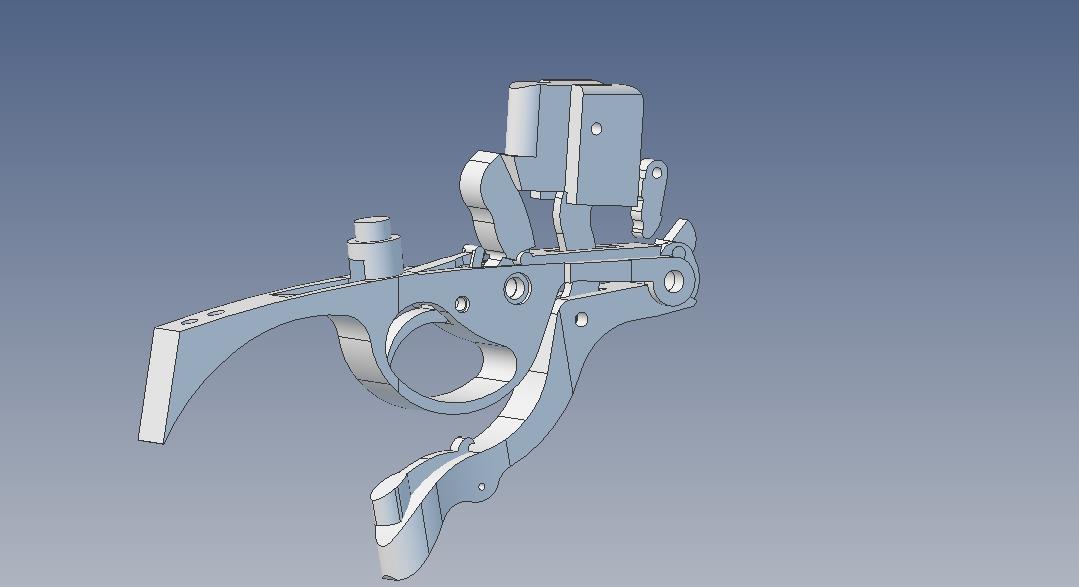
In our shop we have 2 CNC milling machines. The perception often is that you just push a green button and the machine spits out a part. That is pretty false, as it is not that easy. But I must say, the machines have given us the opportunity to make our guns more unique and the quality more uniform. Parts, such as our front sight ramps, scope mounts, barrel bands, grip caps, extended tangs, and many one of a kind projects we make on those machines.  I utilize a 3D cad software almost daily and it has also turned into somewhat of a hobby of mine The question may arise, does this technology quench the creative process of a craftsman? In my opinion, the opposite. 3D Cad allows to look at new designs and alter them before ever machining it. Also it is possible to assemble parts in the computer and play with the geometry and function.

Farqhuerson PD-1-cad

Farqhuerson PD-1-2-cad

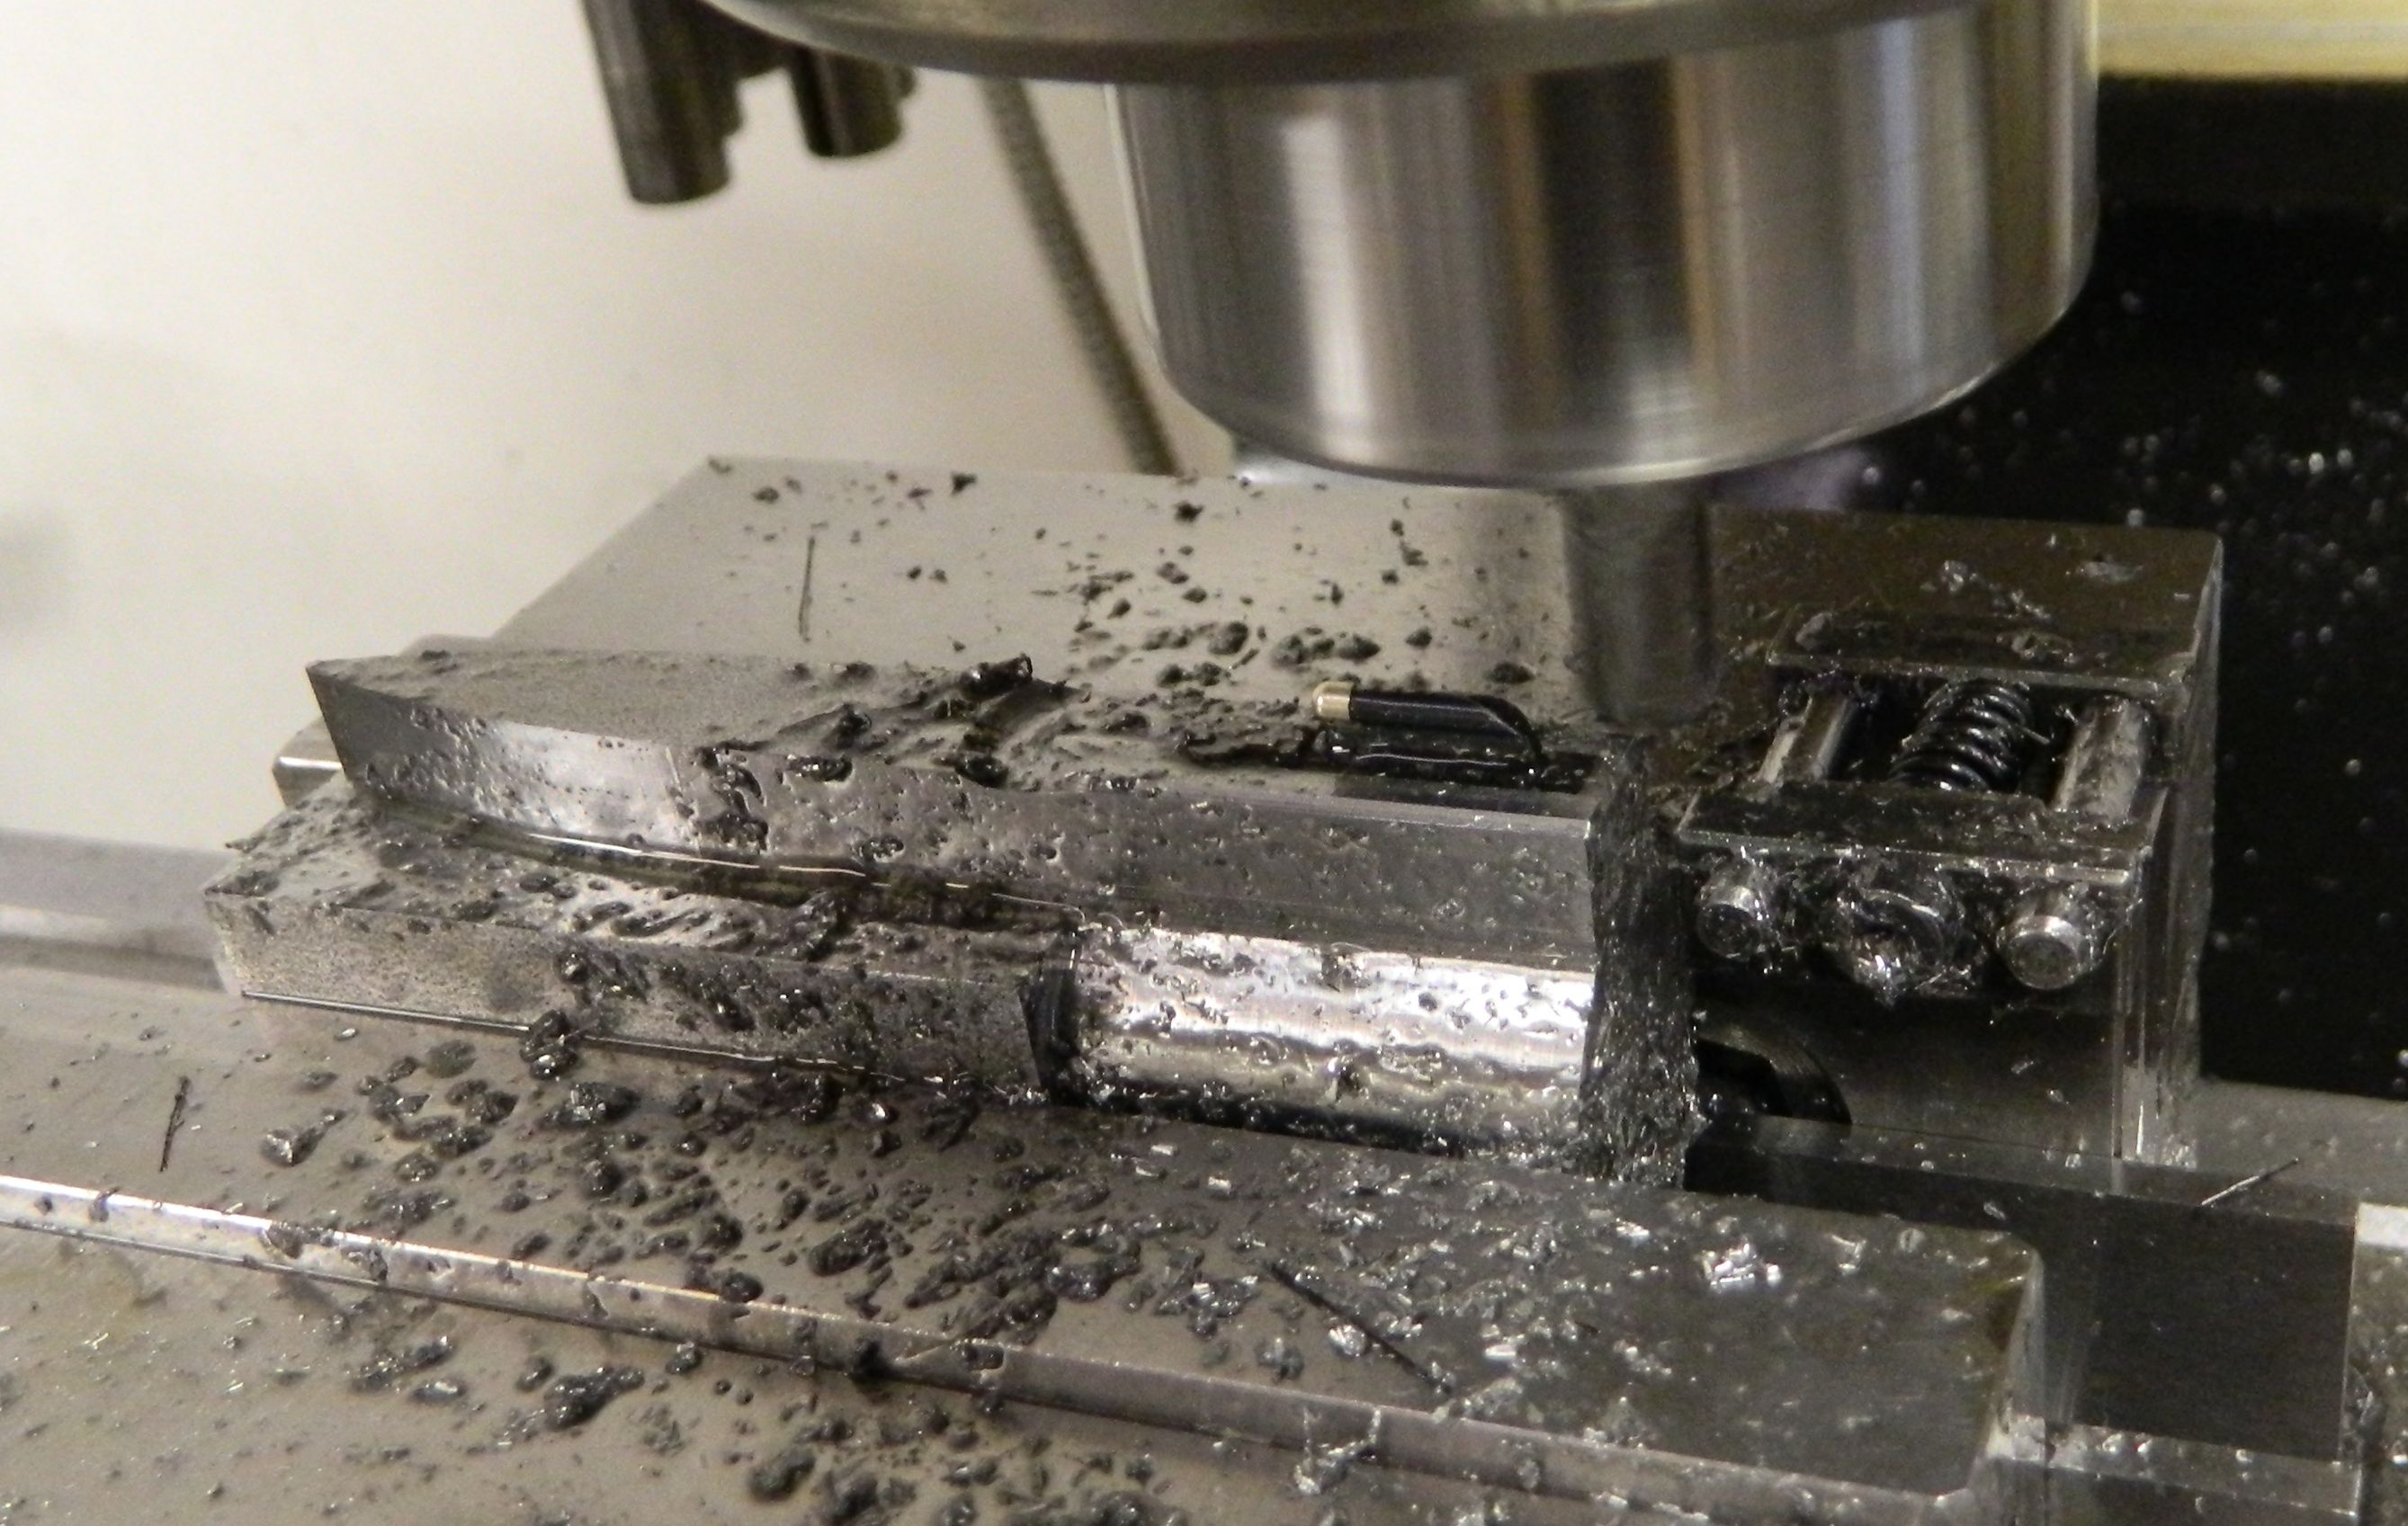
CNC improves the quality, saves time and also allows for making parts that would be most difficult to do on manual equipment.

DSCN0673

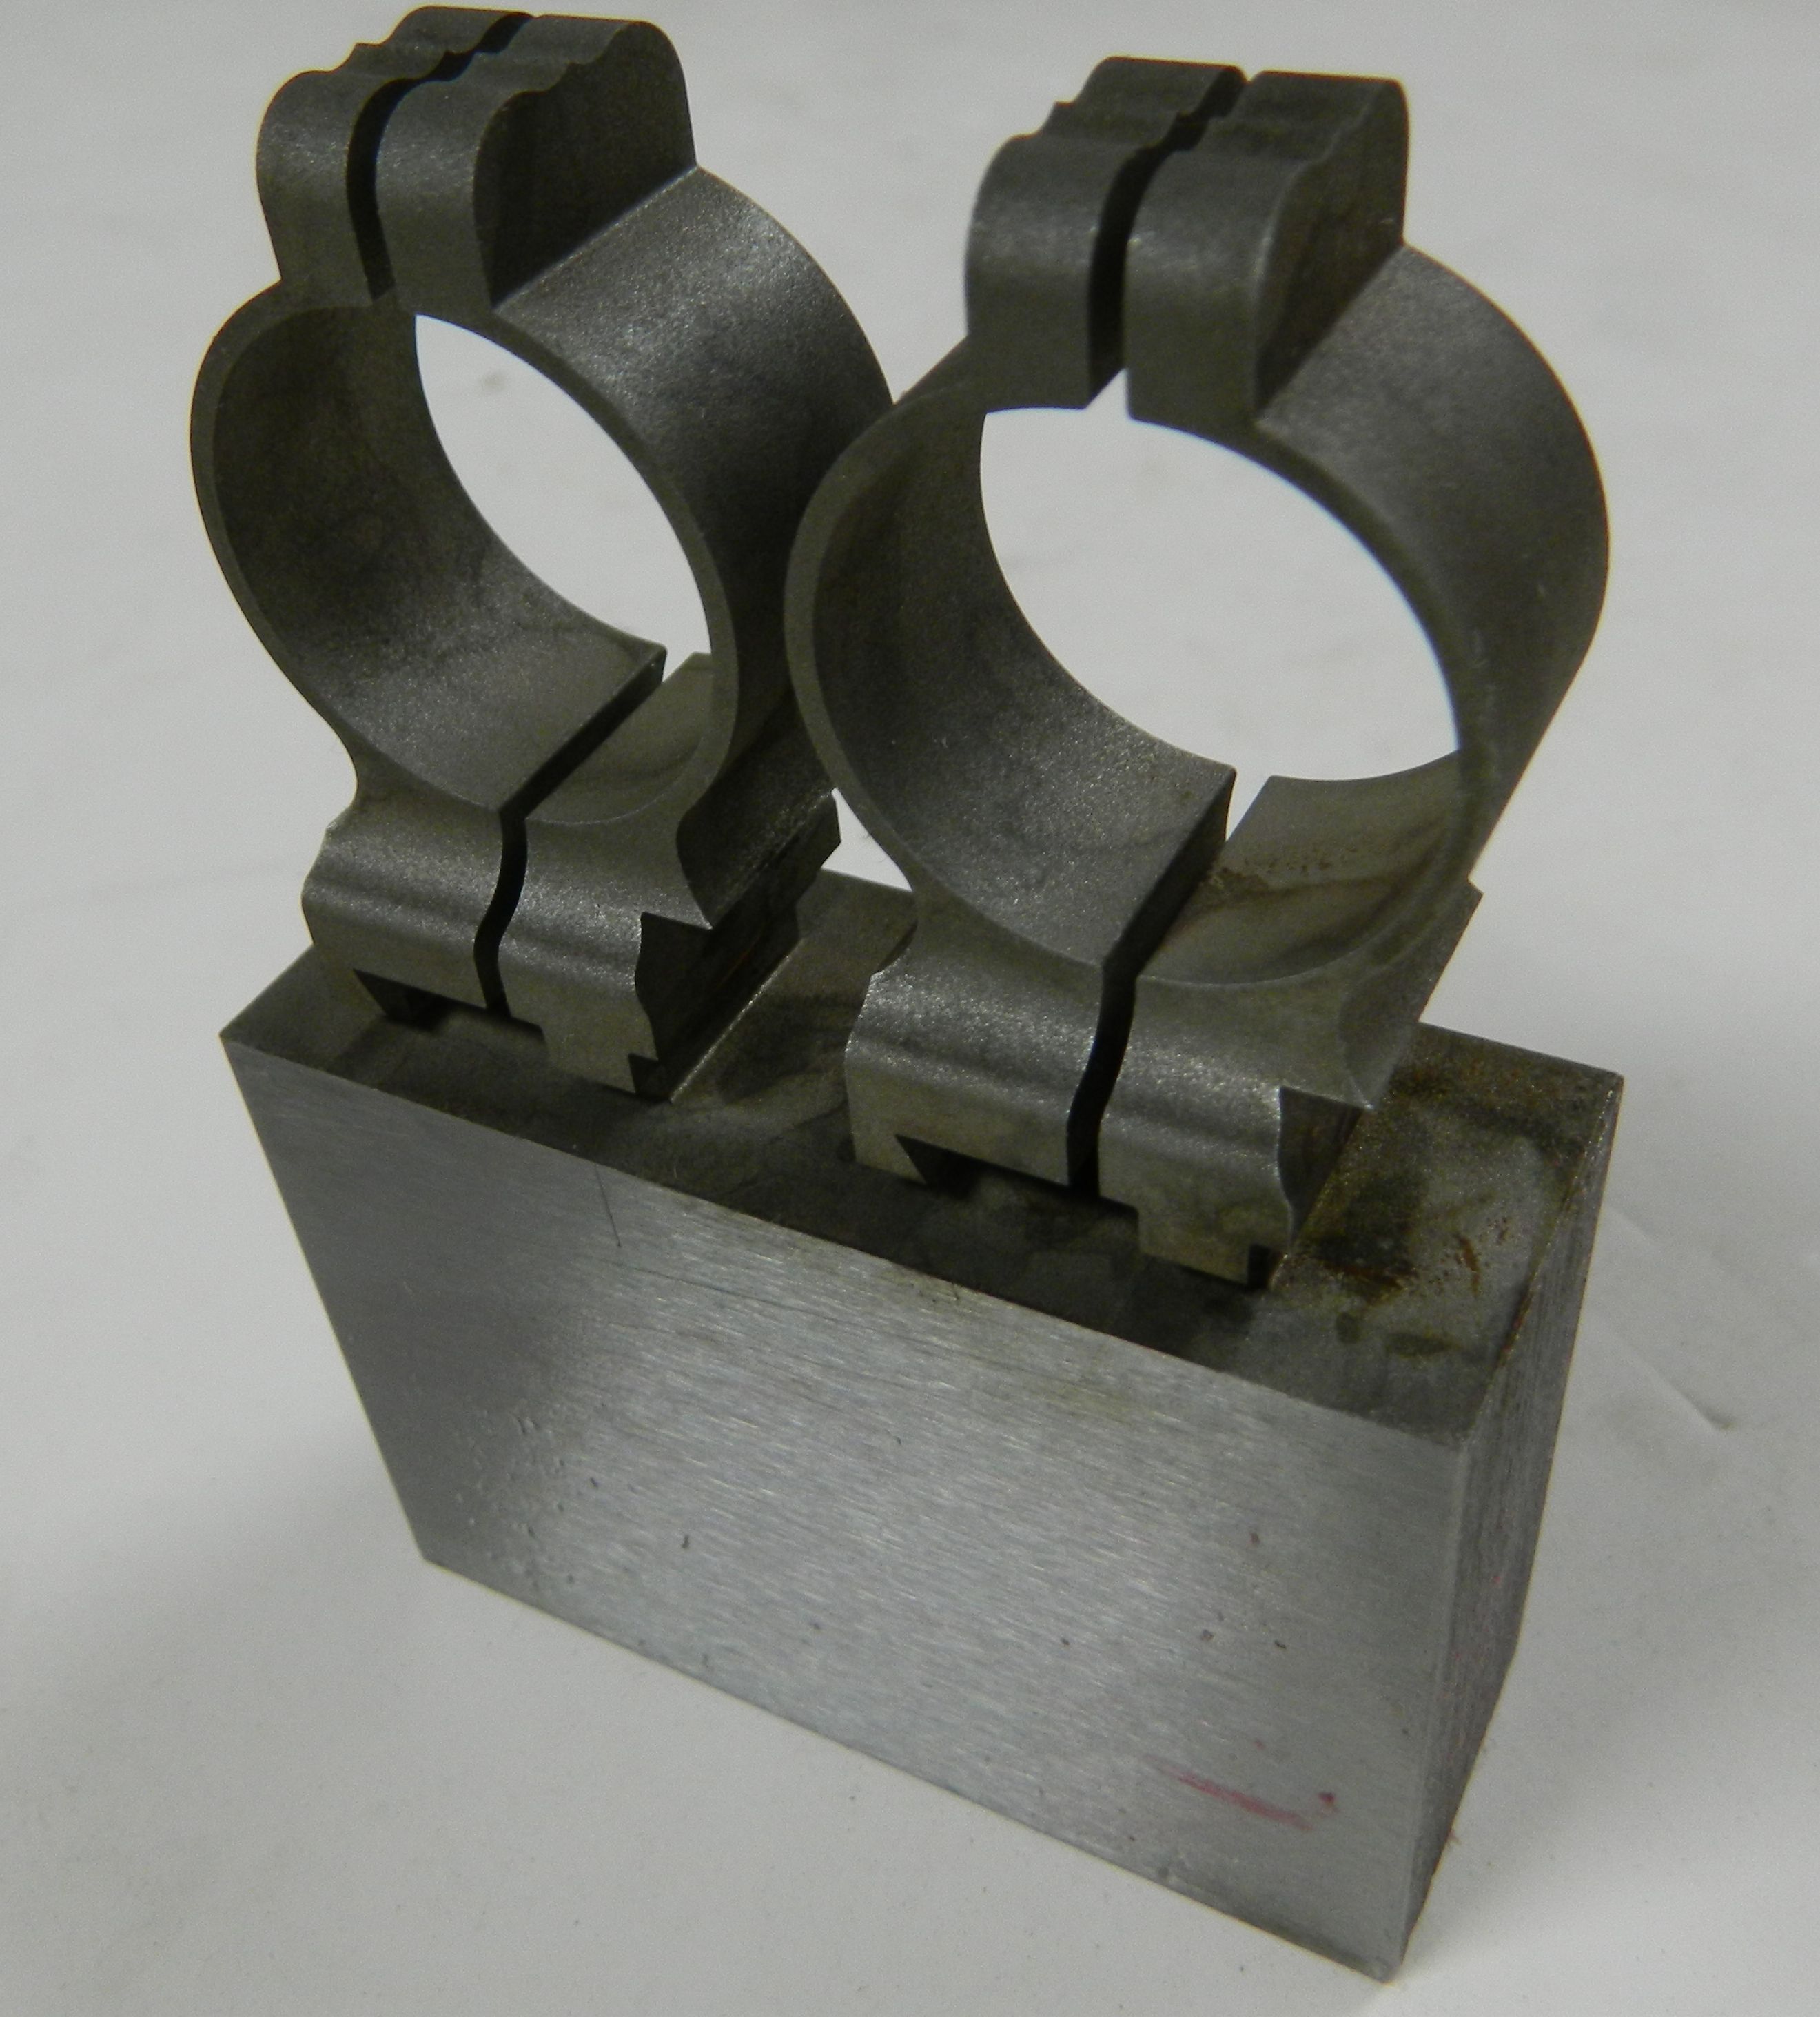
Small shops such as mine can rarely justify the investment into state of the art equipment, such as wire and sinker EDM (electric discharge machining) machines. So it makes sense to outsource certain parts to specialized machine shops. DSCN0684

The picture is of our scope rings wire edm machined.

Despite modern technology, at least 80% of my time is still spend on the bench. What can’t be re-placed with technology is an understanding of traditional designs, and the ability to make a rifle “flow” with style and grace.


Stock making and shaping

One of the advantages that you have when you order a rifle with us is that your gun is truly going to be built for you, and each rifle is a one of a kind. For example, we try our best to make each stock to the customers dimensions. Factories don’t have the flexibility to do that. To determine the customers stock dimensions, it is always best to meet in person. We have a fully adjustable try gun which aids us in establishing proper fit.

When making the stock, most custom gunsmiths depend totally on pre-made patterns which they use to copy the stock on pantograph machines. We also utilize a Hoenig pantograph machine and some patterns, but primarily the machine is used for the inletting and often just for roughing out of the outside contour. Depending on the stock, about up to 85 % of the inletting can be pre-carved on the machine and it saves a lot of time. The remaining inletting is done by hand with chisels and scrapers.

DSCN0080

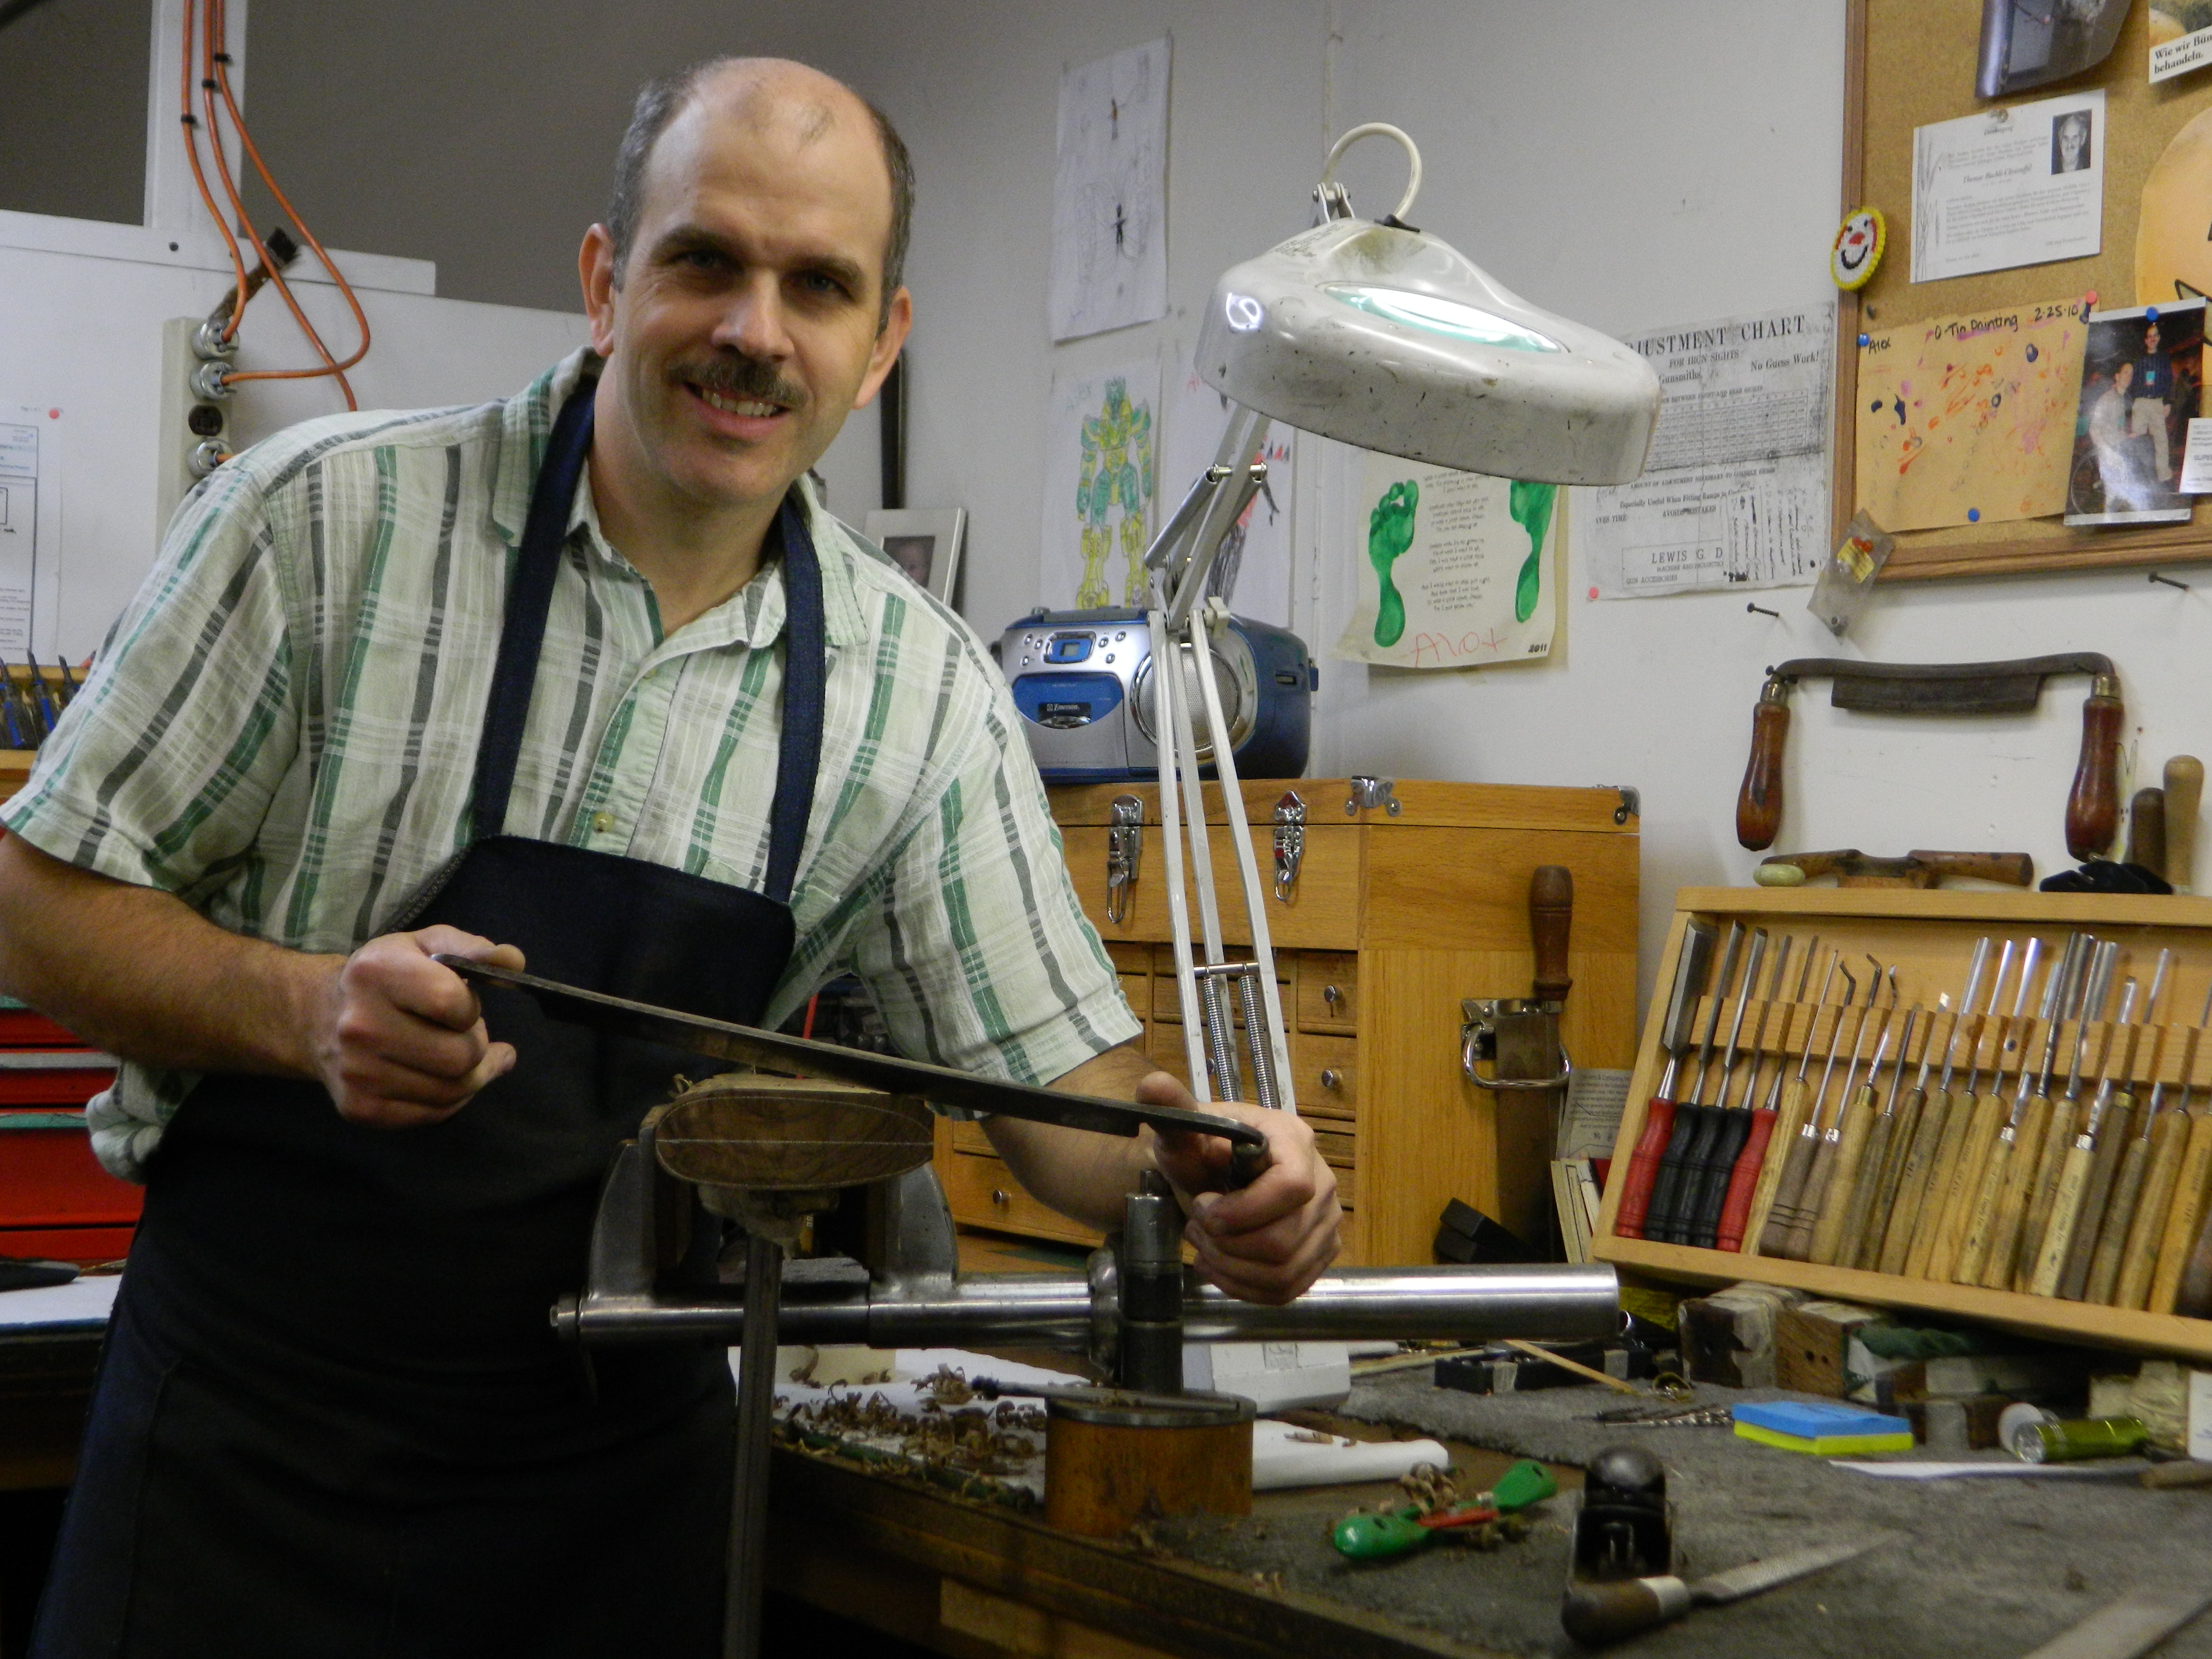
The picture above is of me working on a butt stock.

The outside dimensions on our stocks vary from client to client. Most of the time it takes me less time to shape the inlet stock by hand versus to alter the outside of a pattern or spend a lot of time on making a new pattern. So the outside of the stock is carved oversize on the machine, or sometimes left completely as a block.

DSCN0085

This picture is of the re-stocking of a vintage Holland & Holland Paradox. The metal is inlet and the stock is being shaped with hand tools.

DSCN0677

The picture above is of the stocking of a custom Ruger #1 rifle.

DSCN0680

DSCN0686

The 2 pictures above are of the rough shaping of the Ruger stock.

DSCN0693

Once everything is rough filed, I usually spend another full day to re-fine everything and to prepare the stock for the first sanding. The shaping of the stock is a lot of fun, a process that I enjoy very much. And my clients enjoy receiving pictures of their stock taking on it’s final form.


Keeping it clean

One of the quality aspects of a fine rifle is a clean appearance. What I mean is, the lines are kept crisp, flats are flat and even. Edges are clearly defined. Round surfaces are evenly round. Still, especially on the metal work, the comfort of handling should never be infringed on, and sharp edges should be blunted for handling comfort. This can be done without the loss of quality. A Customer should never” draw blood” on an edge of his rifle. Many considerations go into the building of a fine rifle.

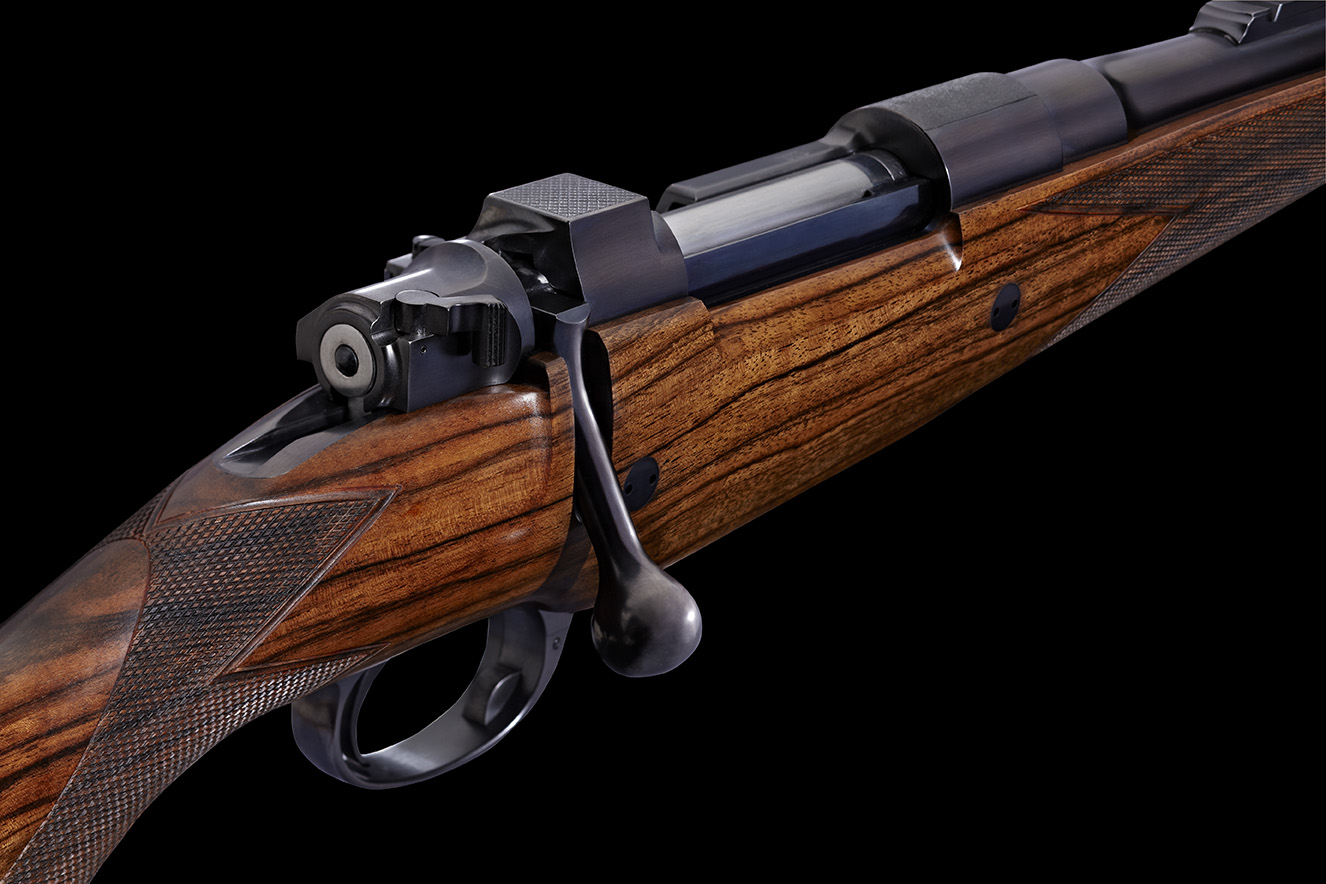
The rifle in the picture is a close-up of a left hand .404 Jeffery rifle. Per customer request, a tang safety was installed to this rifle.

Steel and walnut

Reto  404 0606_black_SMALLThe combination of fine walnut and polished steel, made into a high precision instrument of beauty and style, yet capable of withstanding huge pressures and propelling a projectile faster then the speed of sound accurate into the center of a target, what’s not to love about it?
Beautiful mechanical mechanisms, combined with painstaking and loving executed craftsmanship, born from the desire to make each gun better then the one before. Figured walnut, each with it’s own character, never to be found on another gun.

Over the years I have developed a deep affection for steel and wood. Each material requires a somewhat different approach and skill set when working with it. I enjoy doing metal work and wood work equally and don’t prefer one over the other.  Since starting my apprenticeship in 1988 I always performed metal and wood work. Each I would miss terribly and I firmly believe that in this day and age a good gunmaker should be as versatile as possible.


Welcome to the Buehler Custom Sporting Arms blog!

In an effort to provide you with more information about my company and especially about the guns we are building, I have created this blog site. Please check back very soon, as I will start to add content to the site.

Thank you for your visit,

Sincerely,

Reto Buehler

Page 10 of 10

Powered by WordPress & Theme by Anders Norén