Maker of Fine Sporting Rifles

Category: Uncategorized Page 7 of 10

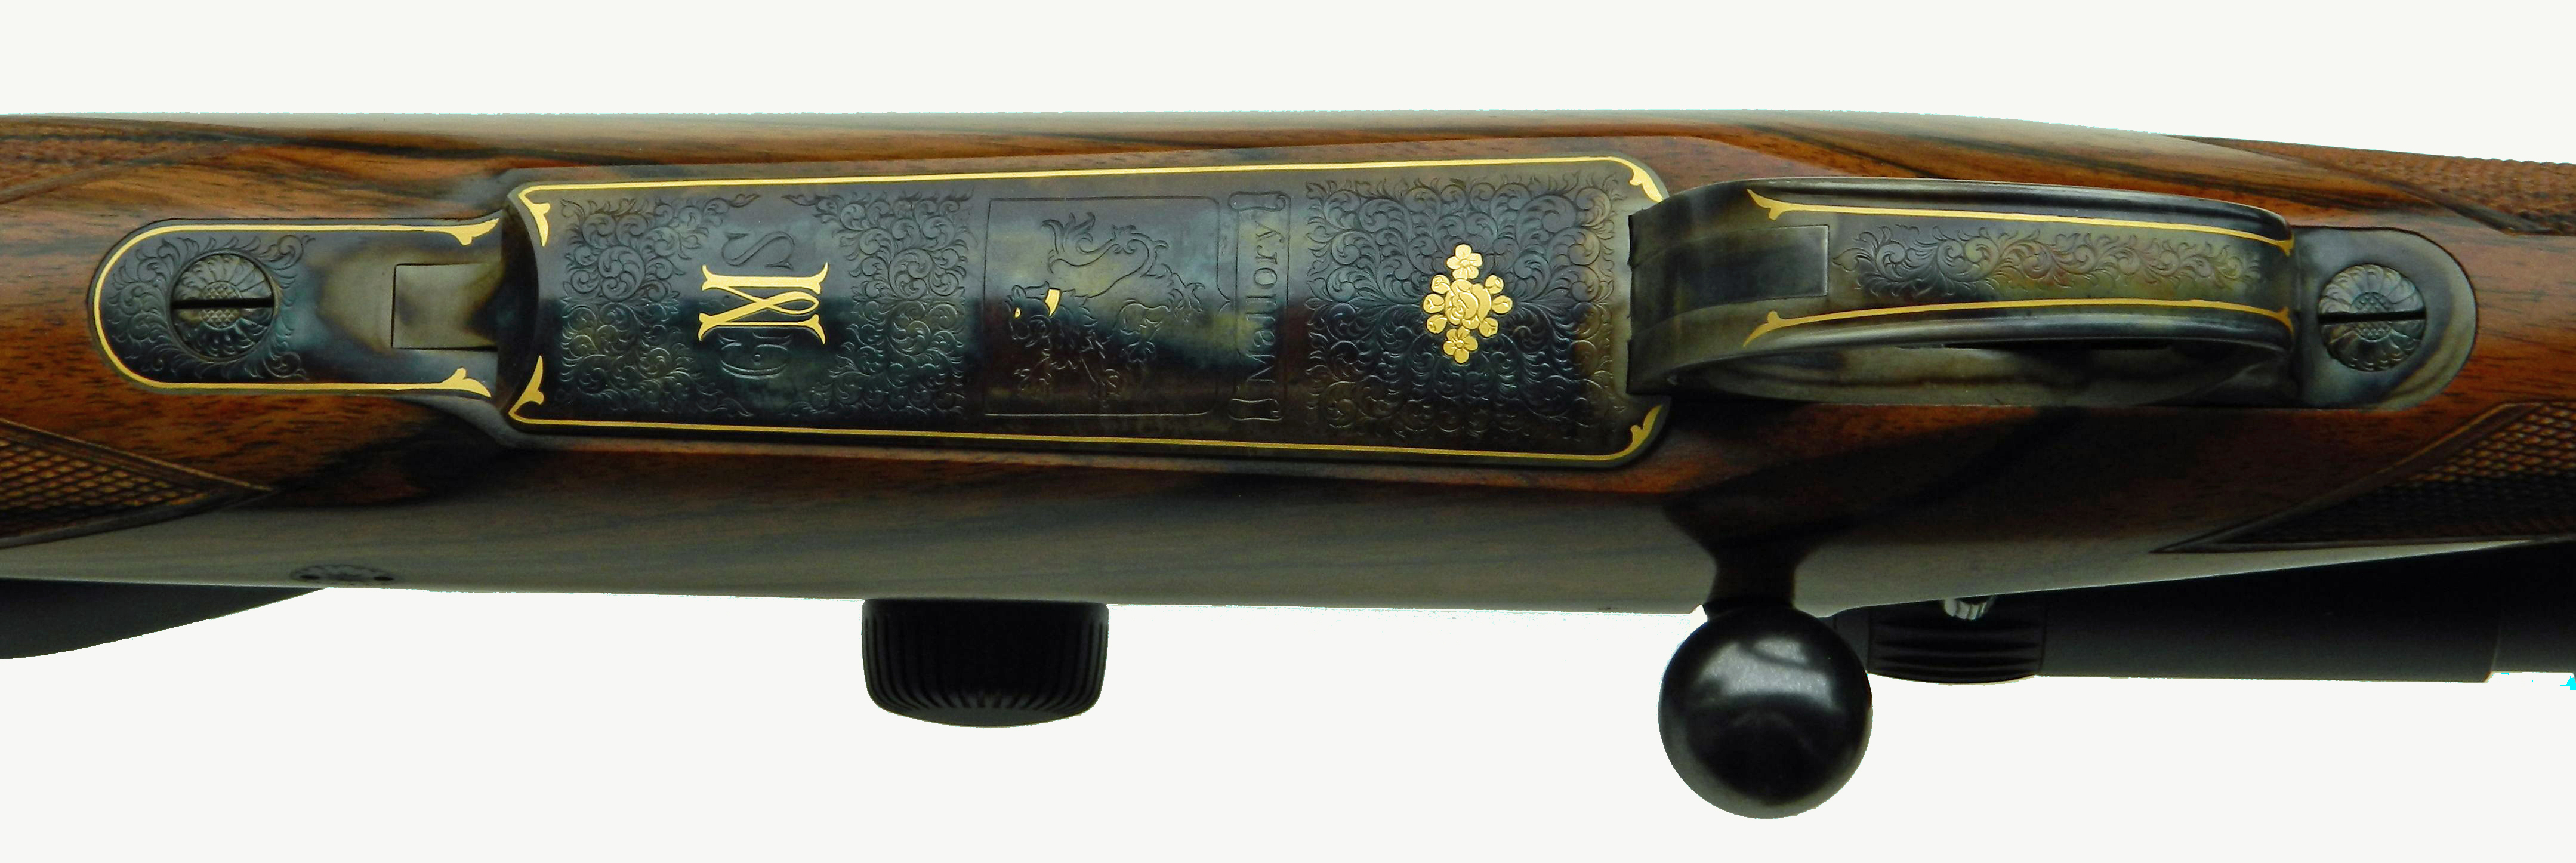
Buehler CSA .300 Win. Mag. rifle continued.

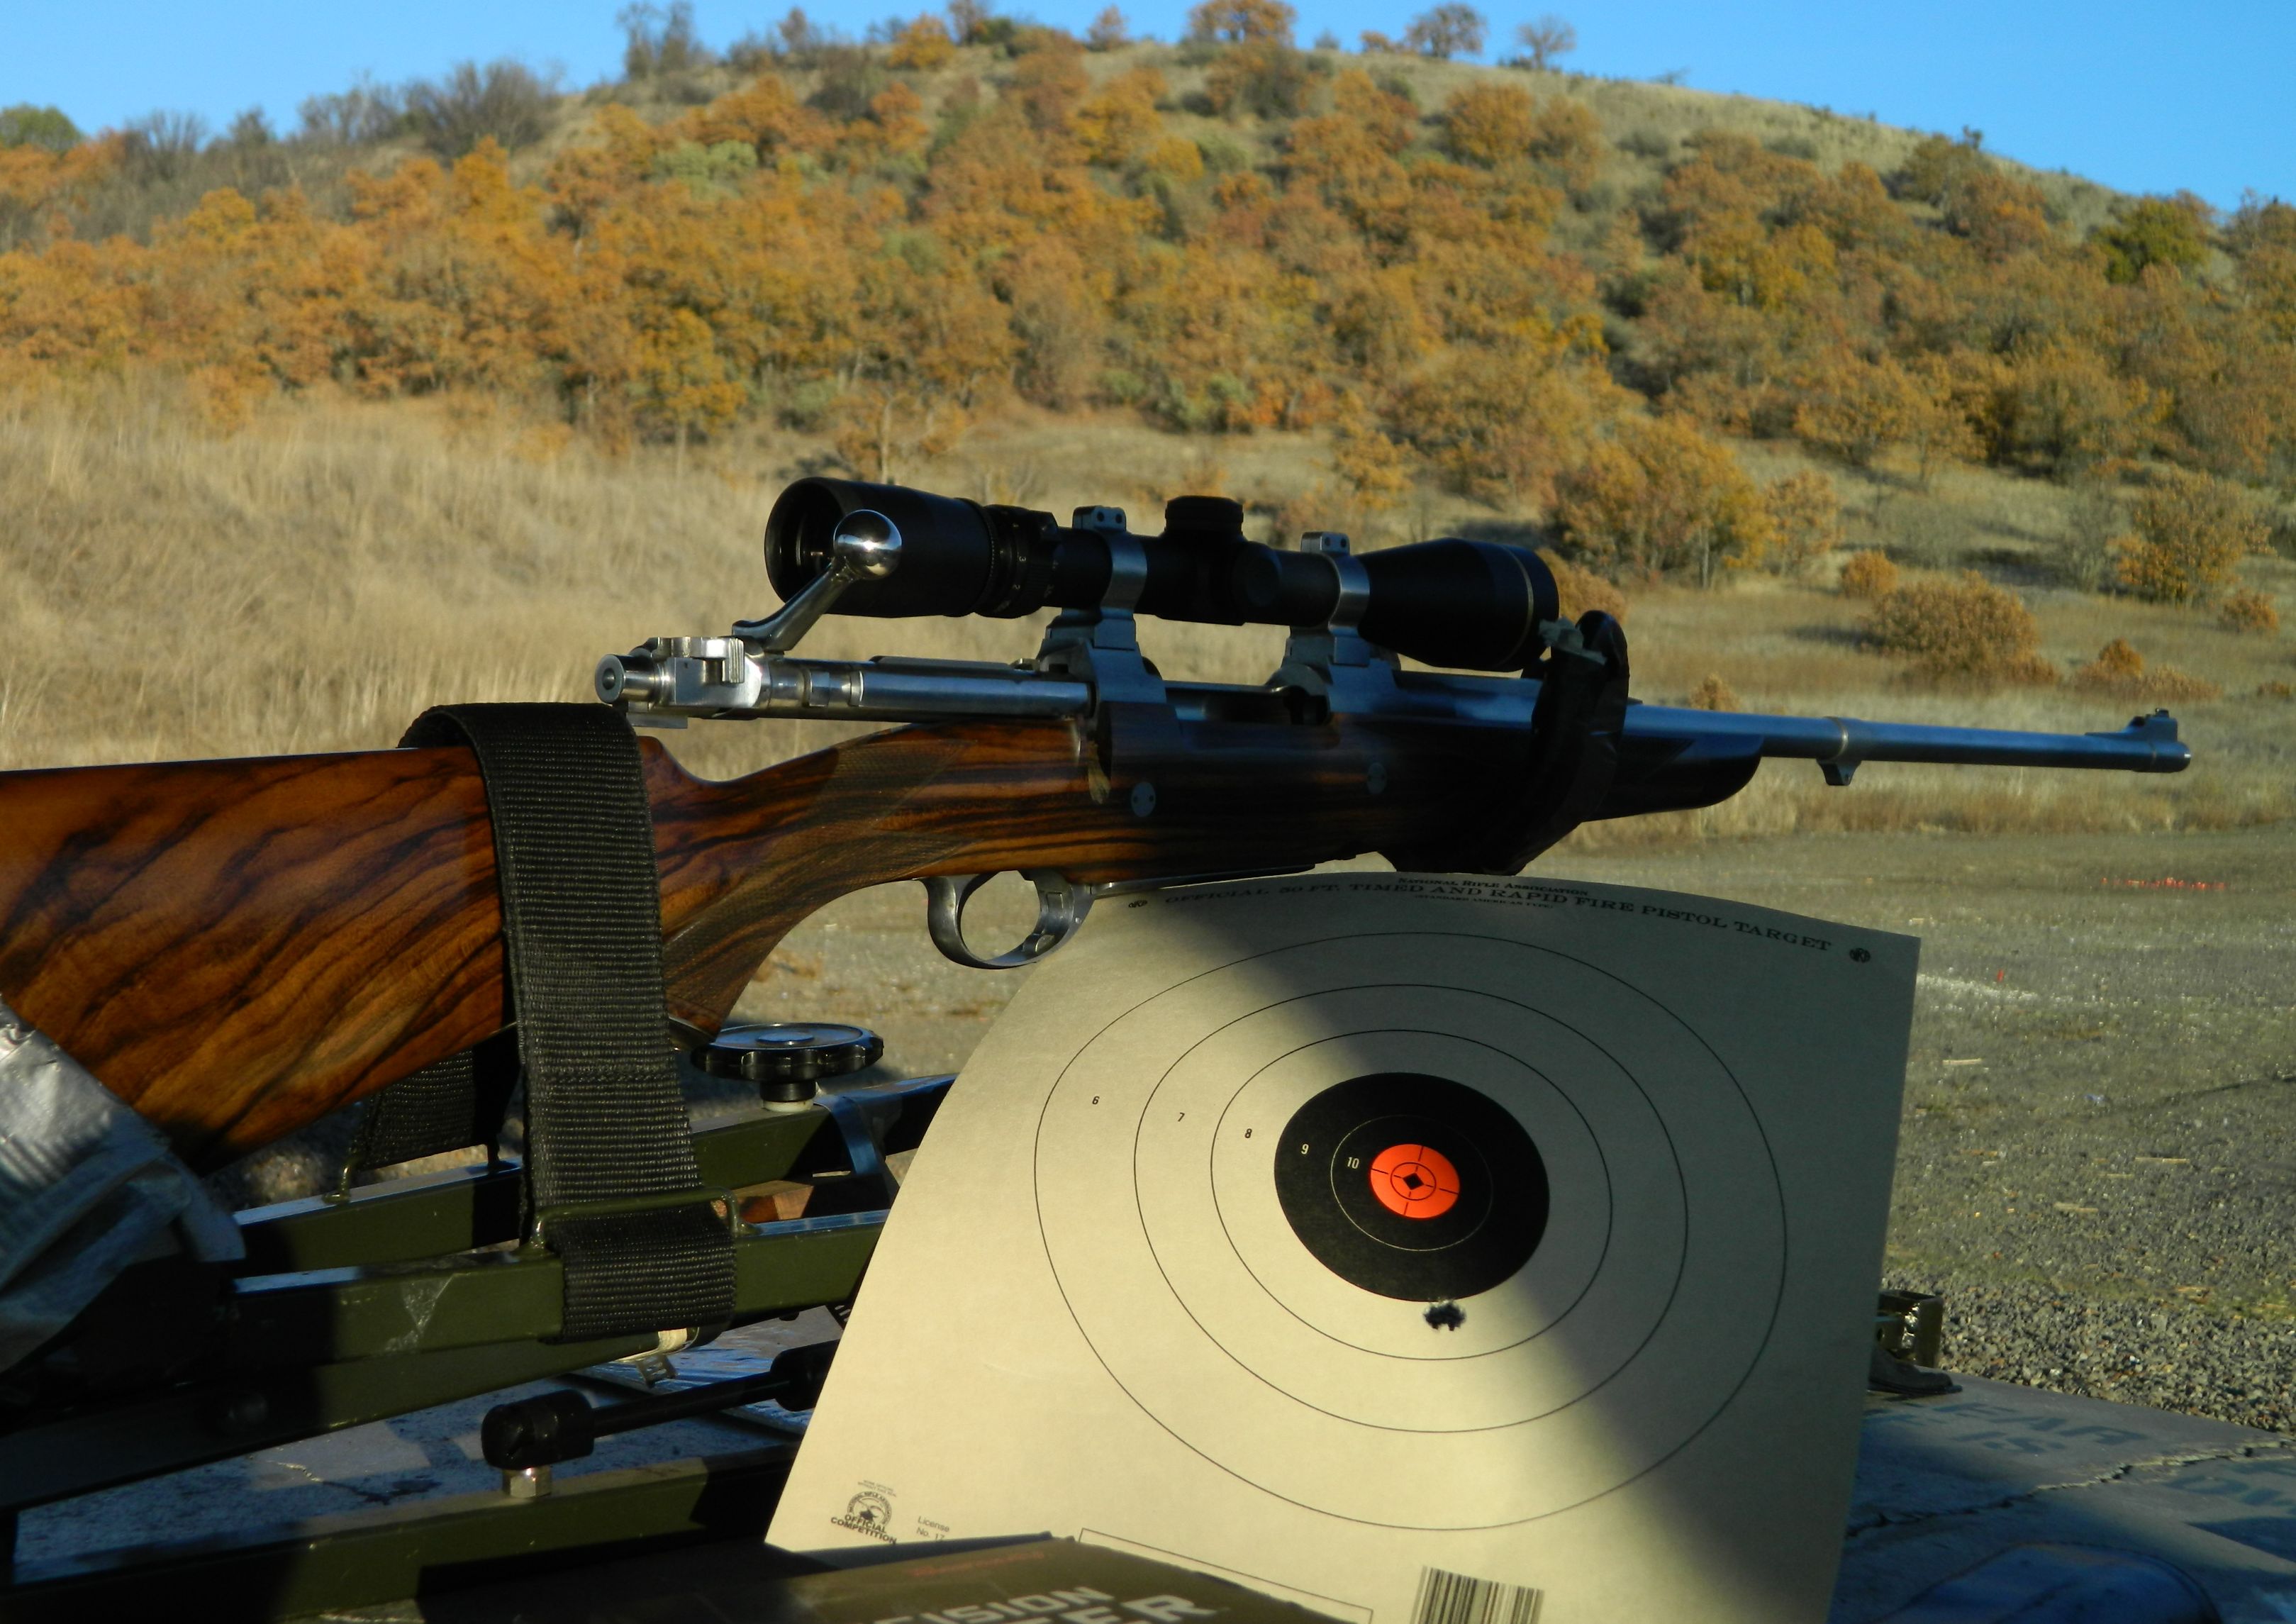
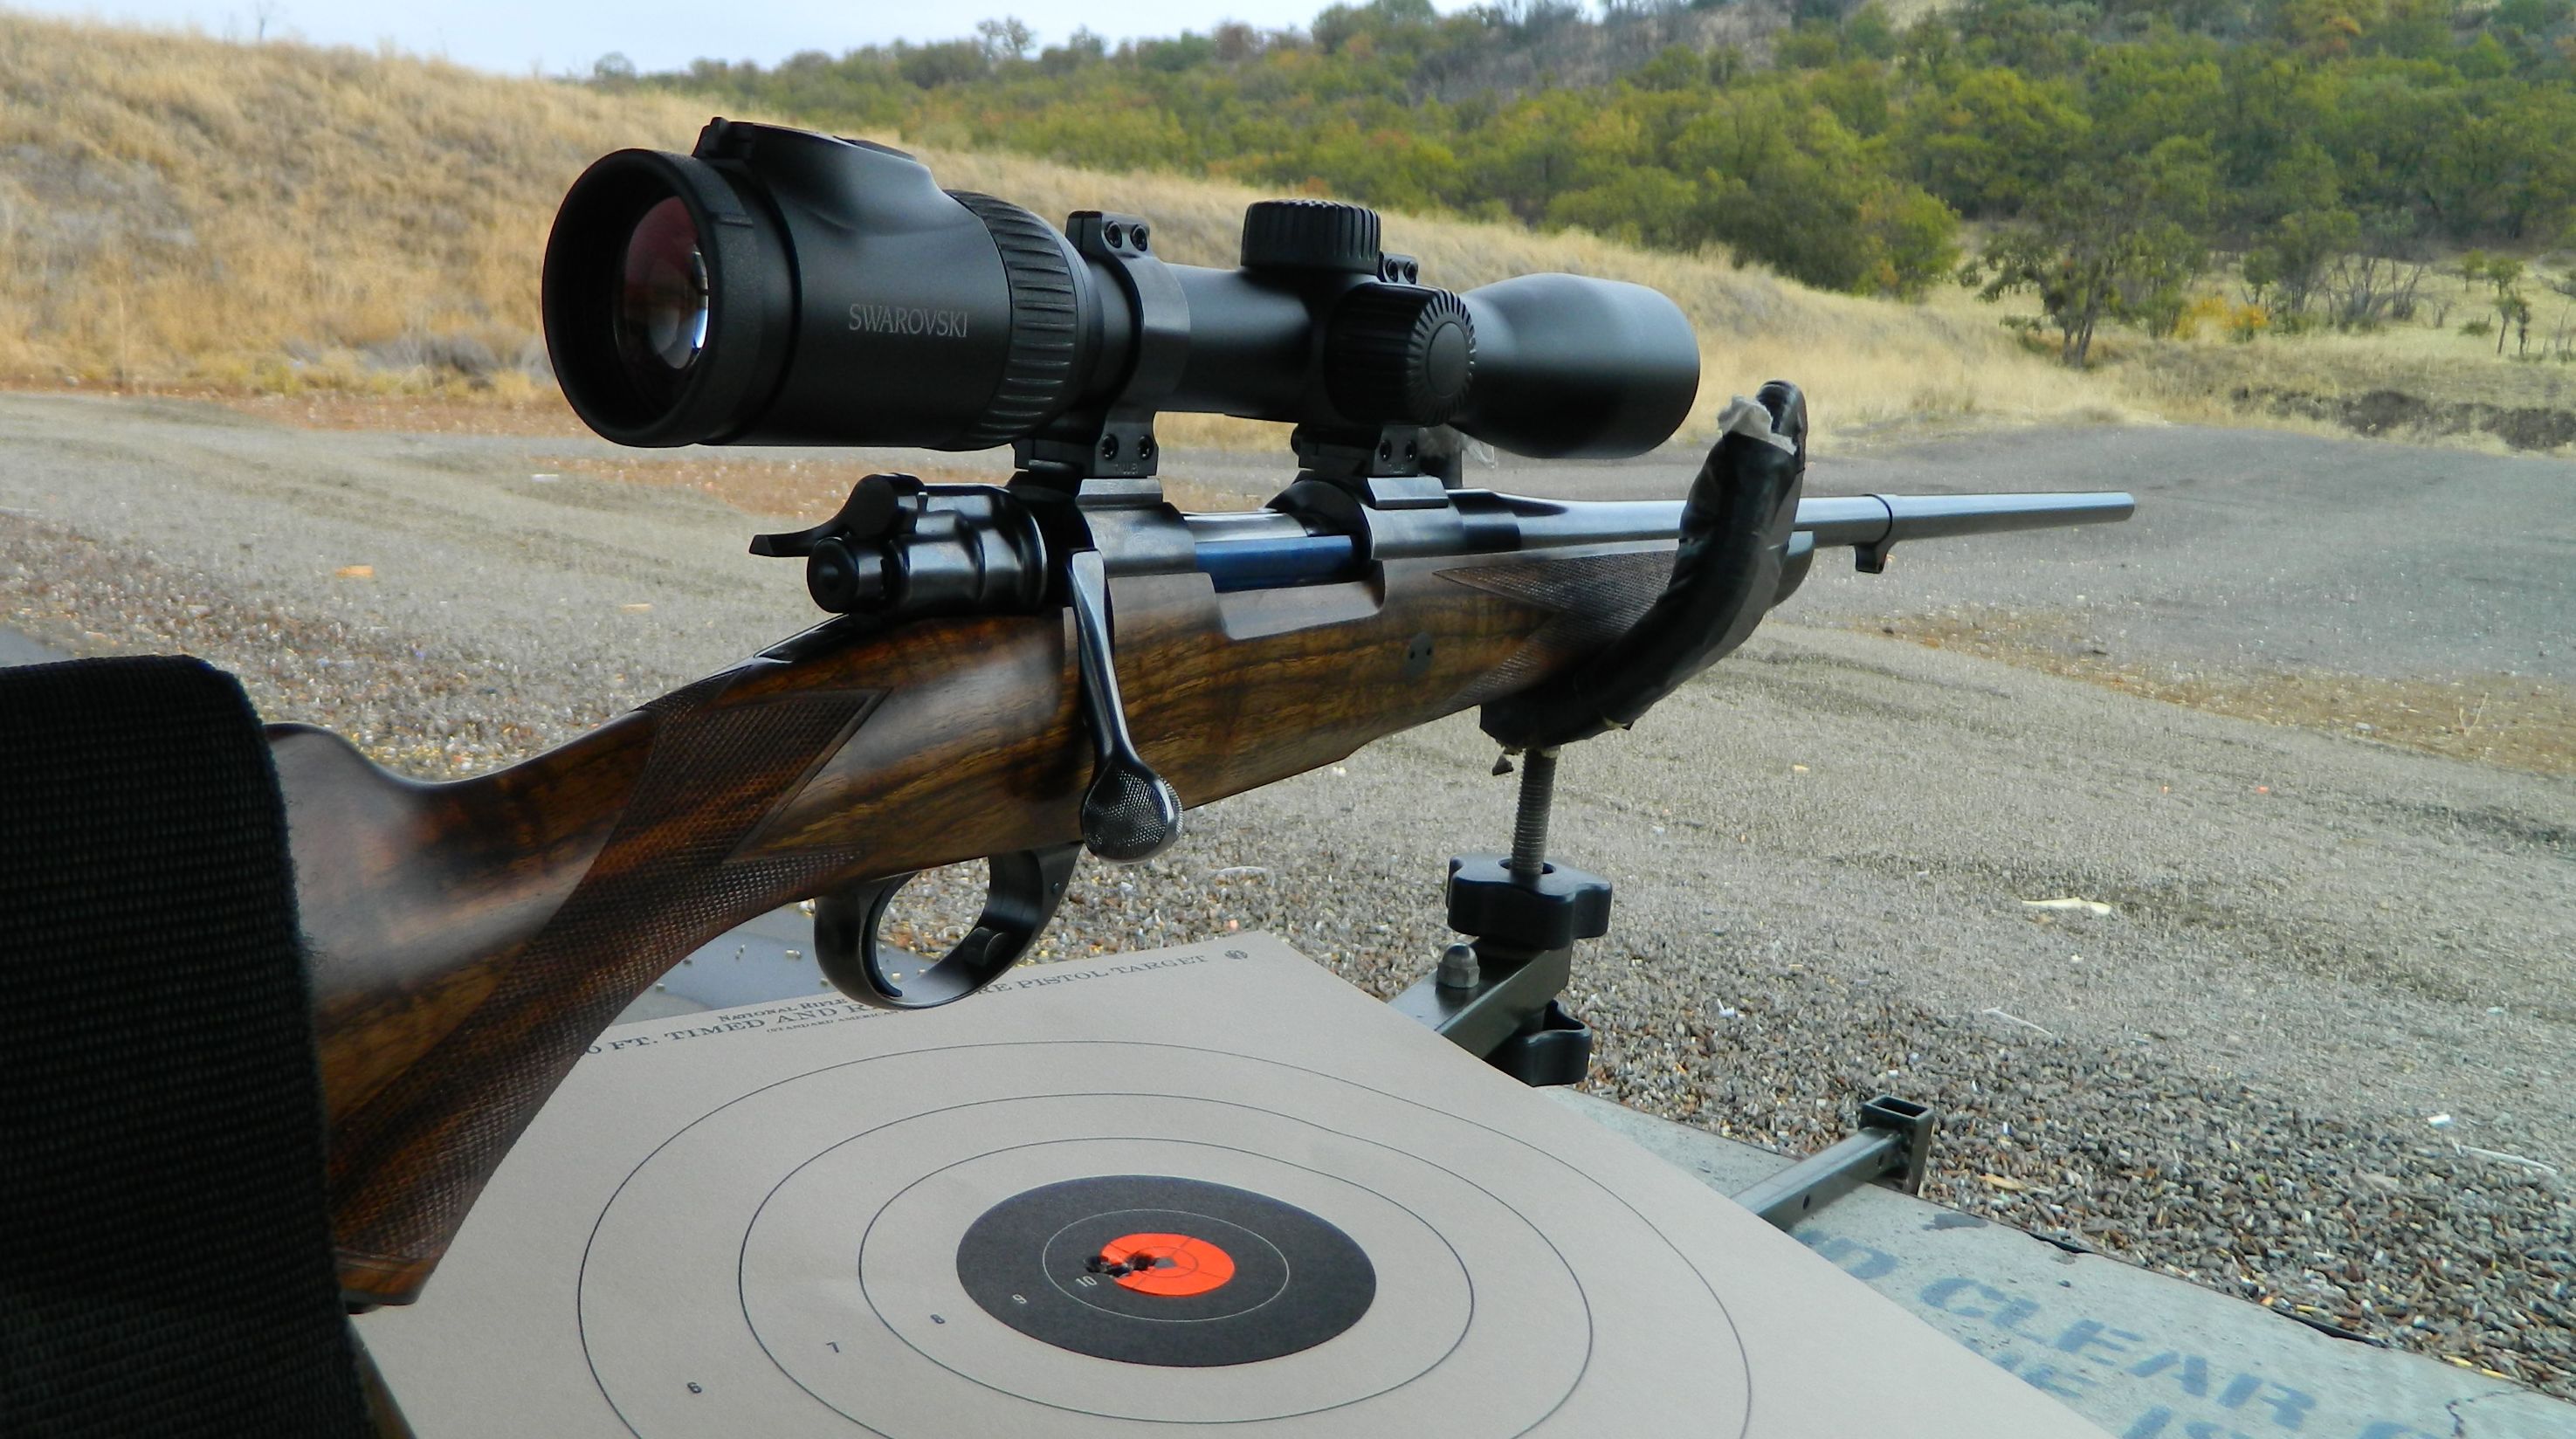
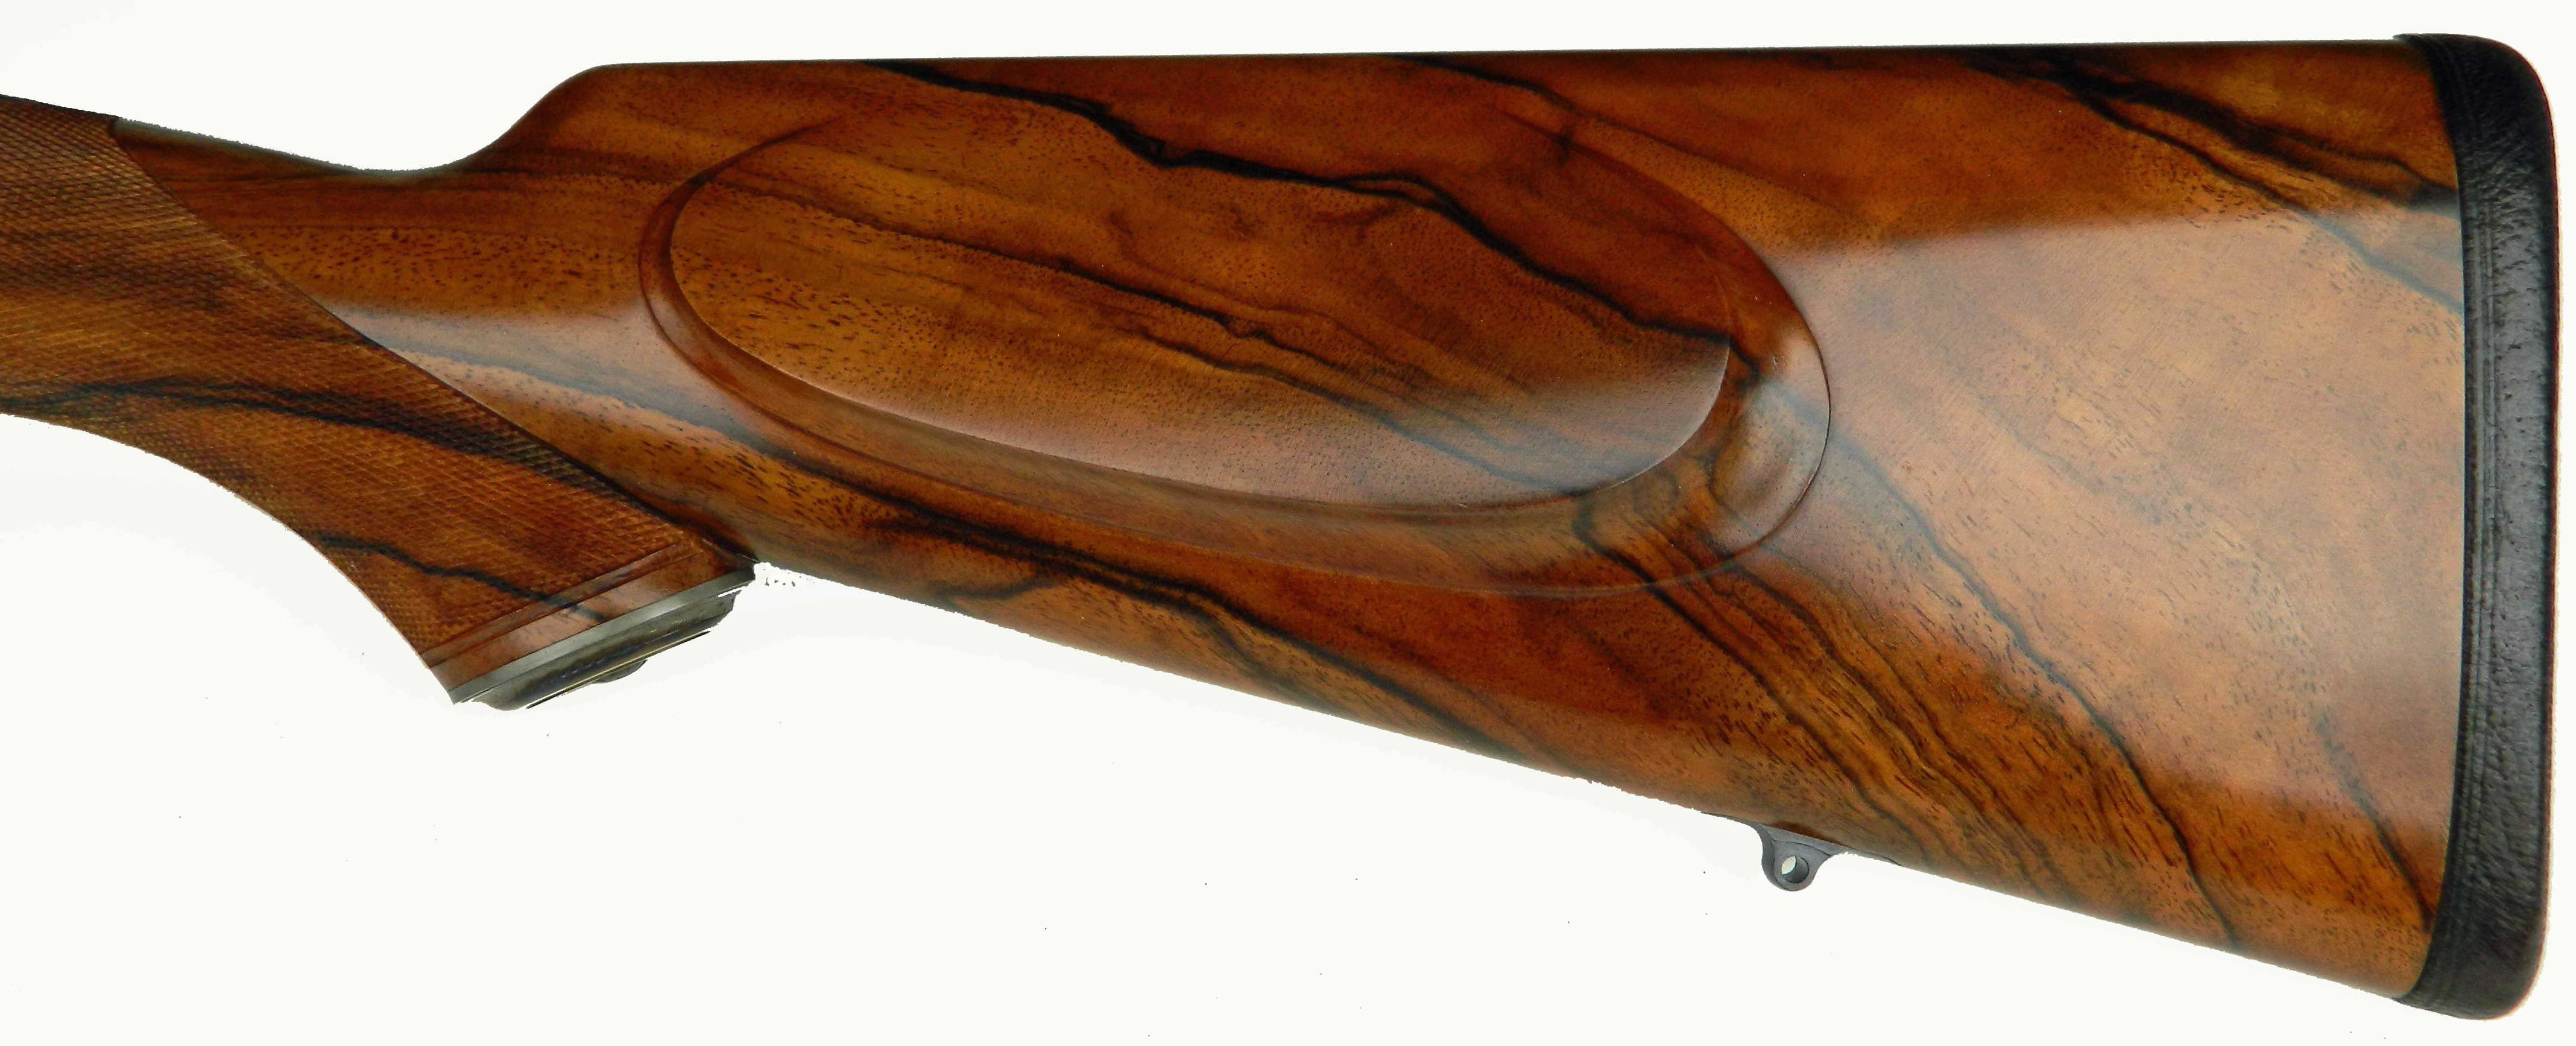
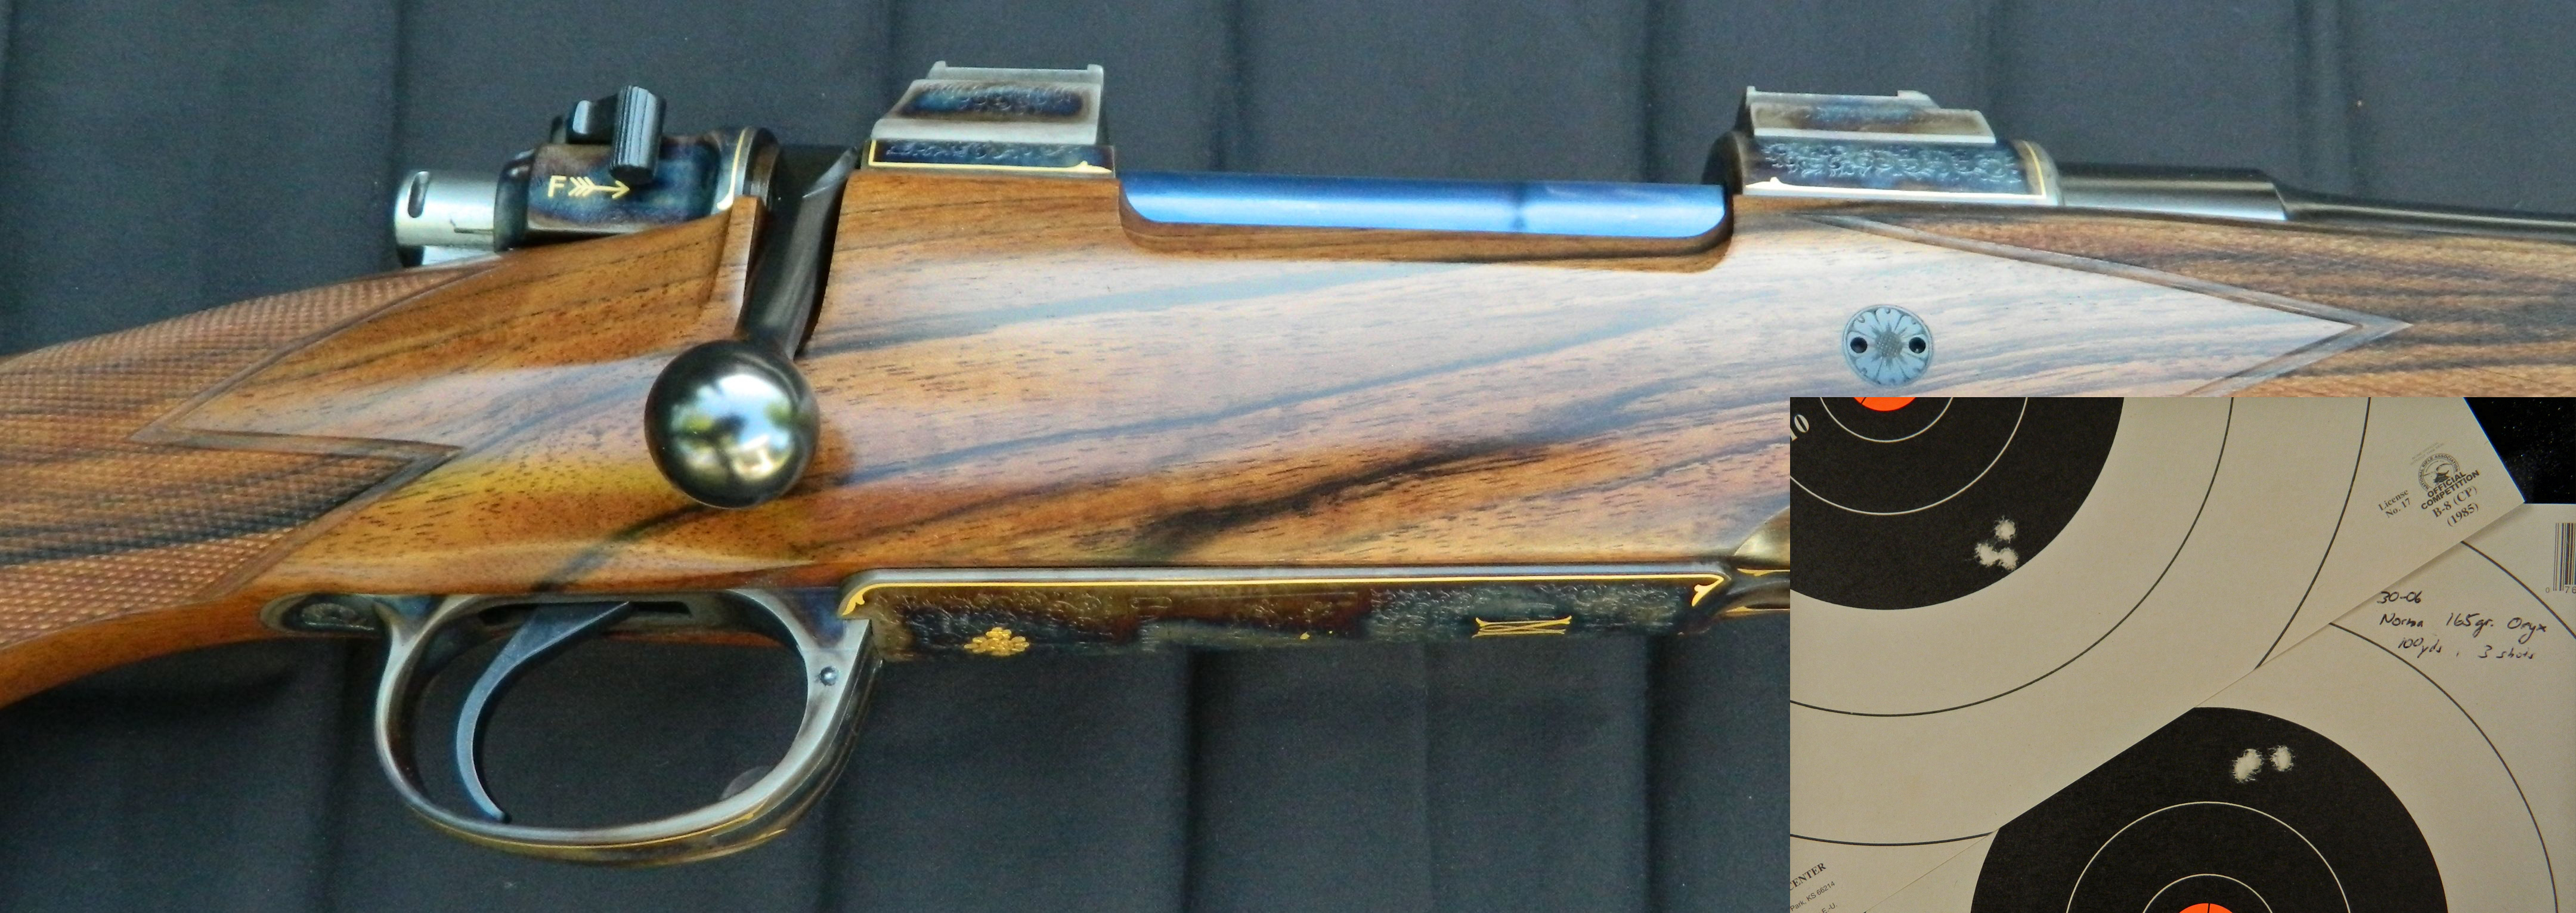
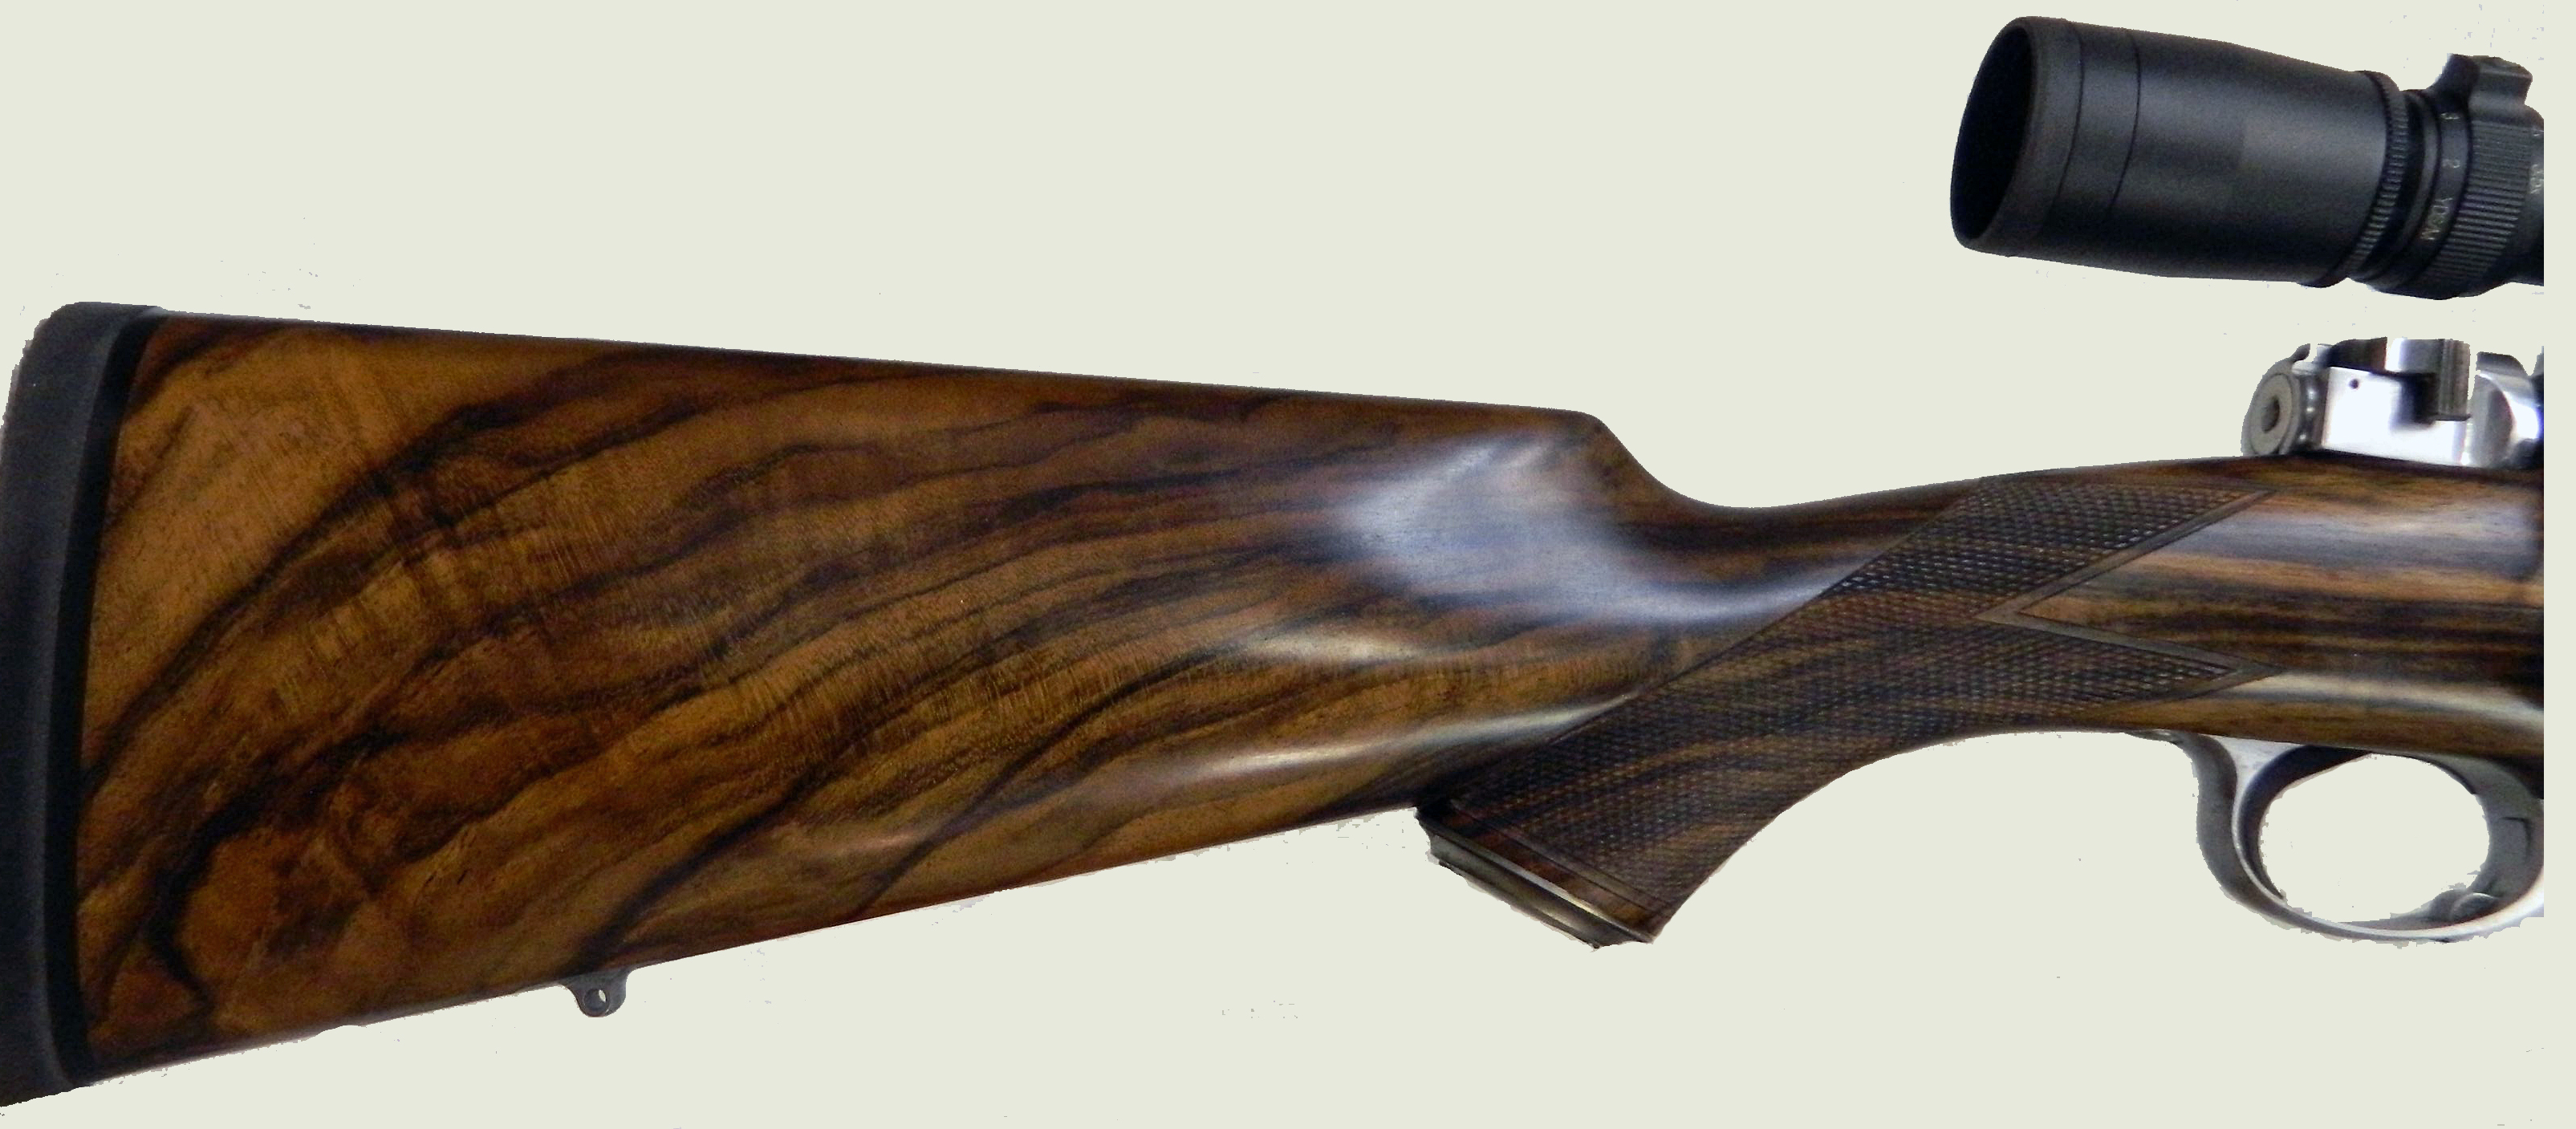
There is much work left to be done on this rifle, but at this stage it is stocked and scoped and I tested it at the range for accuracy and function. I’m very happy how the wood is turning out. An additional couple of coats of oil finish will enhance the 3D effect of the Turkish walnut further.

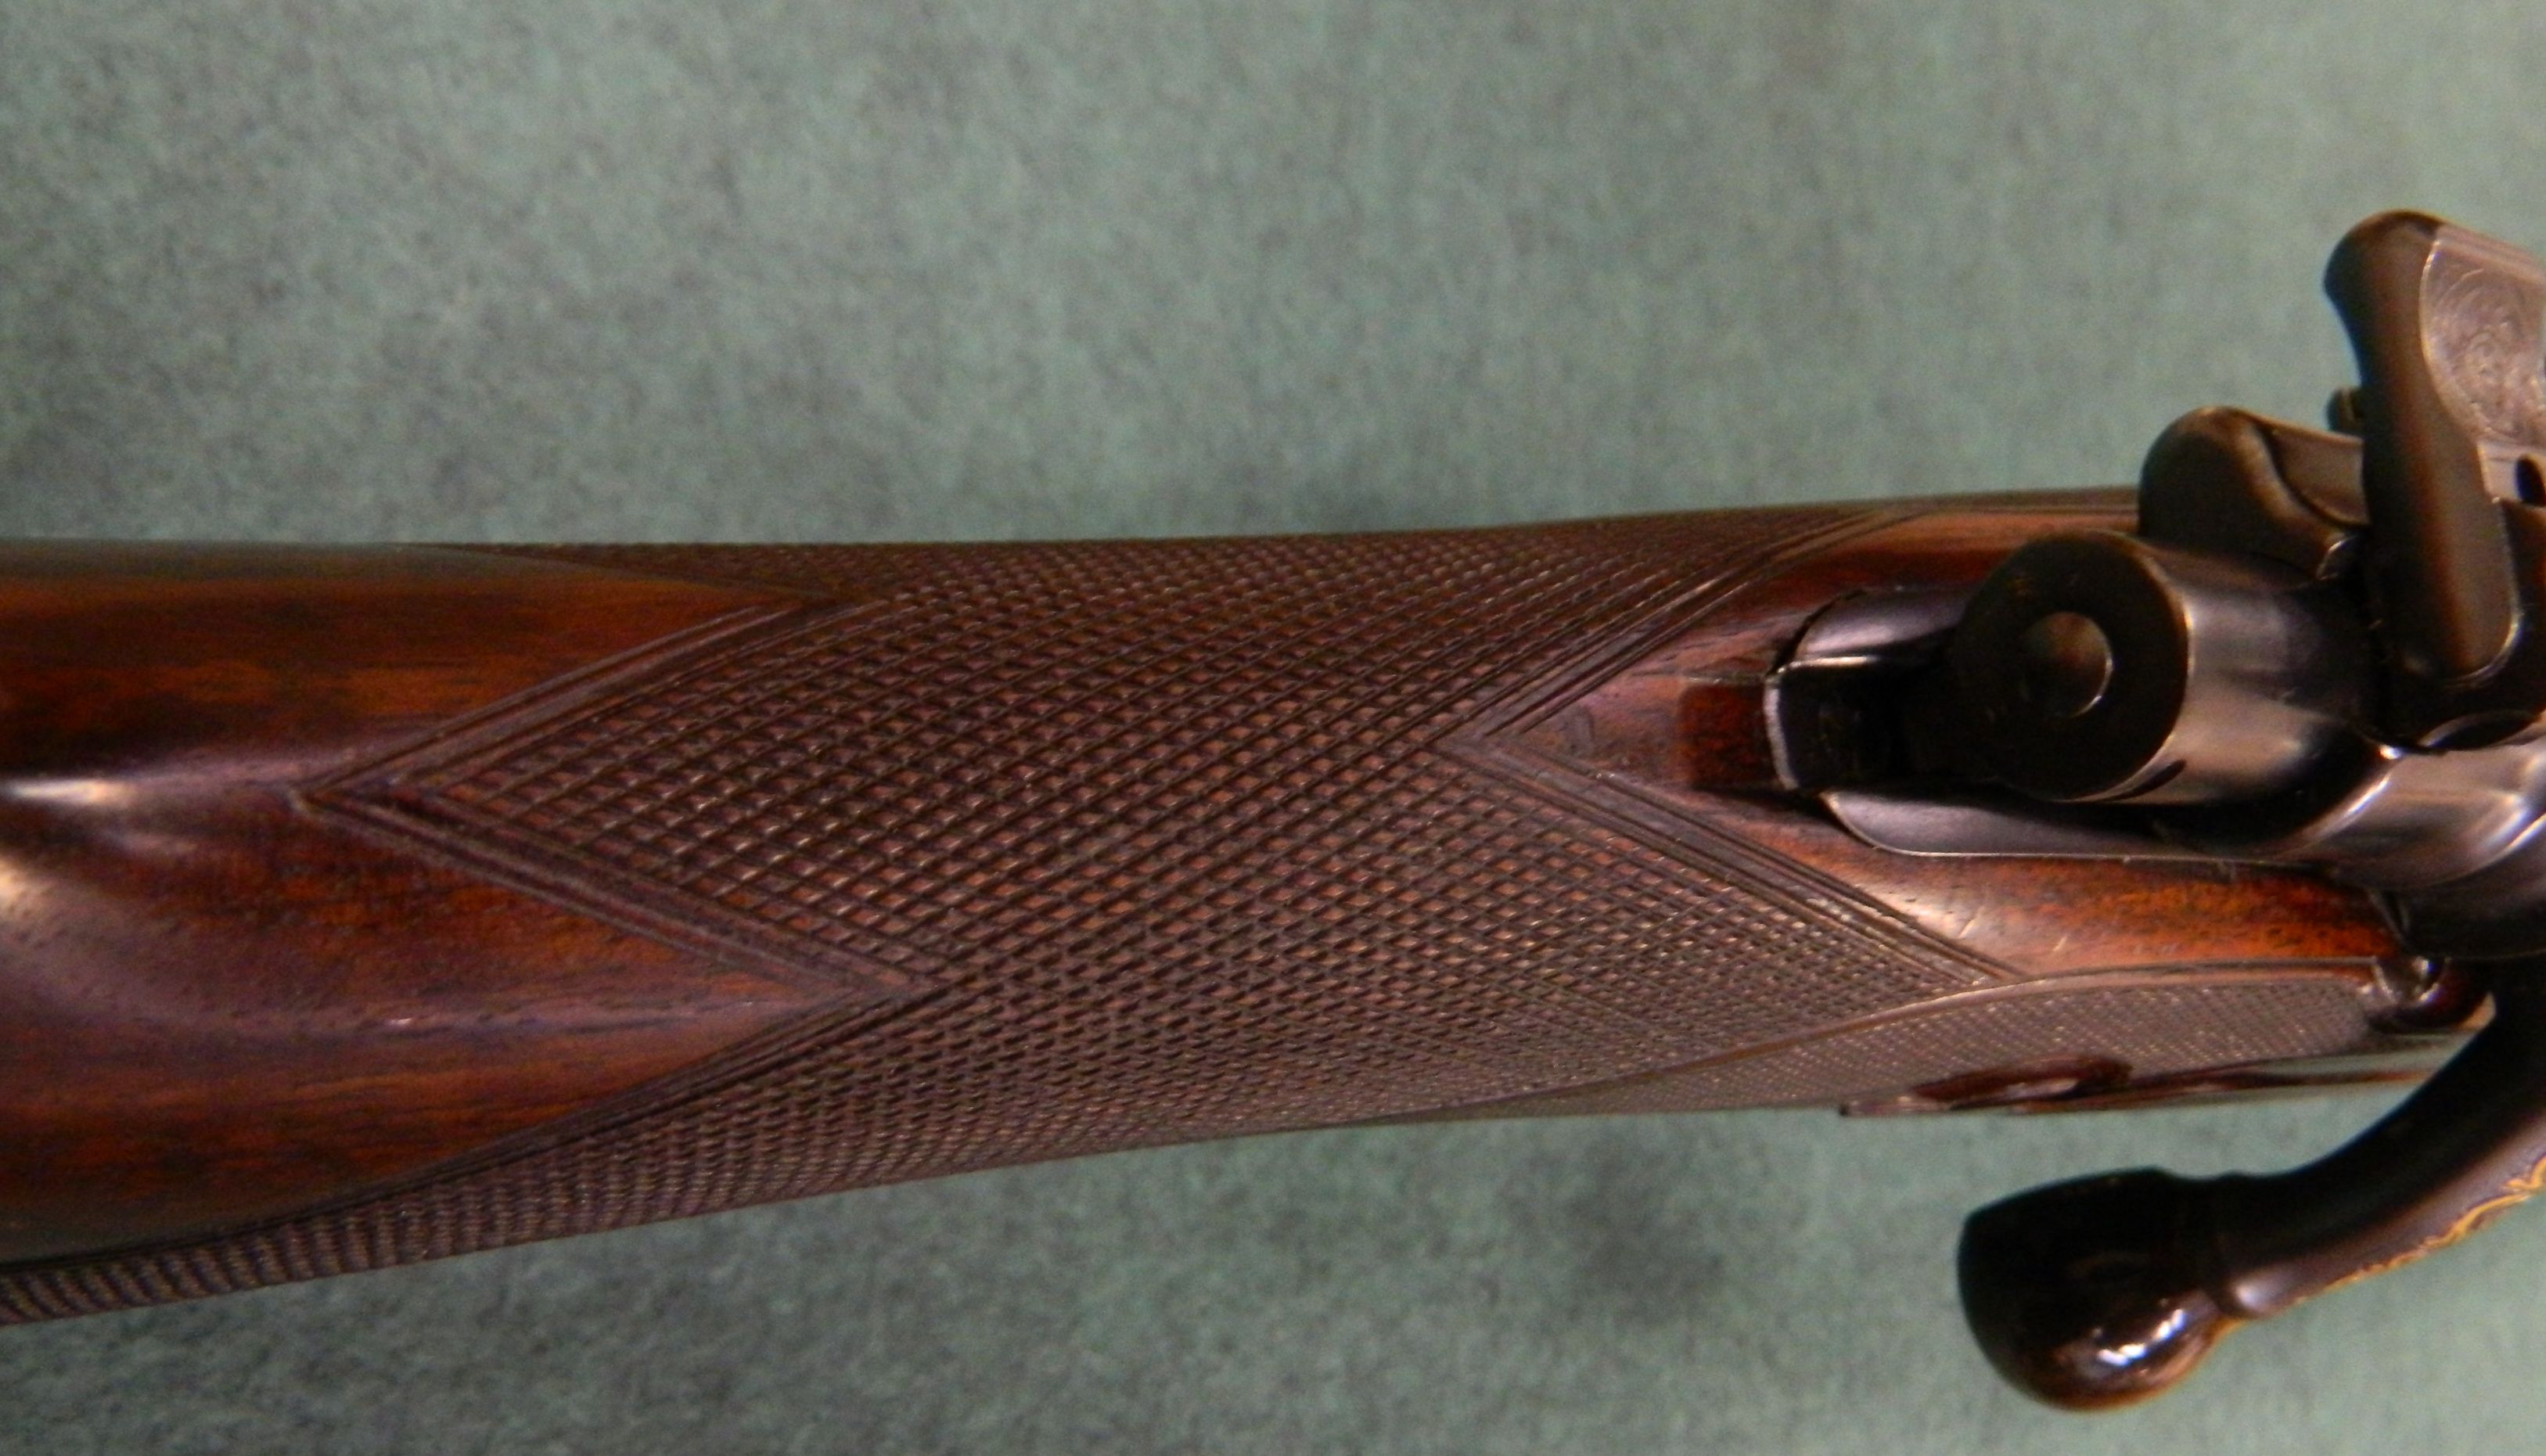
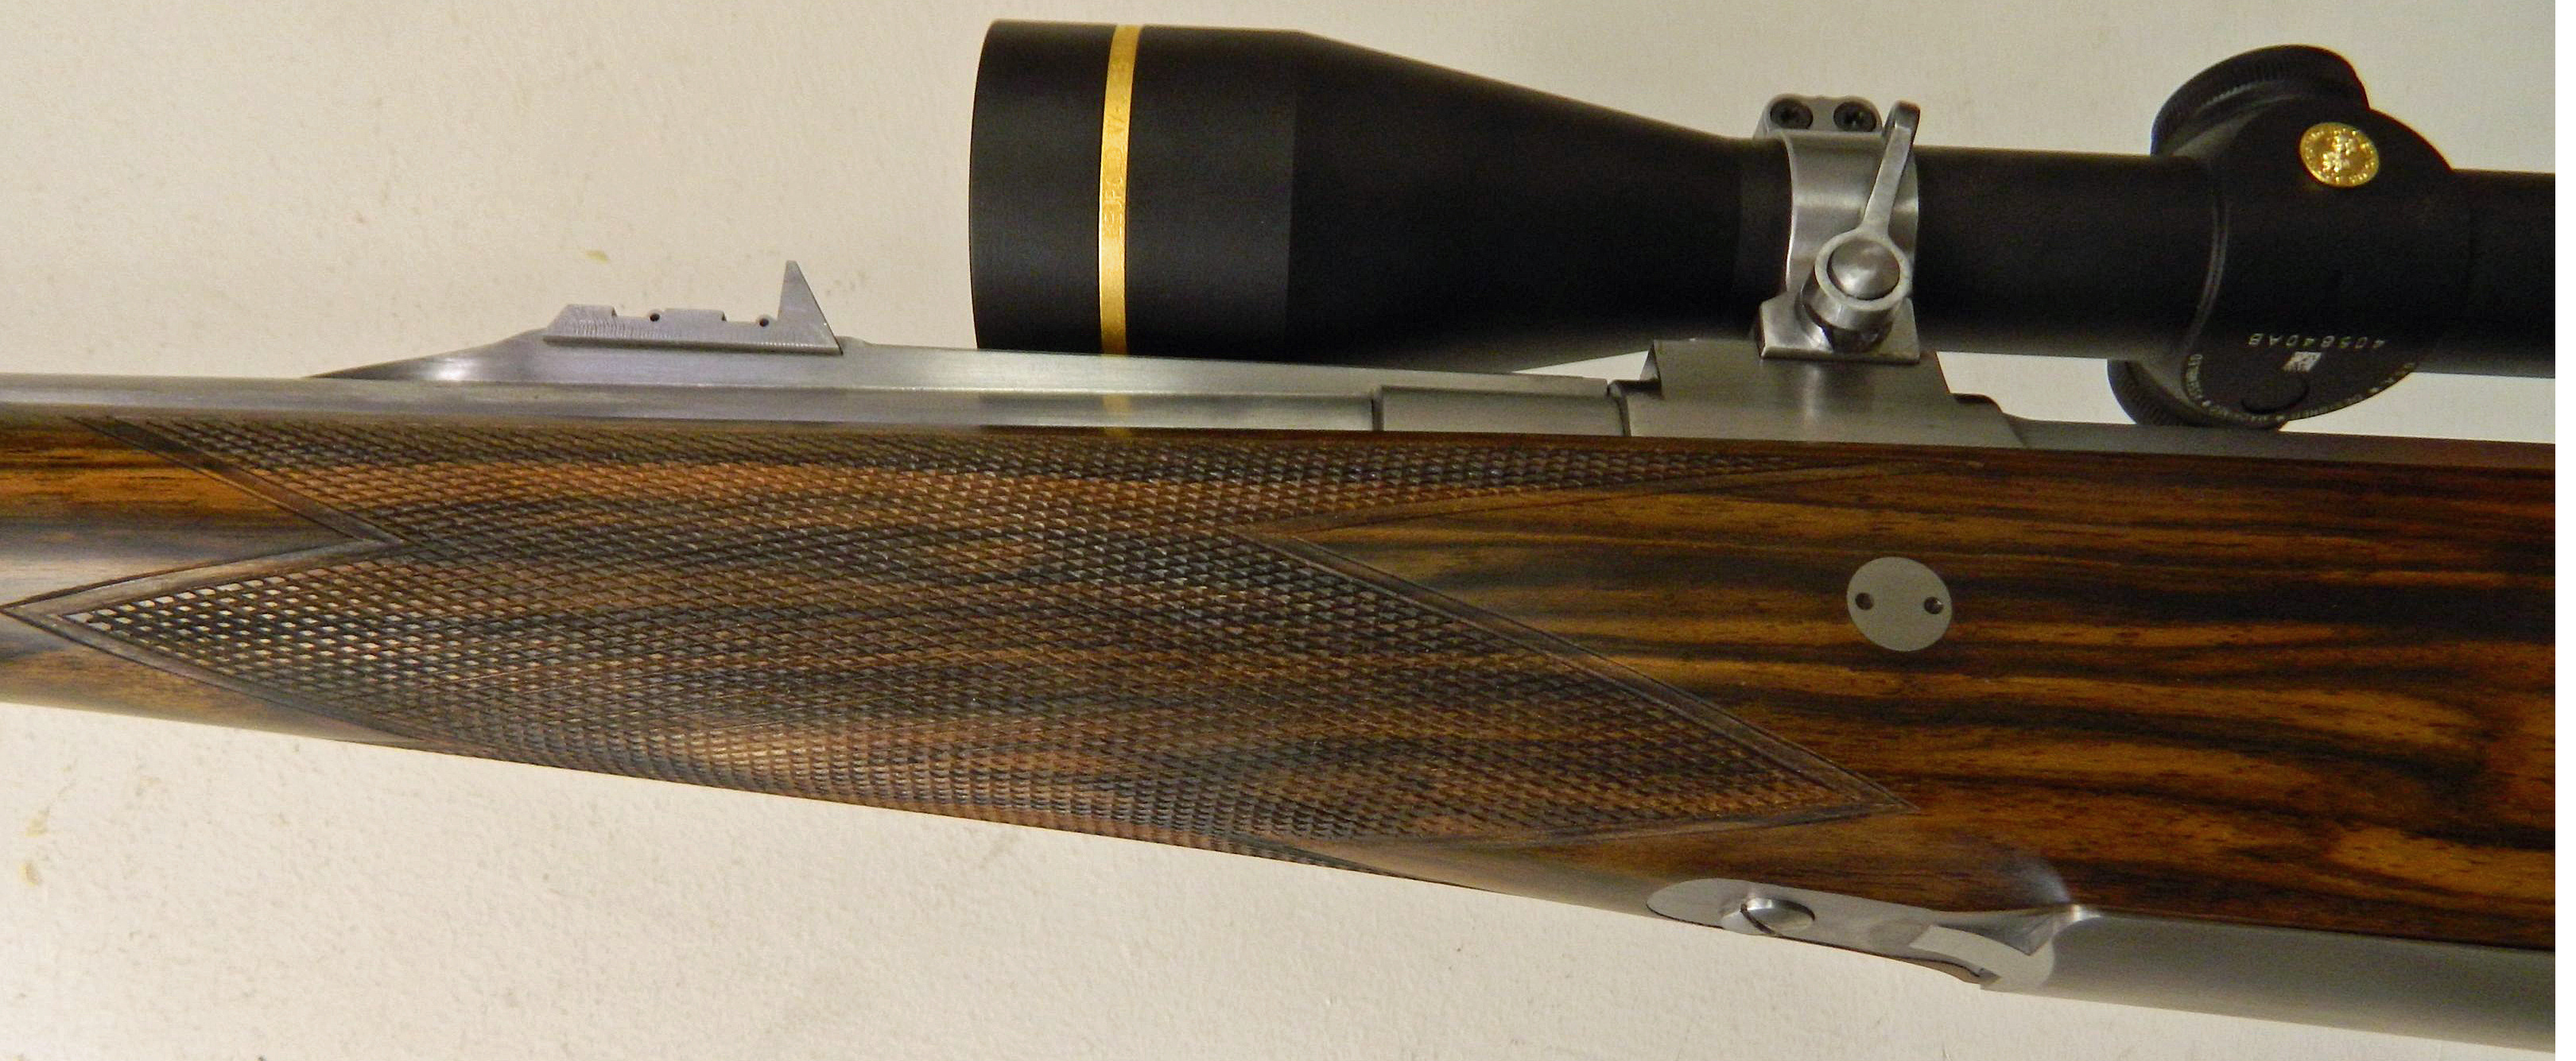
The flat top checkering has been cut and I will go over it once more after the last coat of finish has been applied.

The picture above is of the rifle at the White City gun range. The 3 shot group at 100 yds with Hornady factory ammo speaks for itself.

My next step is to time the screws and prepare the metal for engraving and bluing. All will be disassembled and the barrel removed off the action. After the bluing and final assembly I will test the rifle again at the range for function and accuracy.


A rare Westely Richards deluxe .425 W&R rifle

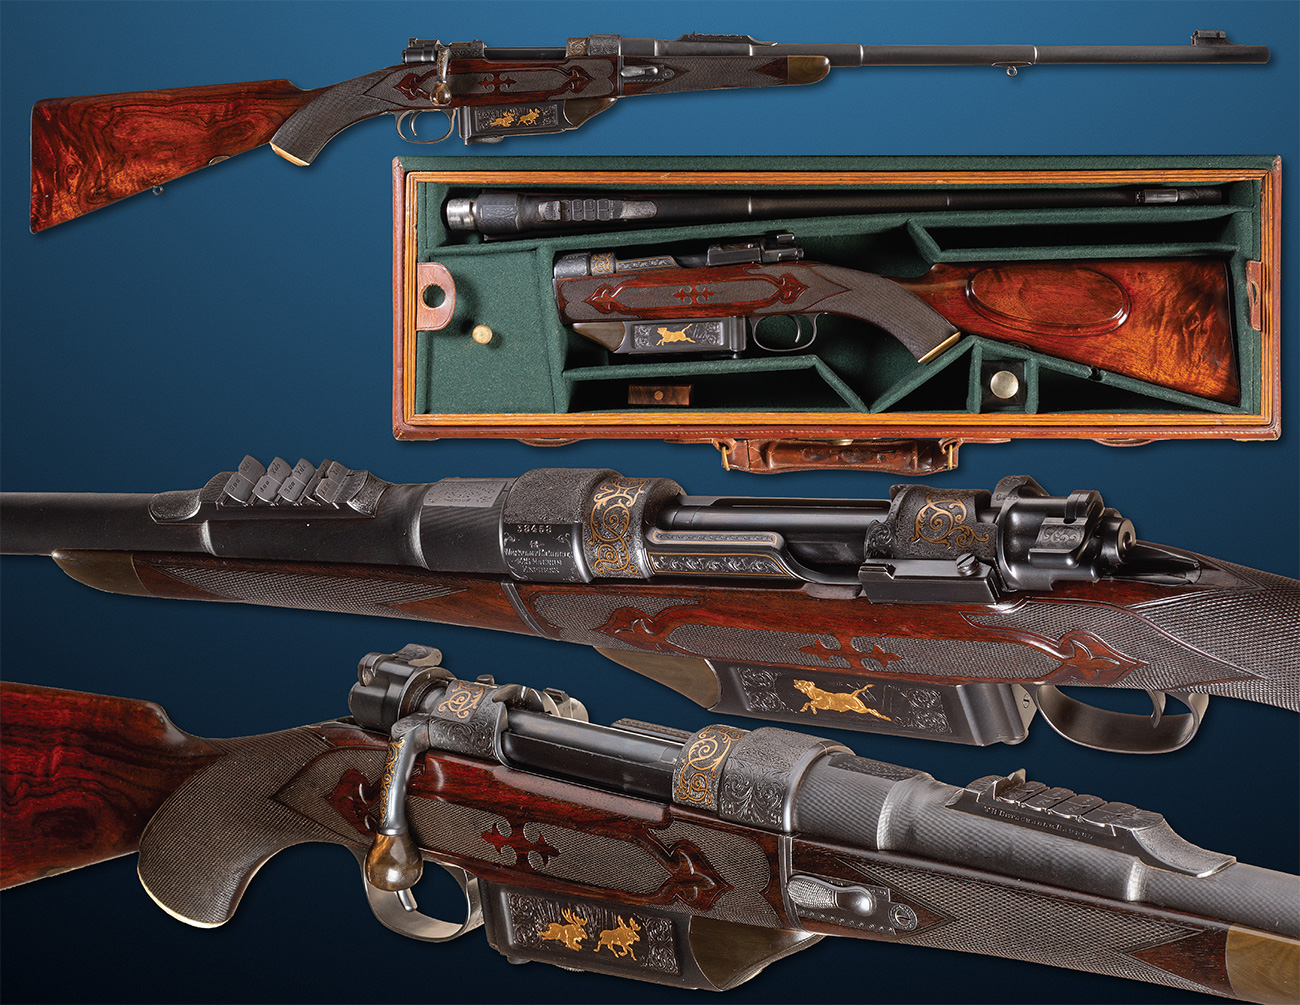
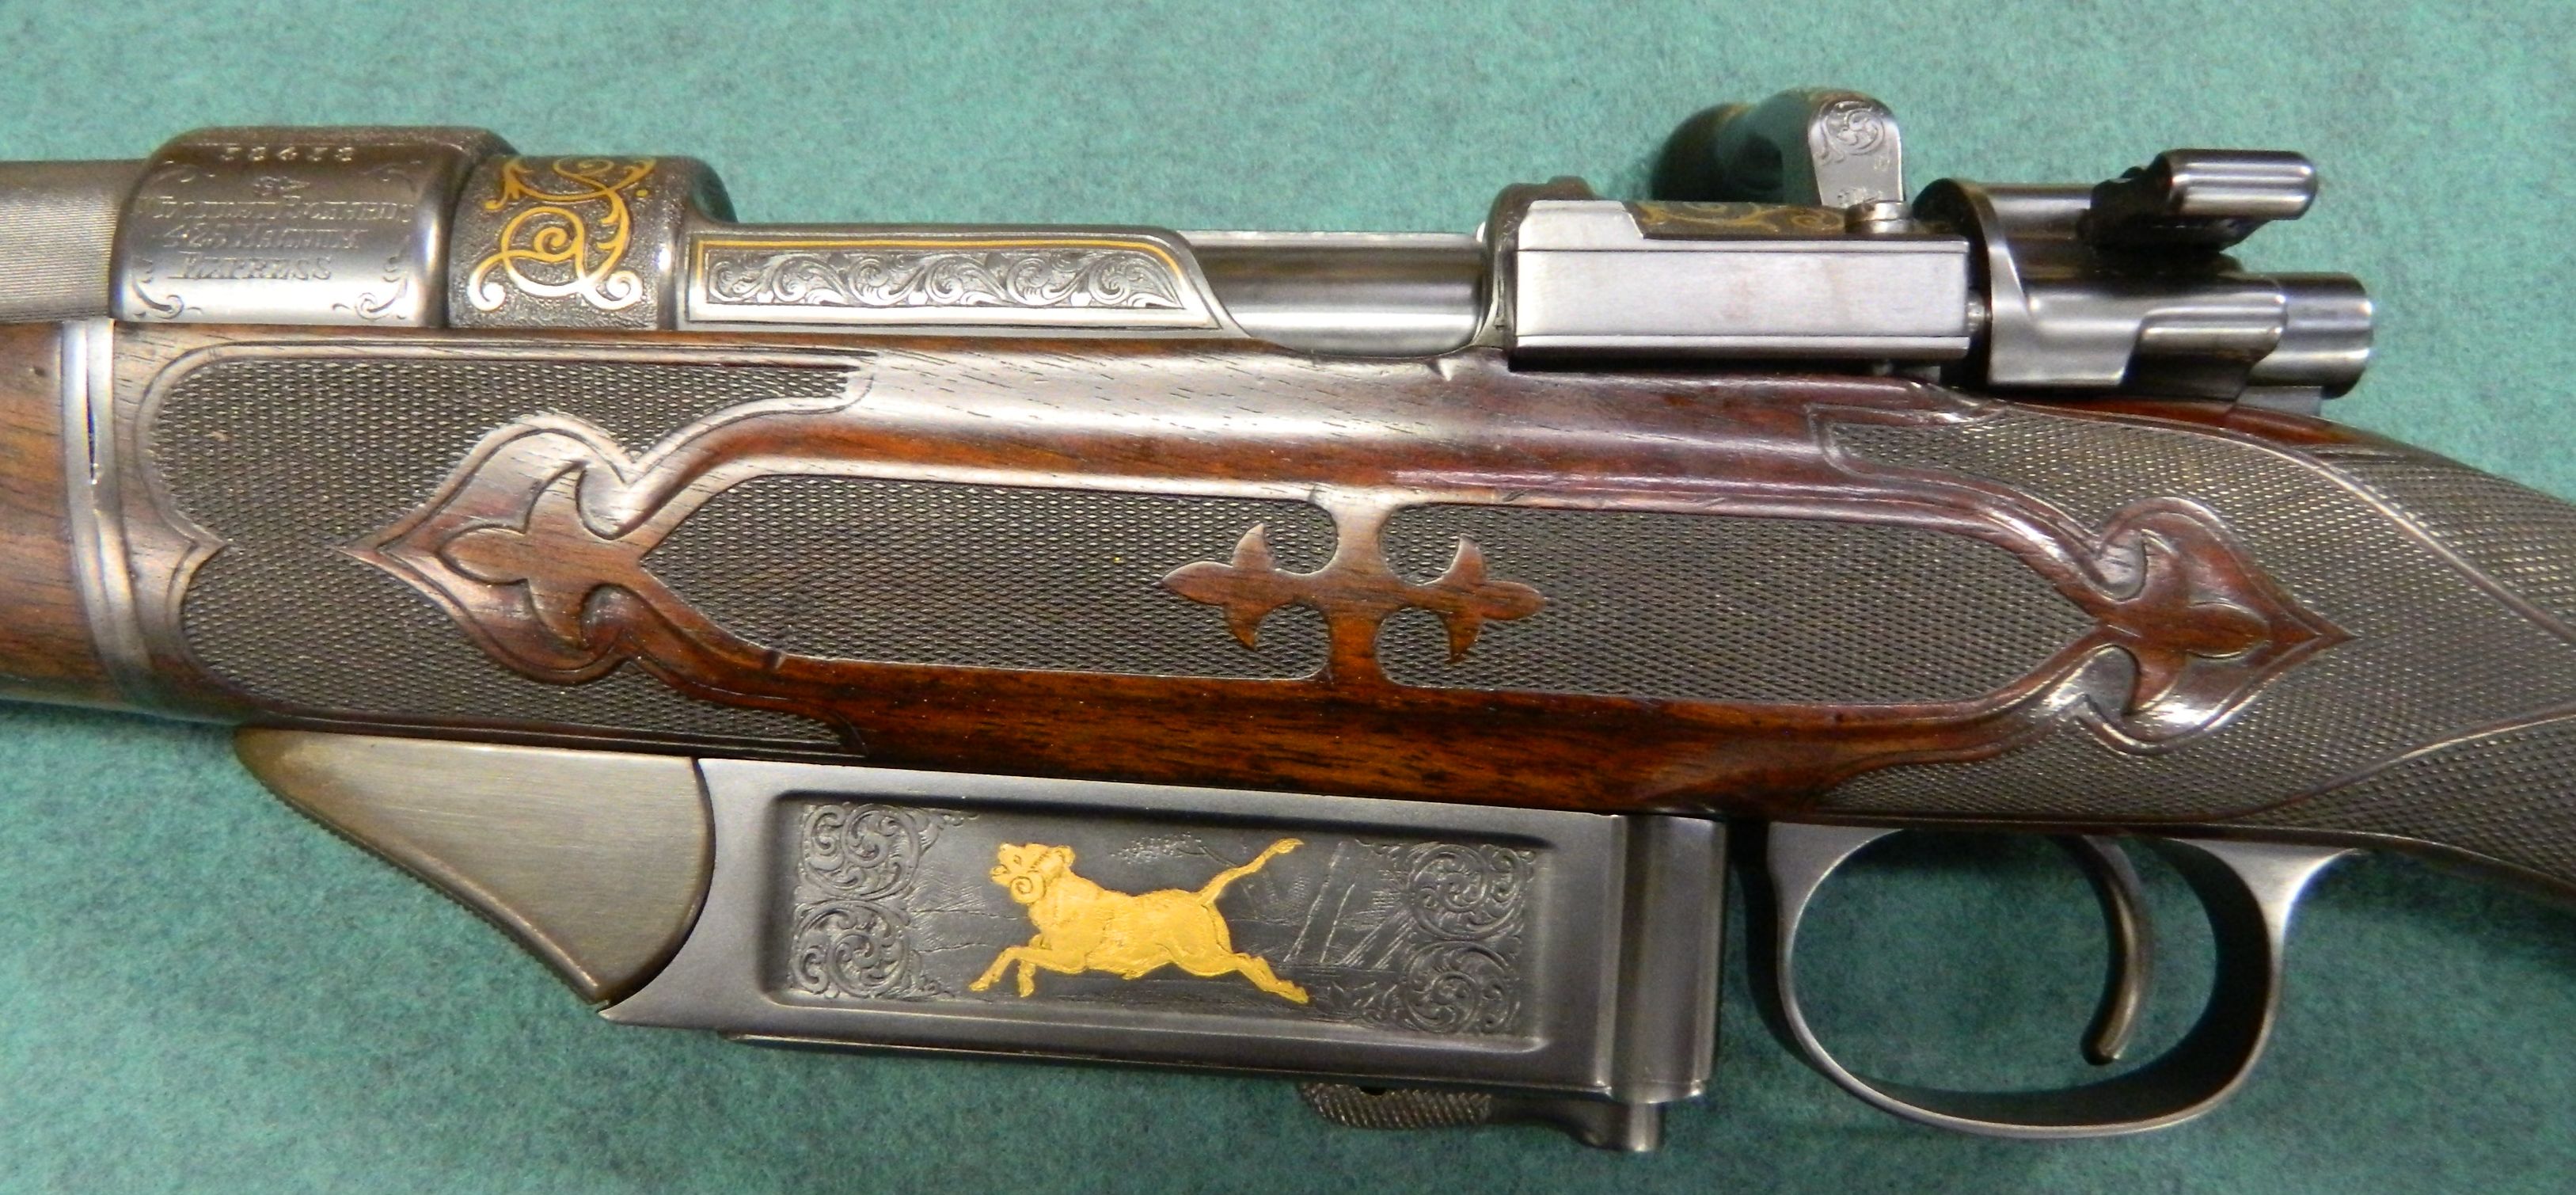
Built around a Mauser action, this interesting Westely Richards rifle was once owned by Raja Bhuri Singh of Chamba (b.1869-d.1919, r.1904-1919) in northern India in Punjab as denoted on the case lid. I had the rare opportunity to inspect this rifle recently in my shop. It was sold in September at a gun auction hosted by the Rock Island Auction Company. More of the details in regards to this rifle are available on the RIA website.

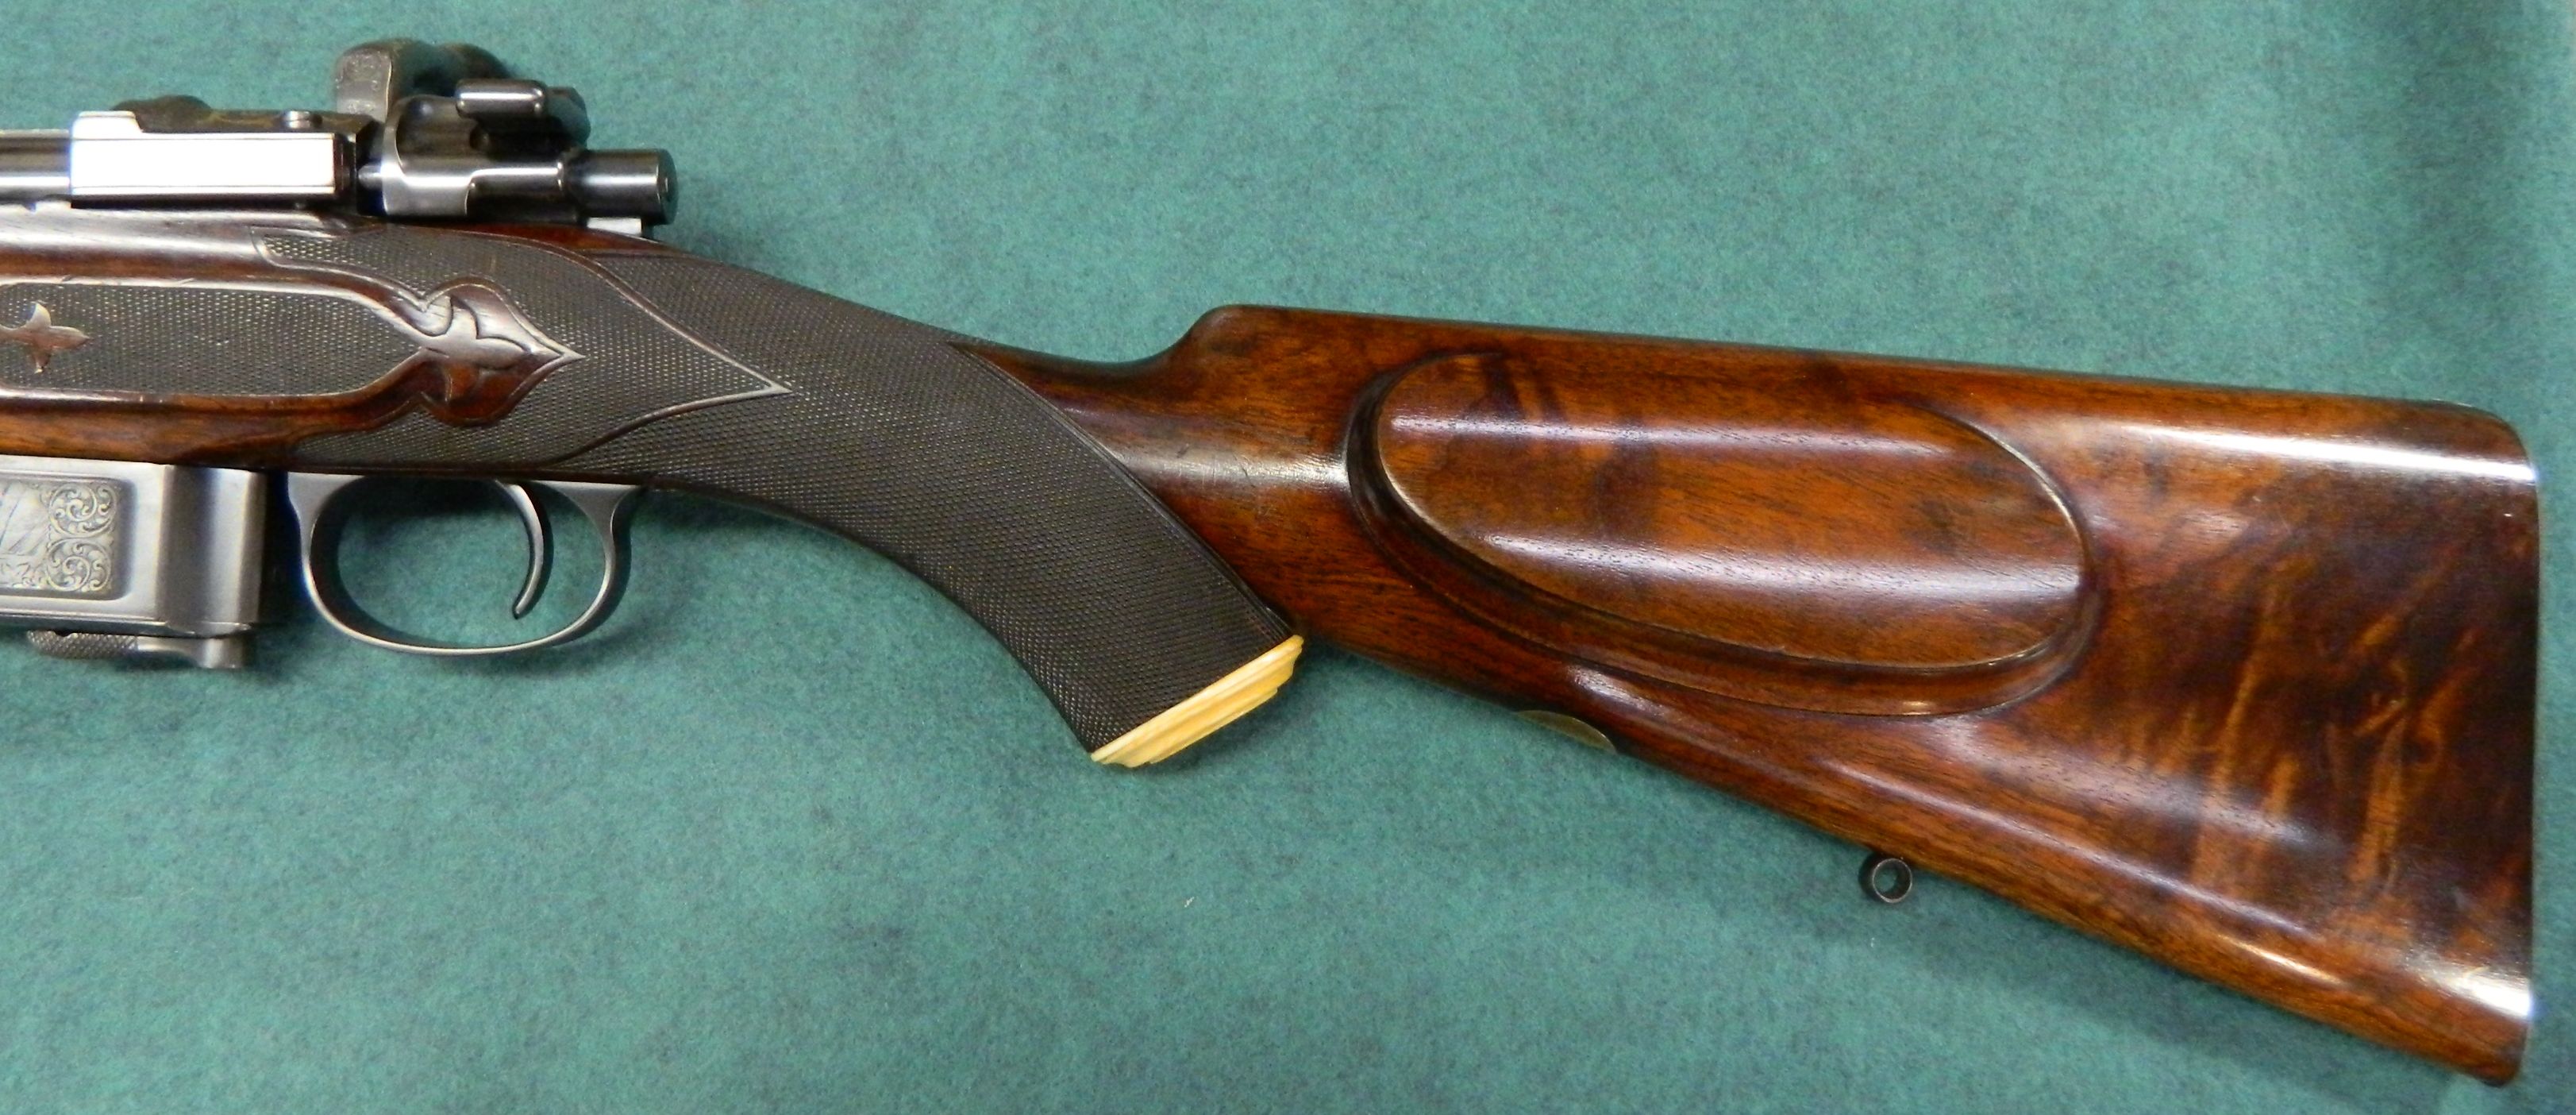
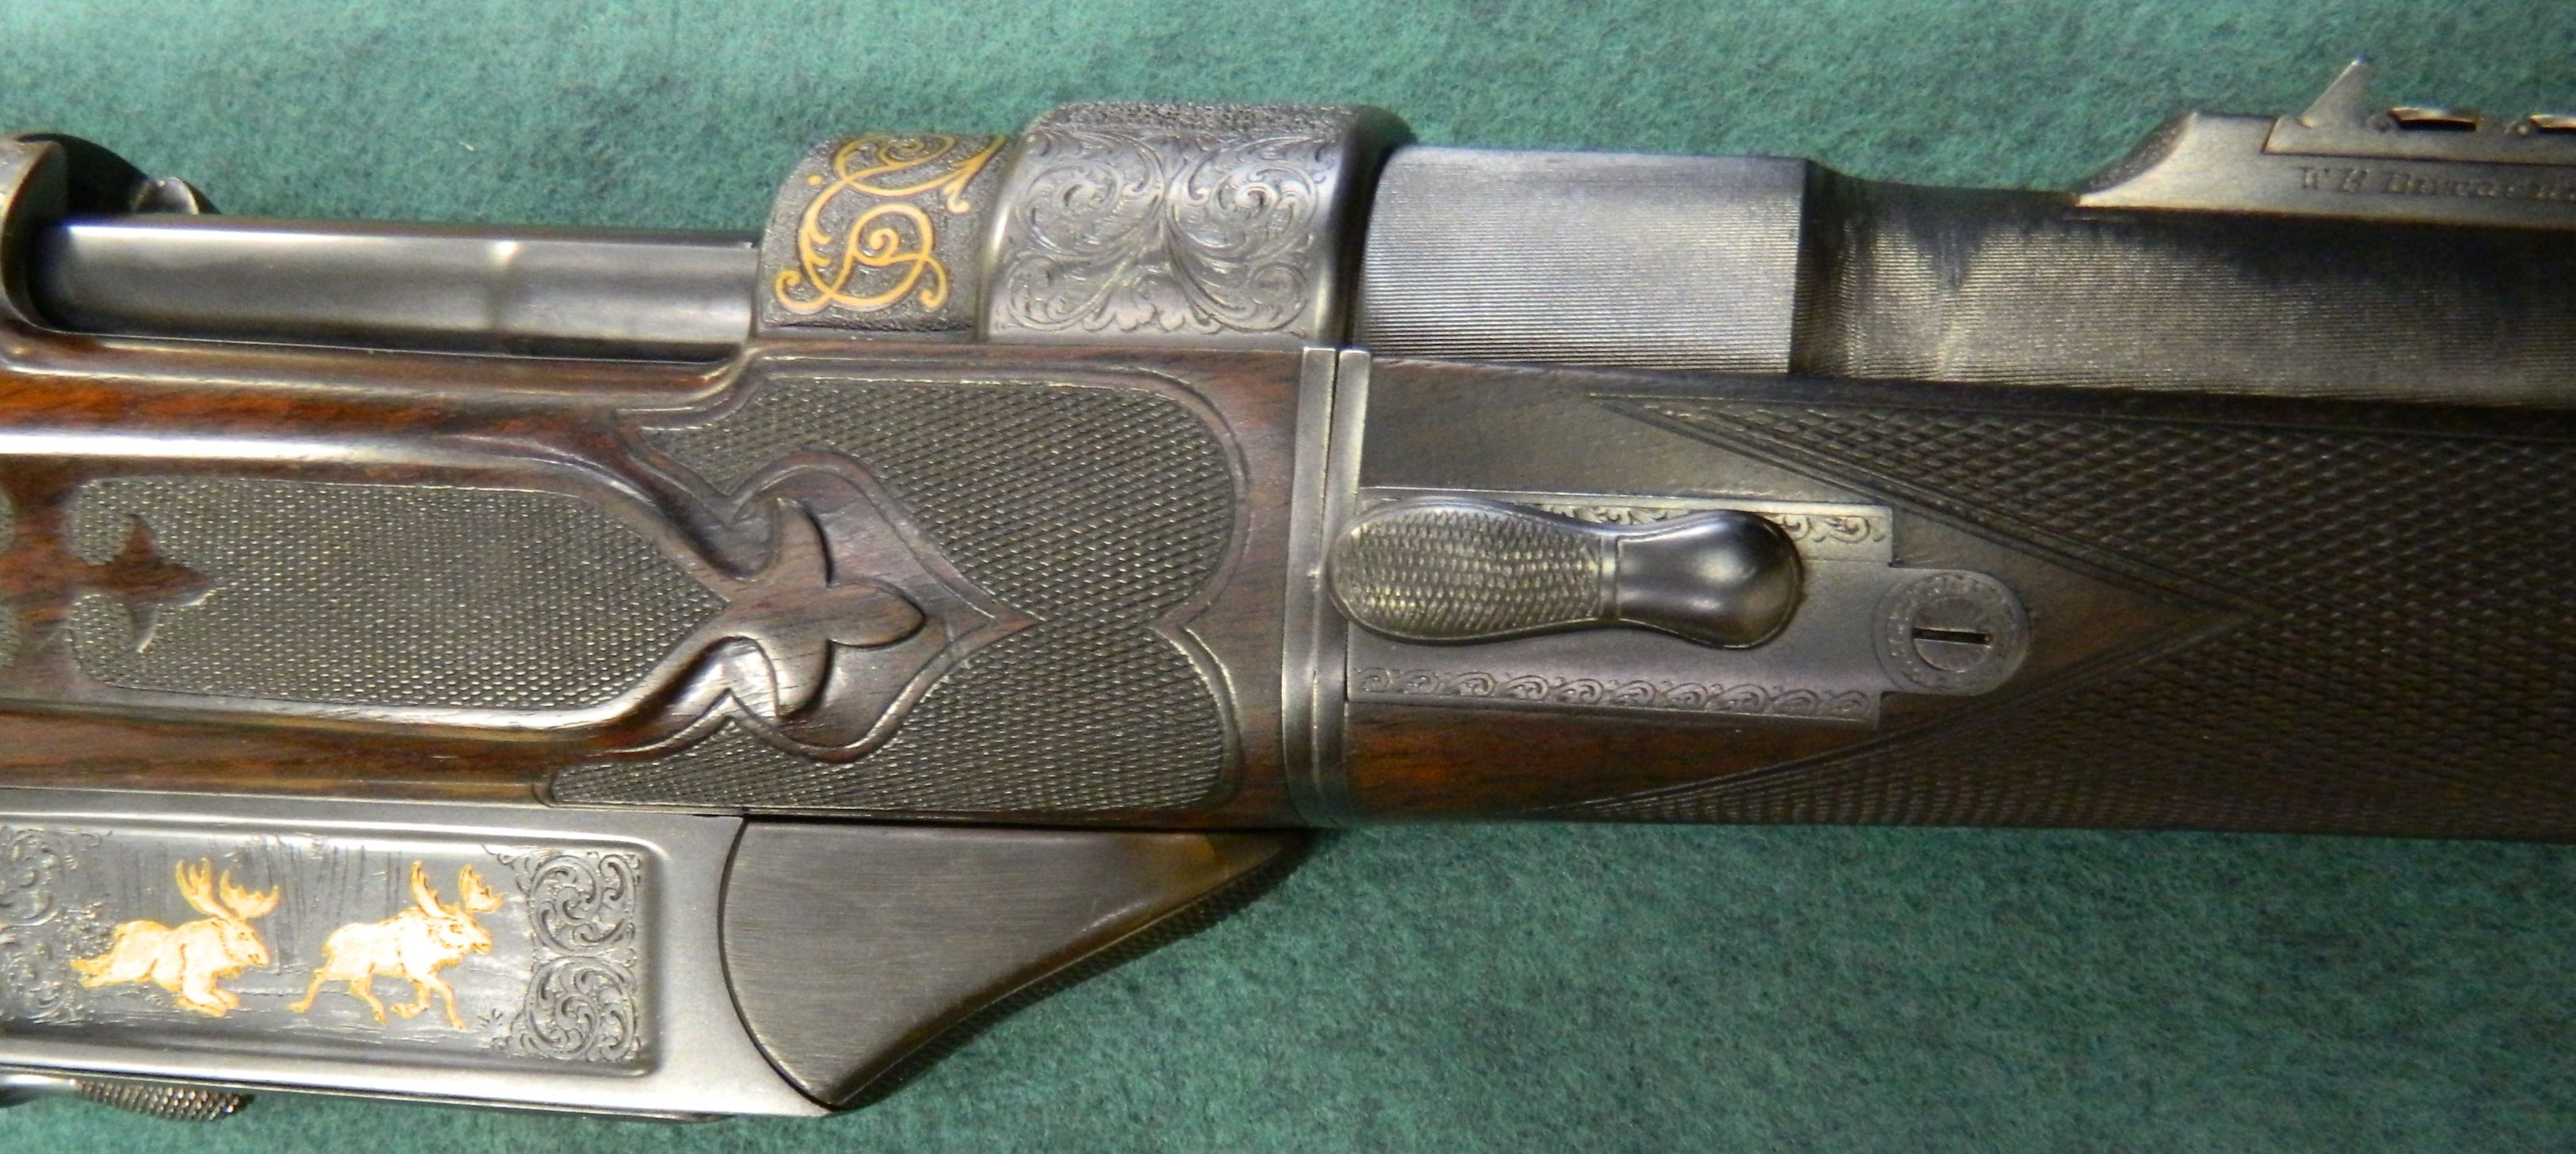
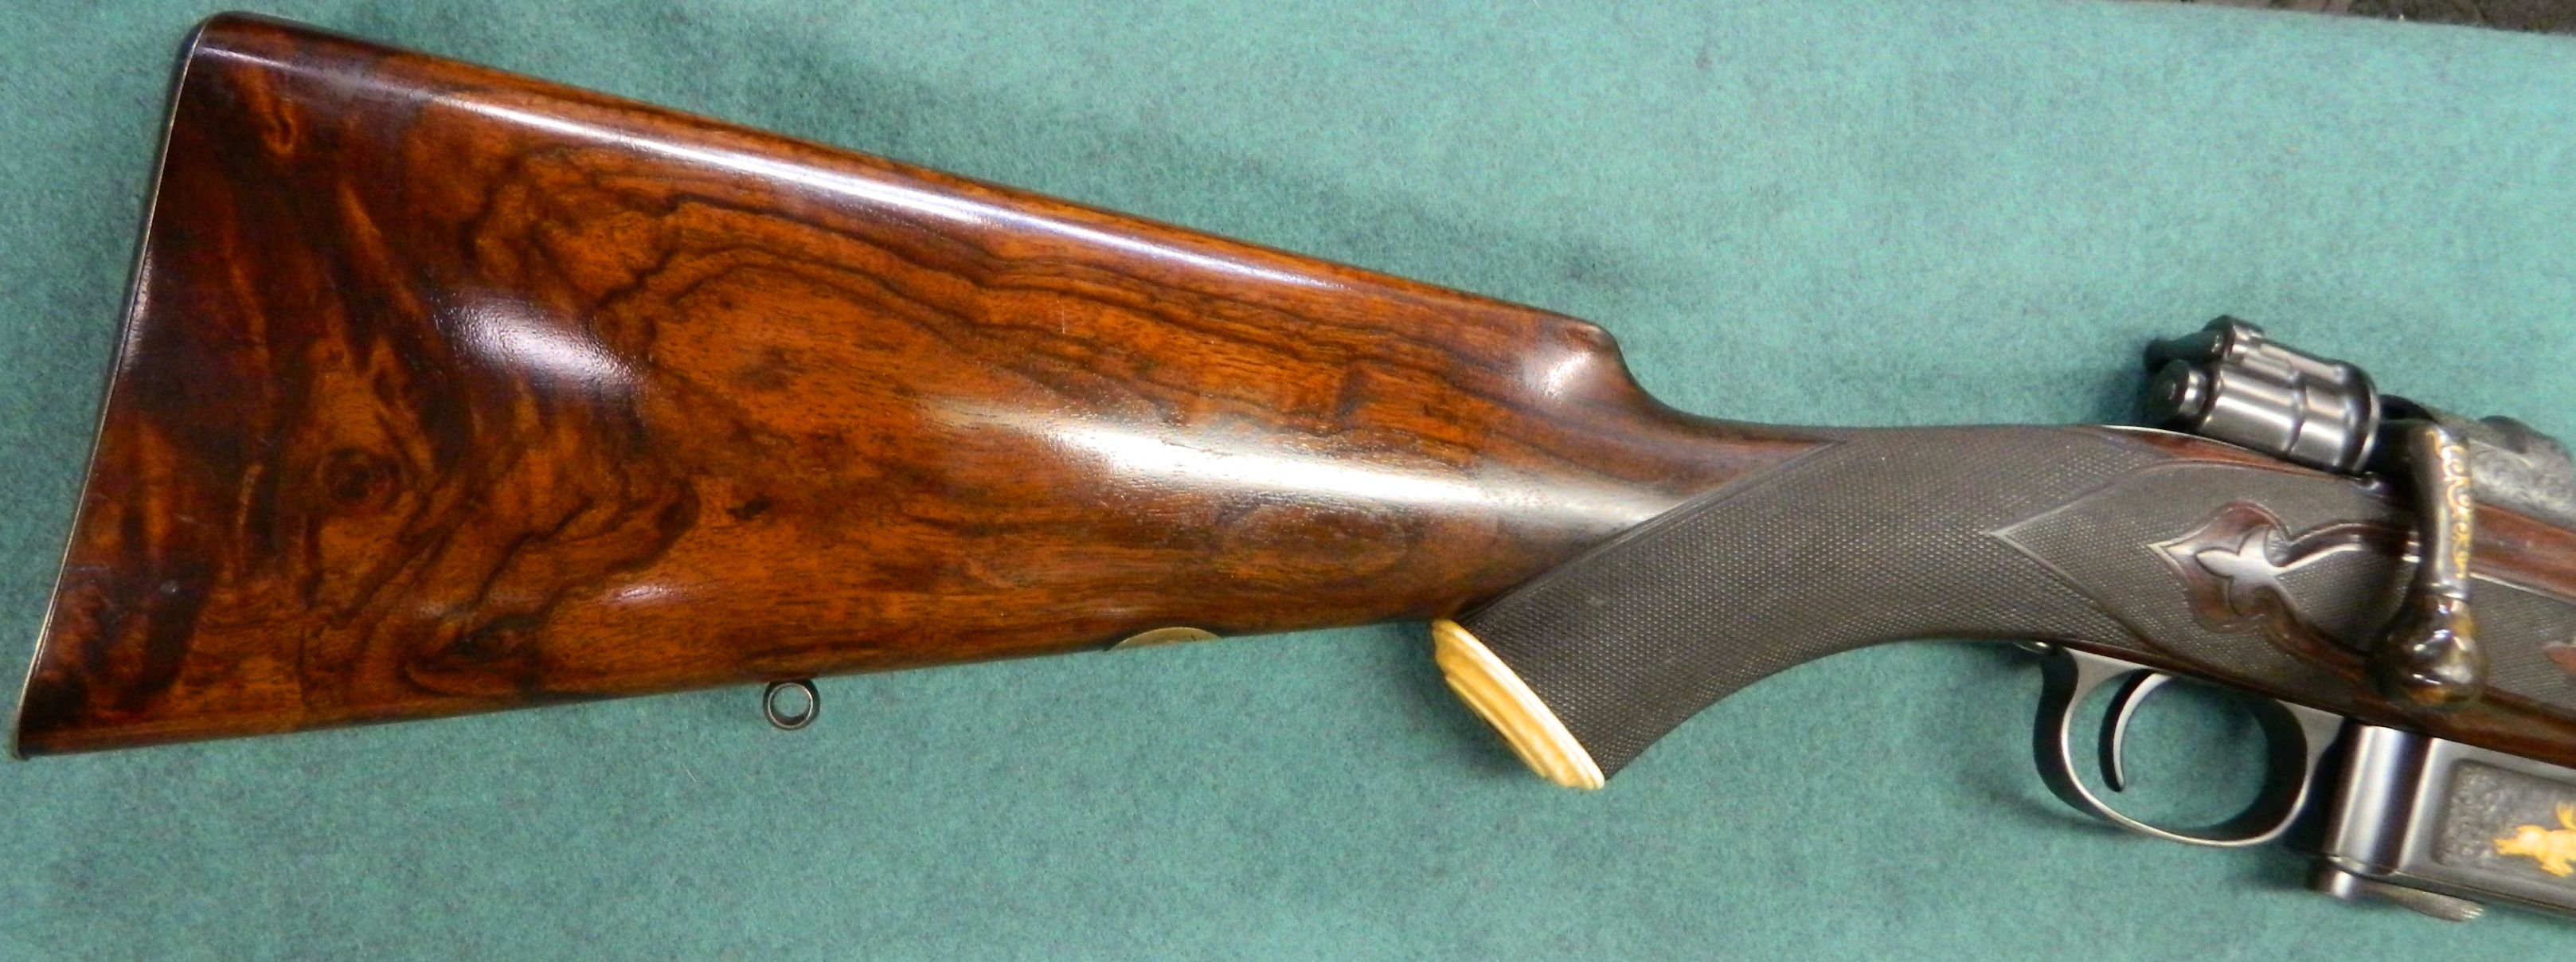
It was built around 1911 and the caliber is .425 Westley Richards.  The stock work on this rifle was very well done. I only have seen a rifle like this in an old W&R catalogue, but never in person. The flashy checkering was really well executed.

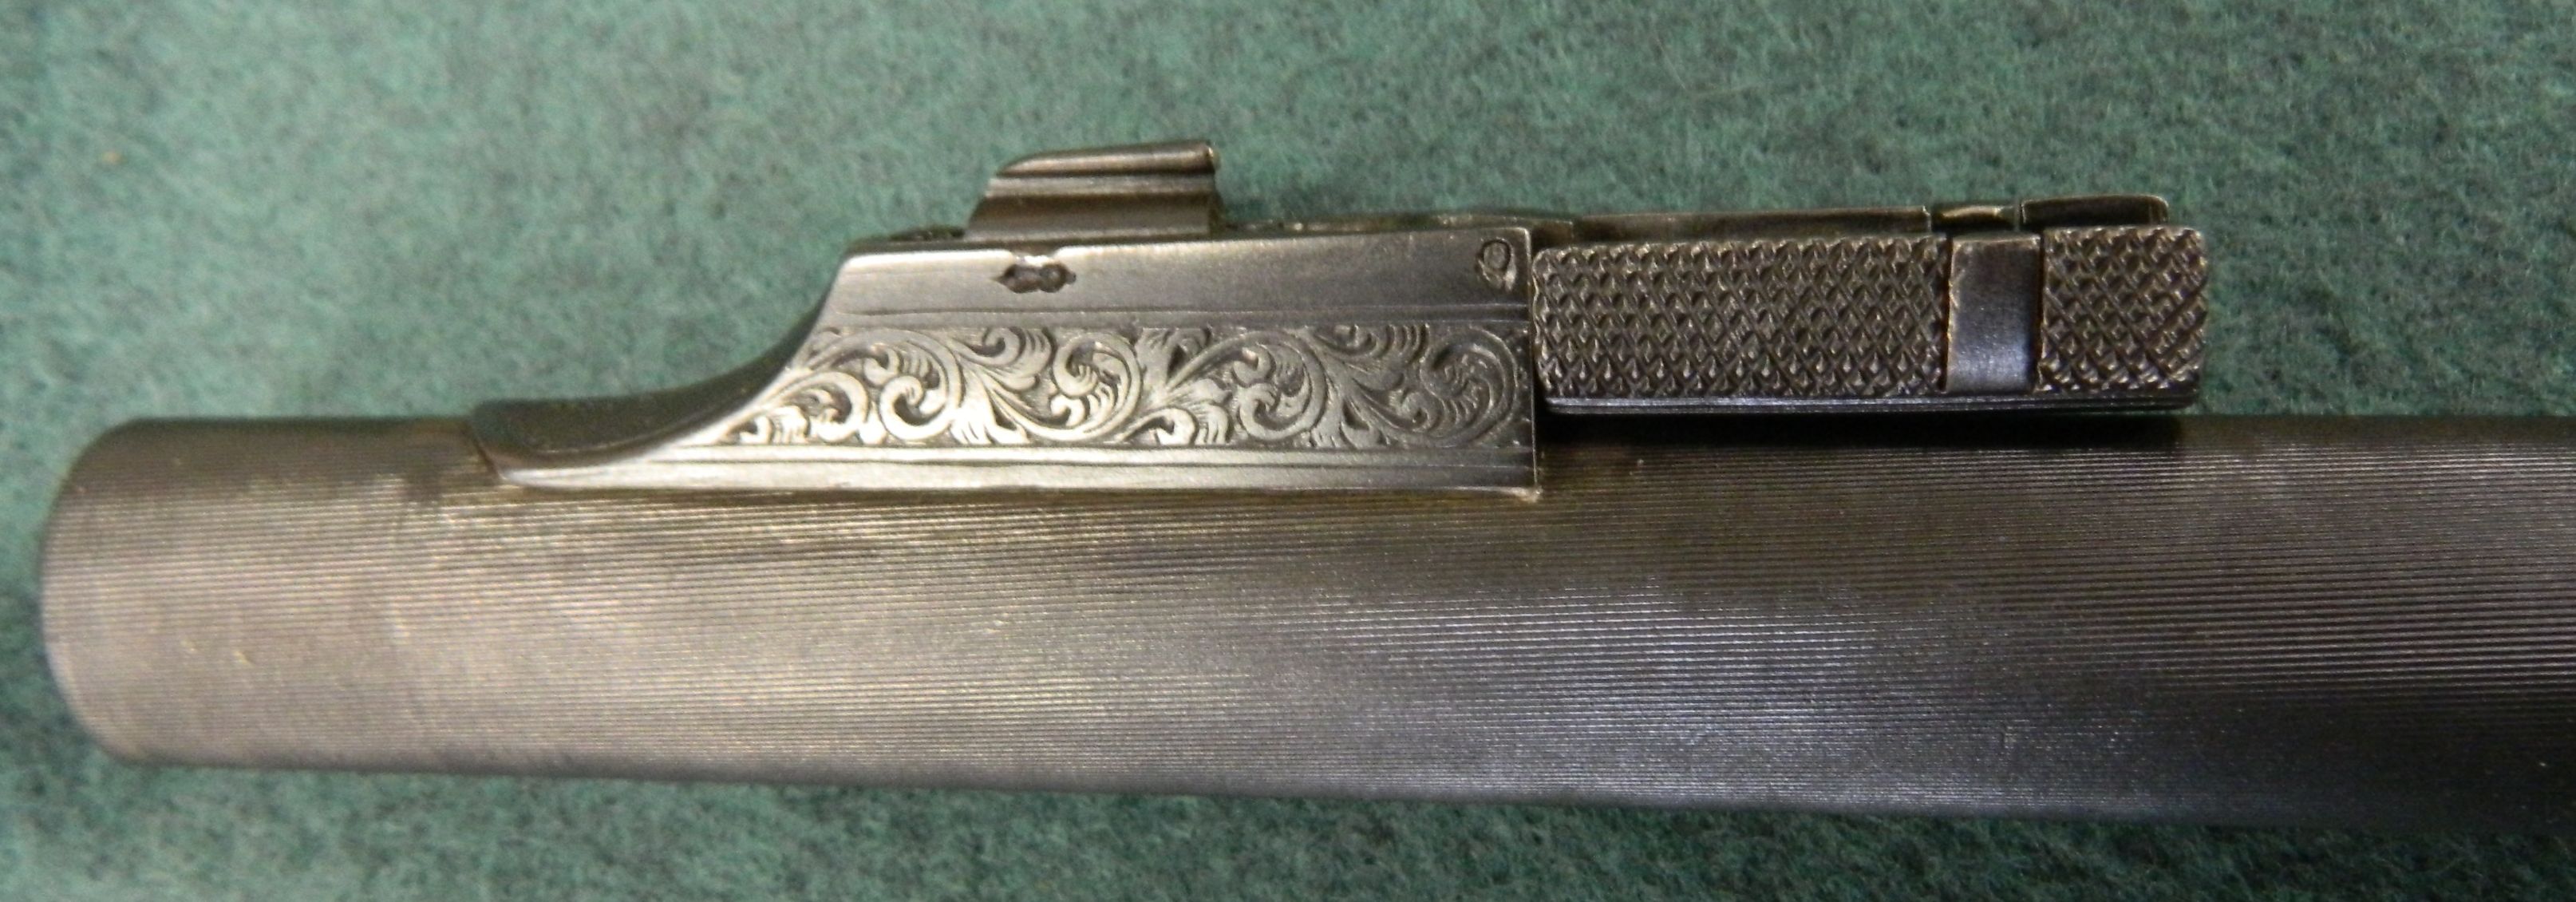
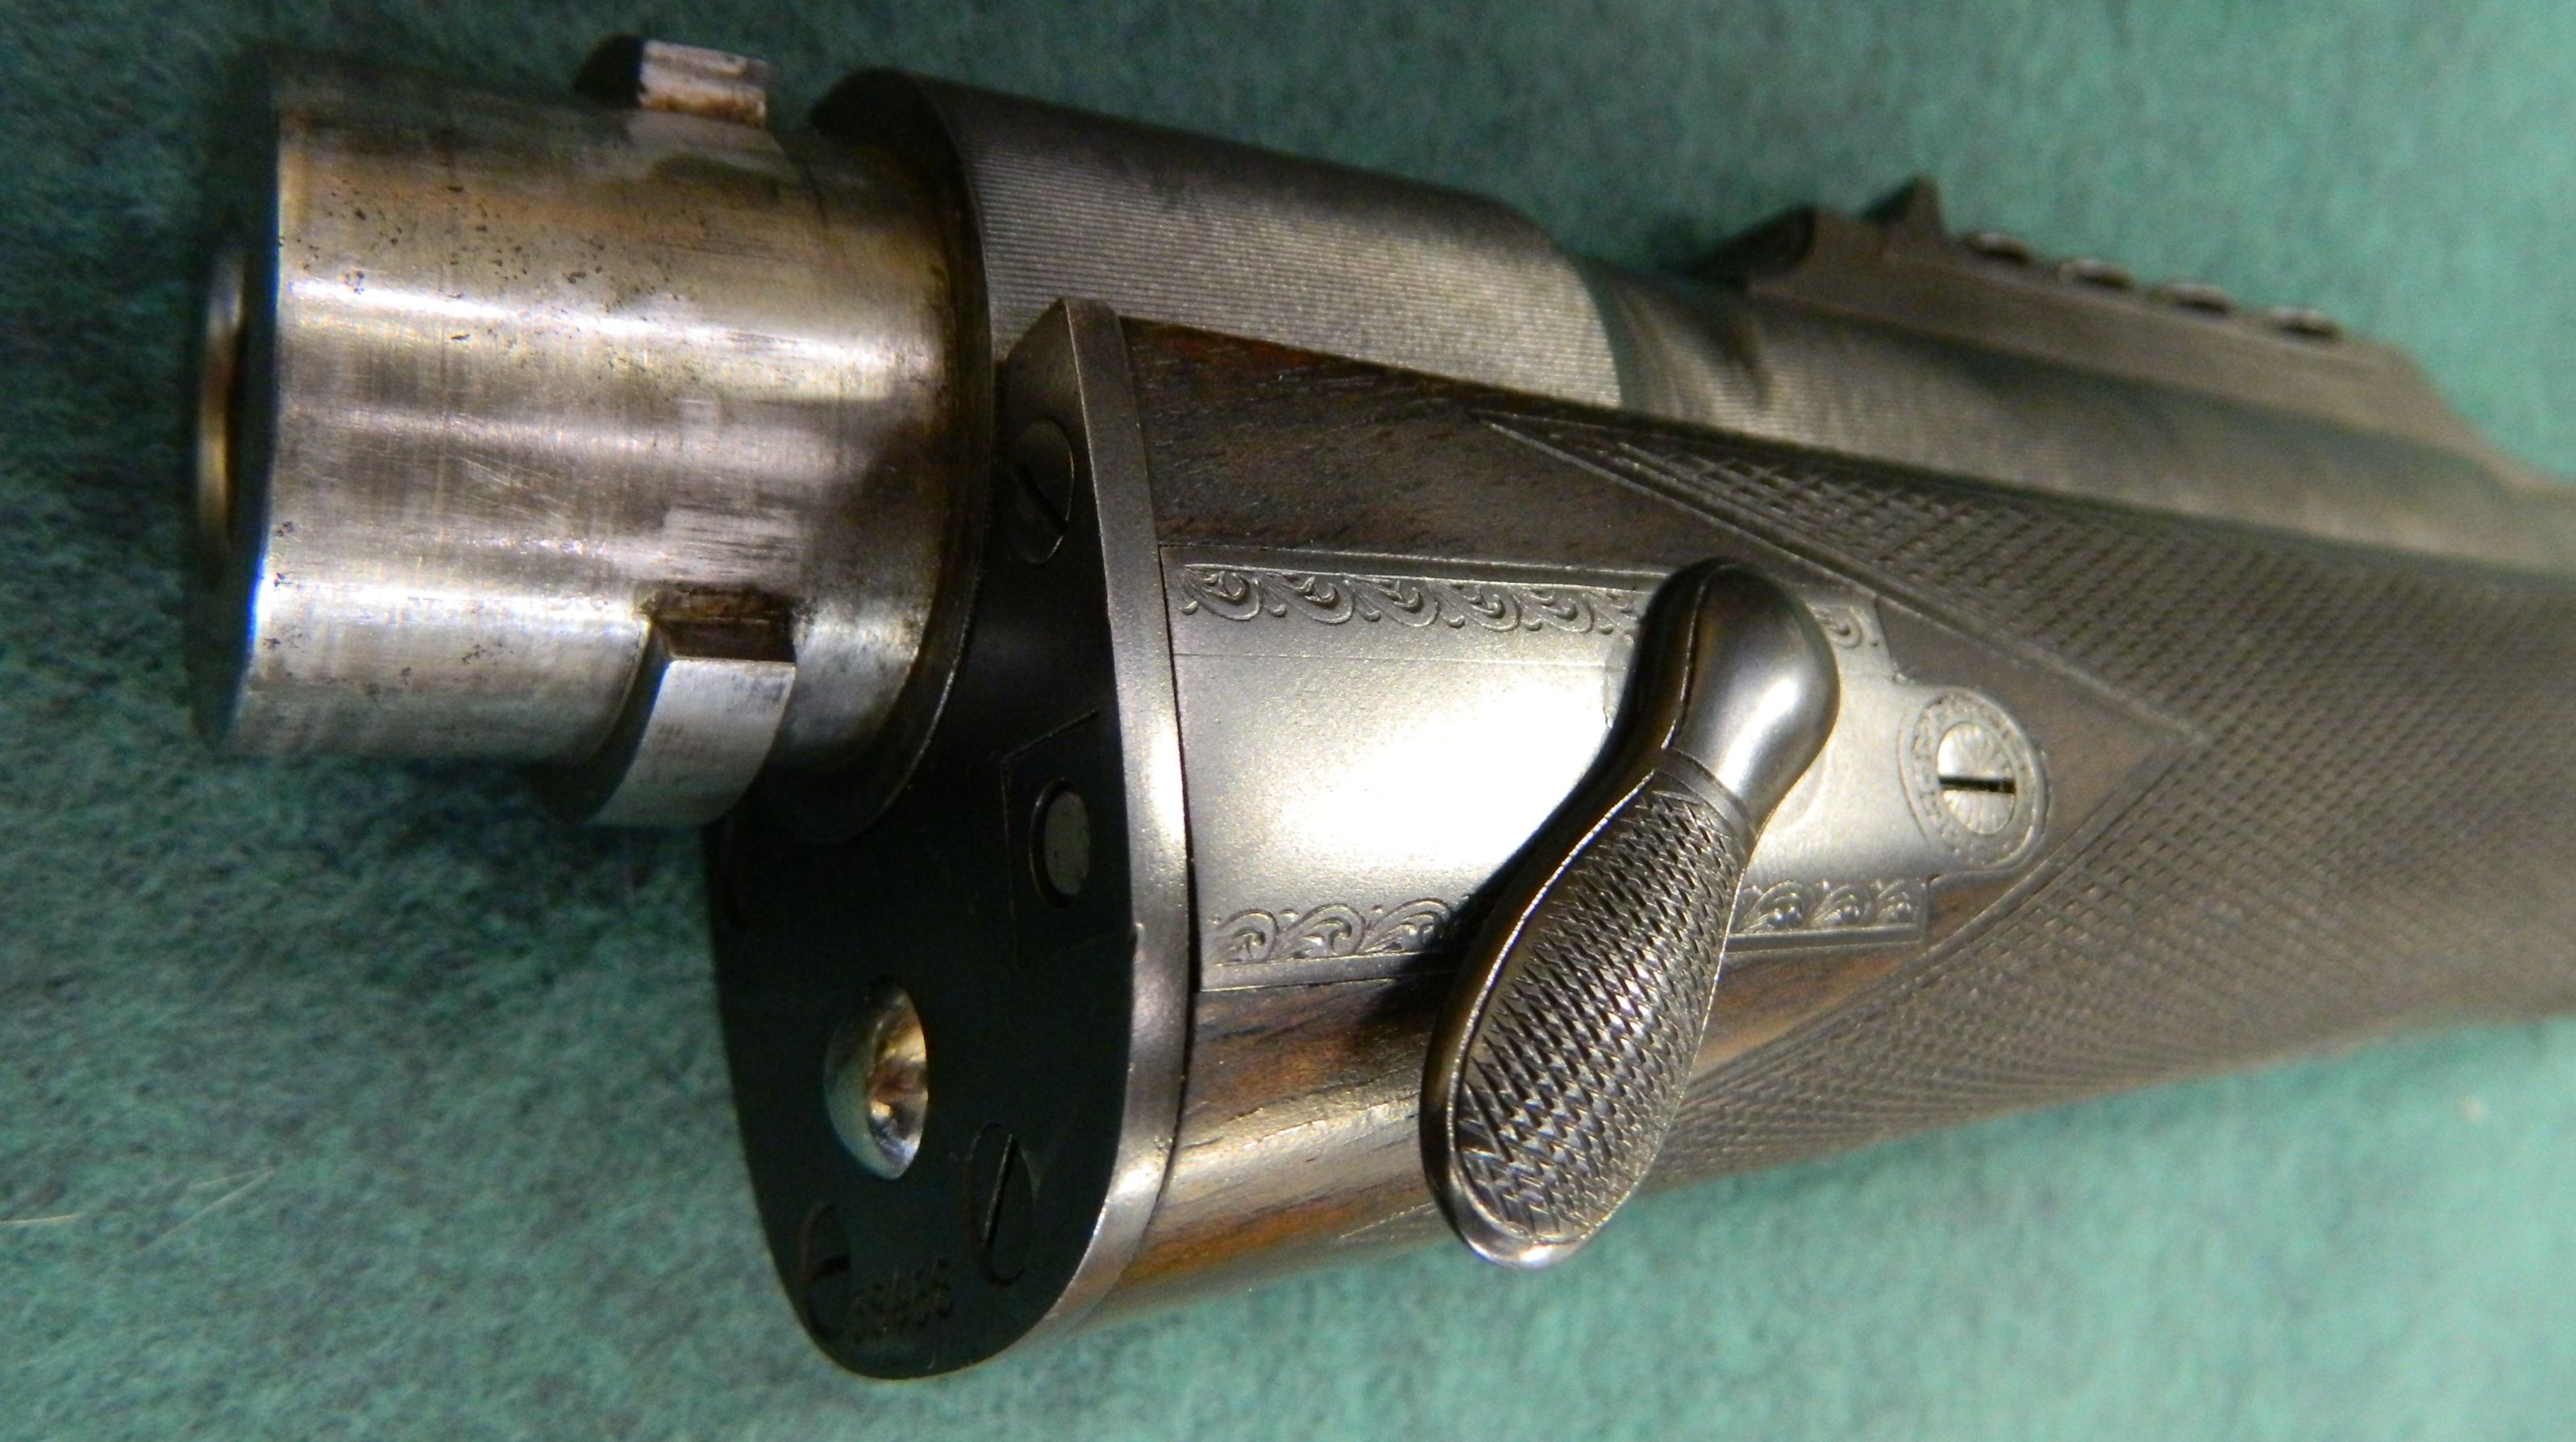
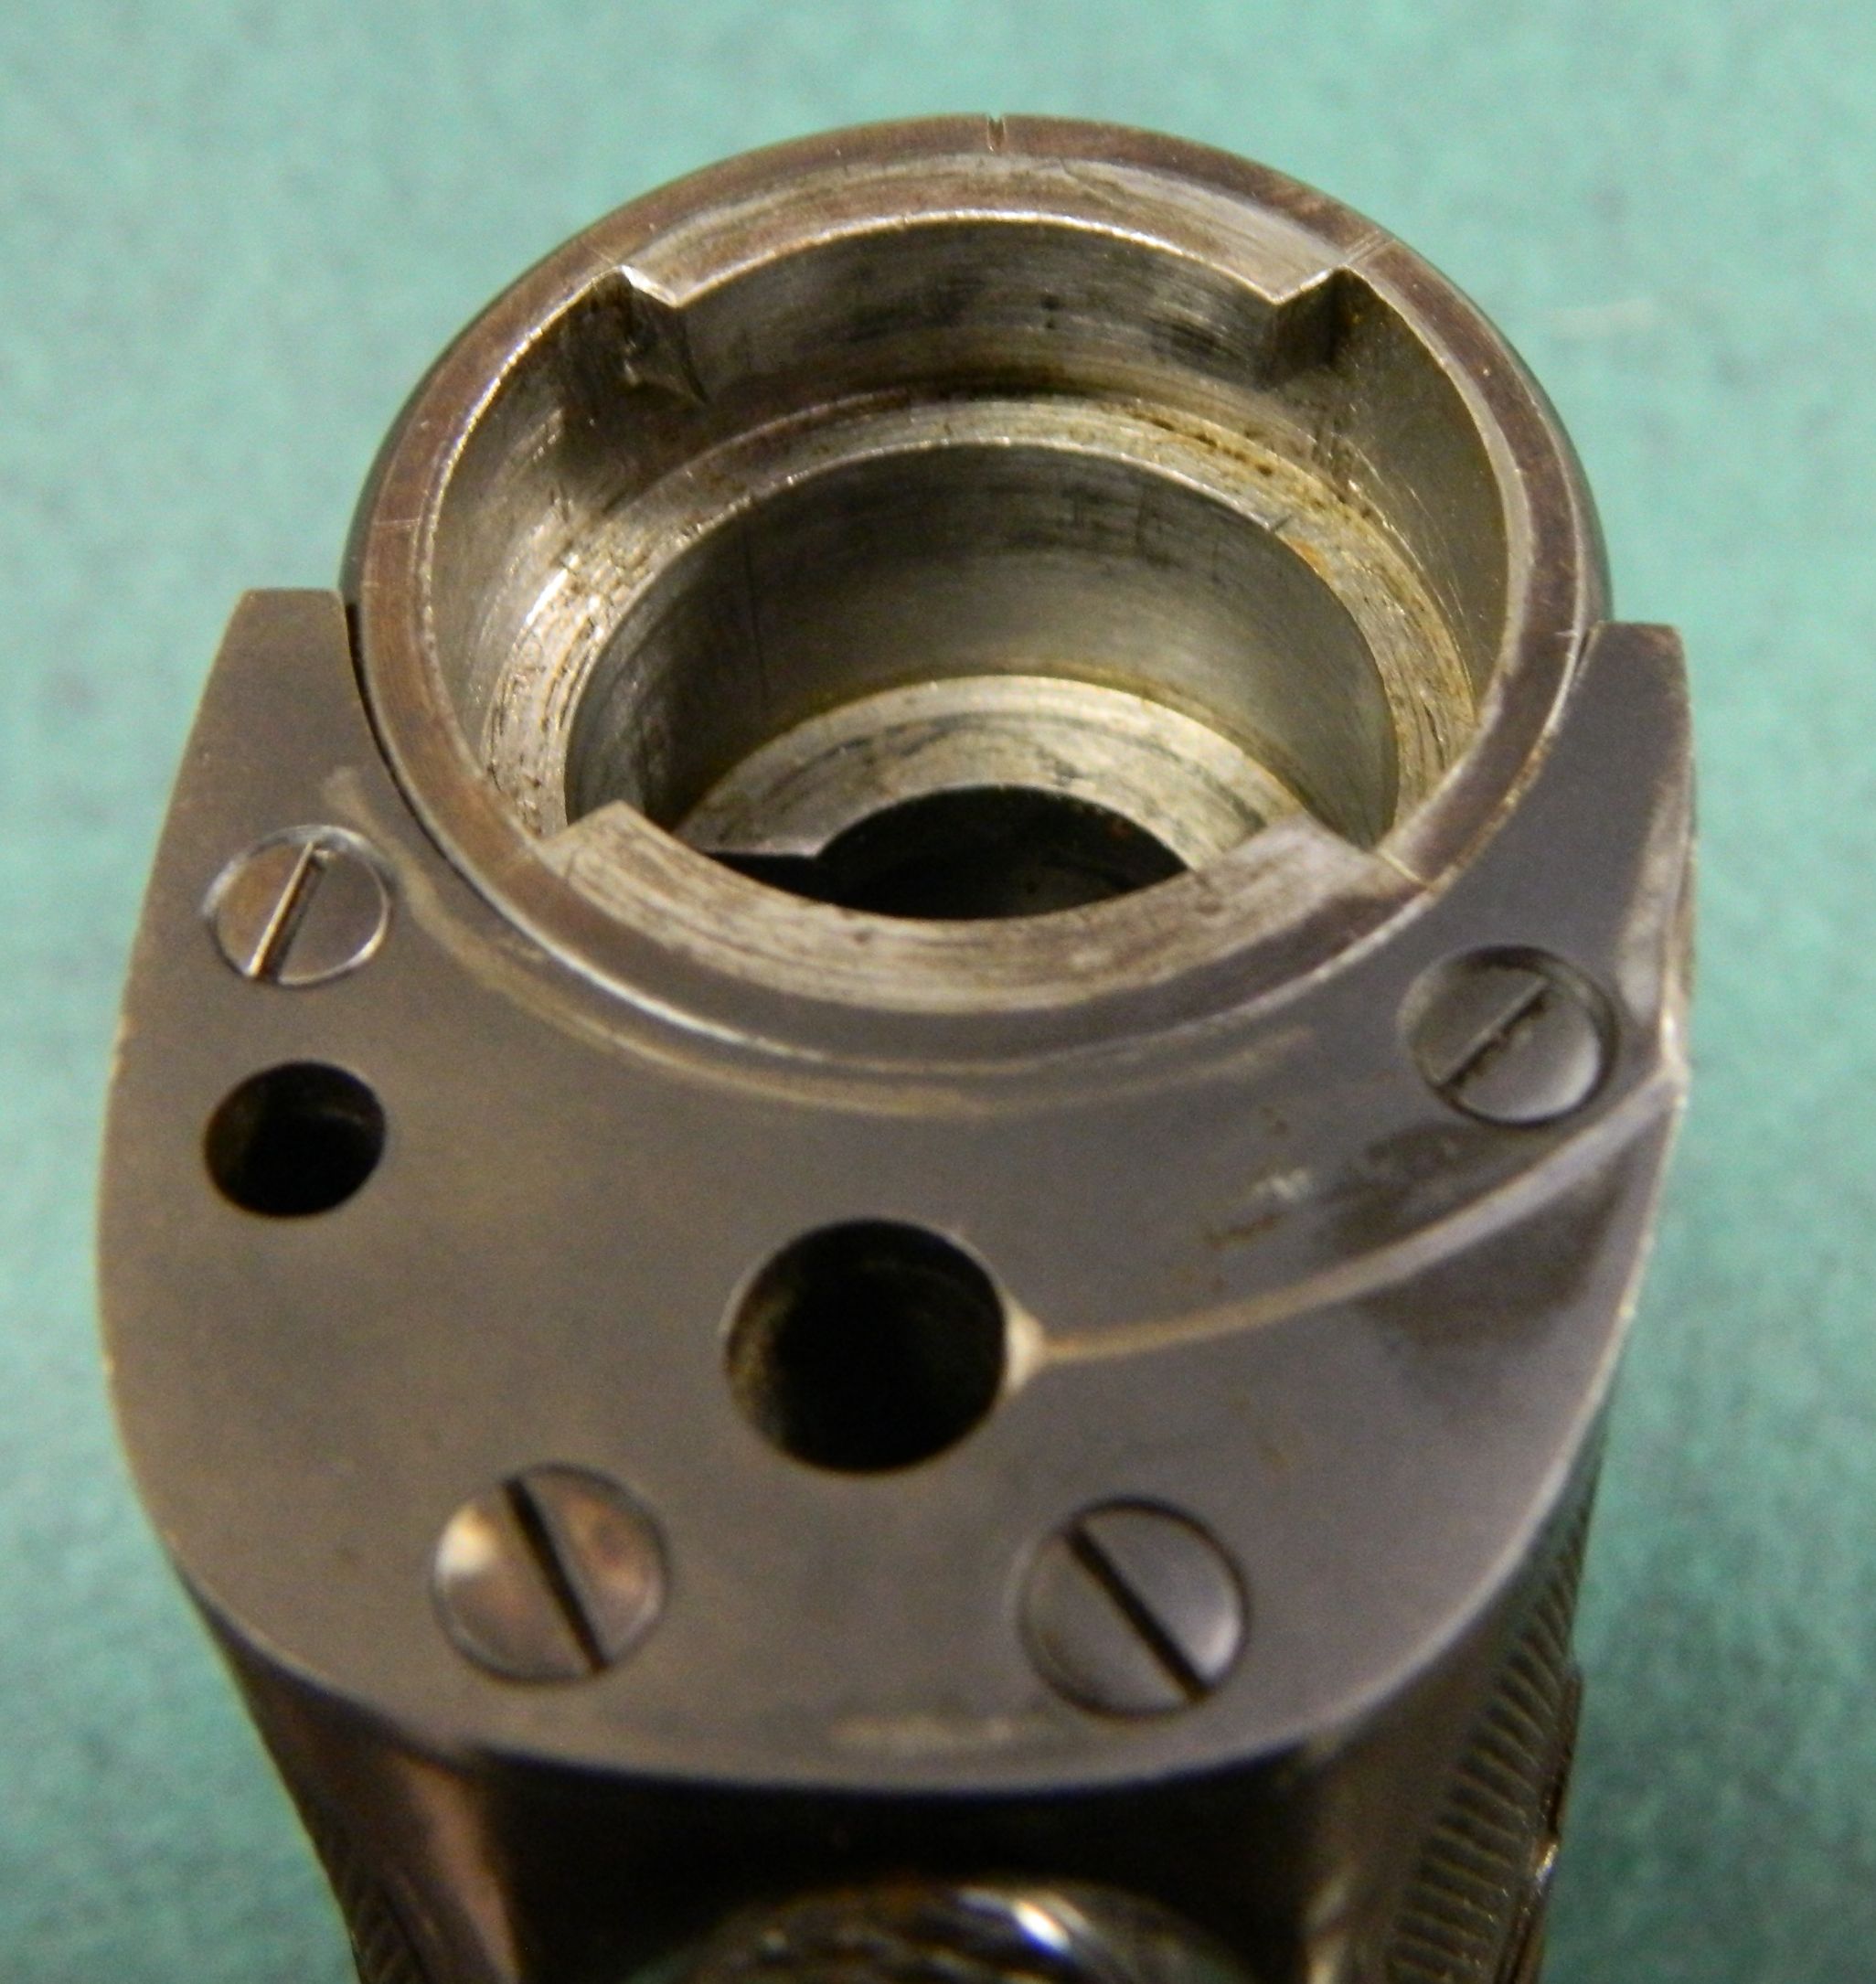
The metal work and engravings has been done somewhat unrefined and is typical for guns made for the Indian market. Interesting is that the whole length of the barrel was struck with a file of sorts to apply a serration. Notably on the rifle is the take-down system and the extended magazine box.

The take down system on this rifle is tight and works smooth.  A spring loaded ball provides pressure between the joining plates. This gives it a very tight feel, but I would assume that the accuracy of the rifle suffers from the additional pressure.  Unfortunately just about all take-down systems I have seen on Mauser 98’s have one or another draw back and influence the accuracy negative over time.

Perhaps in the future the opportunity will present itself to re-create a rifle like this. That would be a lot of fun and I would enjoy that.


30 years of gunsmithing

Wow, has the time flown by. On August 2nd was my 30 year anniversary working fulltime as a professional gunsmith. I promptly forgot about it and just remembered it a few days ago. I started my 4 year apprenticeship with the company “Felder Waffen” in Switzerland in 1988 at the age of 16. As in many European countries, in Switzerland the apprenticeship system is alive and well, and I wish that we had something similar in this country. But this might be a topic for another post. During that time 4 days a week I worked in the shop at Felder’s, and 1 day a week I attended a trade school which was specific to metal working trades. As there are only very few gun companies in Switzerland that take on apprentices, I was very fortunate to land a position. I’m to this day very grateful to Mr. Felder for giving me a chance.

The picture above was taken in 1995 shortly before I left the company for a job in Canada.  I had a full head of hair back then and lot’s of confidence. My shop mates where a happy bunch and we had a many good laughs.

These pictures where taken in 1995 when I worked for  Corlane Sporting Goods in Dawson Creek, BC.


The picture above is from around 1999. At that time I worked together with stock maker James Tucker for a company in California.
This picture was taken around 2003 in New Hampshire. I left New Hampshire in 2005 and founded Buehler Custom Sporting Arms LLC in Oregon.

Enough of reminiscing, back to the present and back to work. I’m getting ready to ship this super accurate custom Kurz Mauser to it’s owner. The caliber is 6.5mm Creedmoor. What a great and fun caliber, just perfect for a vintage Kurz action.


.300 Win. Mag. rifle / Engraved floor plate


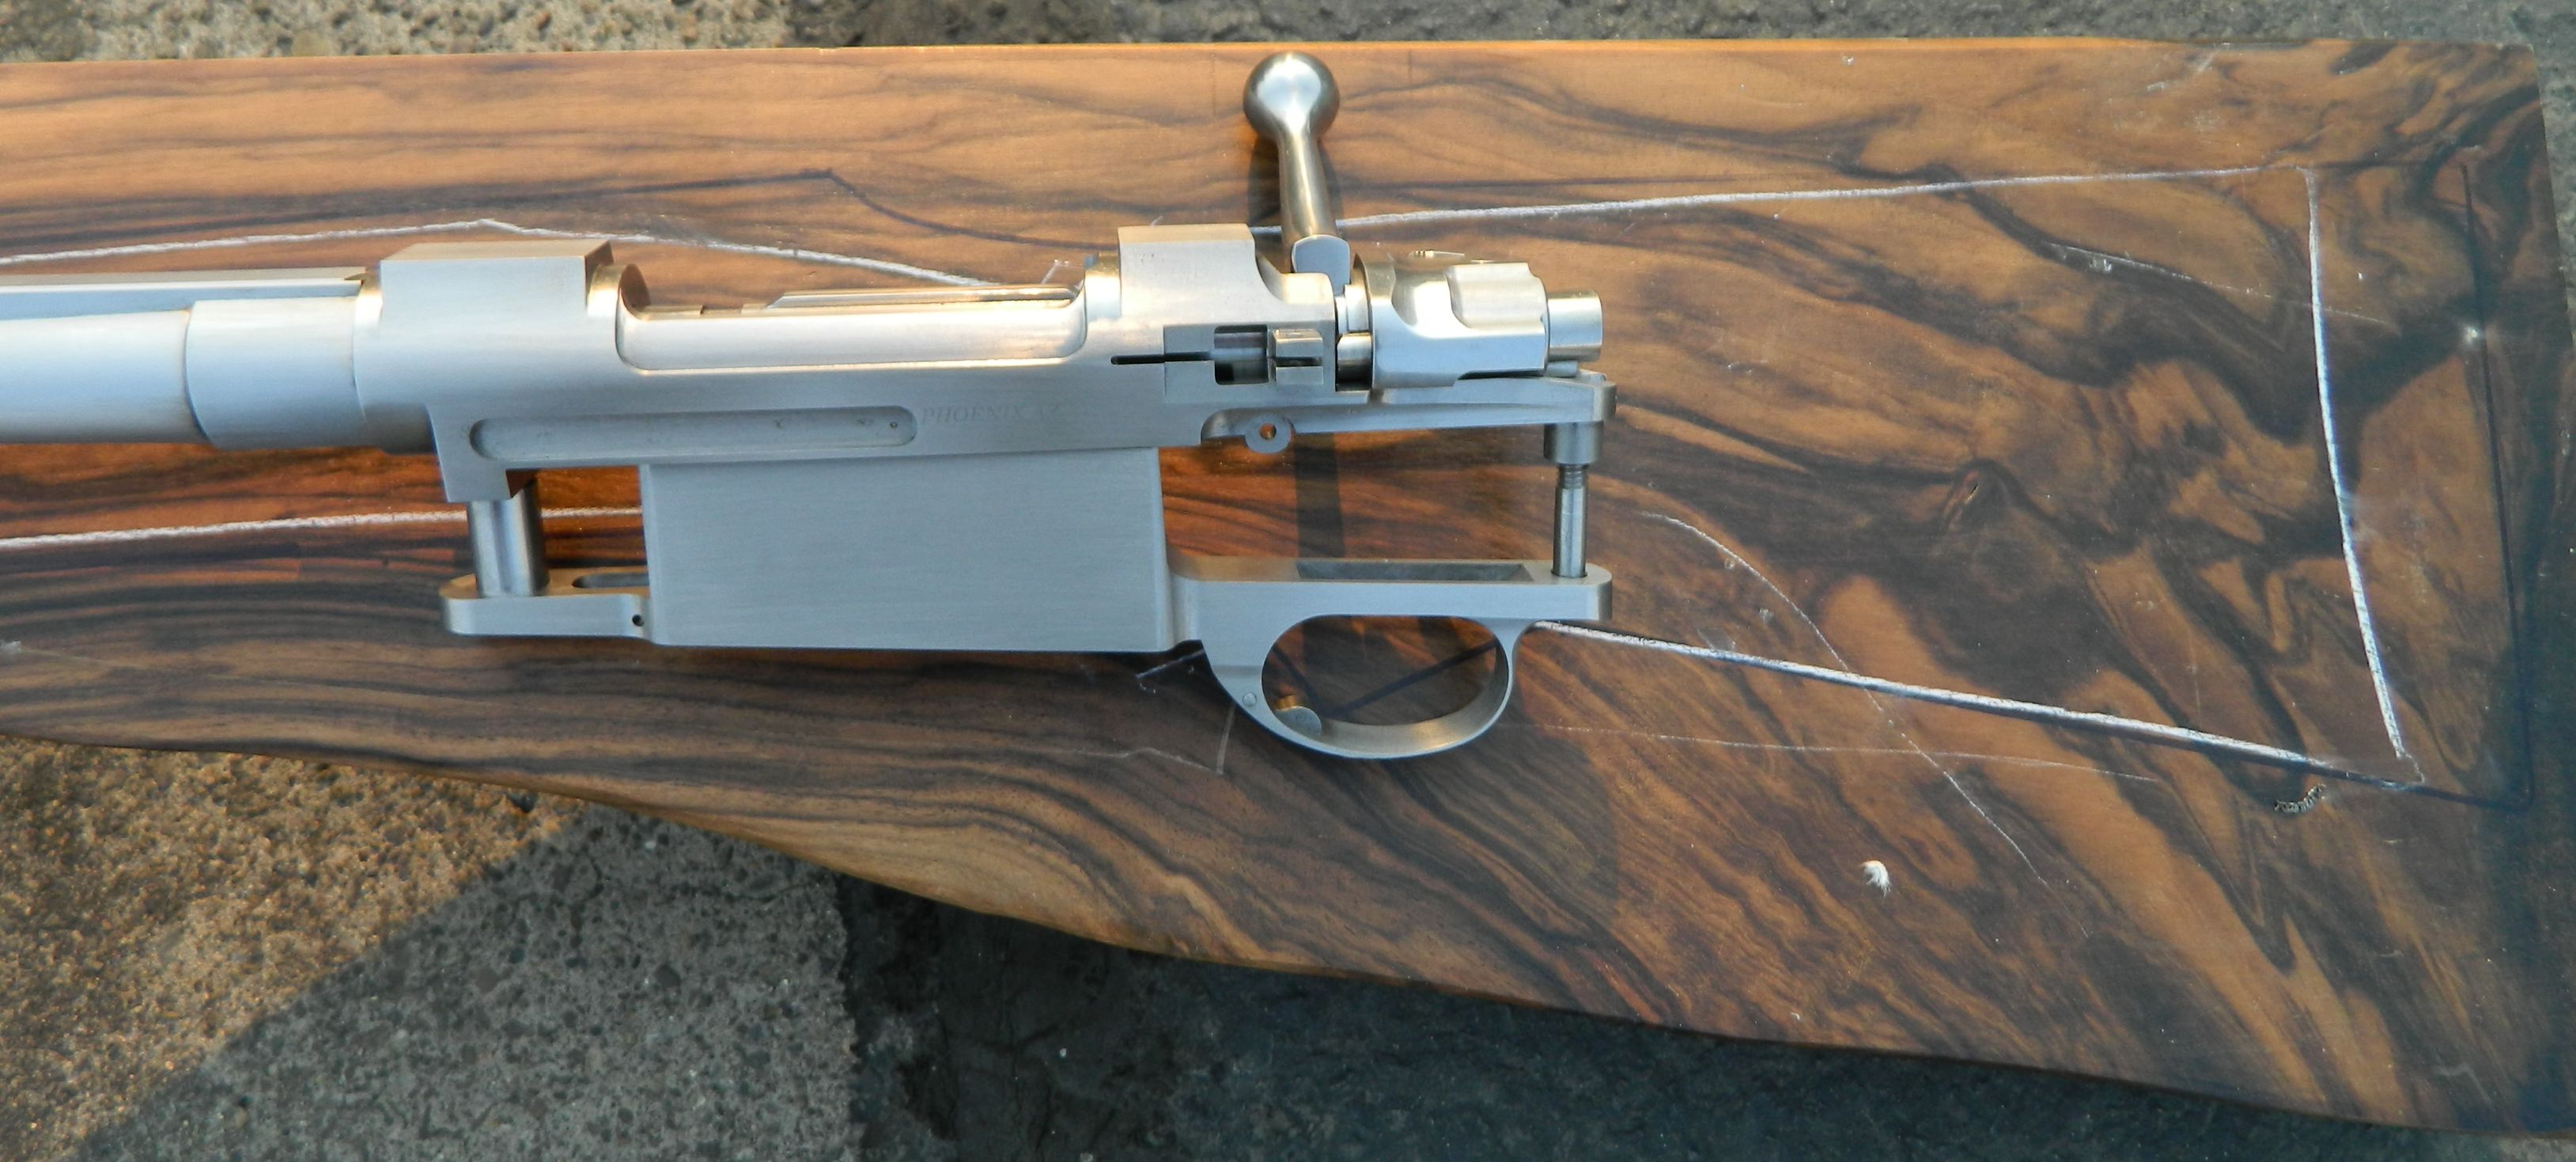
Summer is winding down here in Southern Oregon, but we are still shrouded in heavy smoke from the wildfires.  It’s busy in the shop, as always. I just prepared a barreled action for stocking. This one is a .300 Win. Mag and it is going to be a model “English Express”. The action on it is a GMA small ring square bridge action and I added a drop box magazine to give the finished rifle that cool African look. It will also closely resemble my clients .404 Jeffery rifle, but of course much lighter in weight.


I’m very curious to see how the stock will turn out. The client selected a fantastic blank. I never get tired of walnut and still get excited over nice wood. It doesn’t get much better then this.

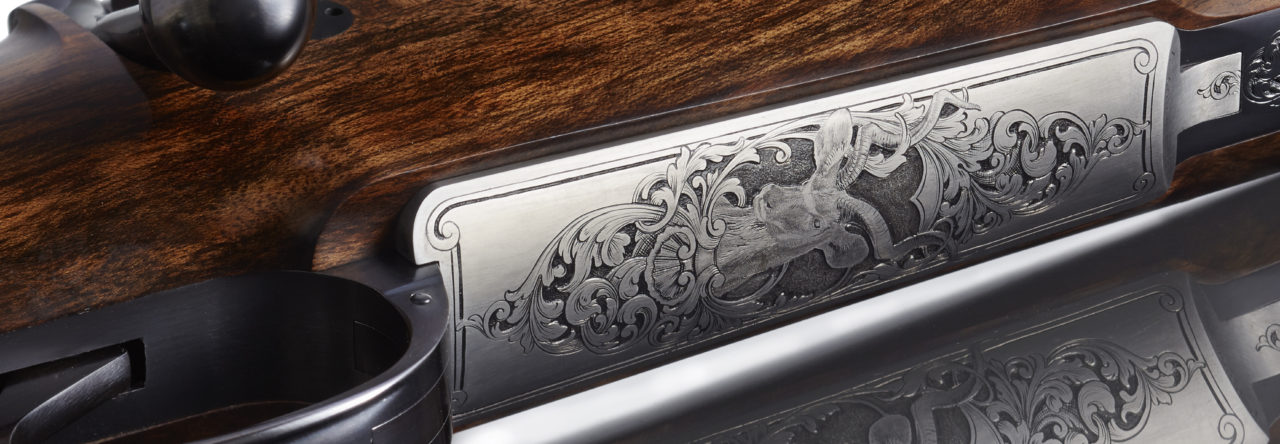
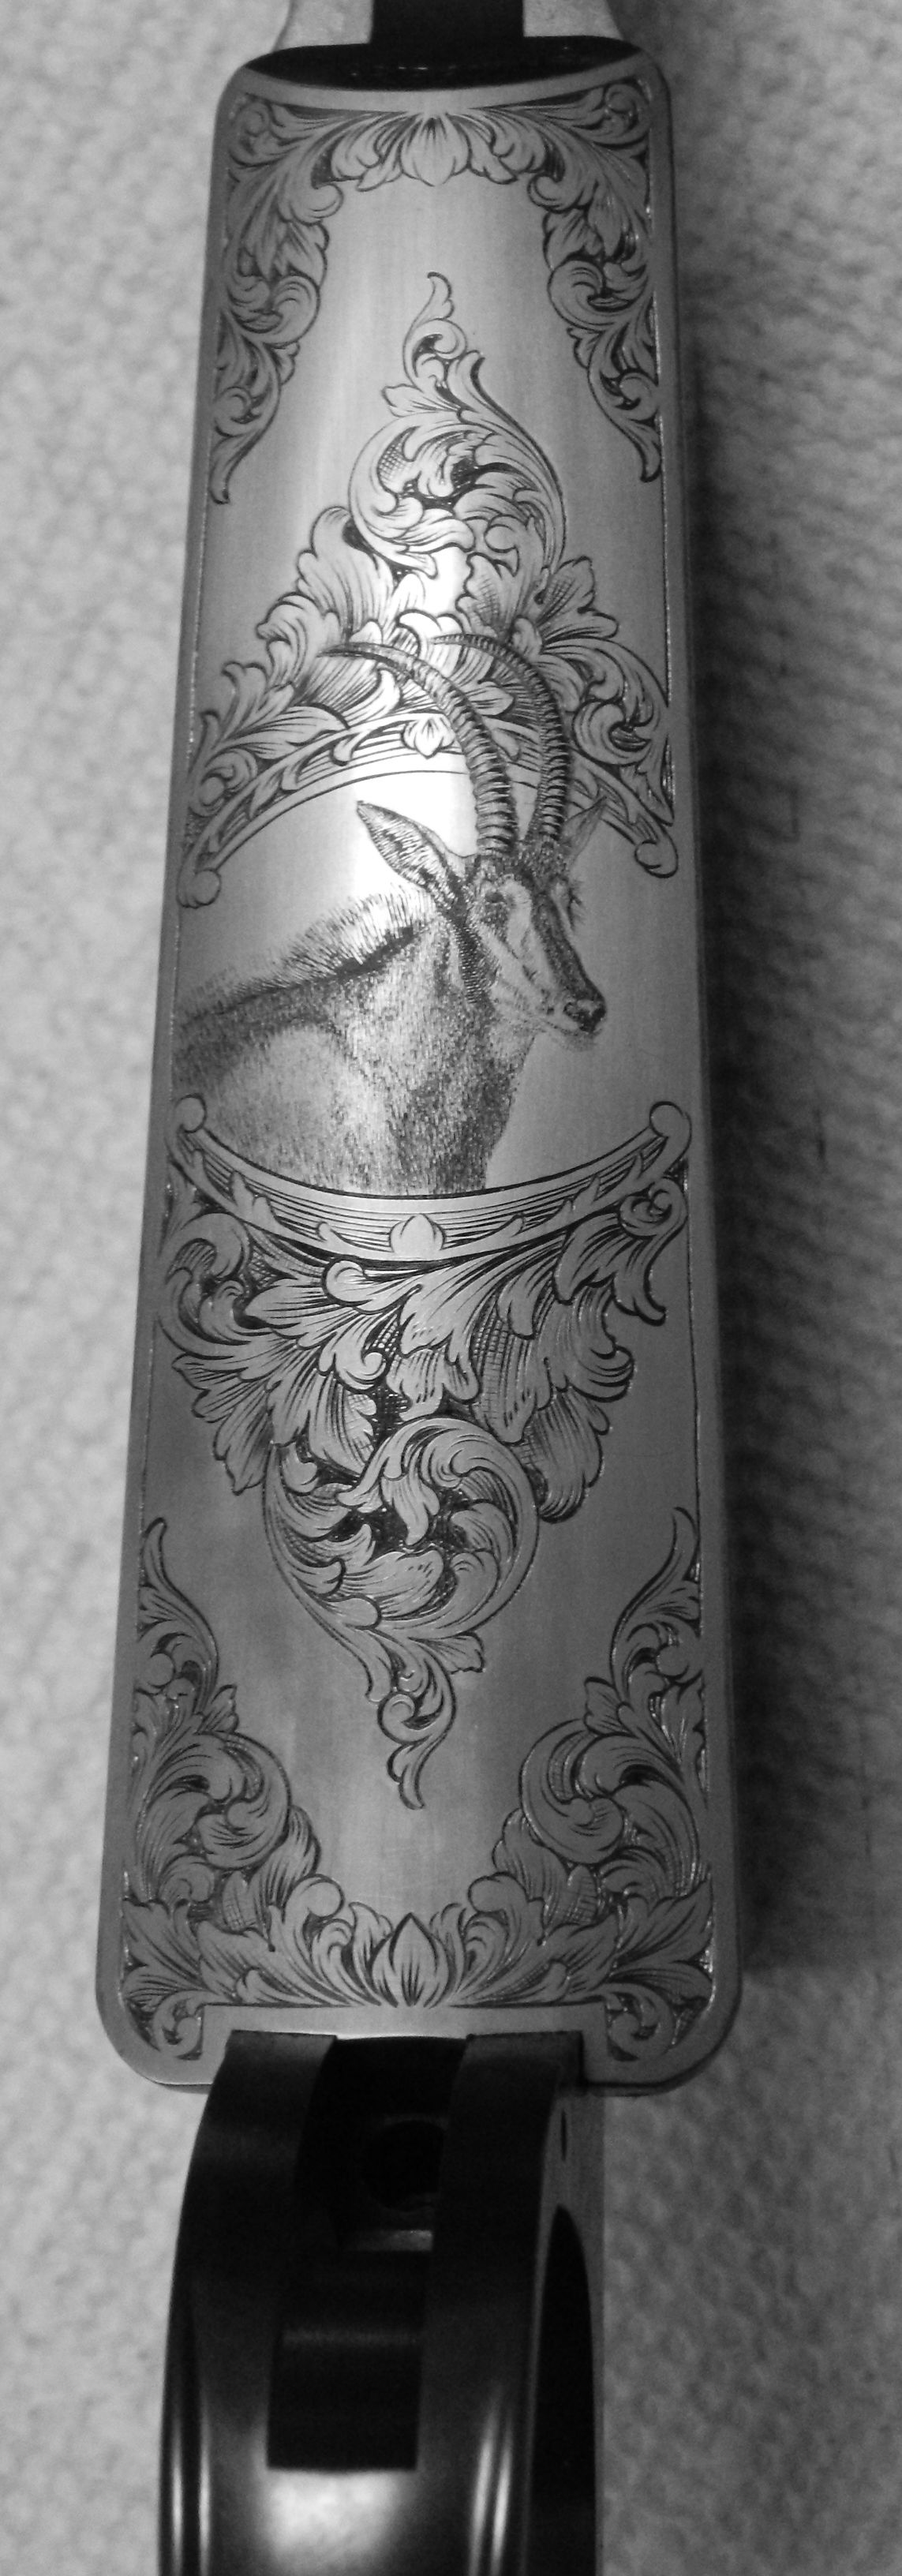
On a completely different note: The floor plate in the picture below just came back from engraving. It was engraved by Lee Griffiths. This is for a Buehler “English Express” in the caliber .300 H&H and will add a nice touch.

Please check out my regular website at www.customsportingarms.com

[email protected]

(541) 664 9109


The .17 hmr rifle, part 2

It has been a hot and very smoky summer for us so far. The countless wildfires are having a huge impact on our air quality and it is nice to work indoors. The picture below is of the Wood River area and is a testament to the beauty of our State.

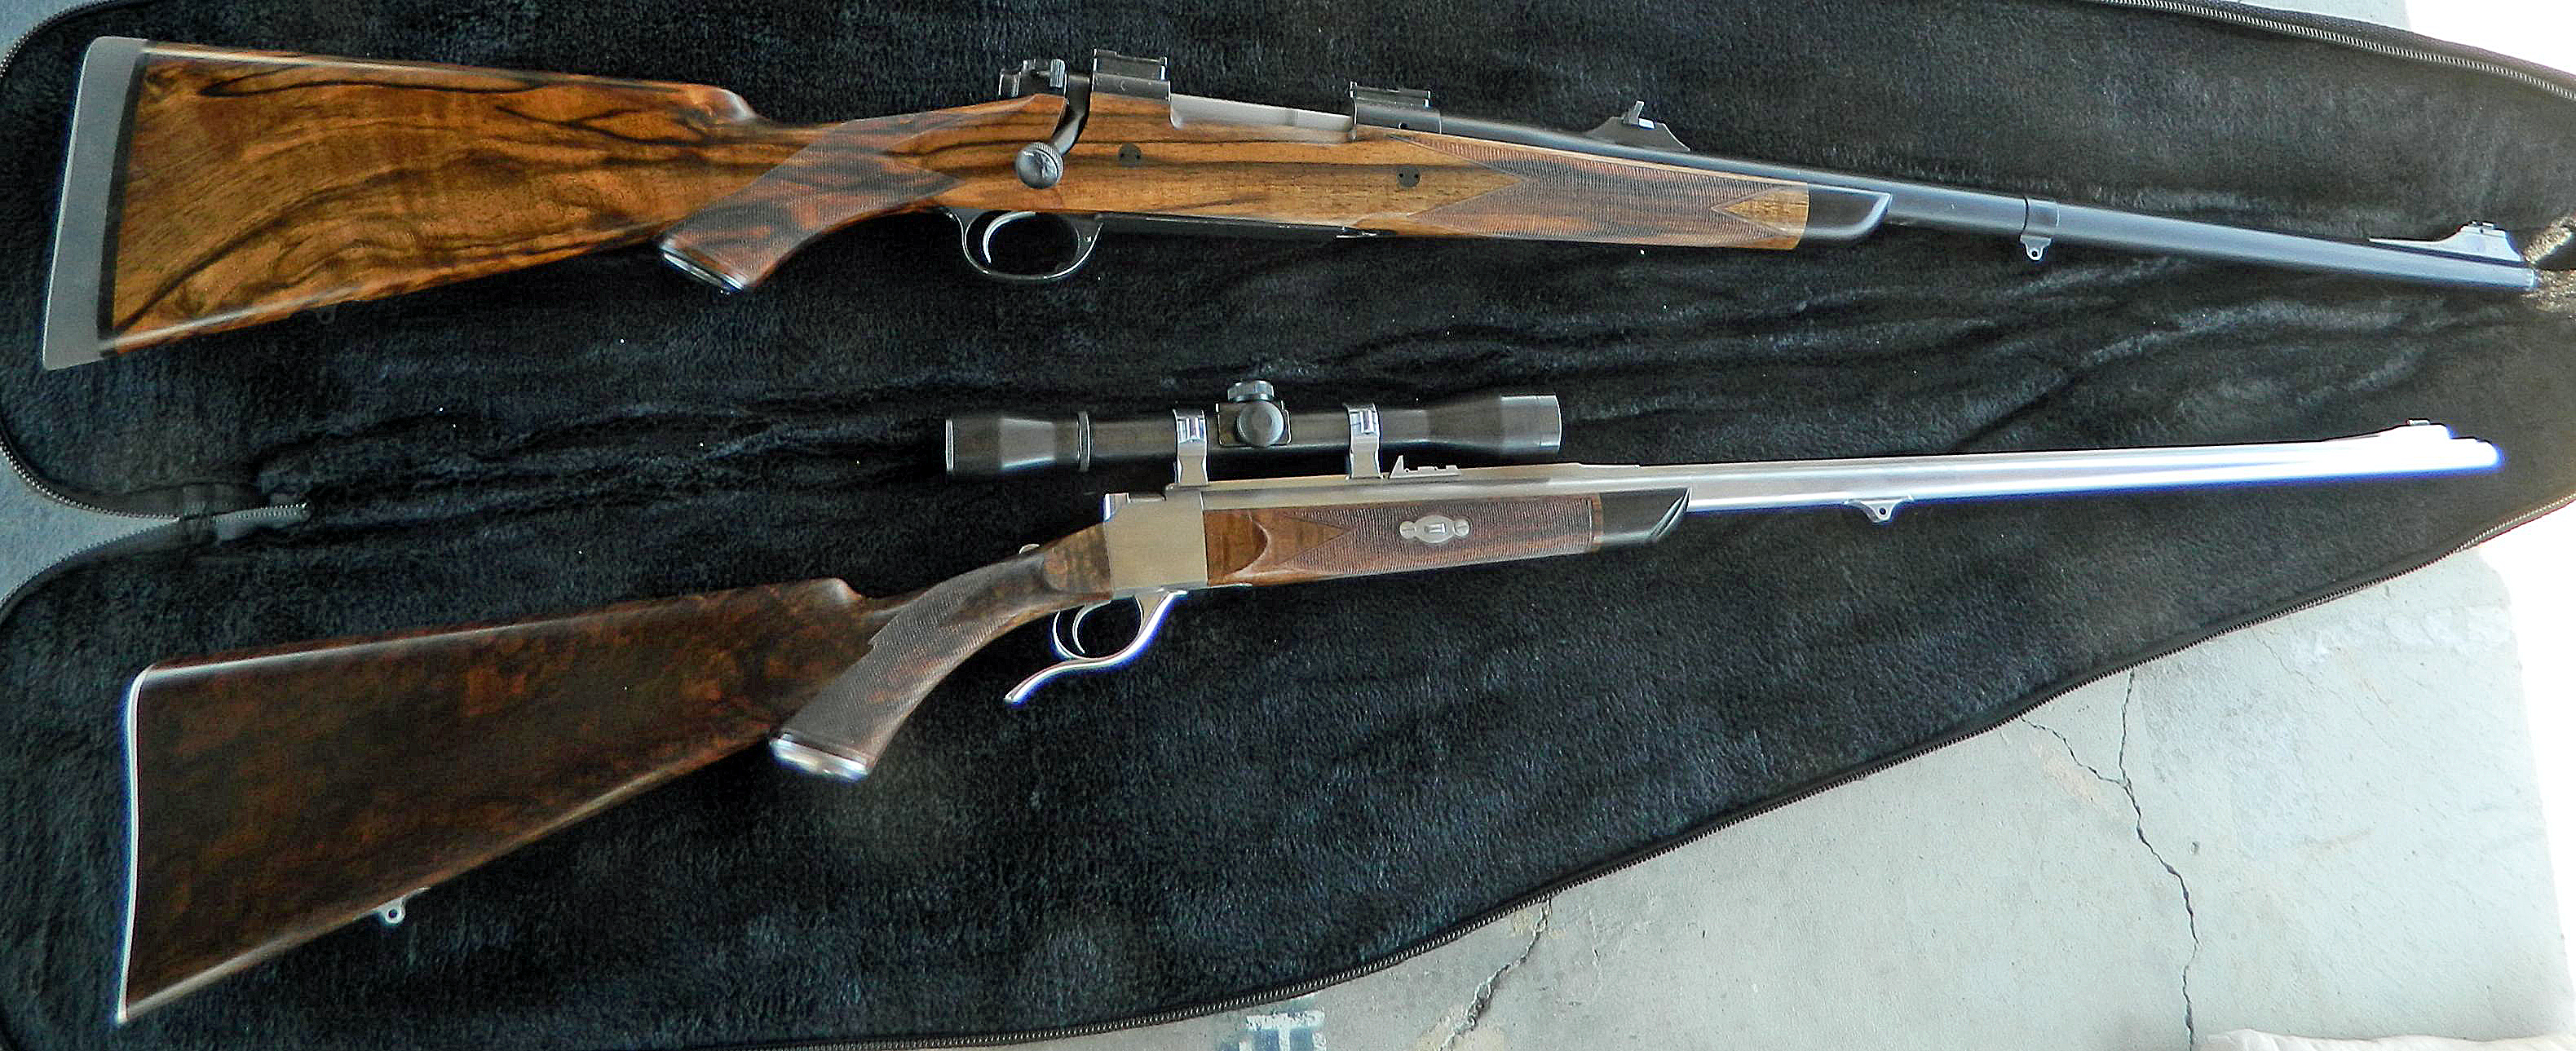
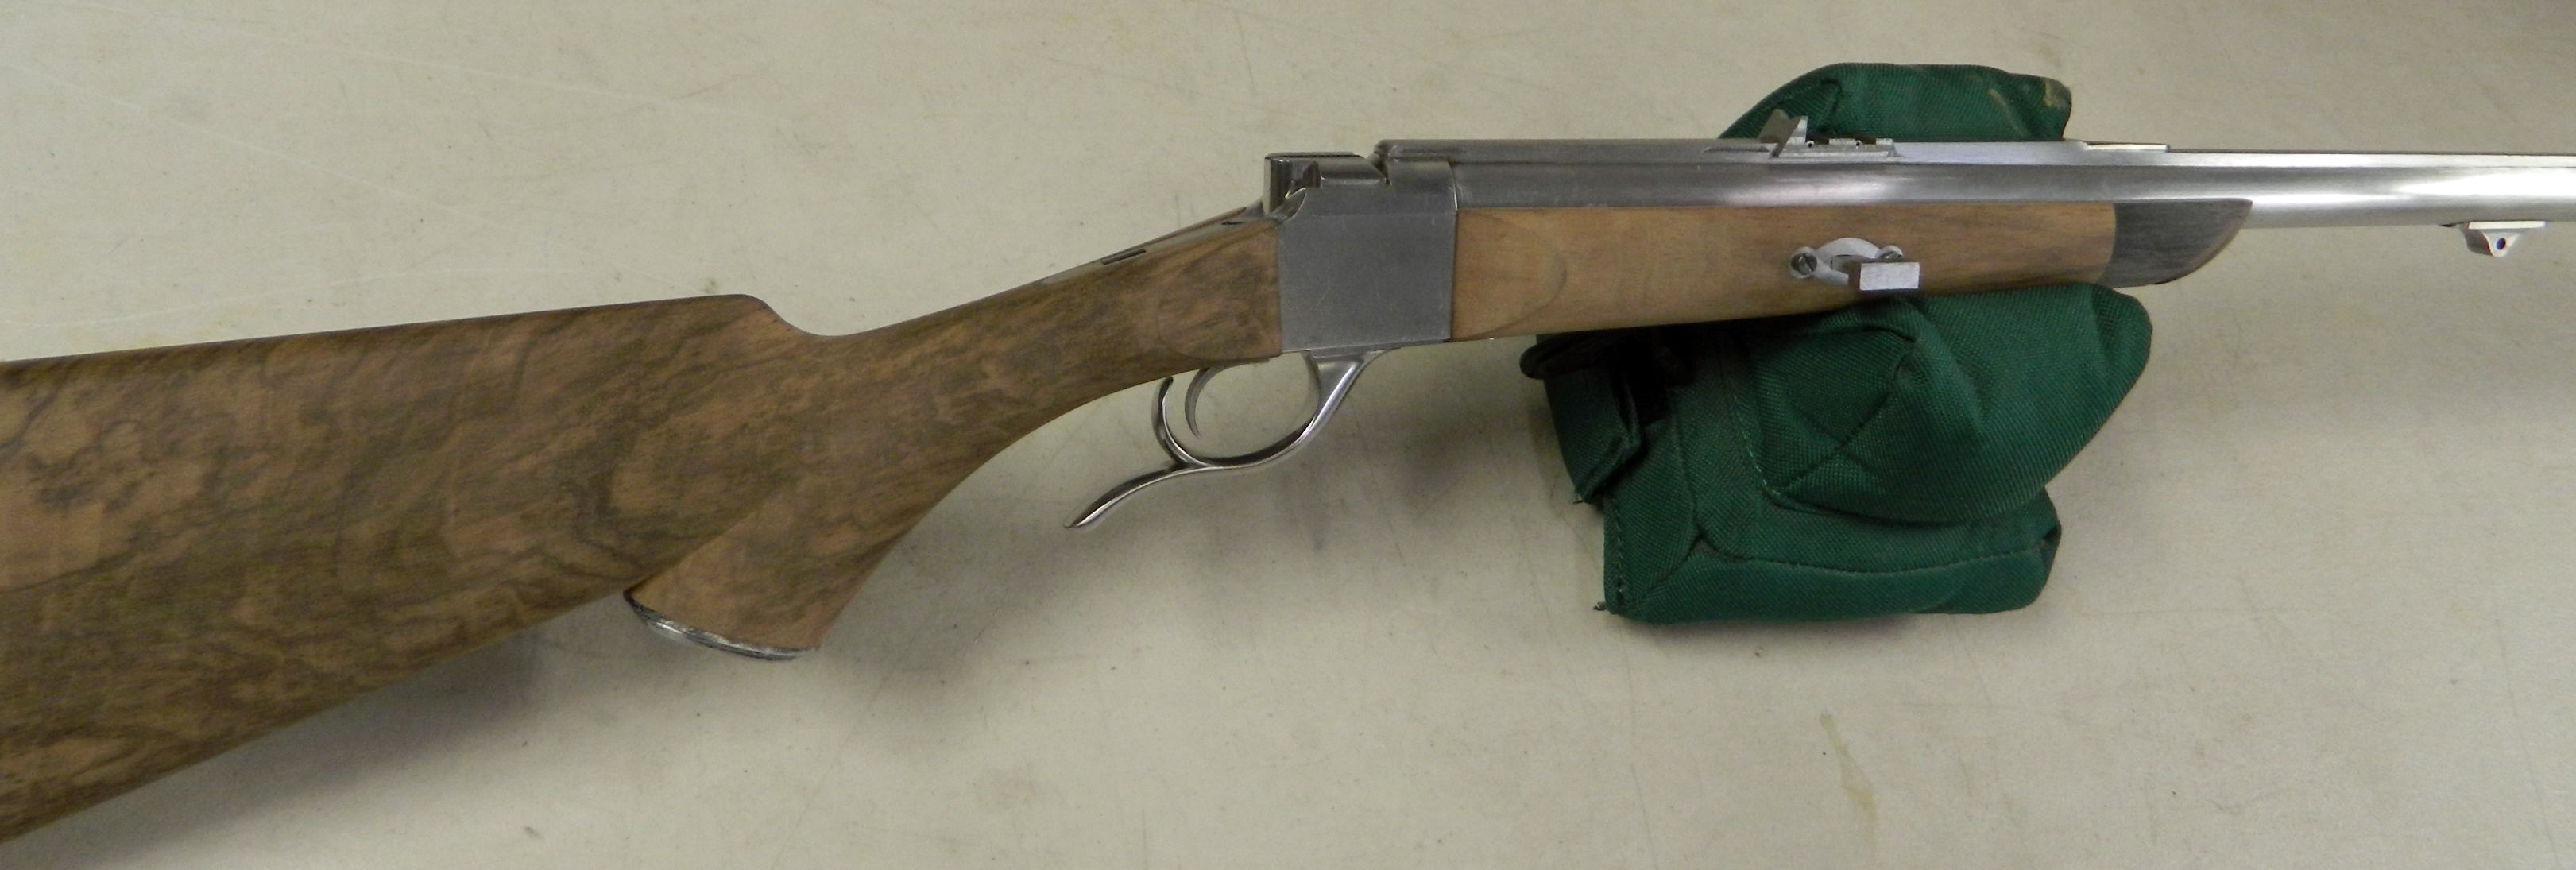
The little .17 hmr falling block rifle is ready for engraving and is awaiting to be send to Belgium for the embellishments. Here it is pictured next to a Winchester 70 in .375 H&H that I re-stocked for a client. I took these rifles recently to the range for testing, and the little gun is truly a ton of fun to shoot. The Lilja match grade barrel performed beautiful.

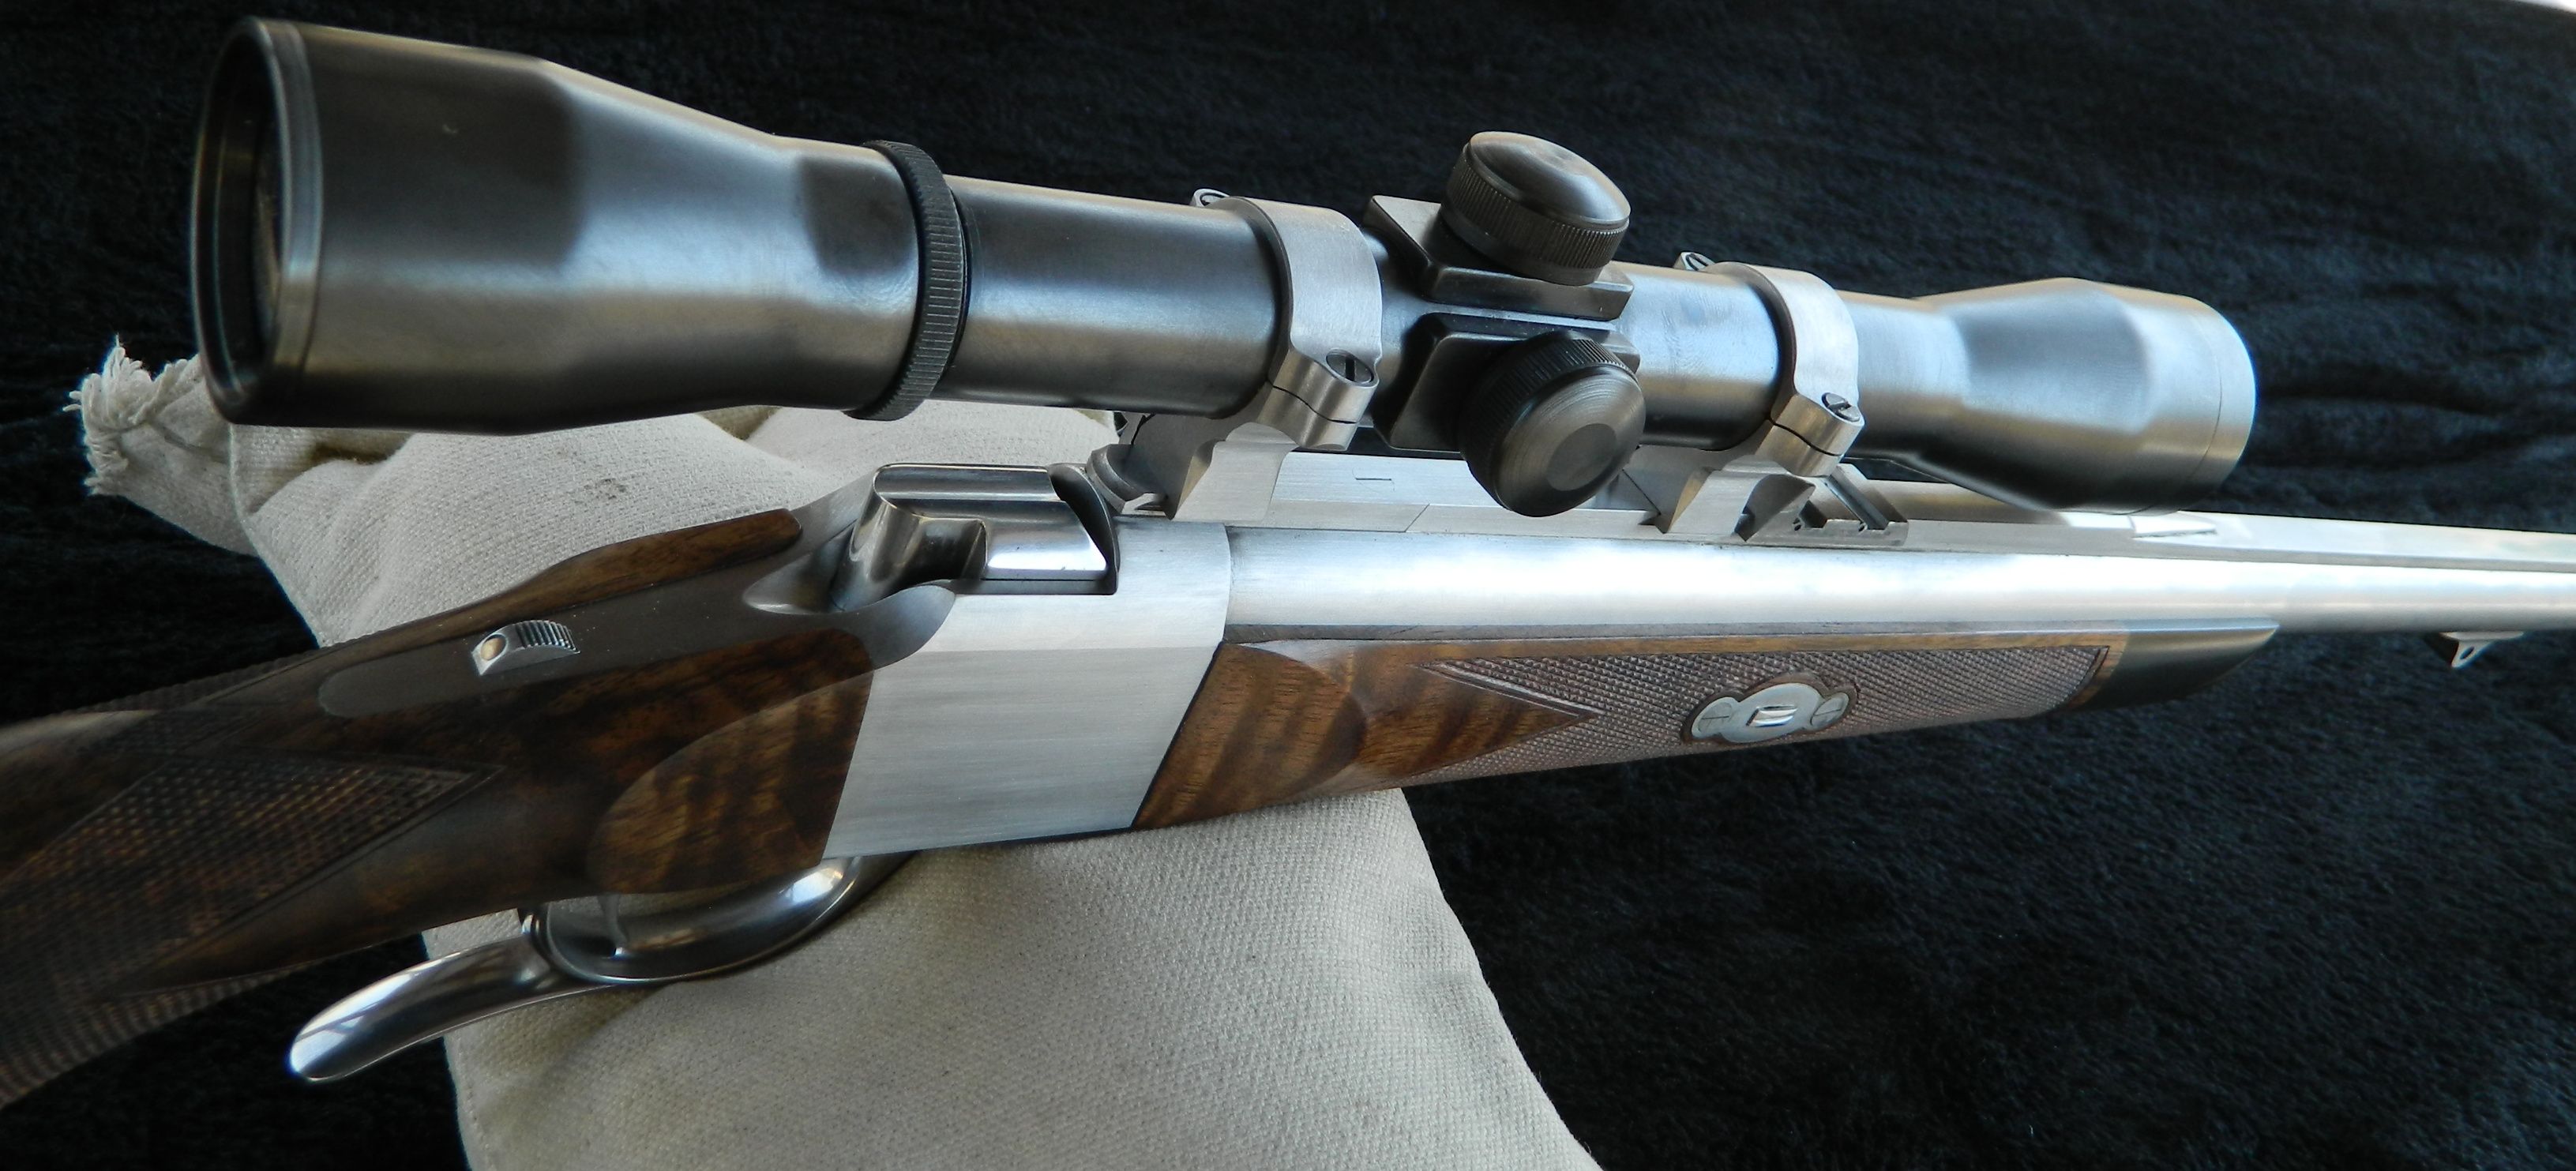
The scope on the rifle is a Leupold Alaskan. The steel tube is of 7/8″ diameter. It’s one of the few newer scopes that we thought was proportionally right for the gun.

I machined quick detachable custom rings for it. This rifle will stop any charging squirrel or dangerous rodent in it’s tracks.

This has certainly been a fun and unique project and I’m looking forward to similar commissions.

Miniature falling block rifle, caliber .17hmr

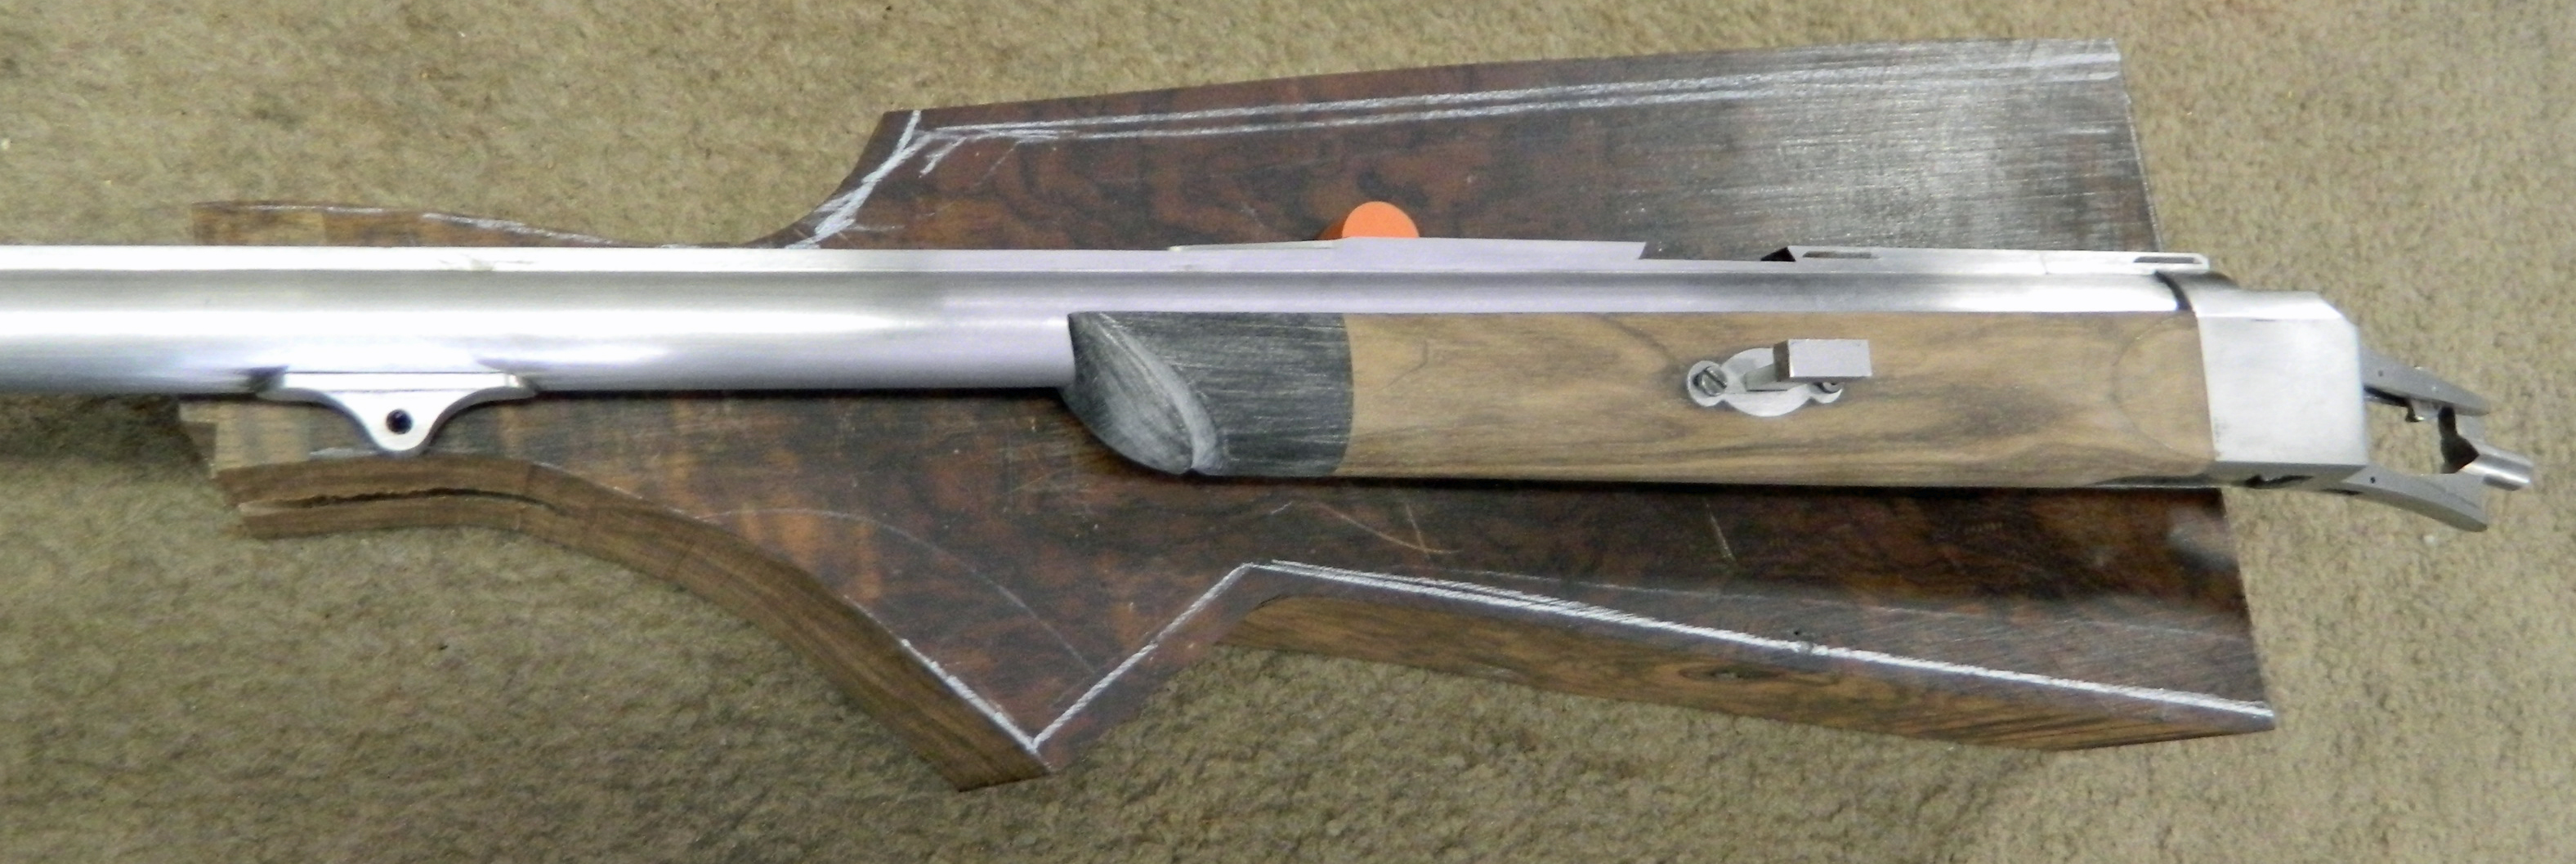
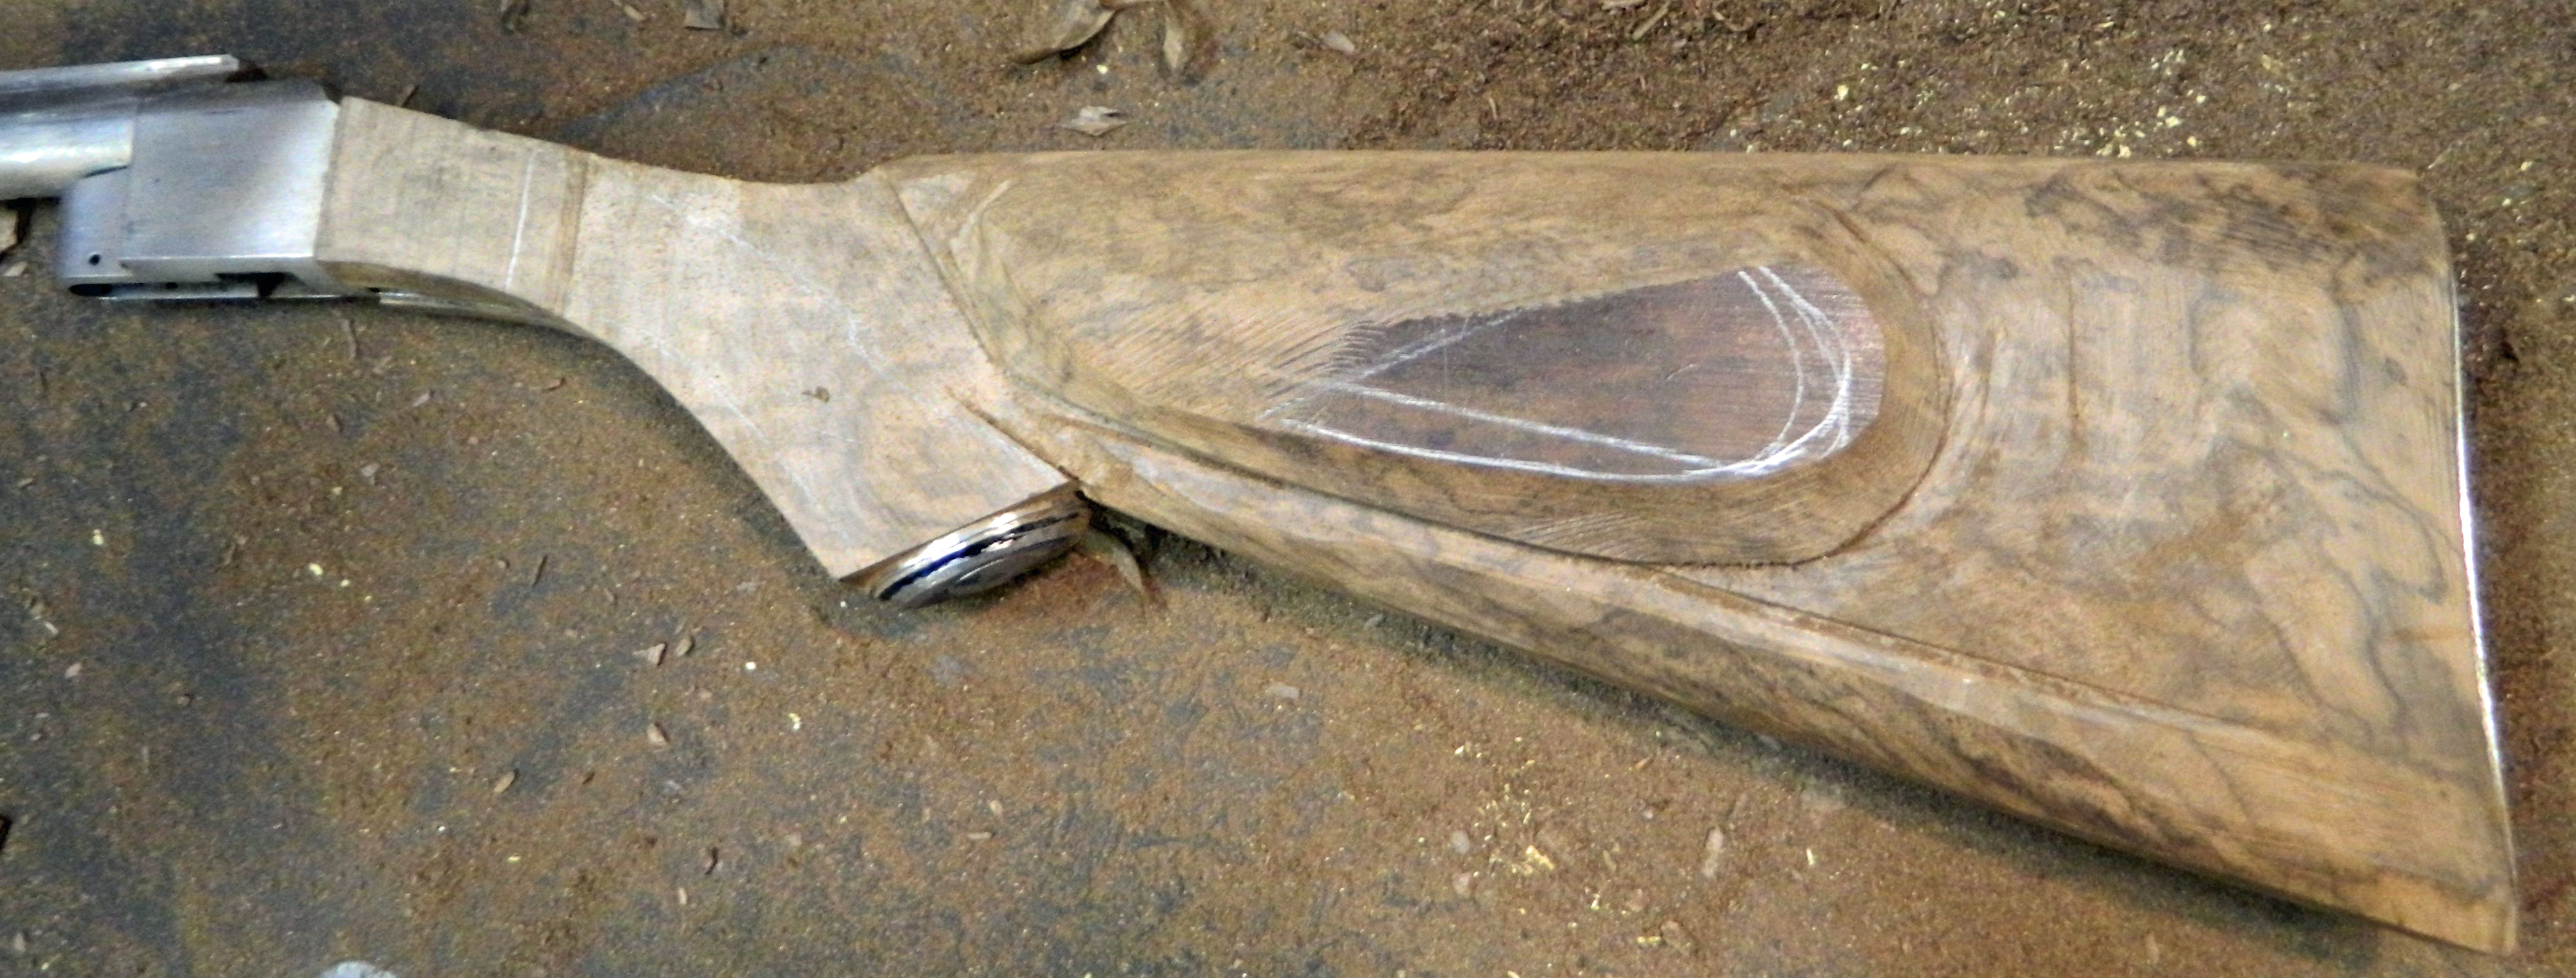
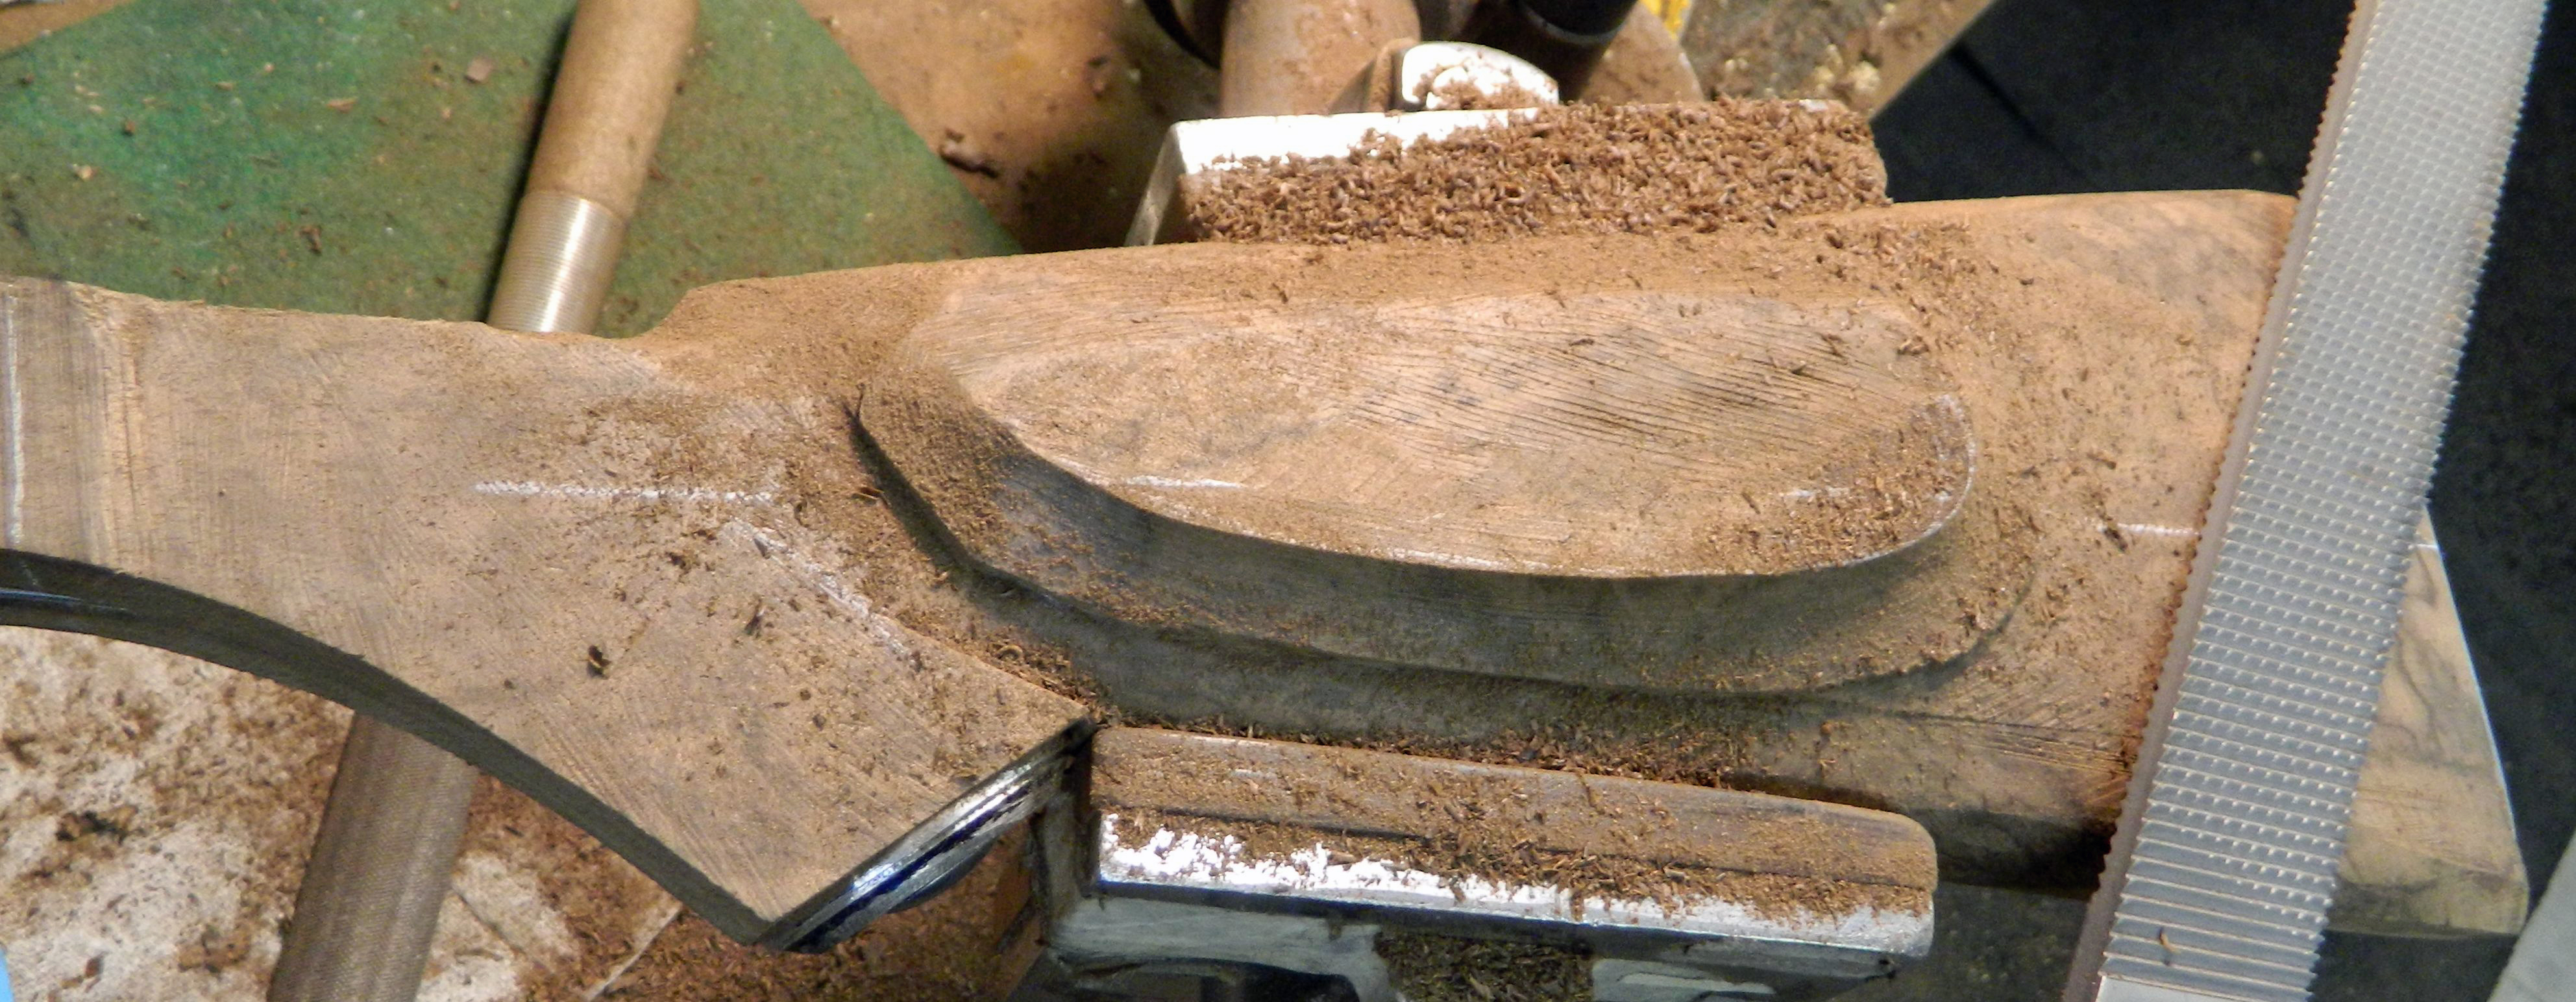
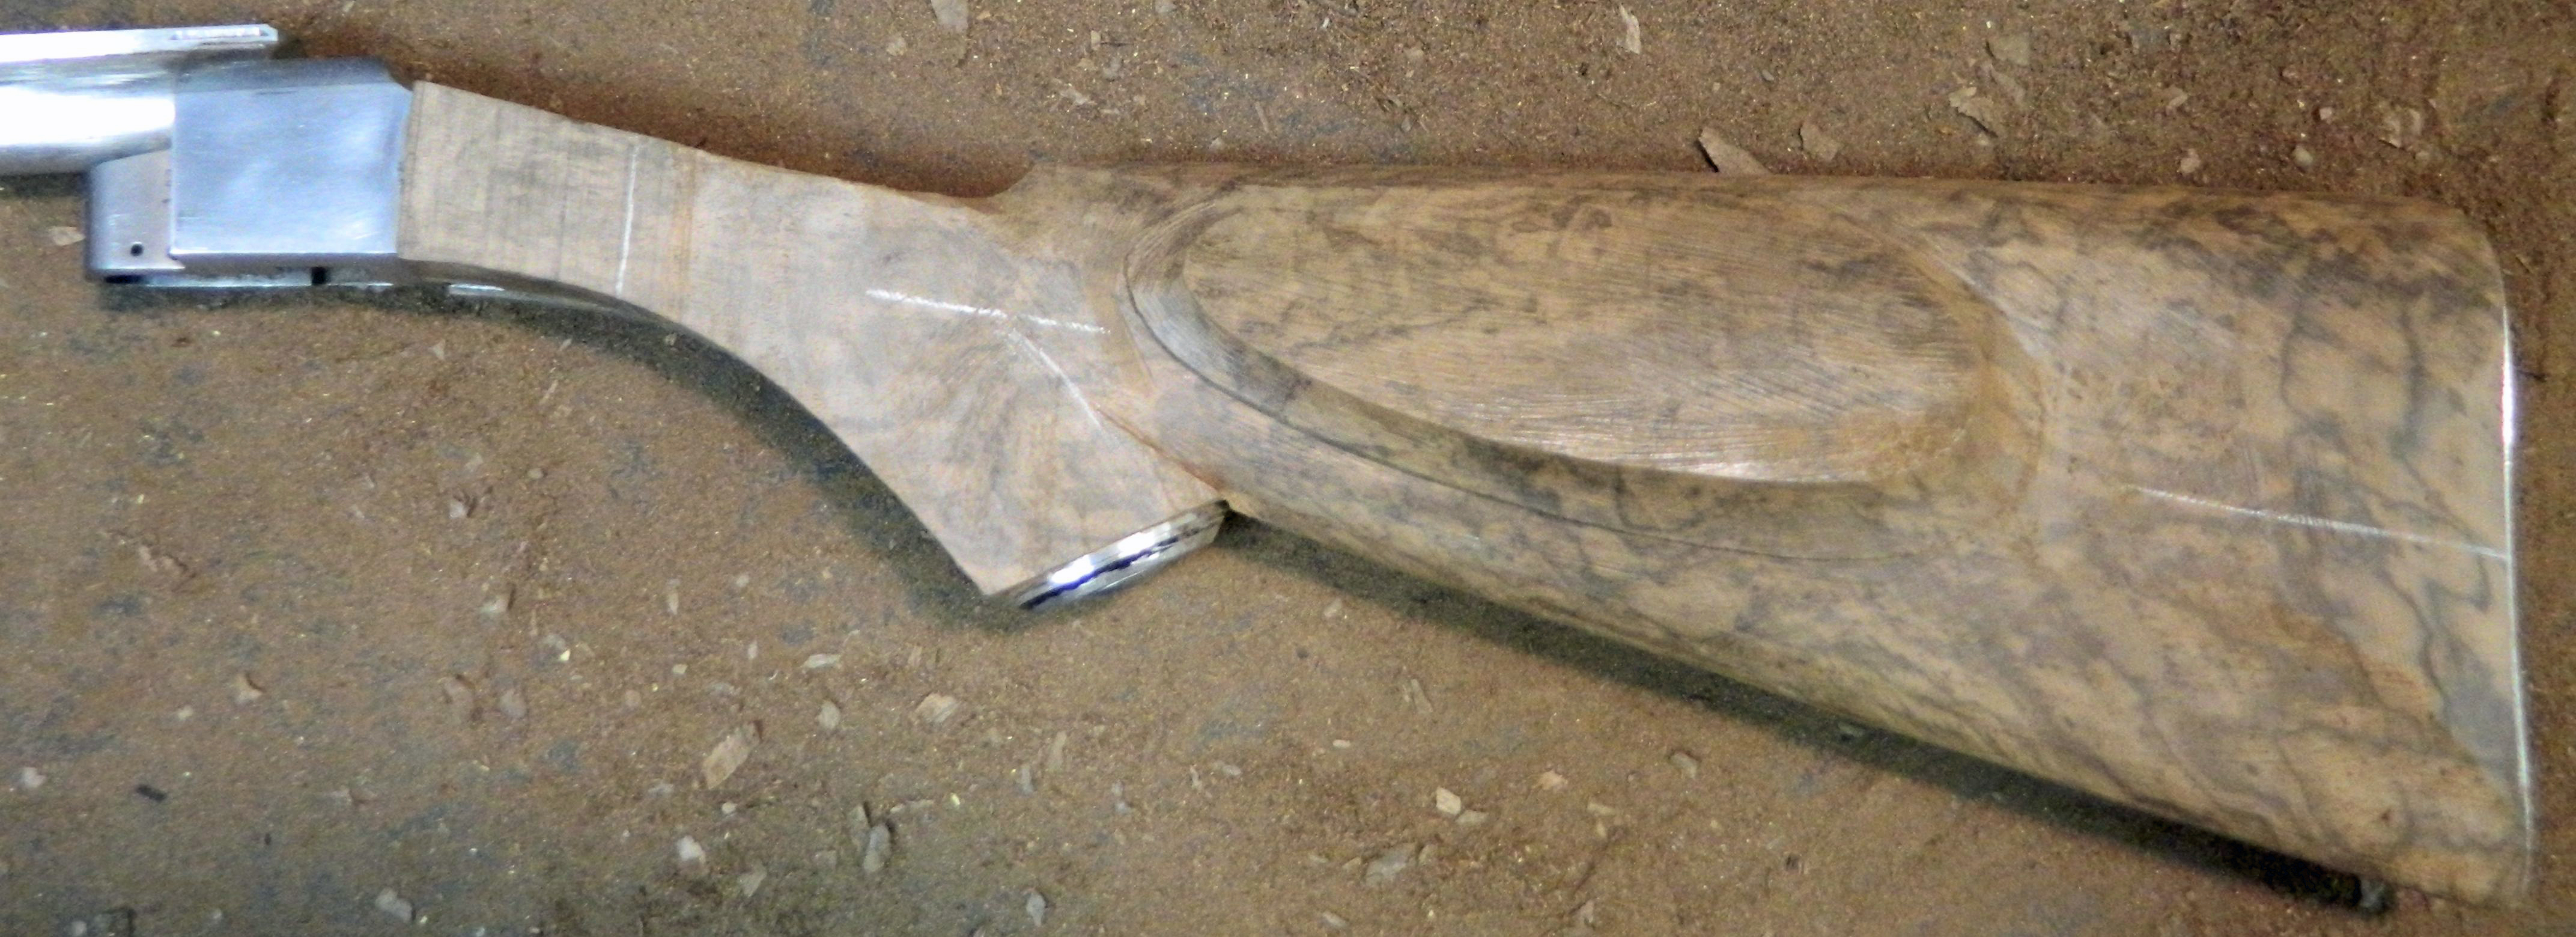
This project is certainly a departure from the many medium and big game rifles that I built over the years. The action is a miniature falling block, made by Martin Hagn. The caliber is .17hmr. I added a full length rib to the barrel and am in the process of stocking it. The problem with such a small rifle is to get the proportions right. It has to look good and still must be user friendly, with a stock that is usable. I’m posting a bunch of pictures of the stocking in process.

With a one of a kind of project like this I don’t bother with the making of a pattern and then pre-carving  the stock on the duplicating machine. It is less time consuming for me to make the stock from the blank and inlet and shape it by hand.

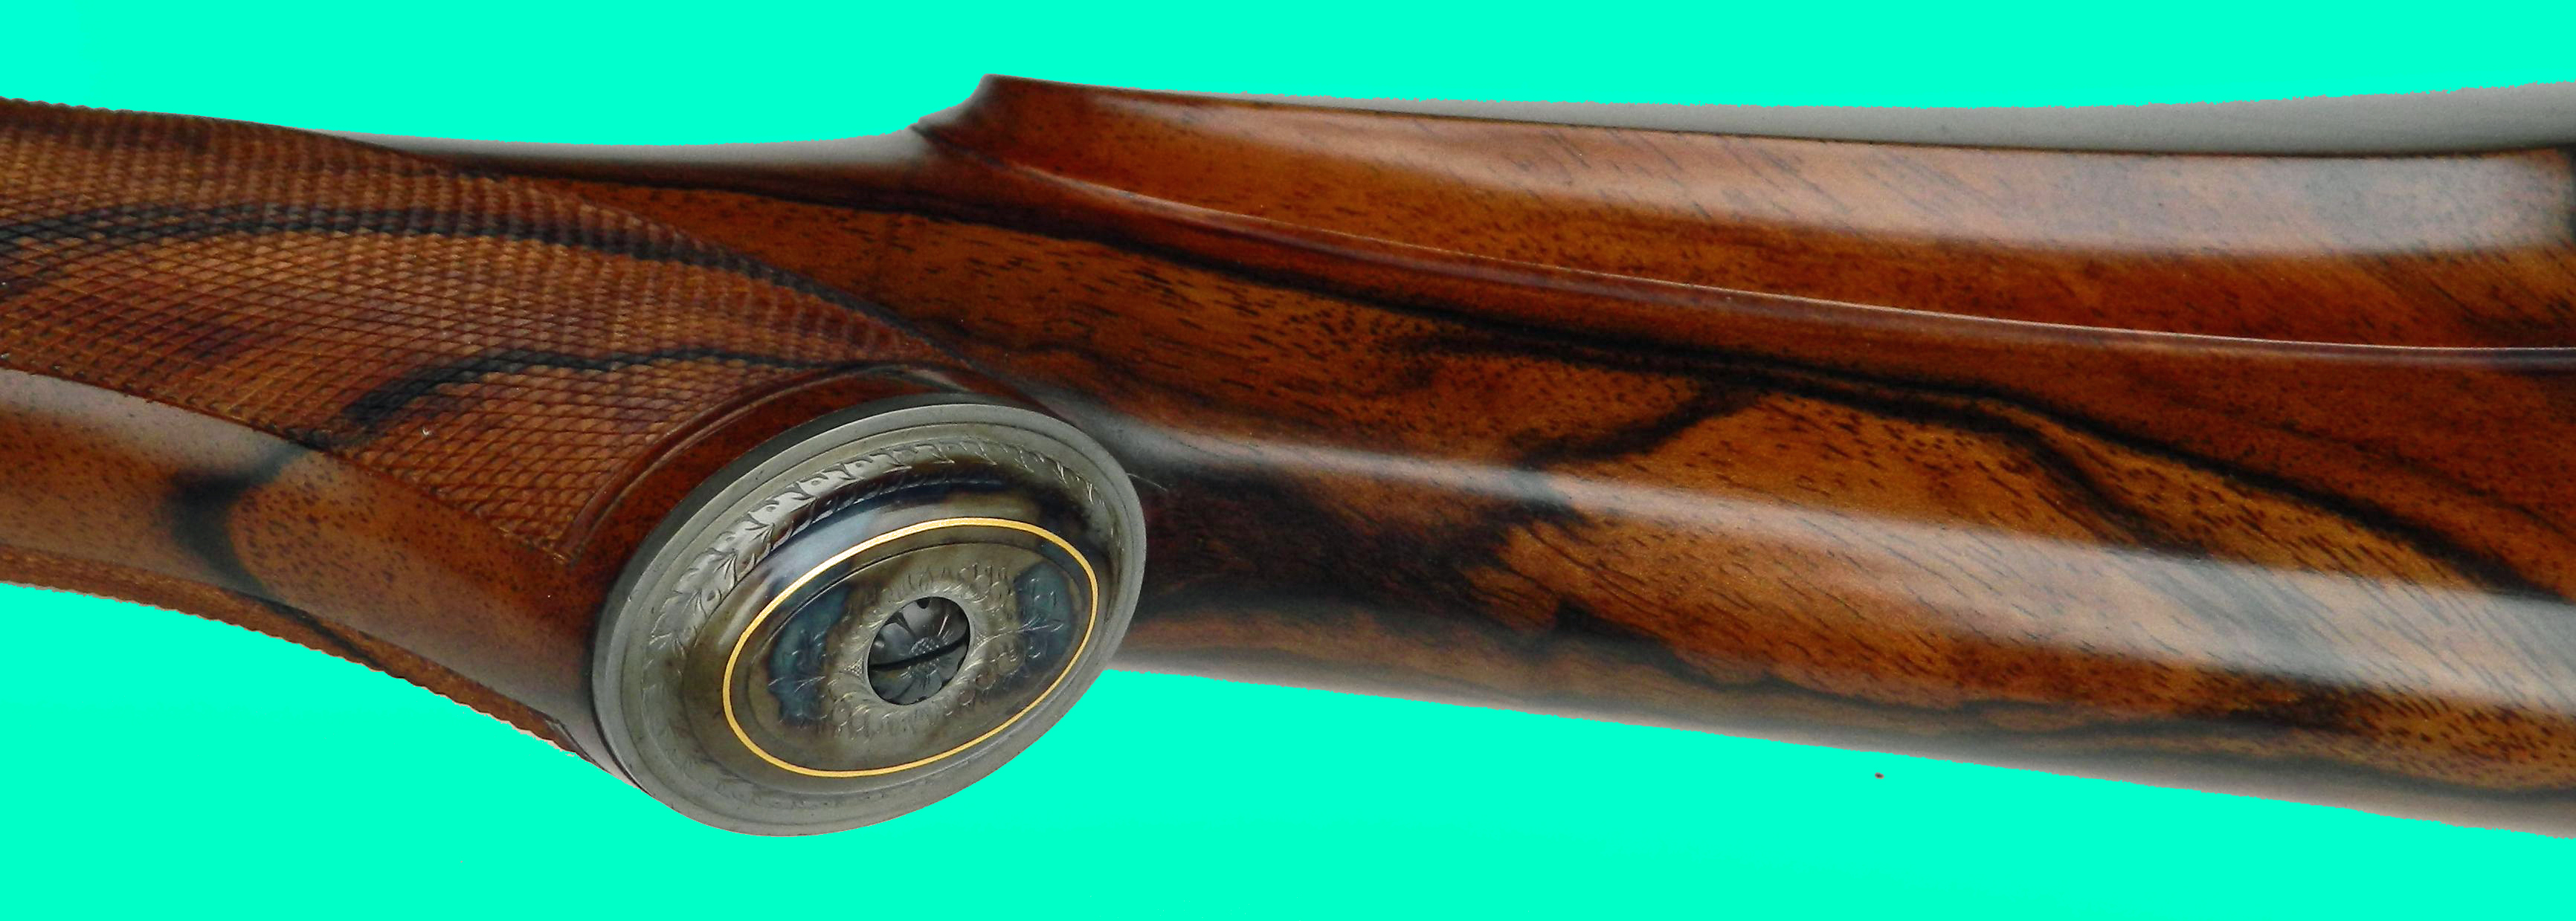
The butt stock has a solid steel butt plate and a trap door grip cap. Fitting these parts is one of the first things to do before the shaping begins.

There is still a good amount of work left, but at this stage the stock is ready for a coat of a sealer. After that has dried, the pores will be filled with oil and light sanding.


.30-06 “Princess” rifle

This rifle was commissioned by a very good client of mine. It is a present from him to his wife. She is his hunting partner and best friend and he refers to her lovingly as his “princess”, hence the title.

The rifle started life as a commercial Mauser “Standard Modell” which the client provided. I re-worked the action, added a bolt handle, new 3 position safety, trigger and magazine box.

The next step was to install a match grade barrel. The caliber of this rifle is .30-06.

The barrel has the same contour as the pre-war Rigby rifles. A custom machined banded rear sight ramp was added to it. The front sight ramp was inspired by a vintage Holland & Holland rifle. The sling swivel band and the ramps where as usual machined in house from bar stock. I also machined a set of custom scope bases for the receiver. The scope mount is my Buehler CSA lever cam mount. The scope can easily be removed after turning each lever 1/4 turn.

The next step was to make the stock. The blank was California-English and was harvested over thirty years ago. I like it a lot, as it has a wonderful natural honey color. The style of the stock would probably be consider as pre-war English.

The engravings where performed by Lisa Tomlin. I’ve known her for many years and she is in my opinion one of the best engravers in this country. Unfortunately my amateur photography doesn’t do her work justice, but I’m very happy with the engravings.


The color case hardening was performed by Turnbull restoration. It certainly adds a nice touch to any gun.

I was very pleased with the accuracy of the rifle. I was able to shoot two successive 3 shot groups with Federal and Norma ammo that measured between 1/4″ and 1/2″ at 100 yds.

As always I hope this rifle will bring much of joy to the owner and a lifetime of reliable service.

Walnut, maple, strings and steel

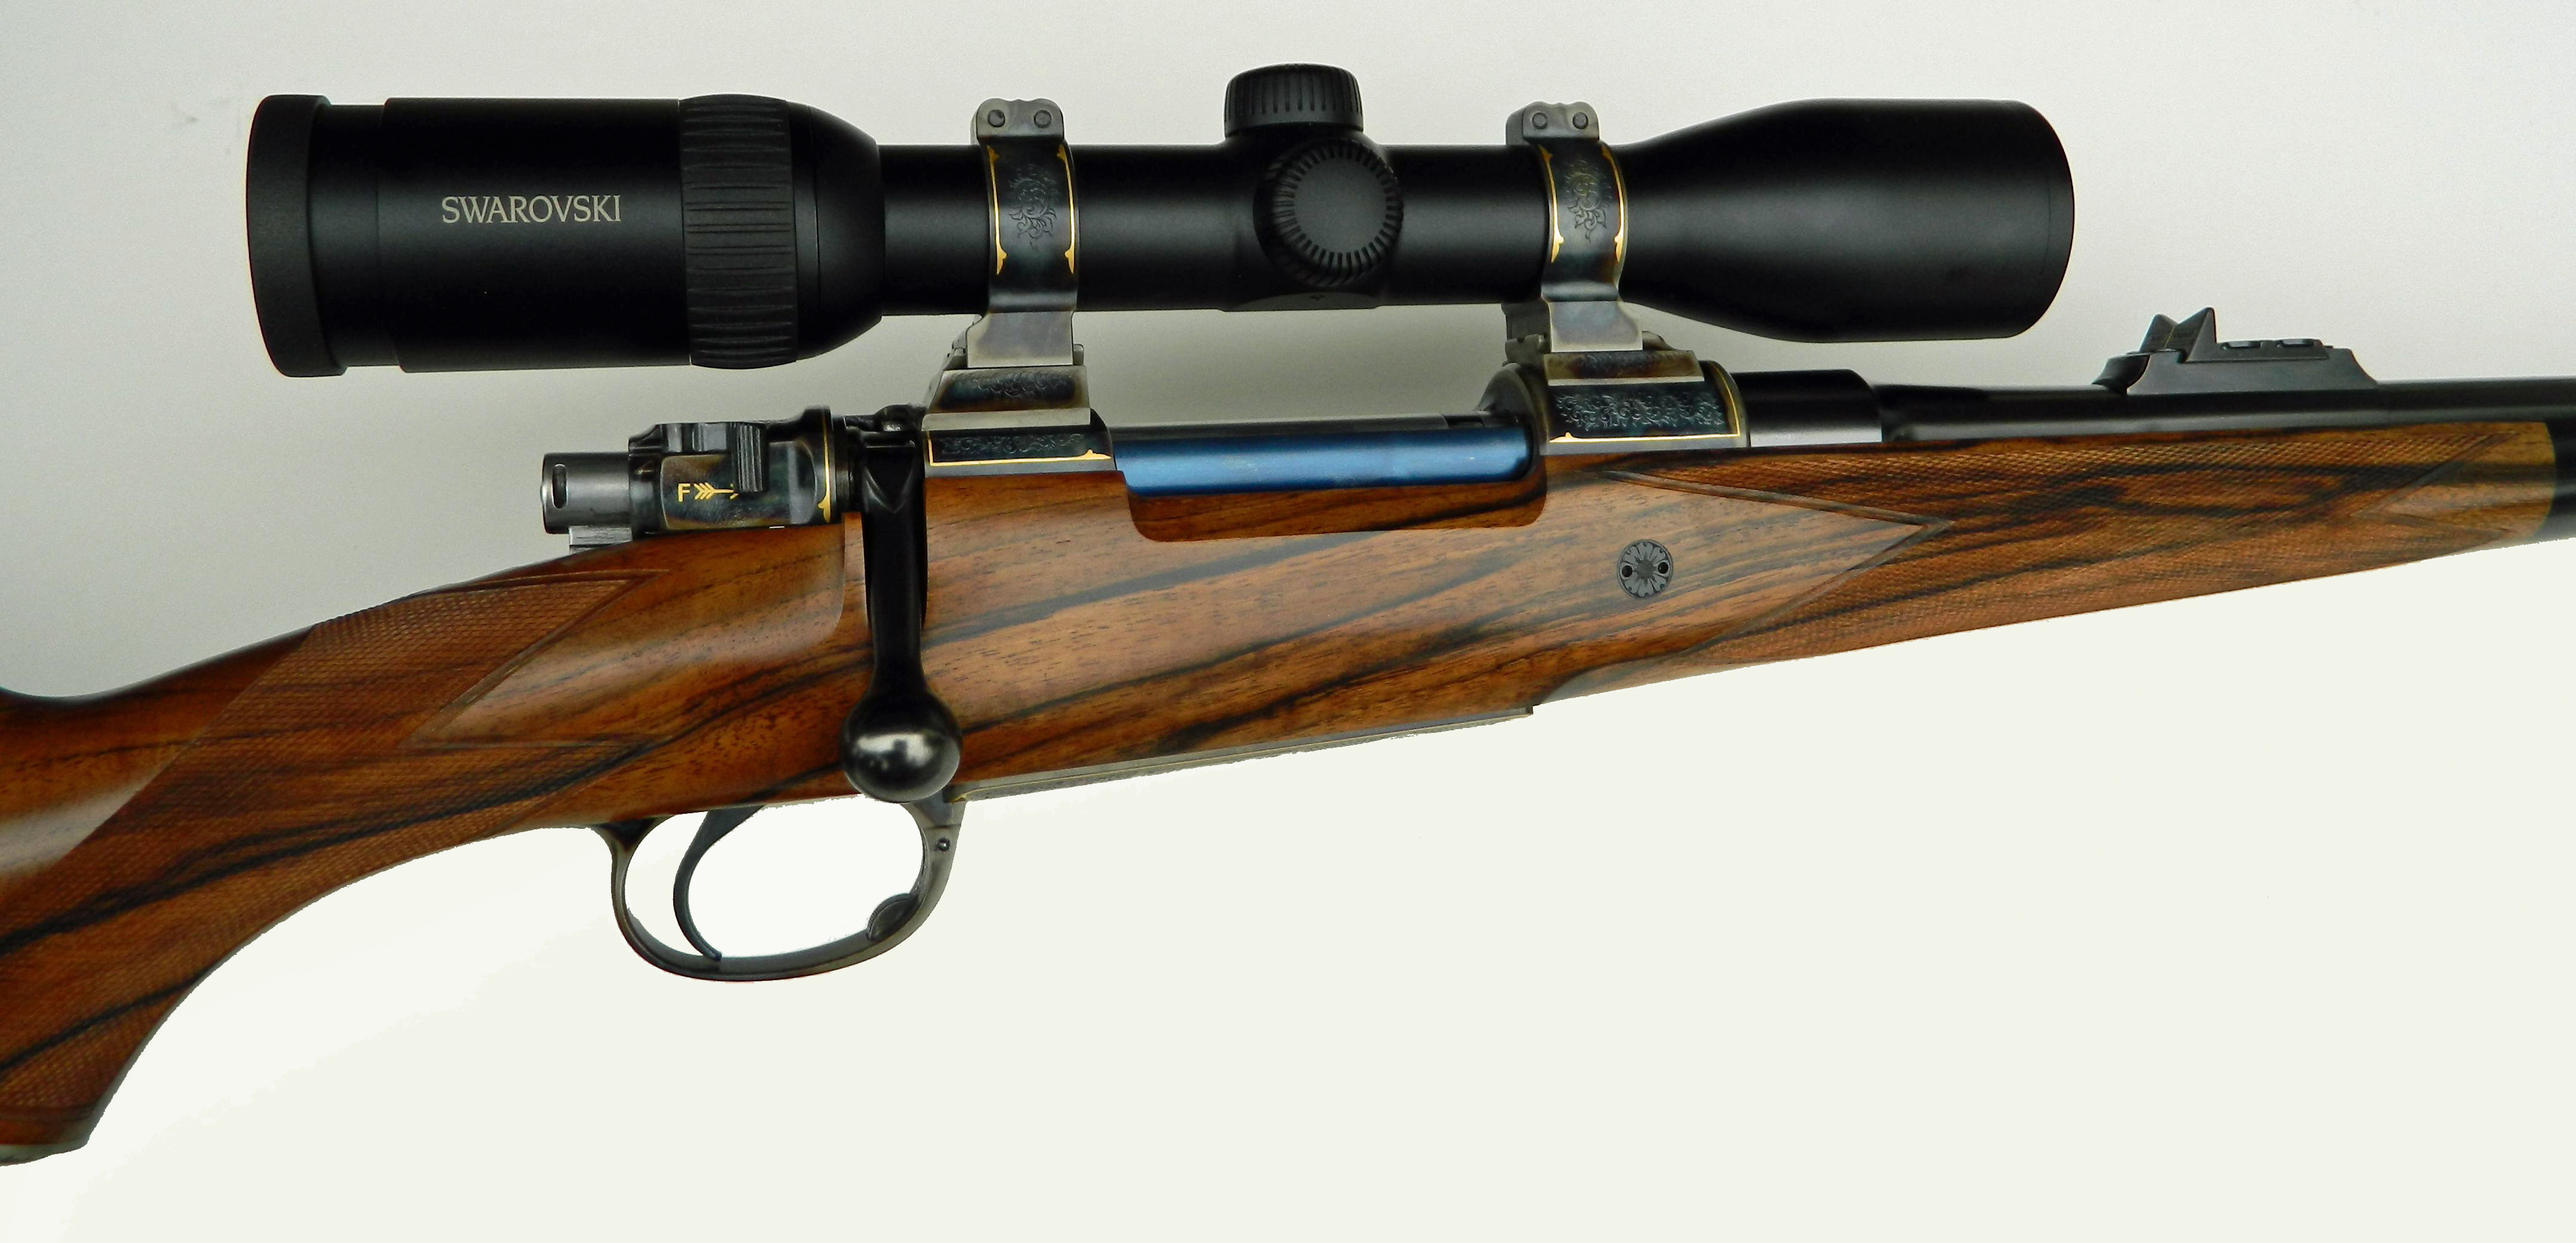
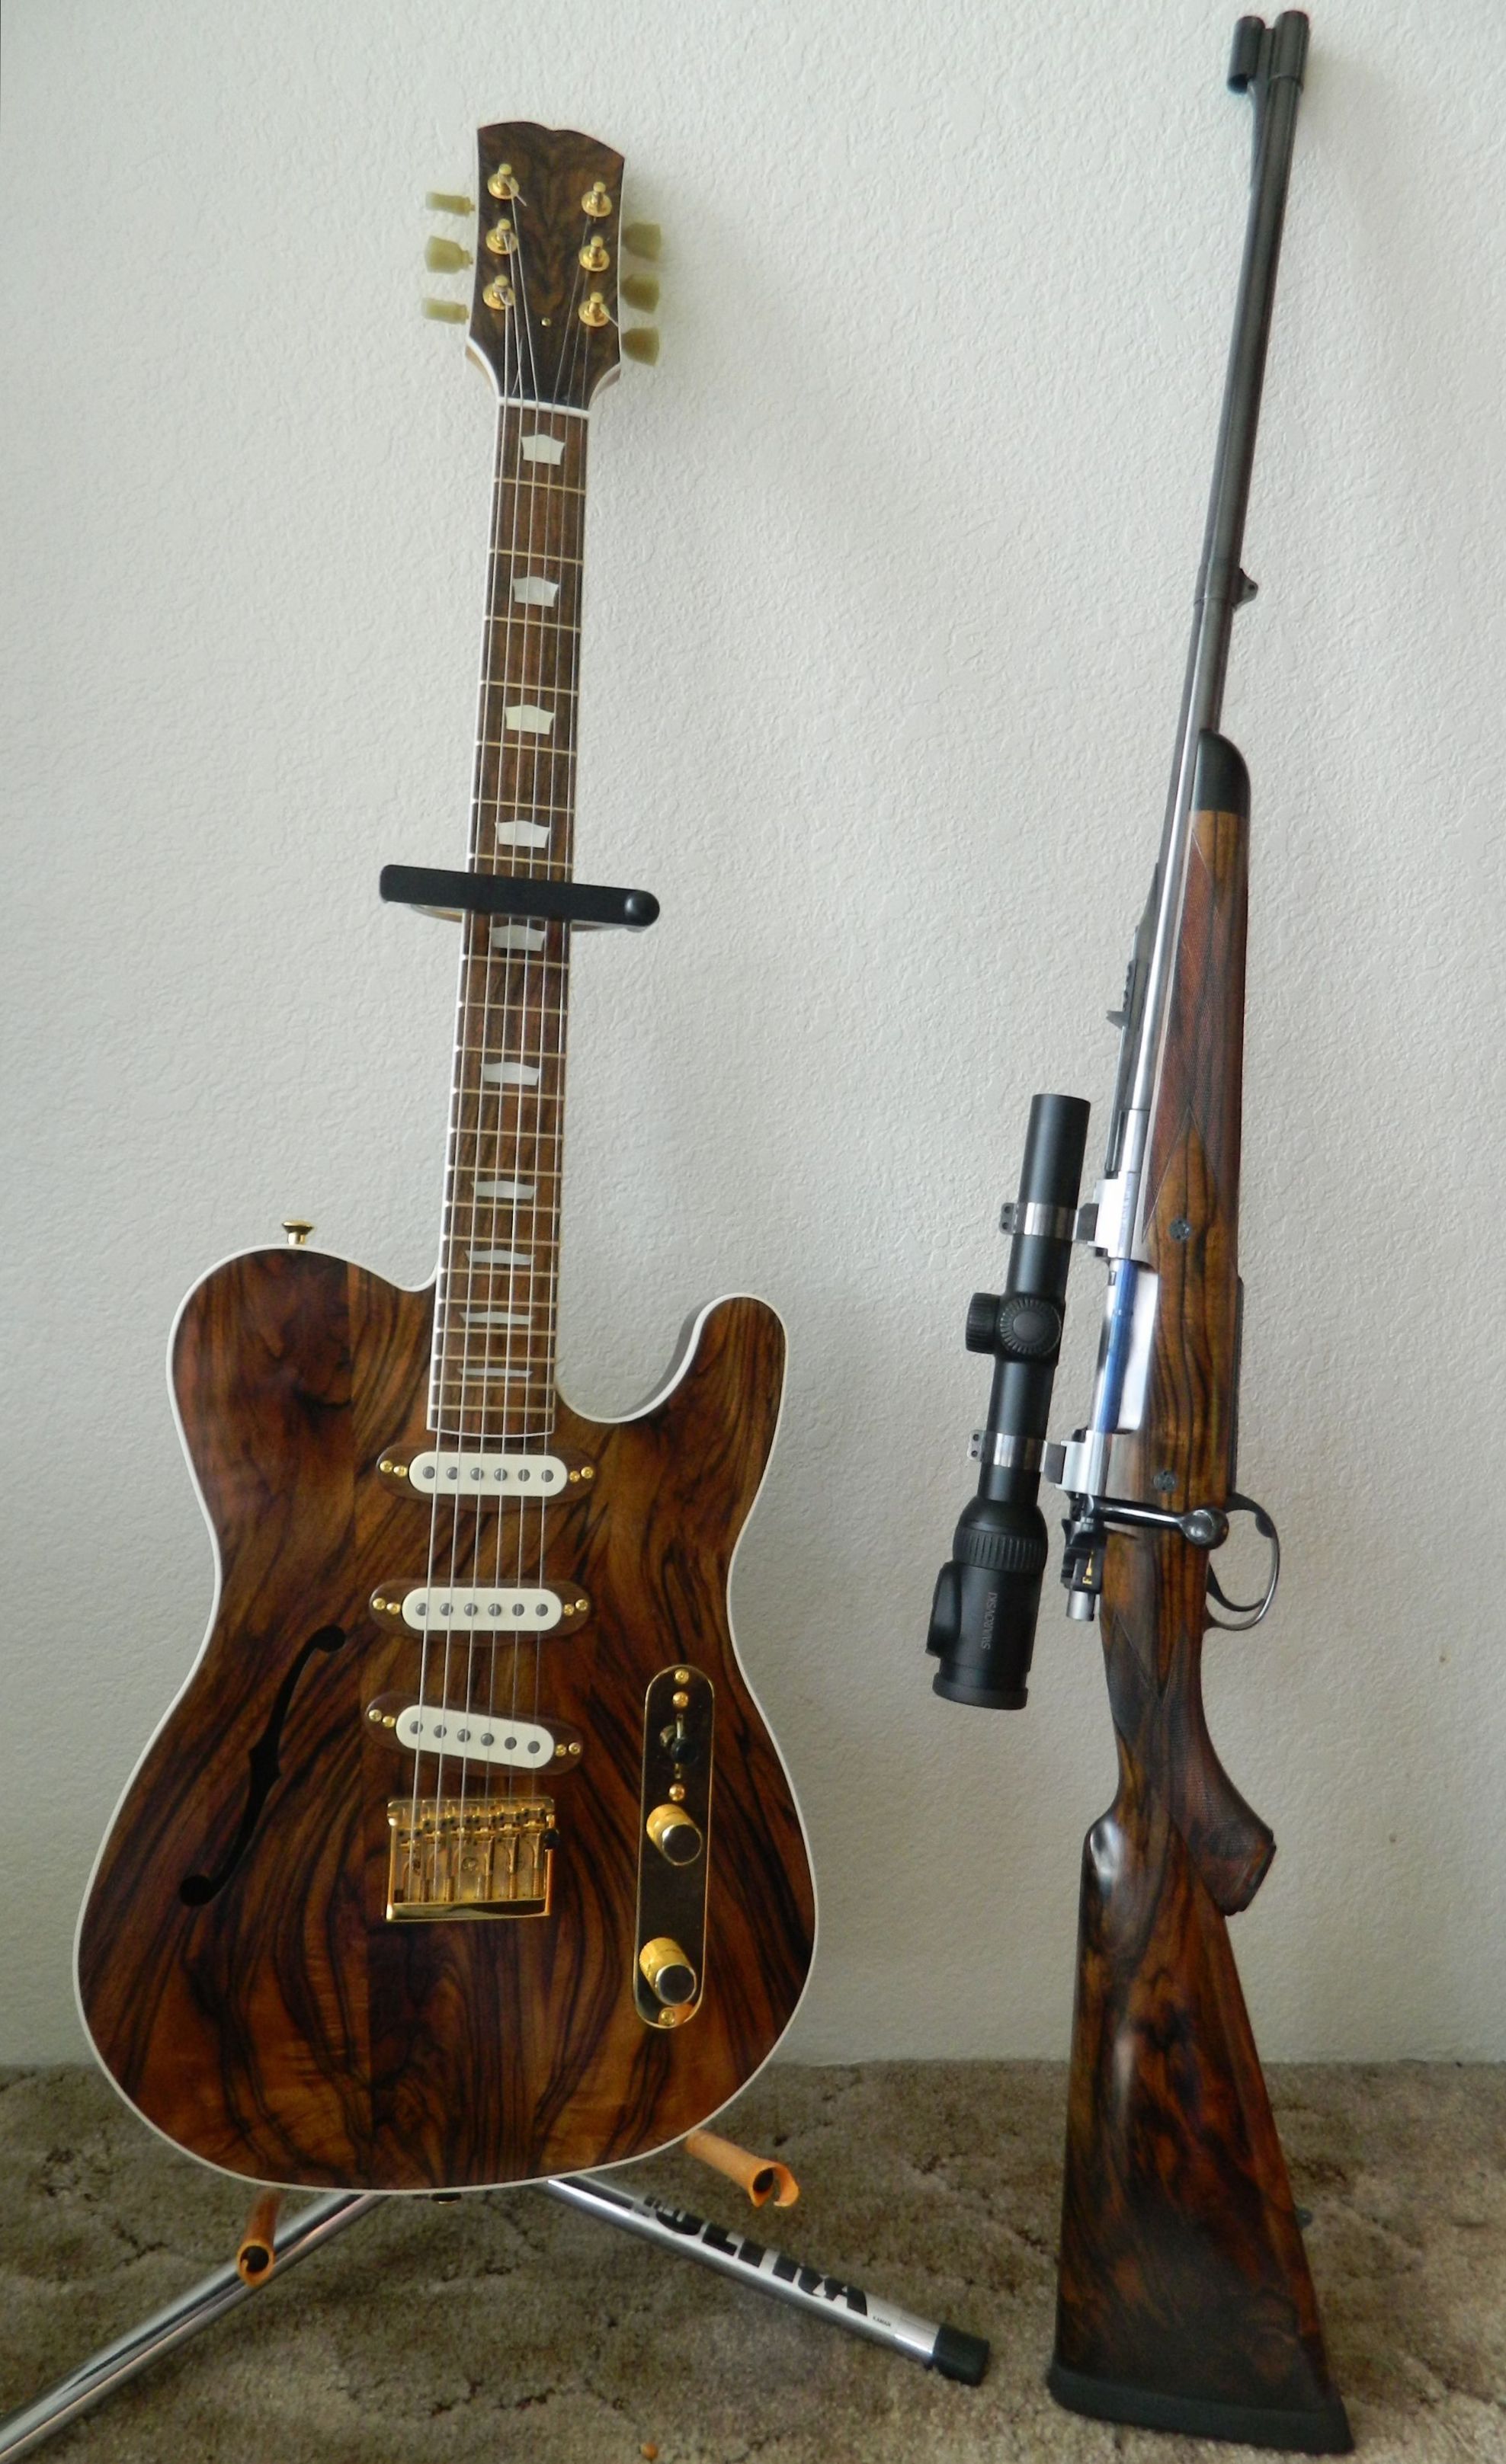
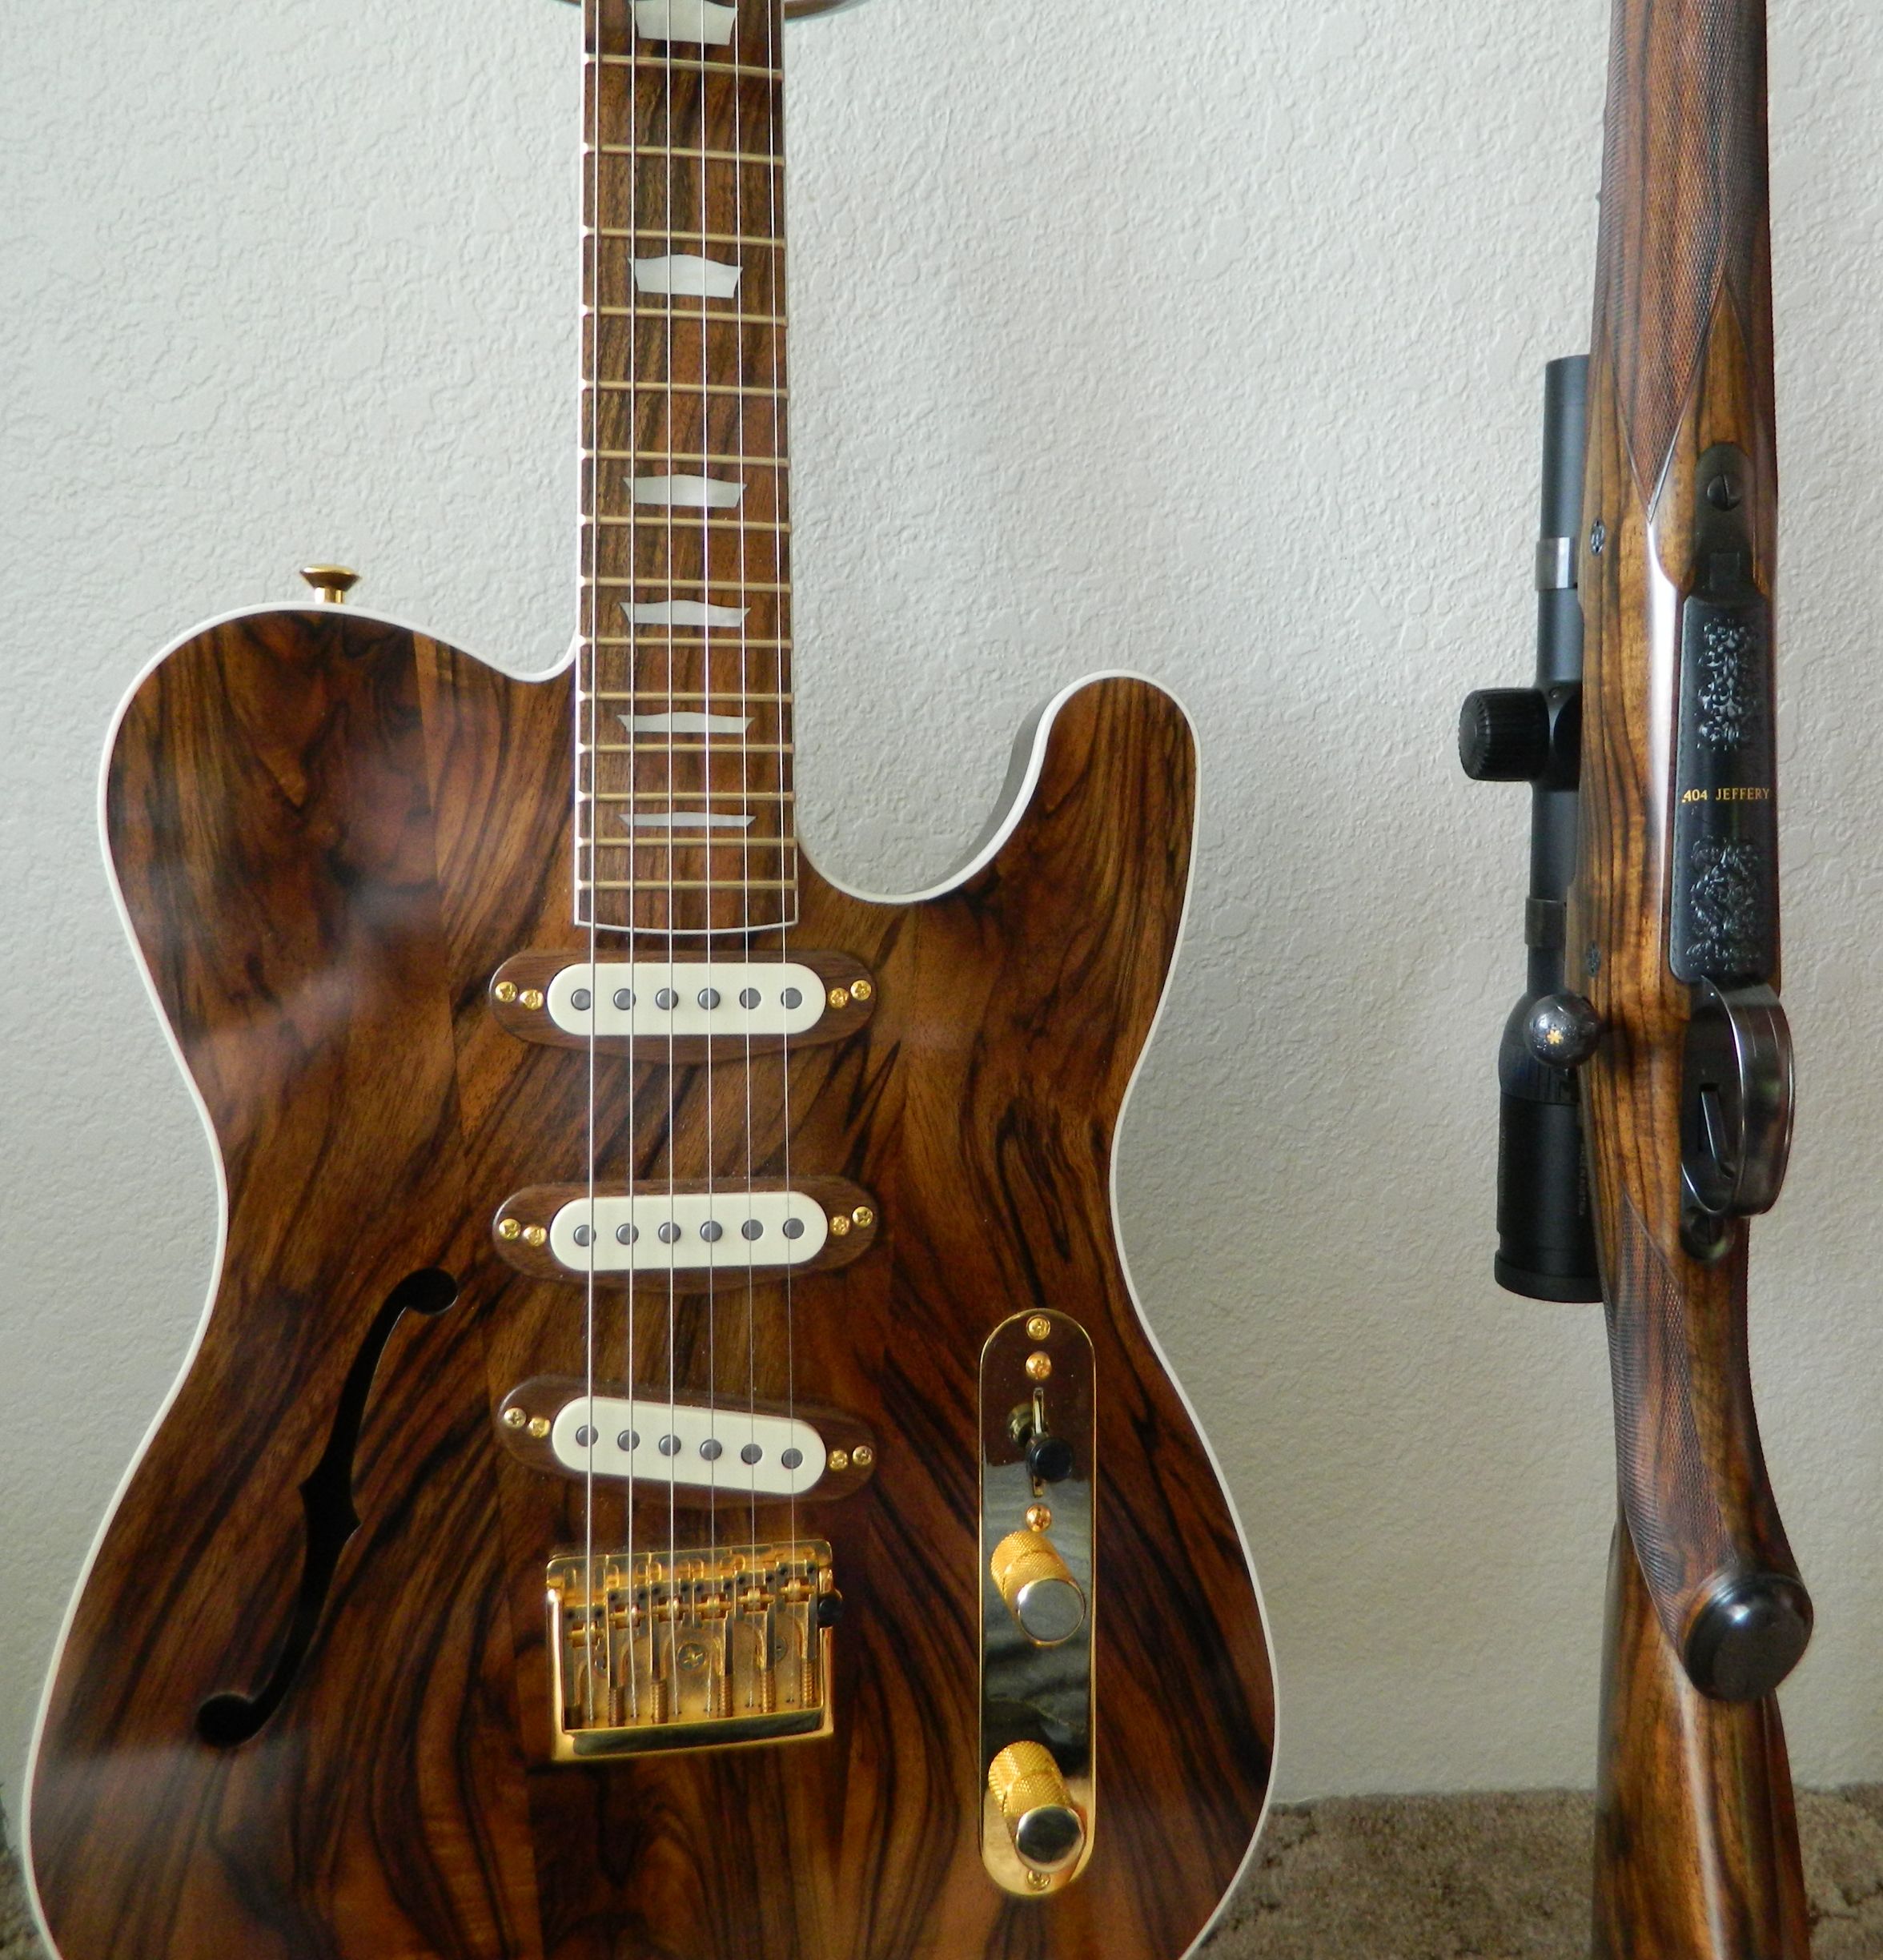
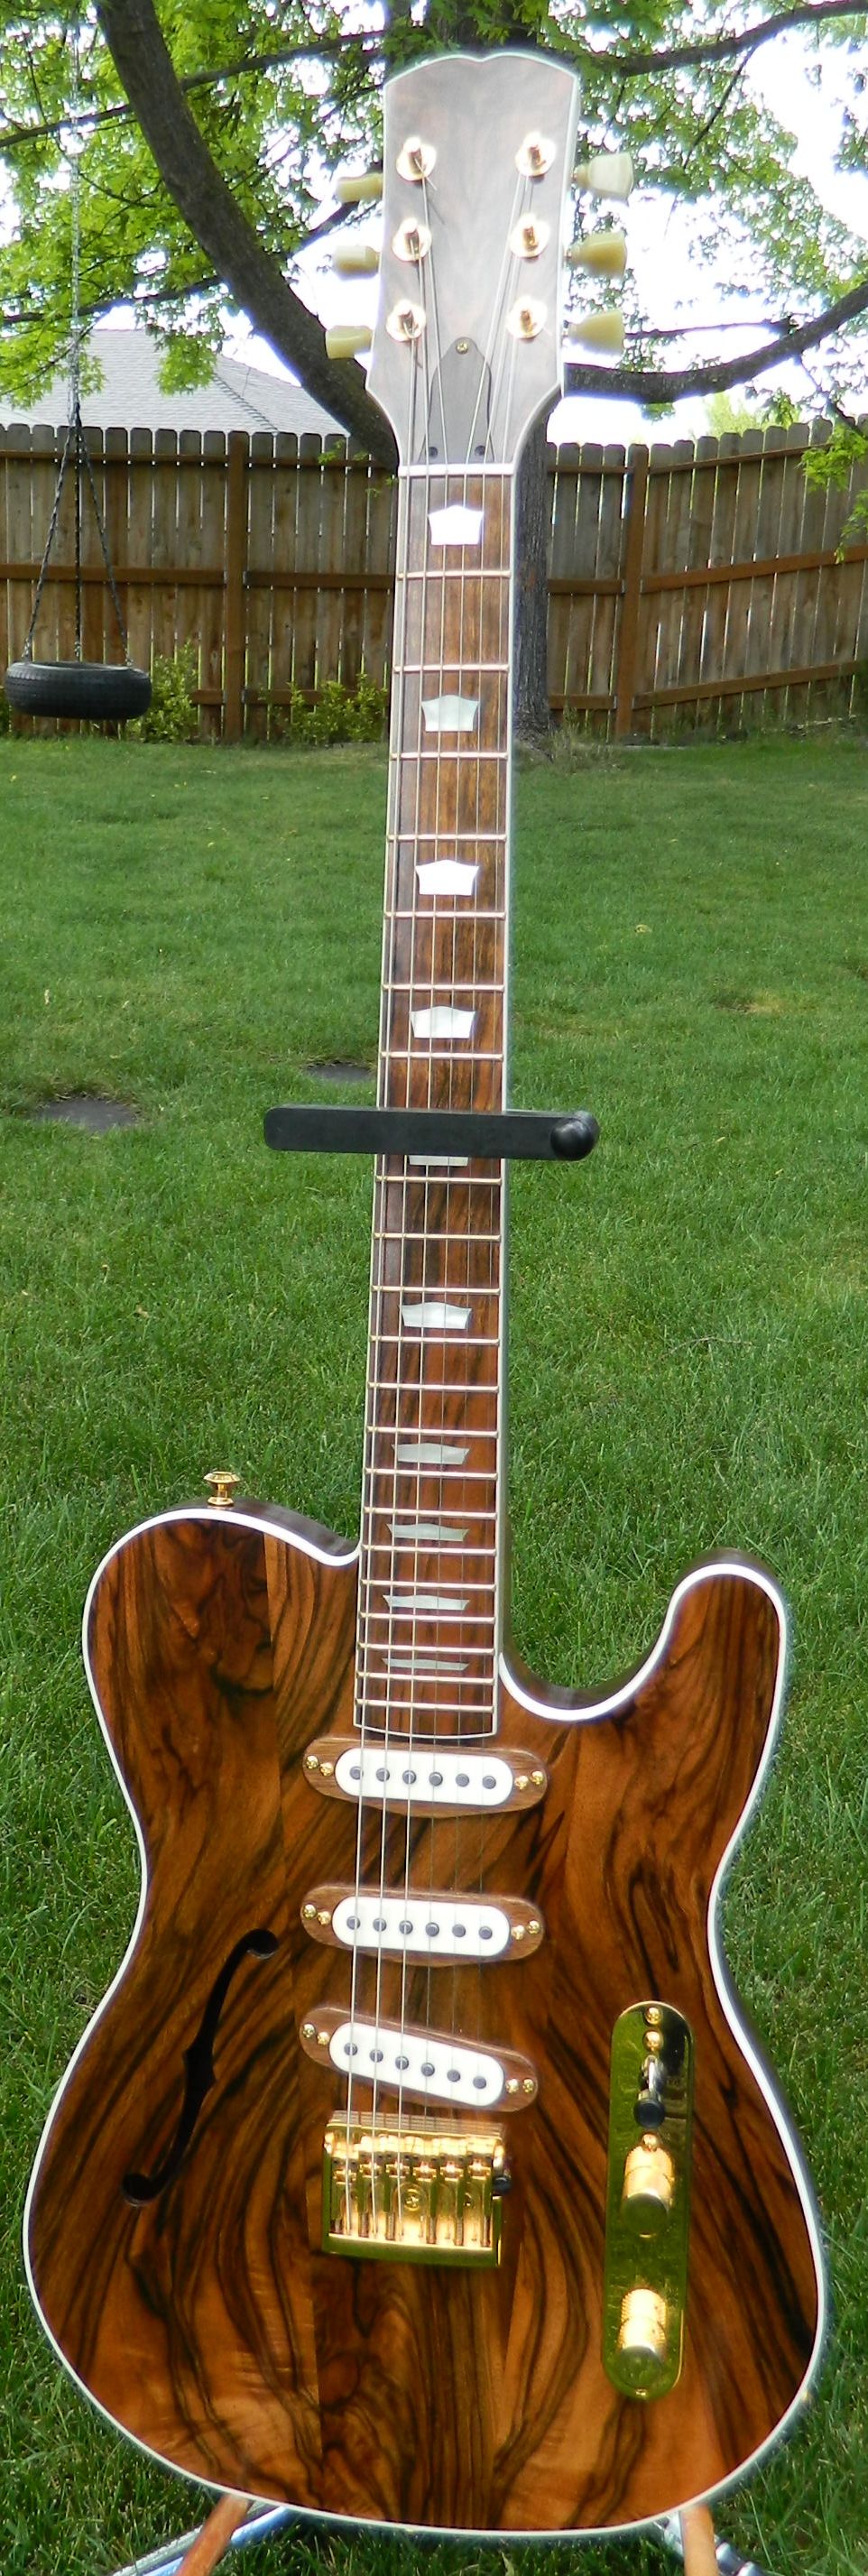
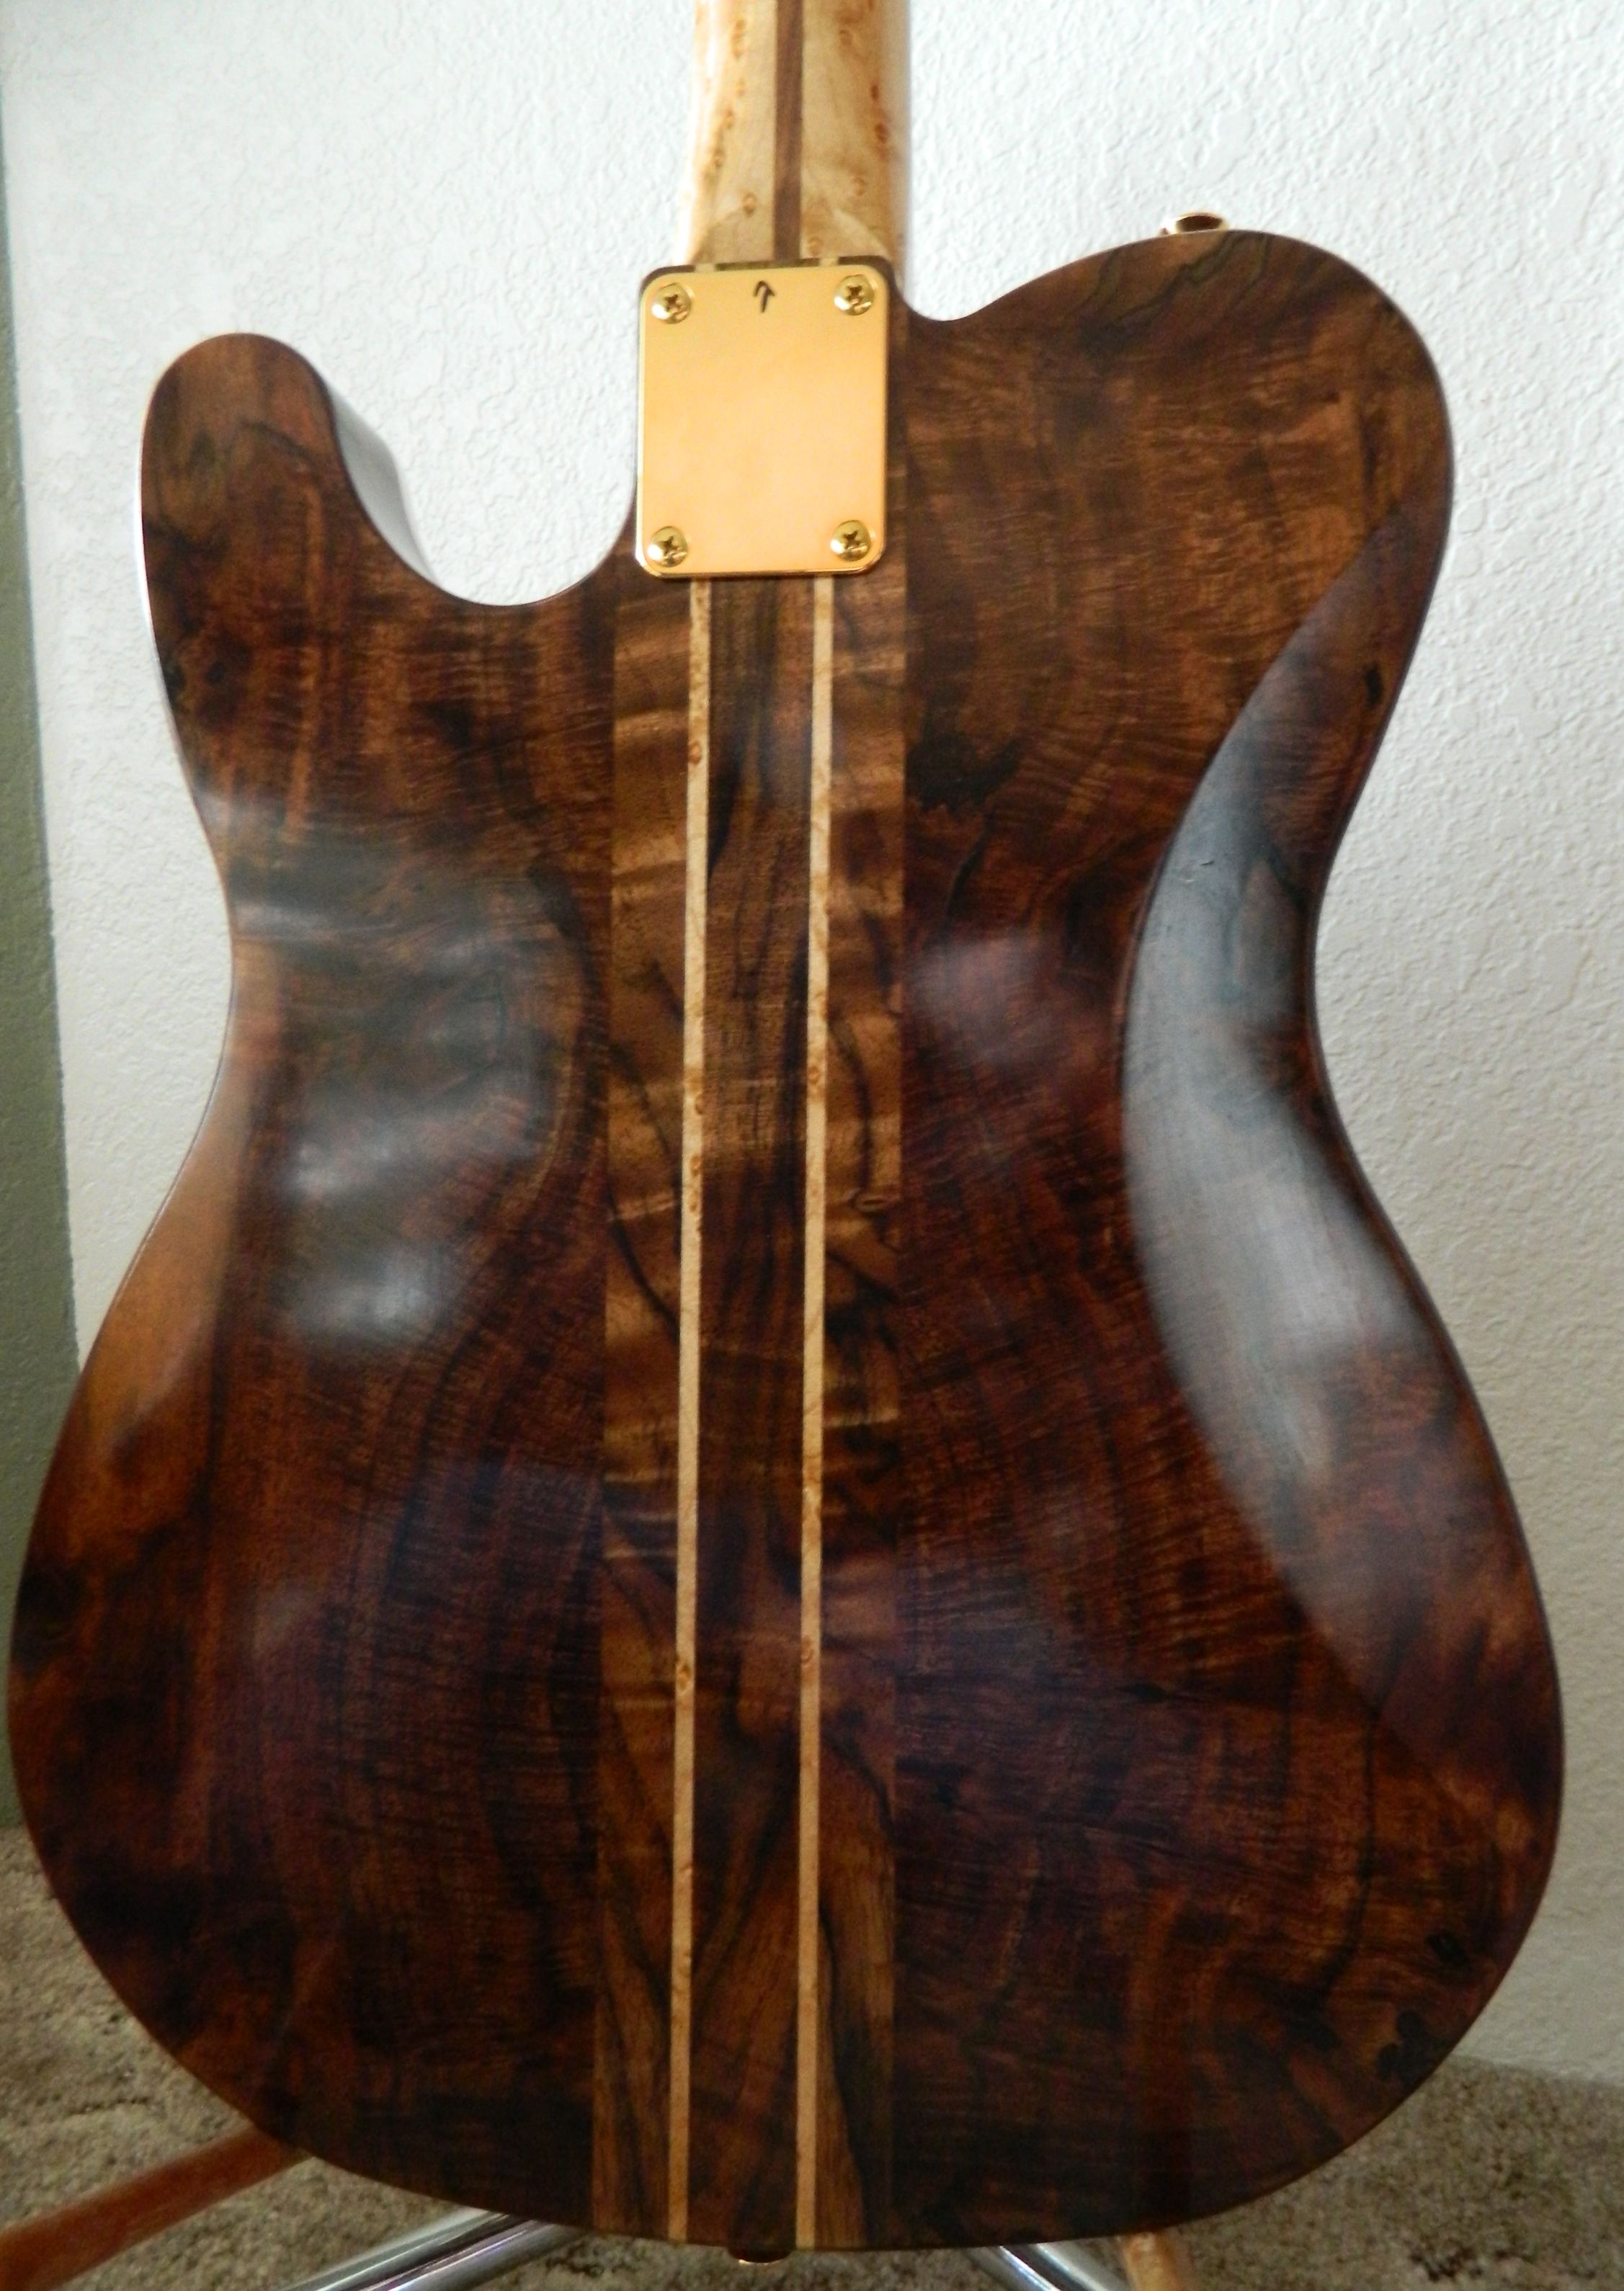
This might be a slightly unusual title in the world of custom guns. I always have had a passion for music and nice guitars. So it was just a matter of time for me to utilize some of the many nice scraps of wood I have had around and make a guitar out of it. Attached is the finished guitar next to a very recently finished .404 Jeffery rifle.

Besides the wood there are some similarities. A rifle has to shoot well and an instrument has to sound great. Each task is not easy accomplished. But to be honest, the guitar thing is a lot easier.

The neck was made from a sandwich of maple and walnut. The maple was re-claimed from two old rifle stocks. The back of the guitar is a sandwich of Oregon black walnut, Turkish walnut and maple. The front plate is made from California English walnut. The fret board from a hard piece of Turkish walnut. To reduce much of the weight, the body is partly hollow.


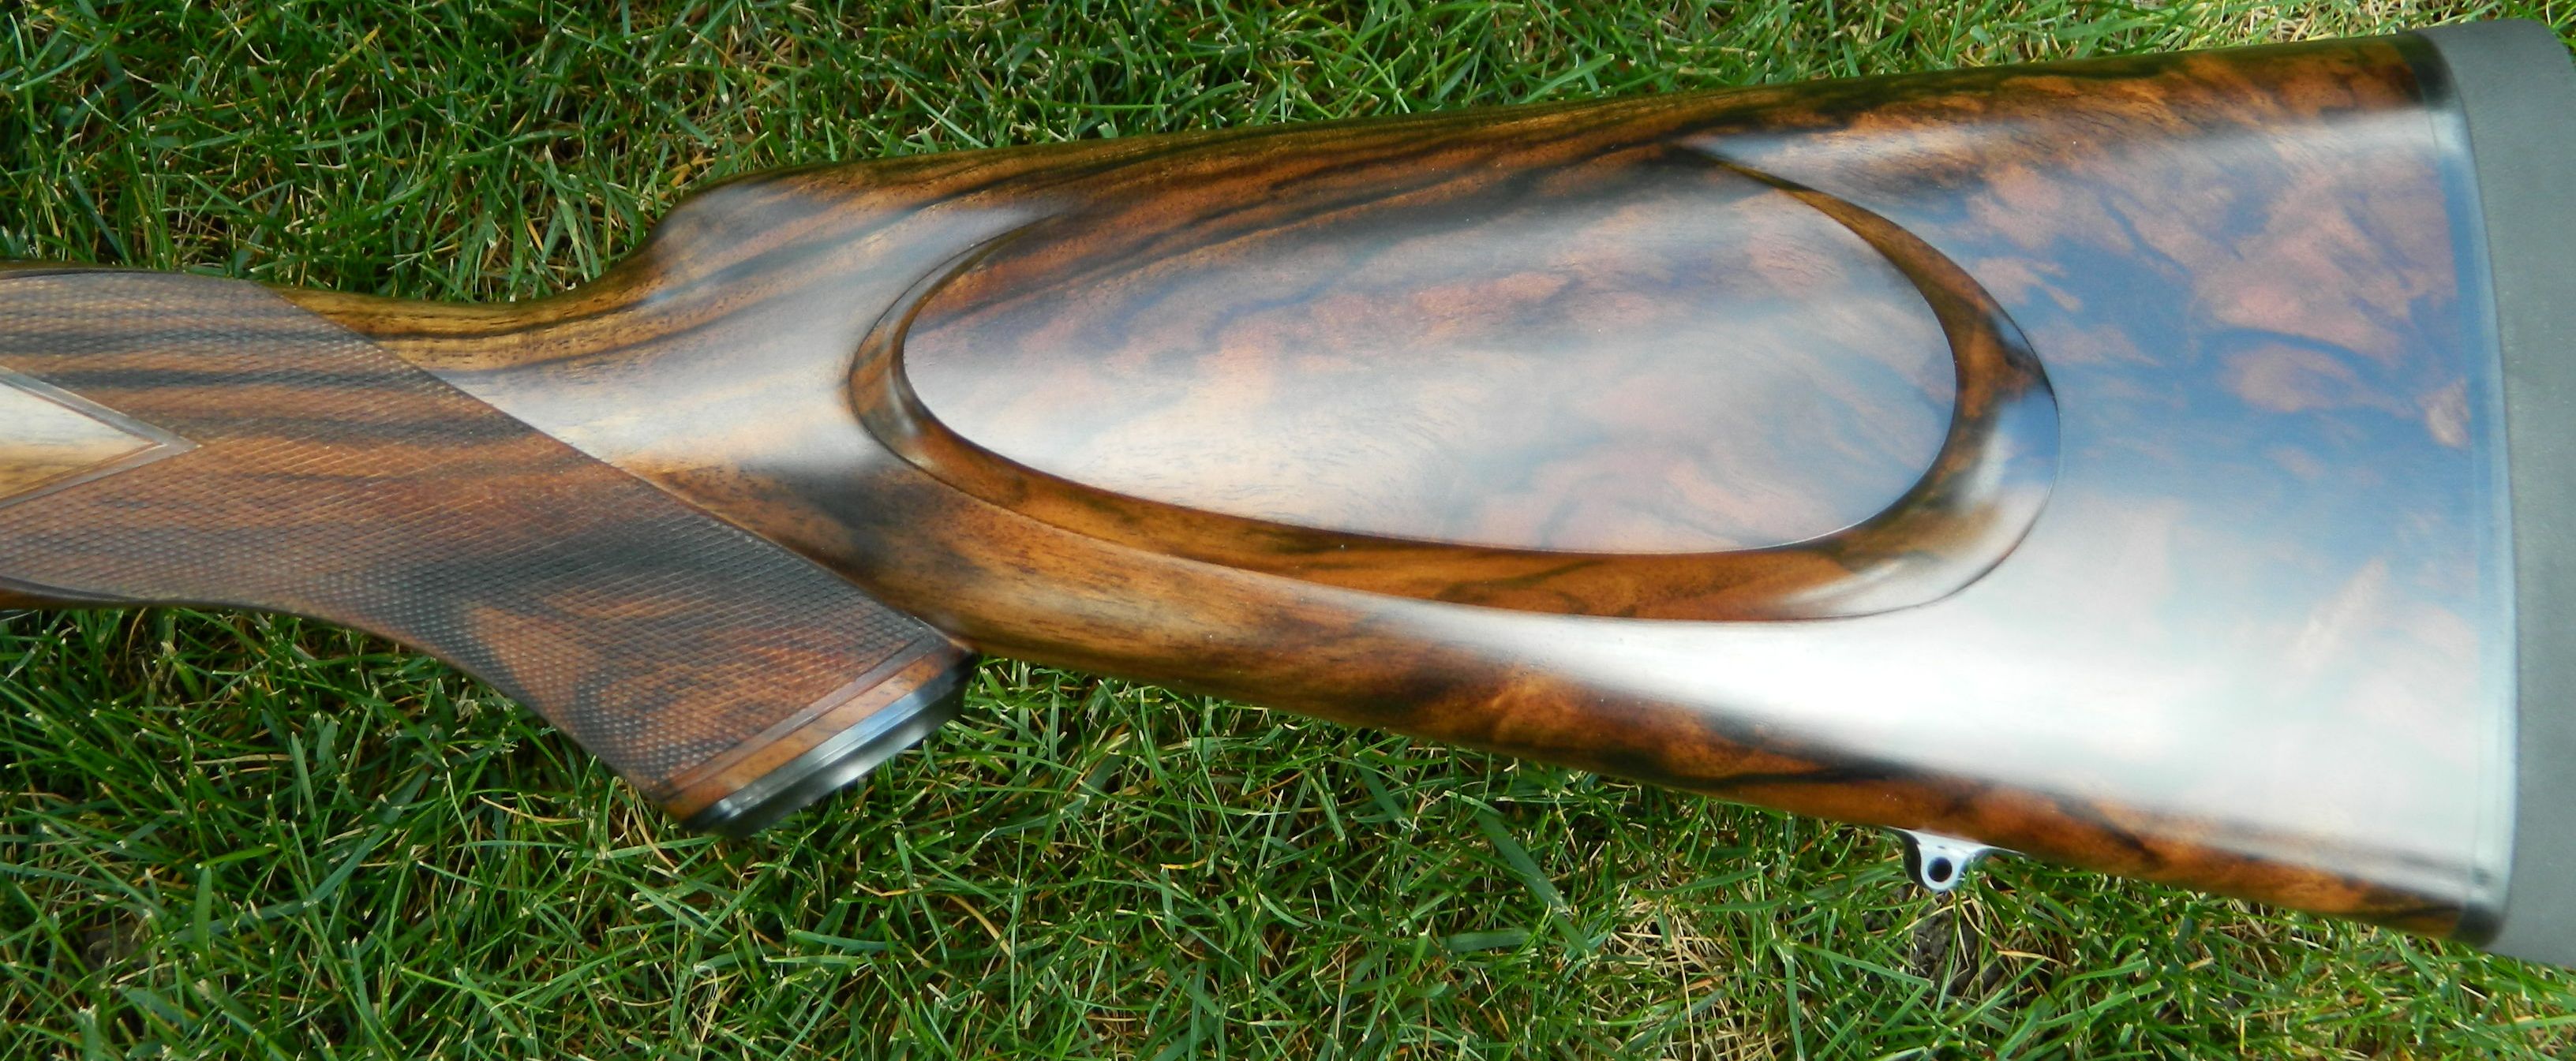
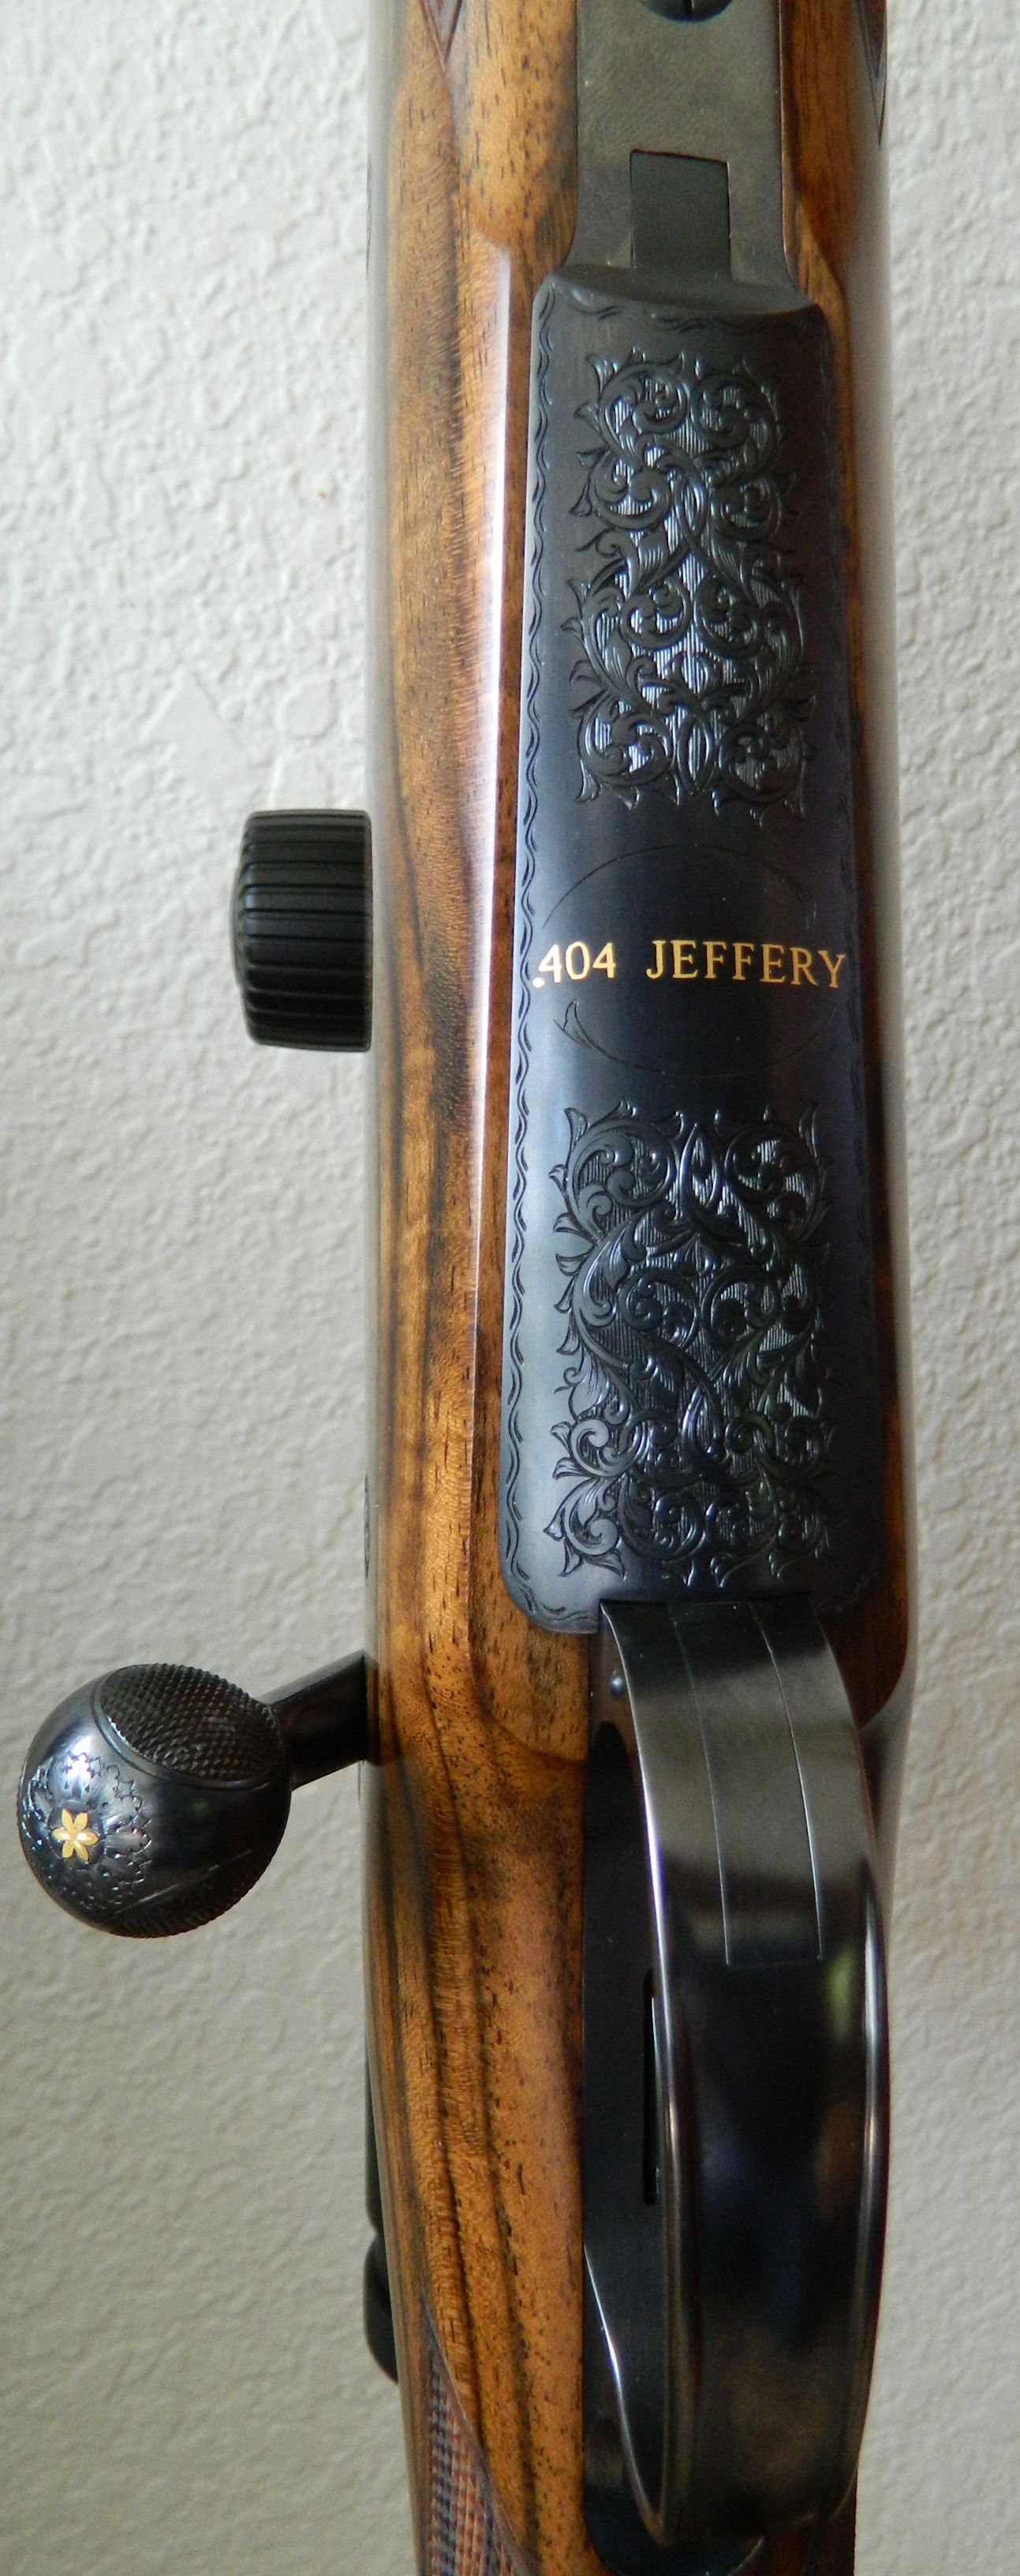
The .404 Jeffery rifle is one of my “English Express” rifles.  The engraver Tim George engraved the floor plate, the engraver John Todd engraved the bolt handle. A Swarovski scope can easily be taken on and off with my quick detachable scope mount. A very nice blank of Turkish walnut served as the foundation of the stock. Hopefully my customer will soon be able to take it on a trip to Africa.

Accuracy matters

Over the years I’ve purchased rifle barrels from several different companies. All in all, the barrels made today are of excellent quality and it is not very often that accuracy problems related to the barrel occur. I prefer hand lapped barrels as they have a shorter break-in time. In regards to the rifling being cut or button pulled, I’m not too concerned, as long as the barrel has been stress relieved and no integral machining is being done to it.

During the building of a custom rifle, I try to eliminate as many variables as possible. It is really important to perform step by step to tight tolerances. Should later accuracy problems occur, a lot of possibilities for the cause have already been eliminated. On a bolt action, preparing the receiver is the first step. This consists of facing the receiver ring on the lathe and making sure that the bolt lugs are making good contact and that the bolt face is aligned with the action.

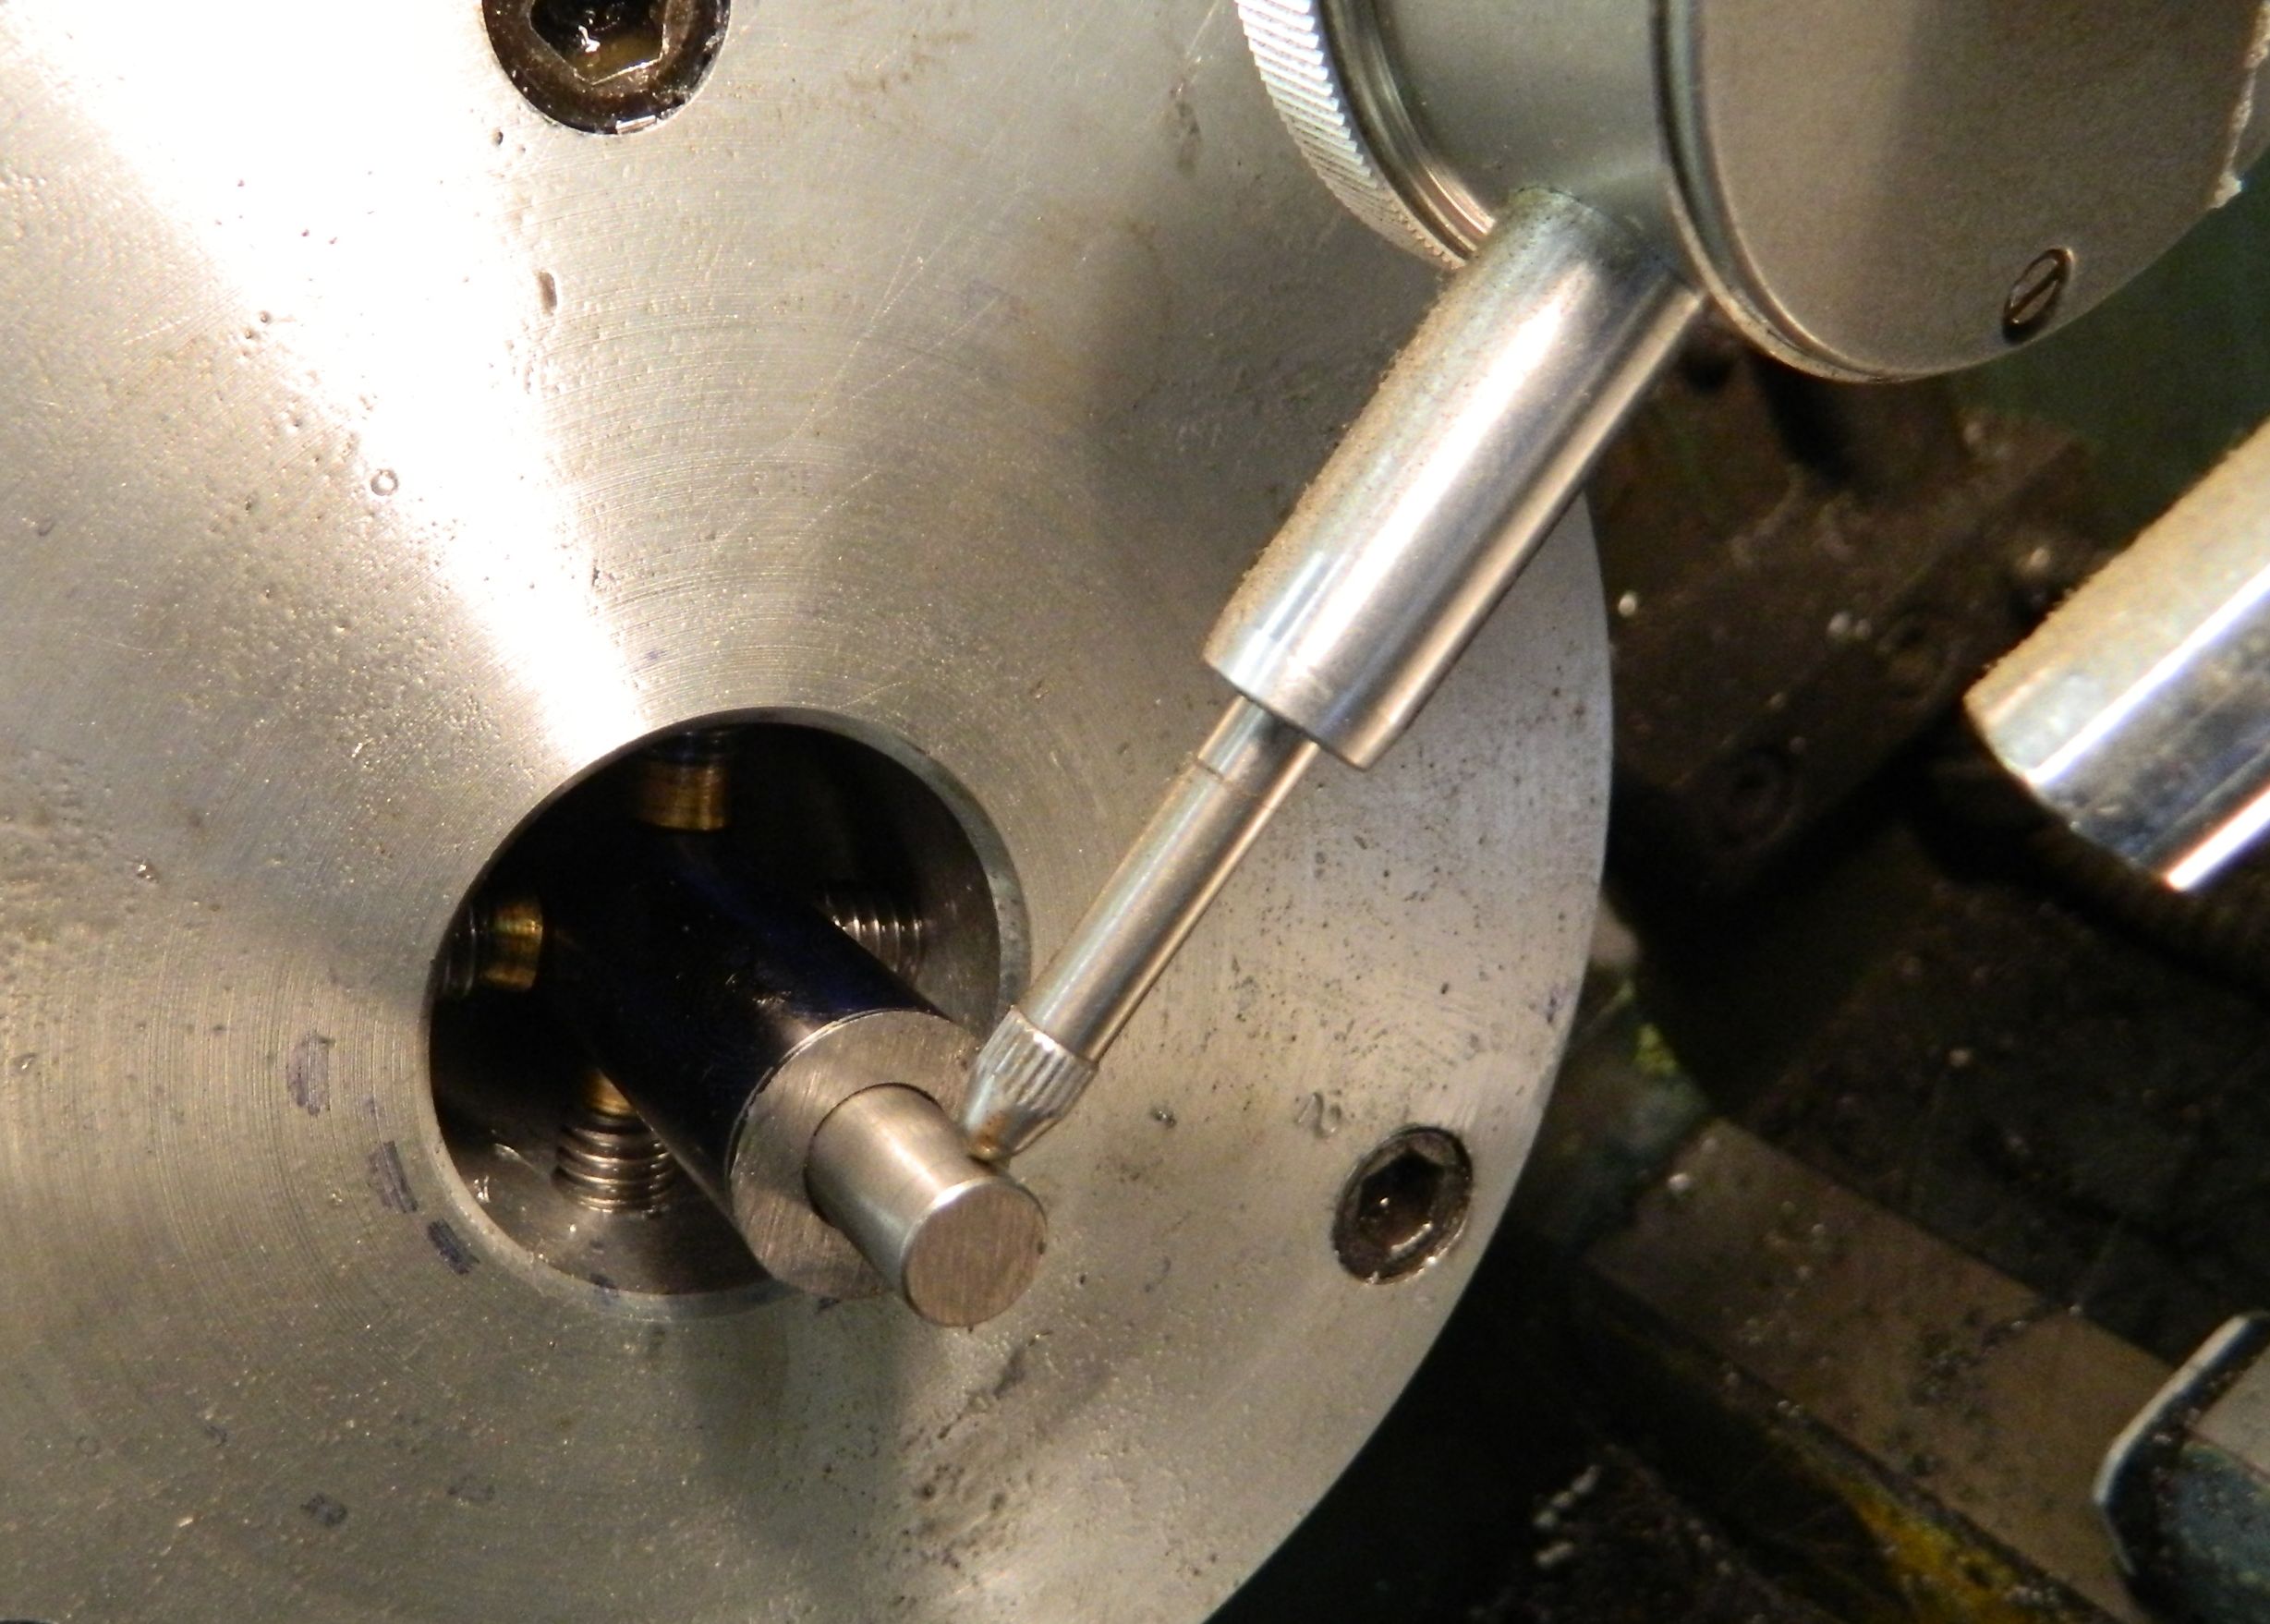
There are different approaches to turning a barrel in the lathe. I prefer to clamp the chamber end and muzzle end in what we call “spiders”.  Each end is held with 4 screws and the bore of each end is precisely dialed in with a dial indicator and a proper fitting plug gauge inserted into the bore. This way the barrel will spin in the lathe true to the bore and subsequent the treads and chamber will be true. After dialing it in, I usually start the lathe and look through the bore. At this point I have a really good idea how straight the barrel has been made by the barrel maker.
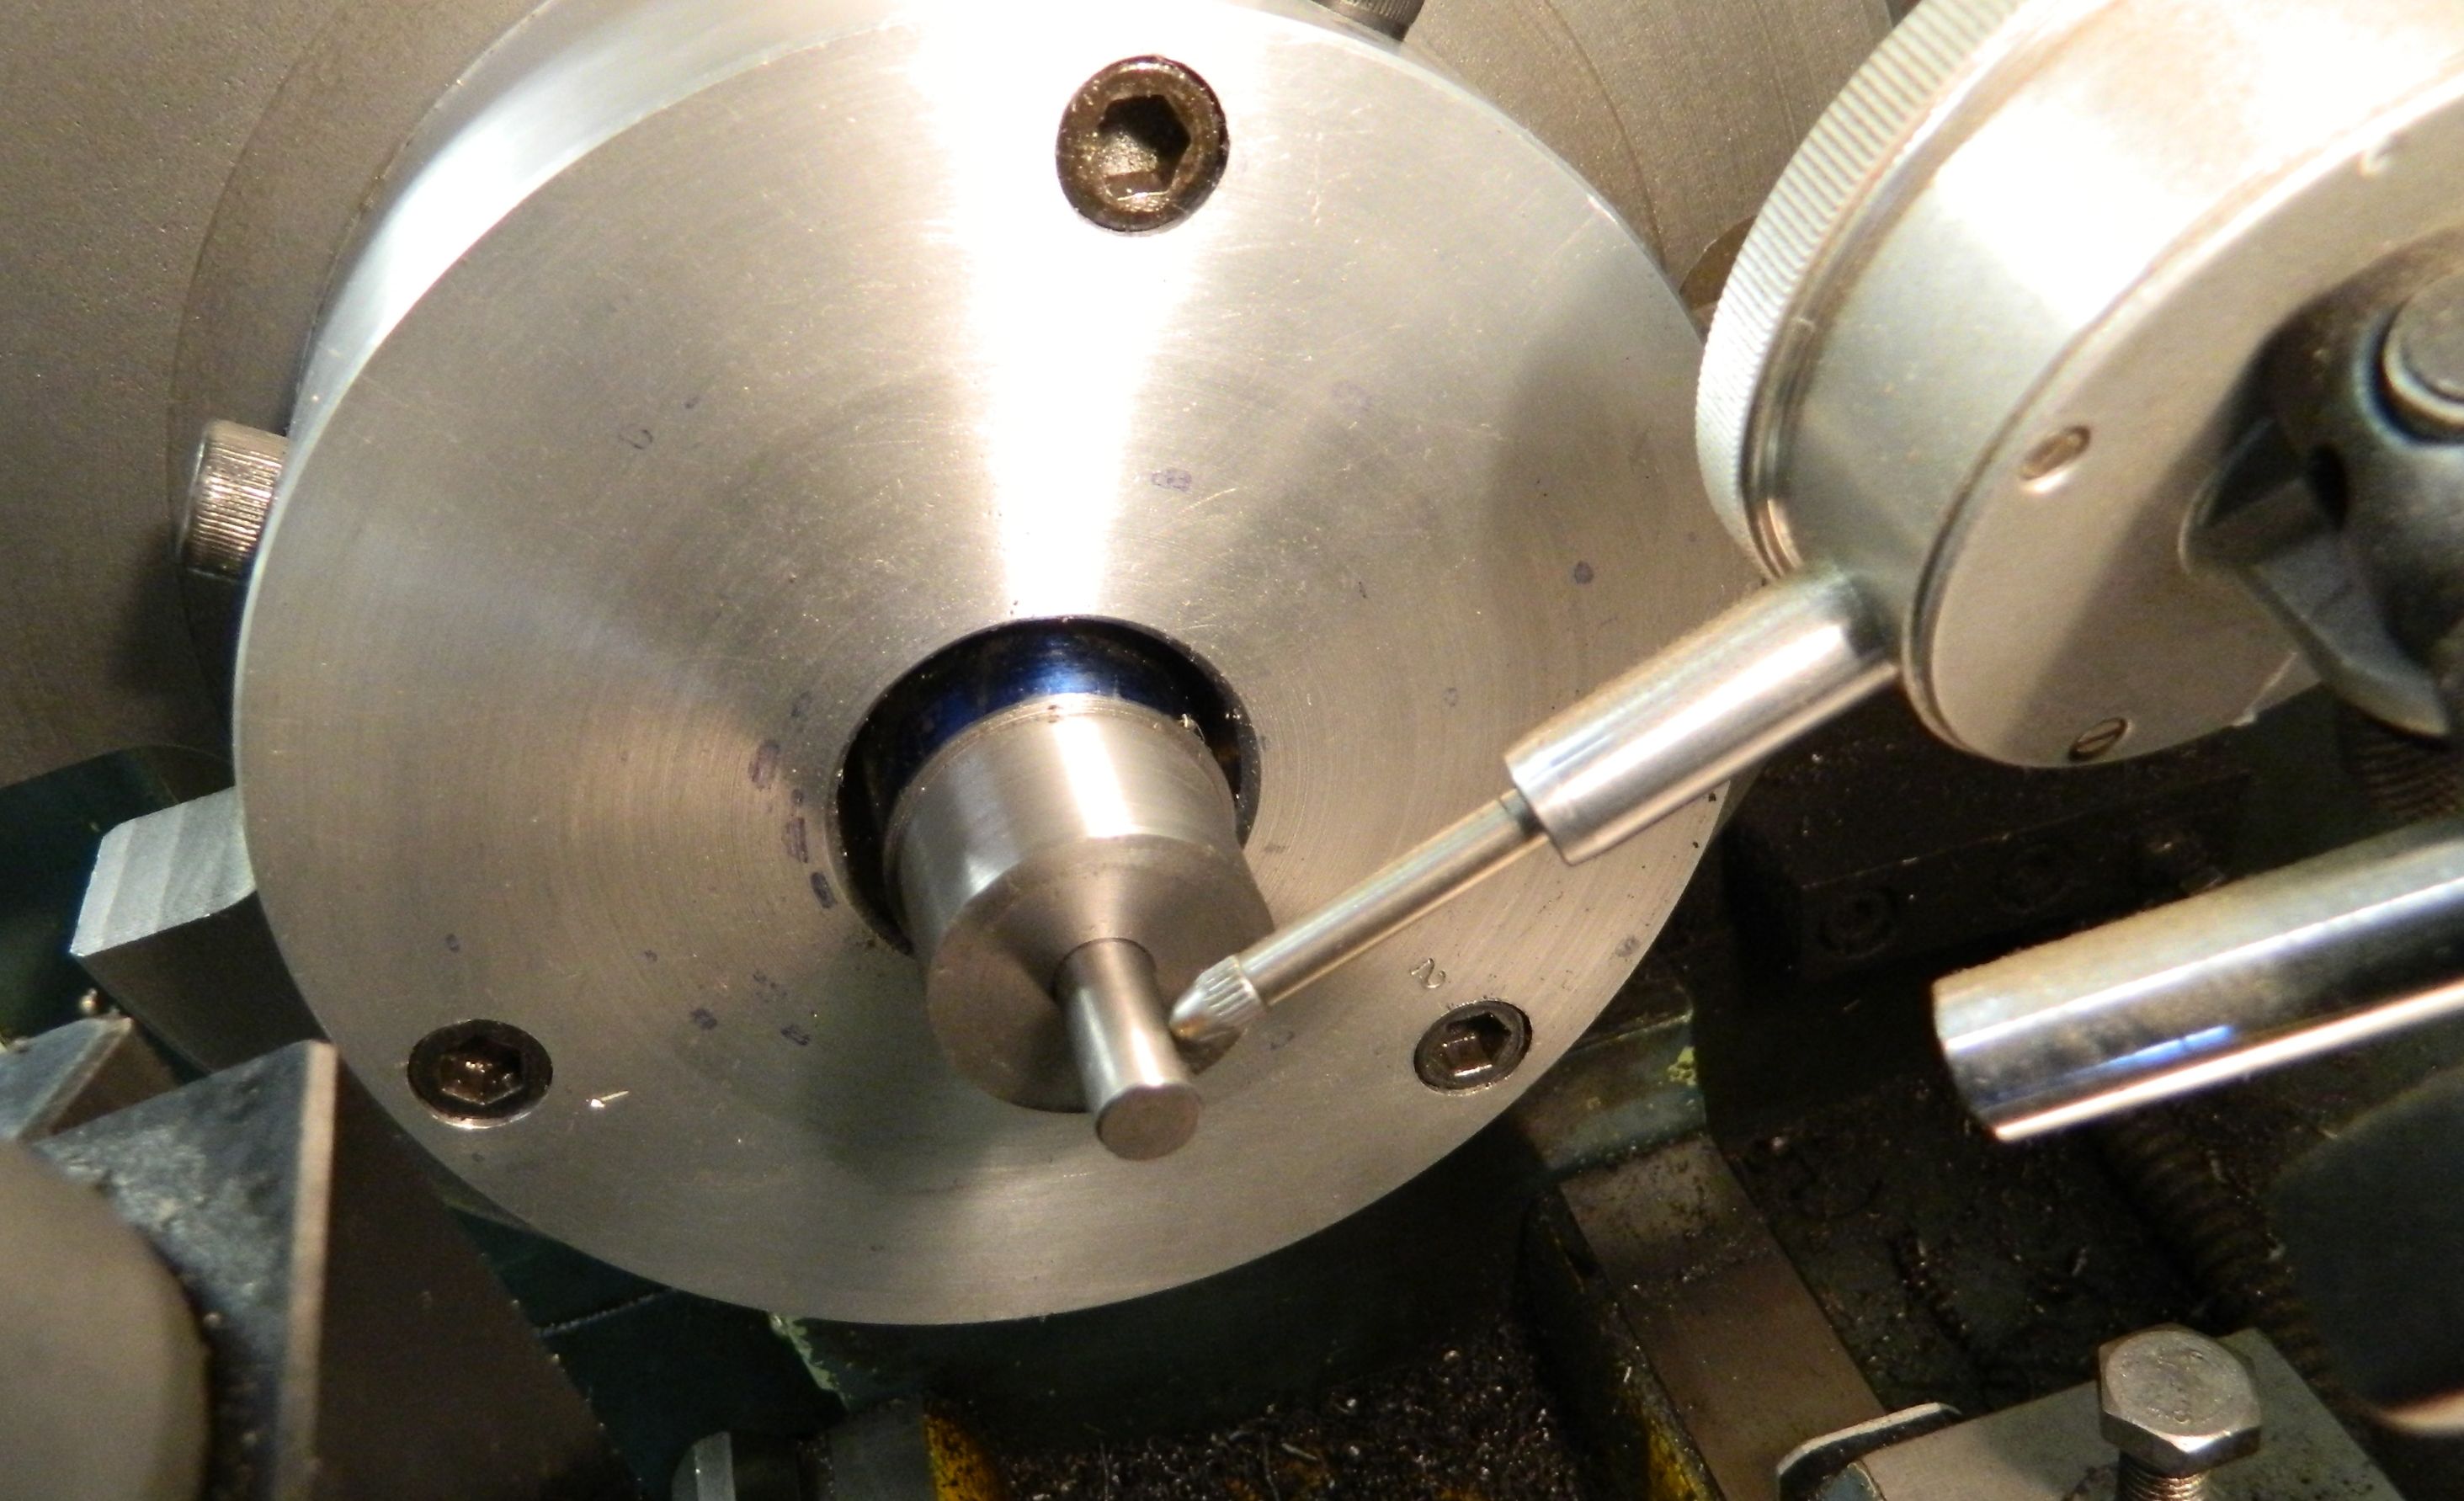
After facing the breech and rough cutting the barrel shank, I usually double check my set up with a dial indicators.
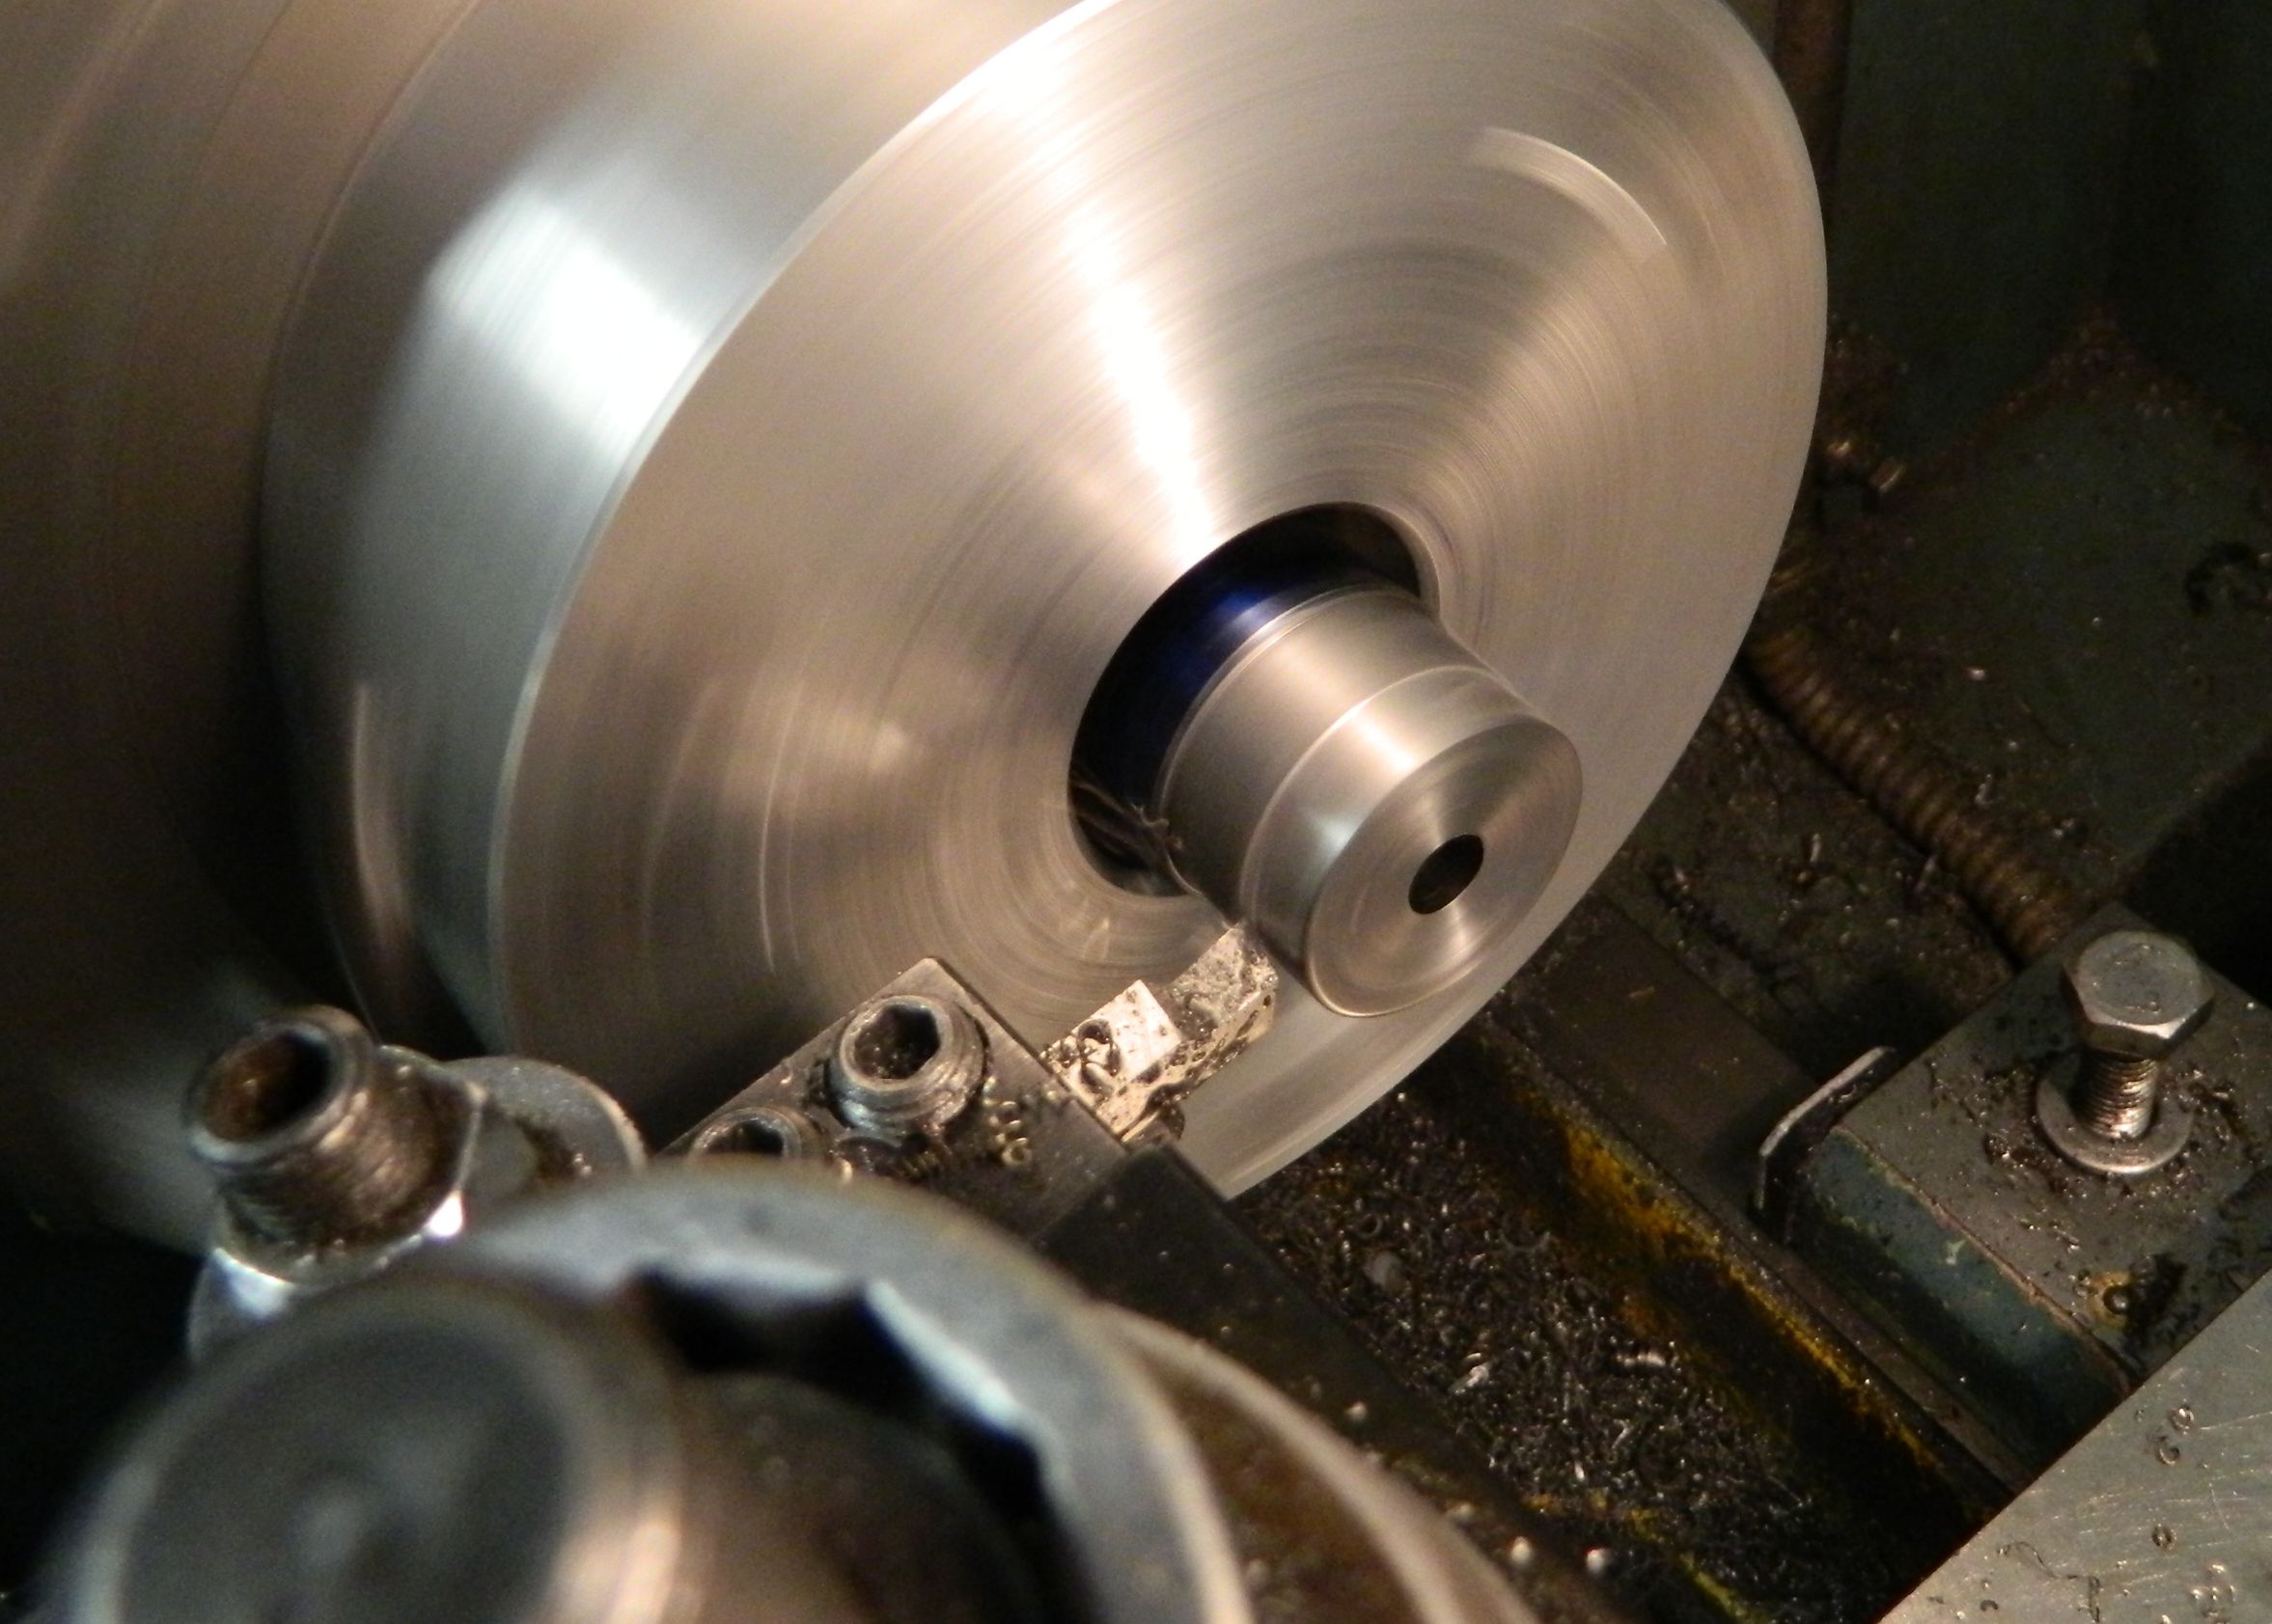
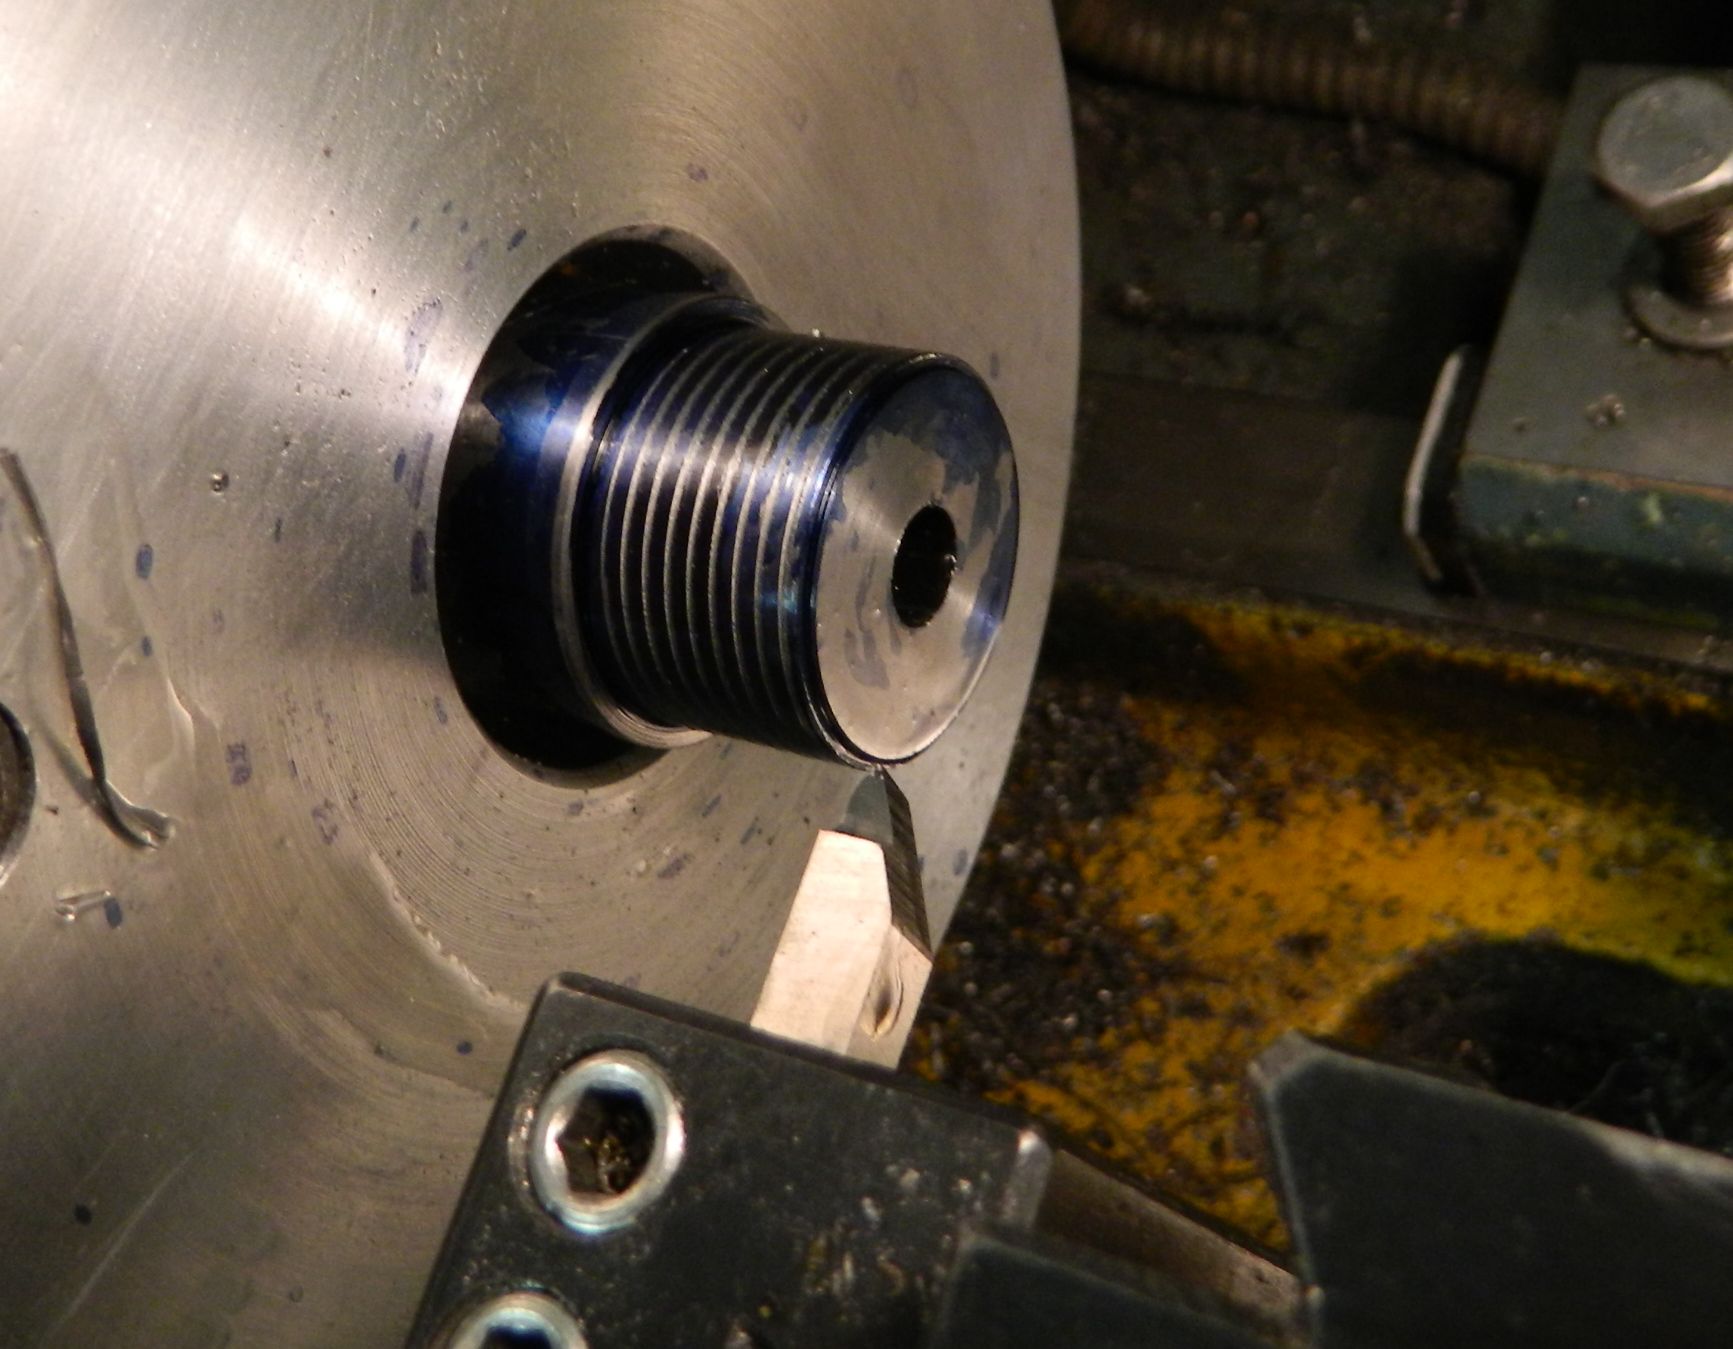
The picture above is of single point tread cutting. The tool is moving towards a shoulder and close attention must be paid. The lathe carriage has to be disengaged and simultaneously the tool has to be retracted at the right point. For a beginner, this can be nerve wrecking.
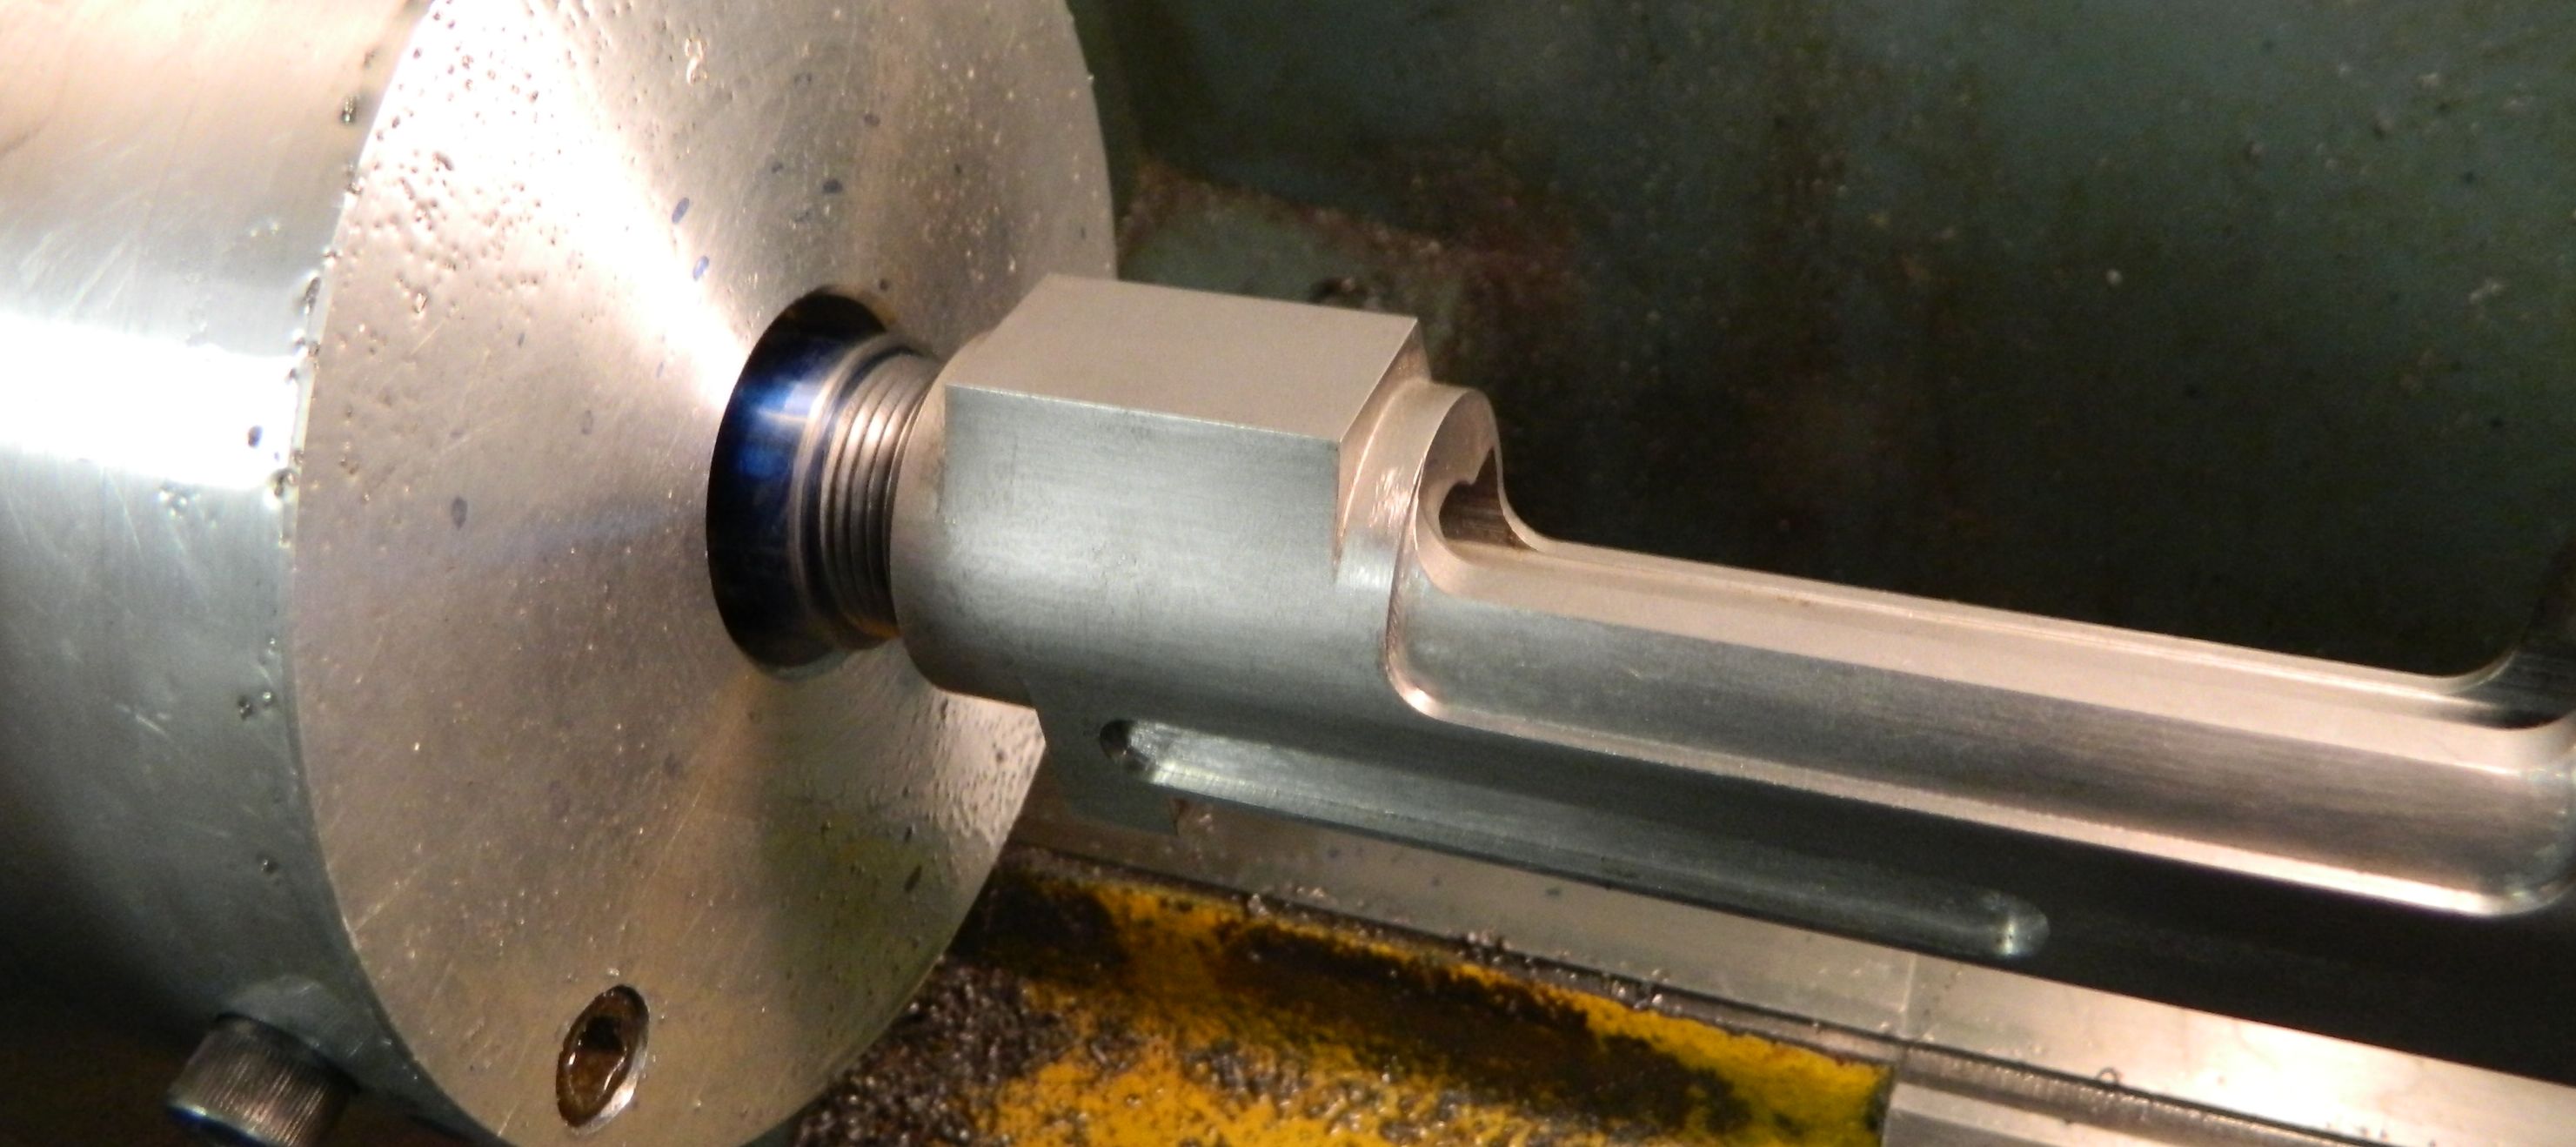
I’m a firm believer that sloppy threads can impact the barrel accuracy. As I get close to the tread depth, I start to double check with the receiver after nearly every pass. The goal is that the receiver will screw onto the barrel without any play.
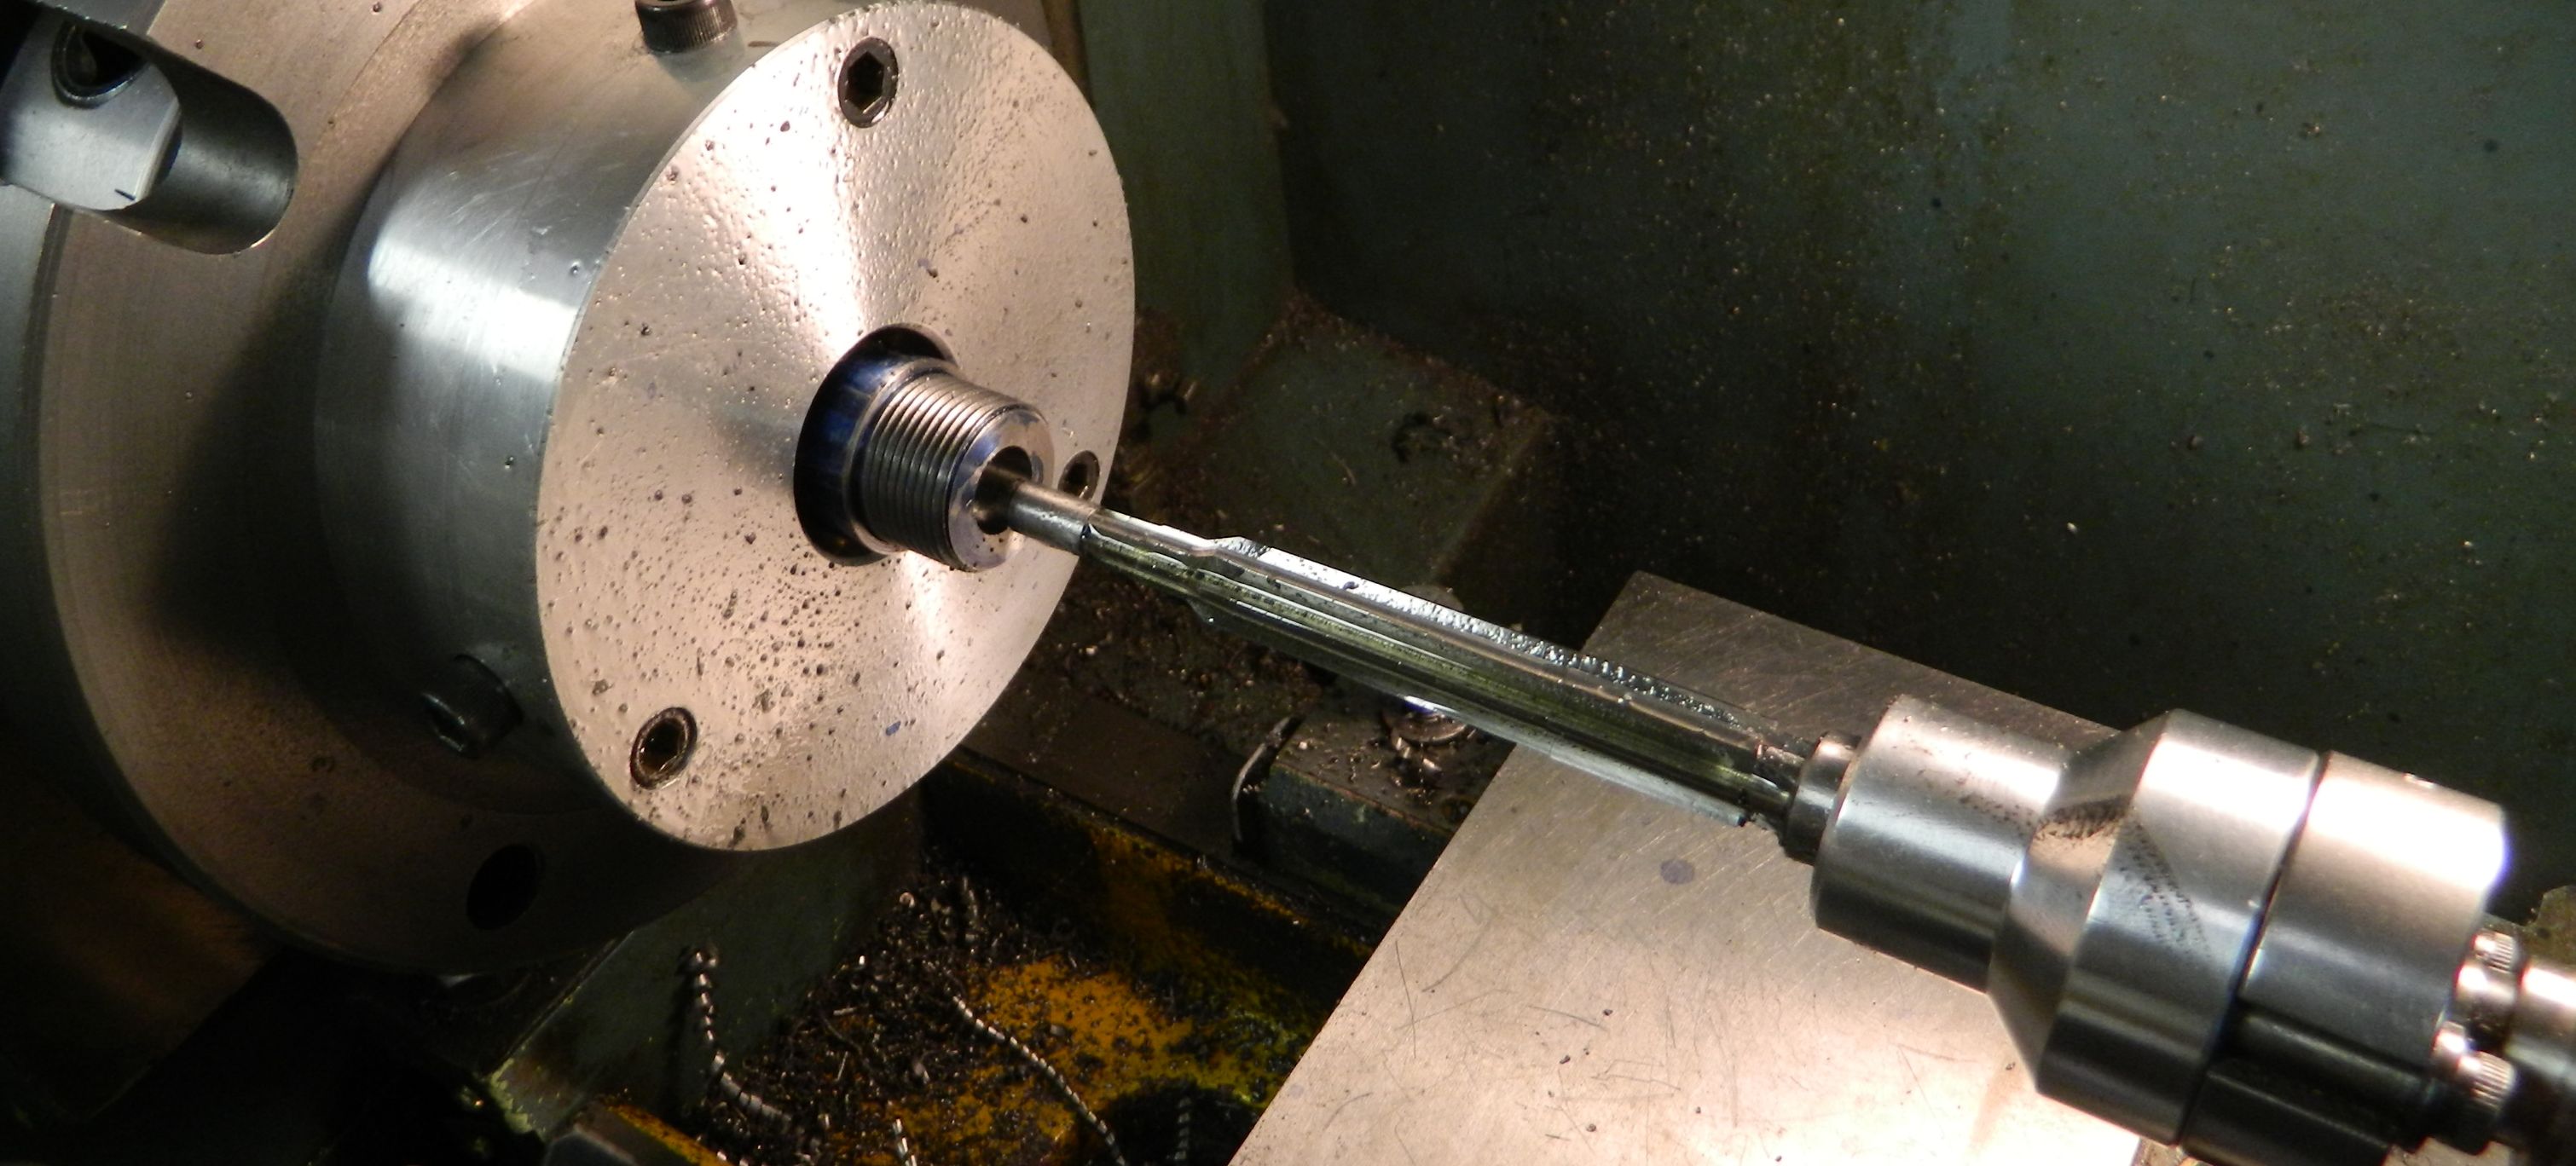
The next step is the cutting of the chamber. I drill and then ream the chamber in several steps, making sure the pilot of the reamer always guides the tool. I get the chamber pretty close on the lathe, but prefer to ream the last few thousands by hand, as I have a better feeling for it.

Once the breech end is finished, I will remove the barrel from the machine and cut it to length. The barrel will then be re-installed in the lathe the same way as before, but flipped, so that the muzzle can be machined. Again both ends are carefully dialed in.
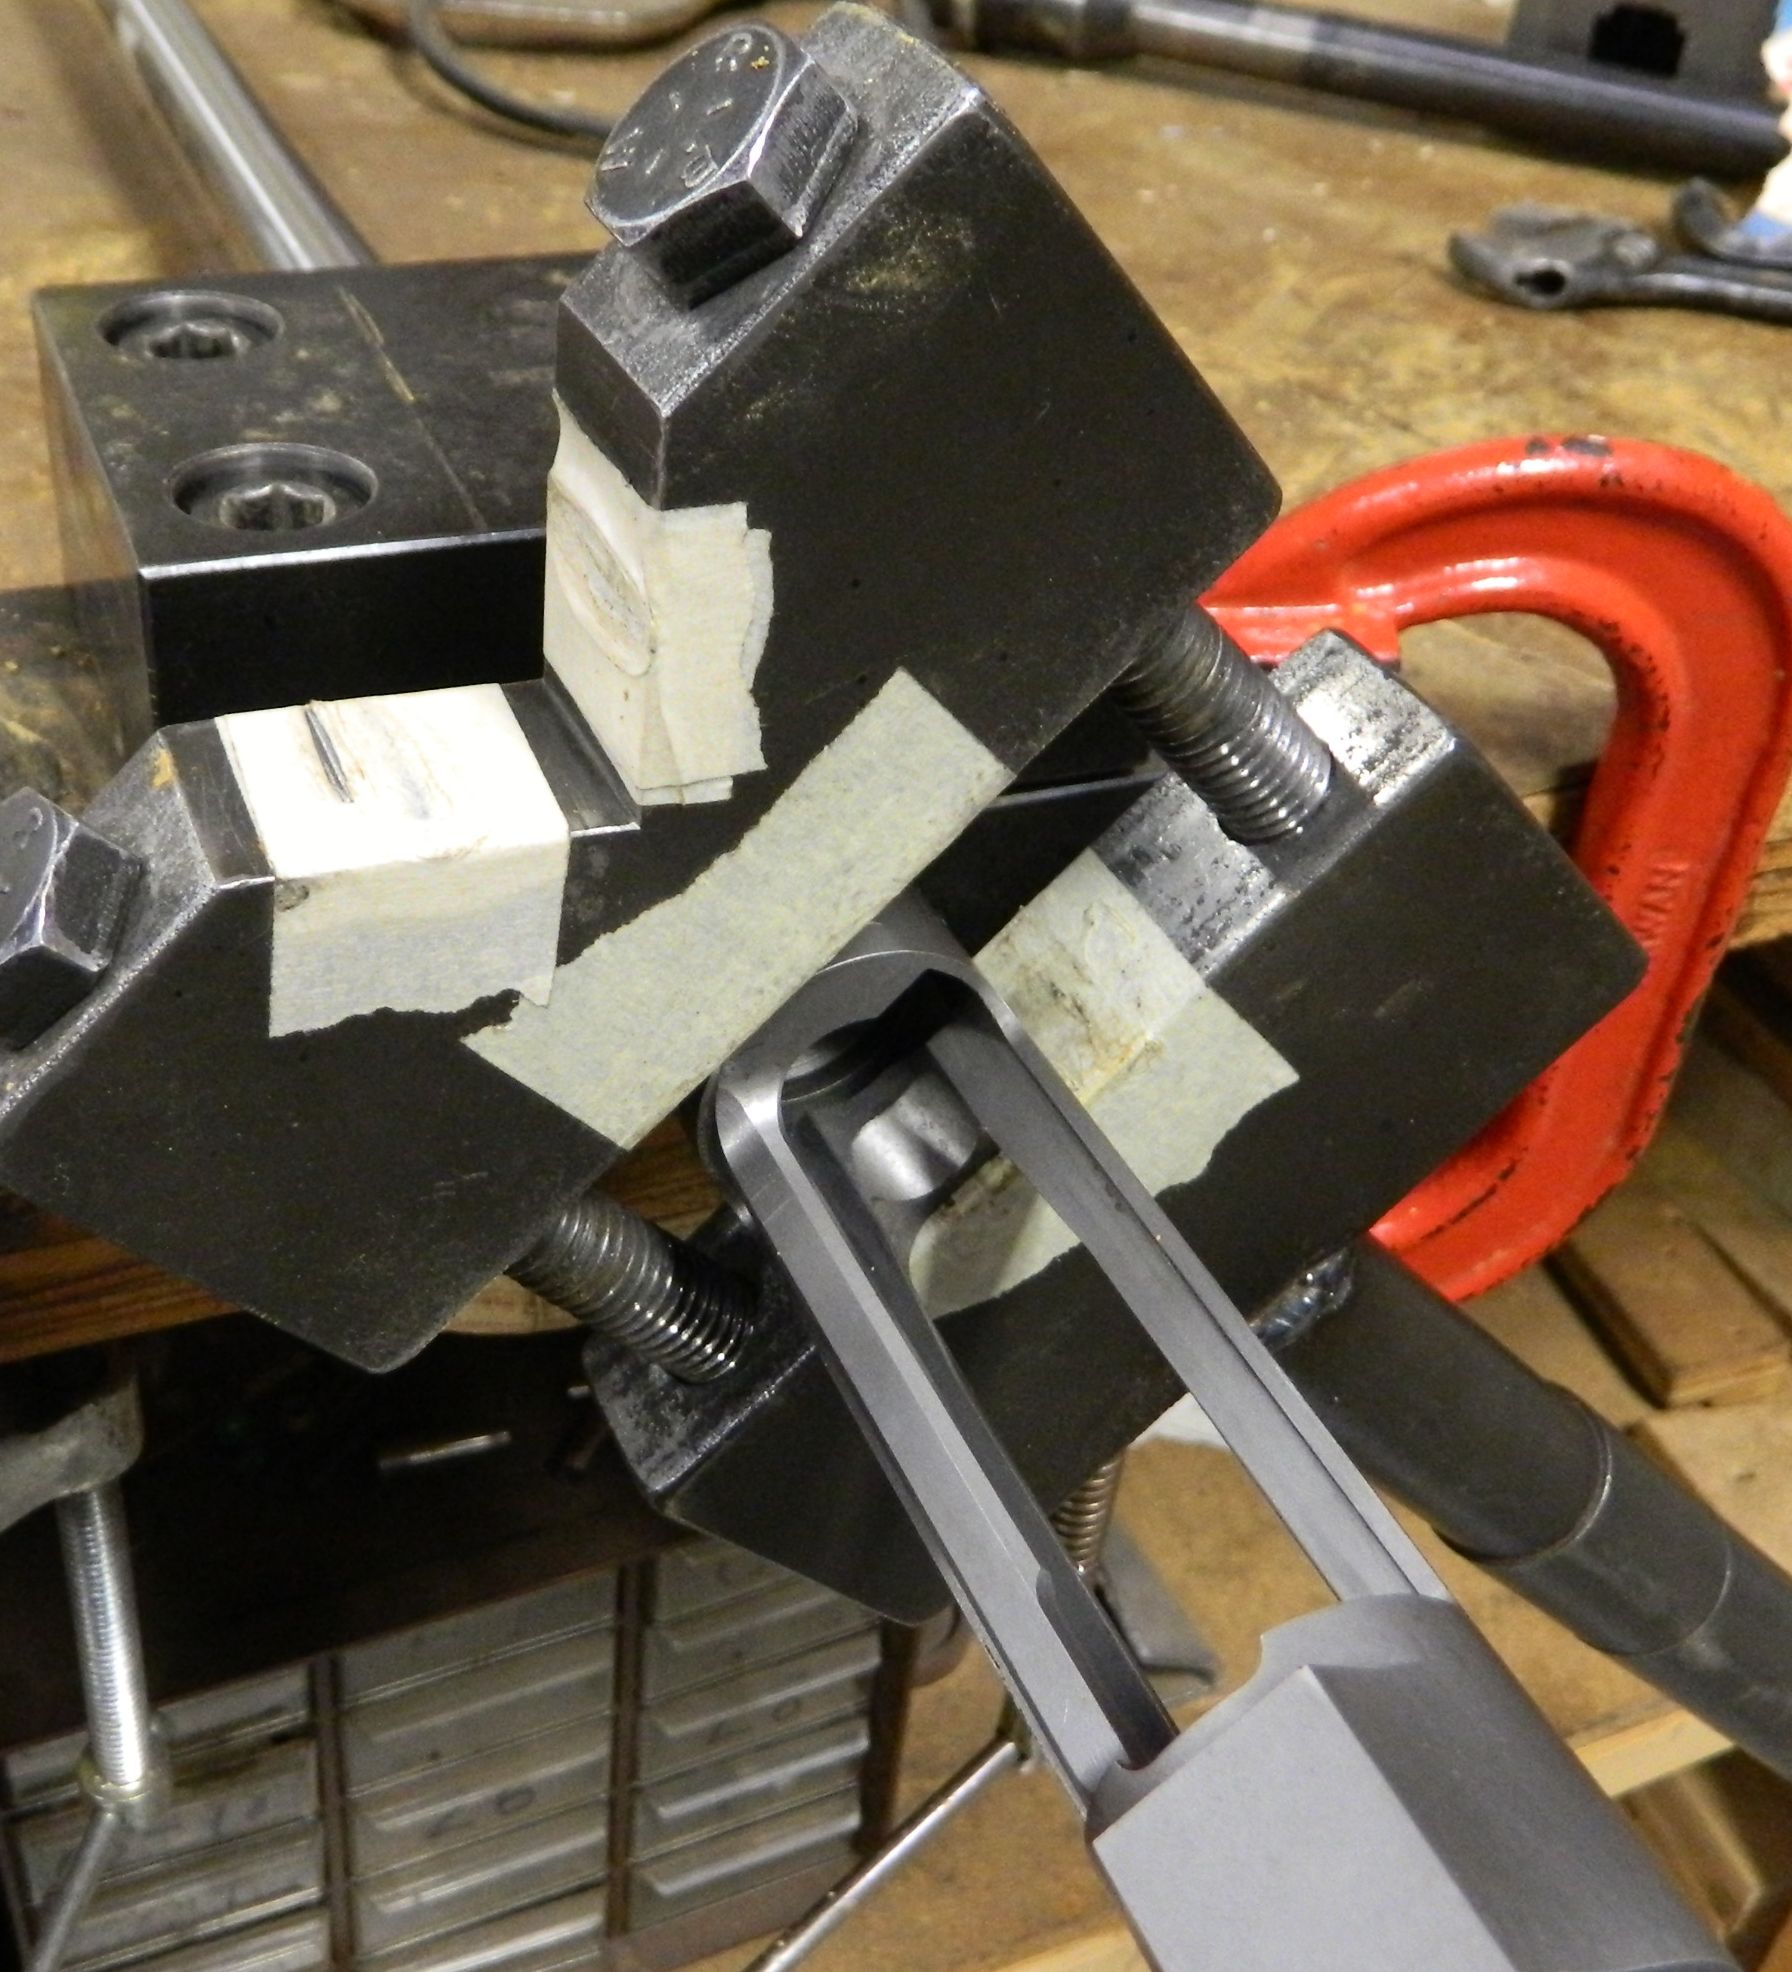
After the machining the receiver can be installed onto the barrel with the help of a barrel vise and action wrench. The final step is the head spacing and polishing of the chamber. Depending on the type of action,  the breech end might require in addition an extractor cut.
I like to take my time for these operations. A job well done will provide the basis for an accurate shooting rifle.


Regulating of double rifles

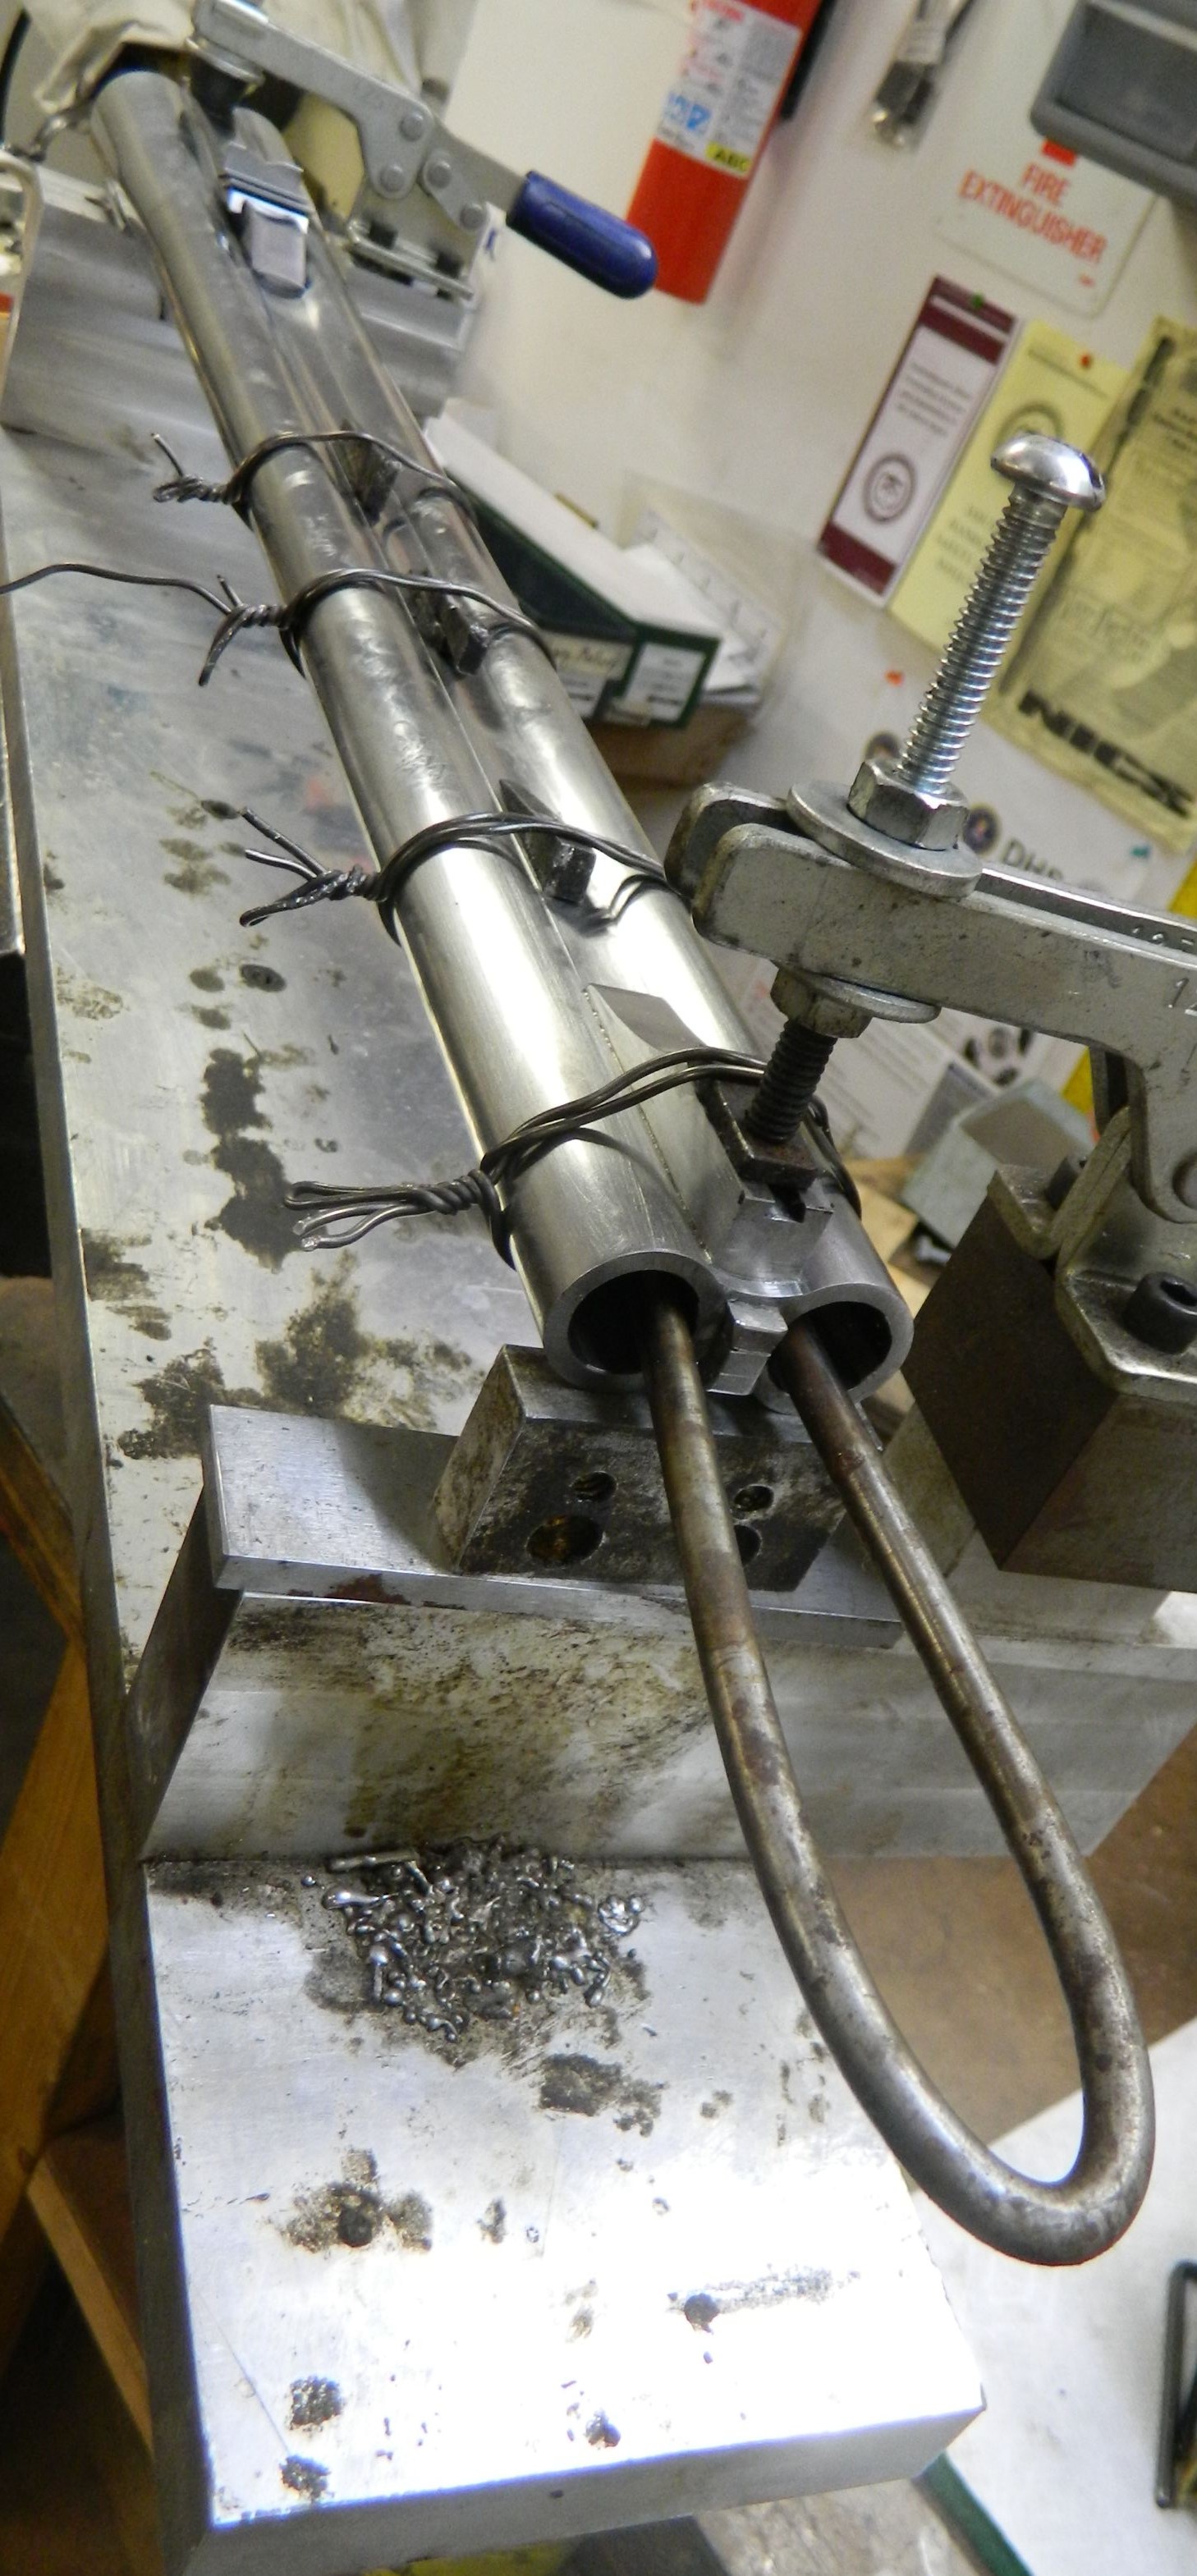
The regulation of double rifles seems to be an issue of interest to many gun enthusiast.  A double rifle has one set of sights and two barrels that are regulated to the same point of impact, so that the sights are aligned with either barrel. The regulation is accomplished with a tapered wedge between the barrels at the muzzle end. When building the barrel set, the barrels are brazed together at the rear and meet, when looking through each, at a point of impact determined by the experience of the barrel maker. They are therefor not parallel aligned, but angled to each other. When regulating, the barrel set is heated up until the solder melts. Depending on the caliber, I apply heat with a torch from the muzzle to about 6 -9″ back. Once the temperature is reached, the wedge can be driven in to spread the barrels further. Or pulled out to bring the muzzles closer to each other. These adjustments will have a direct impact on the grouping of the two barrels. The barrels literally are getting slightly bend during this process. This is normal. Ideally the barrels are joint at the breech in a way that only very minor adjustments have to be made.

The goal is that the barrels group at 50 yds as close as possible together without them crossing. It is wise to verify the regulation before bluing also at a longer distance.

The picture above is of a .470 NE barrel set that I put together a while ago. The chopper lump barrels are brazed together, the hooks machined and the ribs are fitted and await soldering.

This barrel set is ready for regulation. In this case it is prepared to have the wedge pushed in further, in order to slightly spread the barrels. I have seen many different regulation fixtures from different shops. This set up works for me, and I can adapt it easy for different regulation situations. Careful measurements are taken before and after regulation. The elevation of a individual barrel I change with feeler gauges laid under the muzzle area of the barrel.

The regulation is really not a complicated undertaking. But it requires time and labor and several trips to the shooting range. Large calibers are easier to regulate and are not very sensitive. Small and fast calibers can try a regulators patience. I remember having difficulties years ago in Switzerland with a .22 Hornet double rifle. I must have lost a few hairs then already 🙂

It is always advisable to purchase a lifetime supply of ammo with the same lot number. If the ammo is changed, more likely then not the regulation will be off for the new loads.

These days I have become a bit recoil shy, so I usually don’t take on re-regulation work.


Page 7 of 10

Powered by WordPress & Theme by Anders Norén